Index of /wp-content/uploads/2021/02
Name
Last modified
Size
Description
Parent Directory
-
price-tag.png
2021-04-07 07:55
5.2K
how-to-wrap-ankle-brace.jpg
2021-02-26 06:02
211K
how-to-wrap-ankle-brace-scaled.jpg
2021-02-26 06:02
229K
how-to-wrap-ankle-brace-2048x1501.jpg
2021-02-26 06:02
248K
how-to-wrap-ankle-brace-1536x1125.jpg
2021-10-20 14:40
175K
how-to-wrap-ankle-brace-768x563.jpg
2021-10-20 14:40
87K
how-to-wrap-ankle-brace-700x513.jpg
2021-02-26 06:02
80K
how-to-wrap-ankle-brace-700x200.jpg
2021-10-20 14:40
58K
how-to-wrap-ankle-brace-250x183.jpg
2021-02-26 06:02
43K
how-to-wrap-ankle-brace-150x150.jpg
2021-02-26 06:02
39K
how-to-wrap-ankle-brace-120x88.jpg
2021-02-26 06:02
36K
chilli-img.png
2021-04-09 07:06
17K
before.png
2021-04-07 13:05
1.3K
after.png
2021-04-07 13:05
1.4K
Zamst-A2-DX-Strong-Ankle-Brace.jpg
2021-02-26 06:06
93K
Zamst-A2-DX-Strong-Ankle-Brace-768x562.jpg
2021-10-20 14:40
34K
Zamst-A2-DX-Strong-Ankle-Brace-700x512.jpg
2021-10-20 14:40
30K
Zamst-A2-DX-Strong-Ankle-Brace-700x200.jpg
2021-10-20 14:40
16K
Zamst-A2-DX-Strong-Ankle-Brace-250x183.jpg
2021-02-26 06:06
11K
Zamst-A2-DX-Strong-Ankle-Brace-150x150.jpg
2021-02-26 06:06
9.9K
Zamst-A2-DX-Strong-Ankle-Brace-120x88.jpg
2021-02-26 06:06
8.4K
ZFOsports-Weighted-Vest-30lbs-80lbs.jpg
2021-02-04 19:01
46K
ZFOsports-Weighted-Vest-30lbs-80lbs-643x200.jpg
2021-02-04 19:01
32K
ZFOsports-Weighted-Vest-30lbs-80lbs-250x271.jpg
2021-02-08 13:13
30K
ZFOsports-Weighted-Vest-30lbs-80lbs-150x150.jpg
2021-02-04 19:01
26K
ZFOsports-Weighted-Vest-30lbs-80lbs-120x130.jpg
2021-02-04 19:01
25K
ZFOsports-Weighted-Vest-30lbs-80lbs-1.jpg
2021-02-06 16:27
51K
ZFOsports-Weighted-Vest-30lbs-80lbs-1-768x562.jpg
2021-02-08 13:22
53K
ZFOsports-Weighted-Vest-30lbs-80lbs-1-700x512.jpg
2021-02-08 13:22
50K
ZFOsports-Weighted-Vest-30lbs-80lbs-1-700x200.jpg
2021-02-08 13:22
40K
ZFOsports-Weighted-Vest-30lbs-80lbs-1-250x183.jpg
2021-02-06 16:27
32K
ZFOsports-Weighted-Vest-30lbs-80lbs-1-150x150.jpg
2021-02-06 16:27
31K
ZFOsports-Weighted-Vest-30lbs-80lbs-1-120x88.jpg
2021-02-06 16:27
29K
York-Athletics-The-Henry.jpg
2021-02-18 19:06
40K
York-Athletics-The-Henry-768x562.jpg
2021-10-20 14:38
21K
York-Athletics-The-Henry-700x512.jpg
2021-10-20 14:38
19K
York-Athletics-The-Henry-700x200.jpg
2021-10-20 14:38
17K
York-Athletics-The-Henry-250x183.jpg
2021-02-18 19:06
8.9K
York-Athletics-The-Henry-150x150.jpg
2021-02-18 19:06
8.0K
York-Athletics-The-Henry-120x88.jpg
2021-02-18 19:06
7.2K
Yes4All-Wooden-Wobble-Balance-Board.jpg
2021-03-02 05:48
70K
Yes4All-Wooden-Wobble-Balance-Board-768x562.jpg
2021-03-02 05:48
32K
Yes4All-Wooden-Wobble-Balance-Board-700x512.jpg
2021-03-02 05:48
29K
Yes4All-Wooden-Wobble-Balance-Board-700x200.jpg
2021-03-02 05:48
18K
Yes4All-Wooden-Wobble-Balance-Board-250x183.jpg
2021-03-02 05:48
13K
Yes4All-Wooden-Wobble-Balance-Board-150x150.jpg
2021-03-02 05:48
12K
Yes4All-Wooden-Wobble-Balance-Board-120x88.jpg
2021-03-02 05:48
11K
Yes4All-Mini-Deadlift-Barbell-Jack.jpg
2021-02-15 08:17
52K
Yes4All-Mini-Deadlift-Barbell-Jack-768x562.jpg
2021-10-20 14:36
50K
Yes4All-Mini-Deadlift-Barbell-Jack-700x512.jpg
2021-10-20 14:36
47K
Yes4All-Mini-Deadlift-Barbell-Jack-700x200.jpg
2021-10-20 14:36
38K
Yes4All-Mini-Deadlift-Barbell-Jack-250x183.jpg
2021-10-20 14:36
33K
Yes4All-Mini-Deadlift-Barbell-Jack-150x150.jpg
2021-02-15 08:17
32K
Yes4All-Mini-Deadlift-Barbell-Jack-120x88.jpg
2021-02-15 08:17
30K
Wrist-wraps-with-hook-and-loop.jpg
2021-02-04 05:10
272K
Wrist-wraps-with-hook-and-loop-scaled.jpg
2021-02-04 05:10
261K
Wrist-wraps-with-hook-and-loop-2048x1501.jpg
2021-02-08 13:11
274K
Wrist-wraps-with-hook-and-loop-1536x1125.jpg
2021-02-08 13:11
195K
Wrist-wraps-with-hook-and-loop-768x563.jpg
2021-02-08 13:11
98K
Wrist-wraps-with-hook-and-loop-700x513.jpg
2021-02-08 13:11
91K
Wrist-wraps-with-hook-and-loop-700x200.jpg
2021-02-08 13:11
70K
Wrist-wraps-with-hook-and-loop-250x183.jpg
2021-02-04 05:10
58K
Wrist-wraps-with-hook-and-loop-150x150.jpg
2021-02-04 05:10
56K
Wrist-wraps-with-hook-and-loop-120x88.jpg
2021-02-04 05:10
53K
Wrist-wraps-with-hook-and-loop-2.jpg
2021-02-06 16:13
131K
Wrist-wraps-with-hook-and-loop-2-scaled.jpg
2021-02-06 16:13
237K
Wrist-wraps-with-hook-and-loop-2-2048x1501.jpg
2021-02-08 13:20
250K
Wrist-wraps-with-hook-and-loop-2-1536x1125.jpg
2021-02-08 13:20
180K
Wrist-wraps-with-hook-and-loop-2-768x563.jpg
2021-02-08 13:20
94K
Wrist-wraps-with-hook-and-loop-2-700x513.jpg
2021-02-08 13:20
88K
Wrist-wraps-with-hook-and-loop-2-700x200.jpg
2021-02-08 13:20
70K
Wrist-wraps-with-hook-and-loop-2-250x183.jpg
2021-02-06 16:13
57K
Wrist-wraps-with-hook-and-loop-2-150x150.jpg
2021-02-06 16:13
55K
Wrist-wraps-with-hook-and-loop-2-120x88.jpg
2021-02-06 16:13
53K
Wrist-wraps-with-hook-and-loop-1.jpg
2021-02-04 18:47
131K
Wrist-wraps-with-hook-and-loop-1-scaled.jpg
2021-02-04 18:47
237K
Wrist-wraps-with-hook-and-loop-1-2048x1501.jpg
2021-02-08 13:12
250K
Wrist-wraps-with-hook-and-loop-1-1536x1125.jpg
2021-02-08 13:12
180K
Wrist-wraps-with-hook-and-loop-1-768x563.jpg
2021-02-08 13:12
94K
Wrist-wraps-with-hook-and-loop-1-700x513.jpg
2021-02-08 13:12
88K
Wrist-wraps-with-hook-and-loop-1-700x200.jpg
2021-02-08 13:12
70K
Wrist-wraps-with-hook-and-loop-1-250x183.jpg
2021-02-04 18:47
57K
Wrist-wraps-with-hook-and-loop-1-150x150.jpg
2021-02-04 18:47
55K
Wrist-wraps-with-hook-and-loop-1-120x88.jpg
2021-02-04 18:47
53K
Wrist-wraps-polyester-vs-cotton.jpg
2021-02-04 05:12
637K
Wrist-wraps-polyester-vs-cotton-scaled.jpg
2021-02-04 05:12
307K
Wrist-wraps-polyester-vs-cotton-2048x1499.jpg
2021-02-08 13:11
321K
Wrist-wraps-polyester-vs-cotton-1536x1125.jpg
2021-02-08 13:11
218K
Wrist-wraps-polyester-vs-cotton-768x562.jpg
2021-02-08 13:11
99K
Wrist-wraps-polyester-vs-cotton-700x512.jpg
2021-02-08 13:11
91K
Wrist-wraps-polyester-vs-cotton-700x200.jpg
2021-02-08 13:11
57K
Wrist-wraps-polyester-vs-cotton-250x183.jpg
2021-02-08 13:11
49K
Wrist-wraps-polyester-vs-cotton-150x150.jpg
2021-02-04 05:12
45K
Wrist-wraps-polyester-vs-cotton-120x88.jpg
2021-02-04 05:12
43K
Wrist-wraps-double-stitched-and-durable.jpg
2021-02-04 05:11
1.3M
Wrist-wraps-double-stitched-and-durable-scaled.jpg
2021-02-04 05:11
217K
Wrist-wraps-double-stitched-and-durable-1536x1125.jpg
2021-02-08 13:11
148K
Wrist-wraps-double-stitched-and-durable-768x563.jpg
2021-02-08 13:11
63K
Wrist-wraps-double-stitched-and-durable-700x513.jpg
2021-02-08 13:11
58K
Wrist-wraps-double-stitched-and-durable-700x200.jpg
2021-02-08 13:11
46K
Wrist-wraps-double-stitched-and-durable-250x183.jpg
2021-02-04 05:11
37K
Wrist-wraps-double-stitched-and-durable-150x150.jpg
2021-02-04 05:11
36K
Wrist-wraps-double-stitched-and-durable-120x88.jpg
2021-02-04 05:11
34K
Wrist-wraps-double-stitched-and-durable-1.jpg
2021-02-04 18:49
925K
Wrist-wraps-double-stitched-and-durable-1-scaled.jpg
2021-02-04 18:49
232K
Wrist-wraps-double-stitched-and-durable-1-1536x1125.jpg
2021-02-08 13:13
162K
Wrist-wraps-double-stitched-and-durable-1-768x563.jpg
2021-02-08 13:13
72K
Wrist-wraps-double-stitched-and-durable-1-700x513.jpg
2021-02-08 13:13
66K
Wrist-wraps-double-stitched-and-durable-1-700x200.jpg
2021-02-08 13:13
53K
Wrist-wraps-double-stitched-and-durable-1-250x183.jpg
2021-02-04 18:49
42K
Wrist-wraps-double-stitched-and-durable-1-150x150.jpg
2021-02-04 18:50
40K
Wrist-wraps-double-stitched-and-durable-1-120x88.jpg
2021-02-04 18:50
39K
Womens-gym-shoes-grey-lightweight.jpg
2021-02-10 19:15
53K
Womens-gym-shoes-grey-lightweight-768x460.jpg
2021-10-20 14:32
63K
Womens-gym-shoes-grey-lightweight-700x419.jpg
2021-10-20 14:32
59K
Womens-gym-shoes-grey-lightweight-700x200.jpg
2021-10-20 14:32
43K
Womens-gym-shoes-grey-lightweight-250x150.jpg
2021-02-10 19:15
31K
Womens-gym-shoes-grey-lightweight-150x150.jpg
2021-02-10 19:15
28K
Womens-gym-shoes-grey-lightweight-120x72.jpg
2021-02-10 19:15
25K
Weightlifting-shoes-with-two-straps-for-stability.jpg
2021-02-15 18:52
127K
Weightlifting-shoes-with-two-straps-for-stability-scaled.jpg
2021-10-20 14:37
161K
Weightlifting-shoes-with-two-straps-for-stability-2048x1501.jpg
2021-10-20 14:37
172K
Weightlifting-shoes-with-two-straps-for-stability-1536x1125.jpg
2021-10-20 14:37
129K
Weightlifting-shoes-with-two-straps-for-stability-768x563.jpg
2021-10-20 14:37
78K
Weightlifting-shoes-with-two-straps-for-stability-700x513.jpg
2021-10-20 14:37
74K
Weightlifting-shoes-with-two-straps-for-stability-700x200.jpg
2021-10-20 14:37
58K
Weightlifting-shoes-with-two-straps-for-stability-250x183.jpg
2021-02-15 18:52
52K
Weightlifting-shoes-with-two-straps-for-stability-150x150.jpg
2021-02-15 18:52
49K
Weightlifting-shoes-with-two-straps-for-stability-120x88.jpg
2021-02-15 18:52
47K
Weightlifting-shoes-with-two-straps-for-stability-1.jpg
2021-02-16 08:46
242K
Weightlifting-shoes-with-two-straps-for-stability-1-scaled.jpg
2021-10-20 14:37
180K
Weightlifting-shoes-with-two-straps-for-stability-1-2048x1501.jpg
2021-10-20 14:37
193K
Weightlifting-shoes-with-two-straps-for-stability-1-1536x1125.jpg
2021-10-20 14:37
145K
Weightlifting-shoes-with-two-straps-for-stability-1-768x563.jpg
2021-10-20 14:37
85K
Weightlifting-shoes-with-two-straps-for-stability-1-700x513.jpg
2021-10-20 14:37
81K
Weightlifting-shoes-with-two-straps-for-stability-1-700x200.jpg
2021-10-20 14:37
64K
Weightlifting-shoes-with-two-straps-for-stability-1-250x183.jpg
2021-02-16 08:46
56K
Weightlifting-shoes-with-two-straps-for-stability-1-150x150.jpg
2021-02-16 08:46
53K
Weightlifting-shoes-with-two-straps-for-stability-1-120x88.jpg
2021-02-16 08:46
51K
Weightlifting-shoes-with-straps-red.jpg
2021-02-10 19:14
63K
Weightlifting-shoes-with-straps-red-768x460.jpg
2021-02-12 07:58
77K
Weightlifting-shoes-with-straps-red-700x419.jpg
2021-02-12 07:58
71K
Weightlifting-shoes-with-straps-red-700x200.jpg
2021-02-12 07:58
47K
Weightlifting-shoes-with-straps-red-250x150.jpg
2021-02-12 07:58
32K
Weightlifting-shoes-with-straps-red-150x150.jpg
2021-02-10 19:14
29K
Weightlifting-shoes-with-straps-red-120x72.jpg
2021-02-10 19:14
26K
Weightlifting-shoes-heel-size.jpg
2021-02-15 18:55
198K
Weightlifting-shoes-heel-size-scaled.jpg
2021-10-20 14:37
130K
Weightlifting-shoes-heel-size-2048x1501.jpg
2021-10-20 14:37
139K
Weightlifting-shoes-heel-size-1536x1125.jpg
2021-10-20 14:37
102K
Weightlifting-shoes-heel-size-768x563.jpg
2021-10-20 14:37
59K
Weightlifting-shoes-heel-size-700x513.jpg
2021-10-20 14:37
56K
Weightlifting-shoes-heel-size-700x200.jpg
2021-10-20 14:37
51K
Weightlifting-shoes-heel-size-250x183.jpg
2021-10-20 14:37
39K
Weightlifting-shoes-heel-size-150x150.jpg
2021-02-15 18:55
36K
Weightlifting-shoes-heel-size-120x88.jpg
2021-02-15 18:55
35K
Weightlifting-shoes-fit-for-toes.jpg
2021-02-15 18:52
145K
Weightlifting-shoes-fit-for-toes-scaled.jpg
2021-10-20 14:37
199K
Weightlifting-shoes-fit-for-toes-2048x1501.jpg
2021-10-20 14:37
214K
Weightlifting-shoes-fit-for-toes-1536x1125.jpg
2021-10-20 14:37
156K
Weightlifting-shoes-fit-for-toes-768x563.jpg
2021-10-20 14:37
83K
Weightlifting-shoes-fit-for-toes-700x513.jpg
2021-10-20 14:37
78K
Weightlifting-shoes-fit-for-toes-700x200.jpg
2021-02-15 18:52
54K
Weightlifting-shoes-fit-for-toes-250x183.jpg
2021-10-20 14:37
46K
Weightlifting-shoes-fit-for-toes-150x150.jpg
2021-02-15 18:52
42K
Weightlifting-shoes-fit-for-toes-120x88.jpg
2021-02-15 18:52
40K
Weightlifting-chains-squat-weight.jpg
2021-02-05 05:48
152K
Weightlifting-chains-squat-weight-scaled.jpg
2021-02-05 05:48
255K
Weightlifting-chains-squat-weight-2048x1501.jpg
2021-02-05 05:48
272K
Weightlifting-chains-squat-weight-1536x1125.jpg
2021-02-05 05:48
198K
Weightlifting-chains-squat-weight-768x563.jpg
2021-02-08 13:17
103K
Weightlifting-chains-squat-weight-700x513.jpg
2021-02-08 13:17
96K
Weightlifting-chains-squat-weight-700x200.jpg
2021-02-05 05:48
67K
Weightlifting-chains-squat-weight-250x183.jpg
2021-02-05 05:48
61K
Weightlifting-chains-squat-weight-150x150.jpg
2021-02-05 05:48
57K
Weightlifting-chains-squat-weight-120x88.jpg
2021-02-05 05:48
55K
Weightlifting-chains-injury-on-neck.jpg
2021-02-05 05:49
119K
Weightlifting-chains-injury-on-neck-scaled.jpg
2021-02-05 05:49
171K
Weightlifting-chains-injury-on-neck-2048x1501.jpg
2021-02-08 13:18
179K
Weightlifting-chains-injury-on-neck-1536x1125.jpg
2021-02-08 13:18
139K
Weightlifting-chains-injury-on-neck-768x563.jpg
2021-02-08 13:18
88K
Weightlifting-chains-injury-on-neck-700x513.jpg
2021-02-08 13:18
84K
Weightlifting-chains-injury-on-neck-700x200.jpg
2021-02-05 05:49
69K
Weightlifting-chains-injury-on-neck-250x183.jpg
2021-02-05 05:49
63K
Weightlifting-chains-injury-on-neck-150x150.jpg
2021-02-05 05:49
60K
Weightlifting-chains-injury-on-neck-120x88.jpg
2021-02-05 05:49
58K
Weightlifting-chains-carabiners-.jpg
2021-02-05 05:48
119K
Weightlifting-chains-carabiners--scaled.jpg
2021-02-05 05:48
154K
Weightlifting-chains-carabiners--2048x1501.jpg
2021-02-08 13:18
158K
Weightlifting-chains-carabiners--1536x1125.jpg
2021-02-08 13:18
120K
Weightlifting-chains-carabiners--768x563.jpg
2021-02-08 13:18
72K
Weightlifting-chains-carabiners--700x513.jpg
2021-02-08 13:18
68K
Weightlifting-chains-carabiners--700x200.jpg
2021-02-08 13:18
49K
Weightlifting-chains-carabiners--250x183.jpg
2021-02-08 13:17
49K
Weightlifting-chains-carabiners--150x150.jpg
2021-02-05 05:48
46K
Weightlifting-chains-carabiners--120x88.jpg
2021-02-05 05:48
44K
Weighted-dip-belt-with-steel-chain.jpg
2021-02-12 19:43
47K
Weighted-dip-belt-with-steel-chain-768x460.jpg
2021-10-20 14:34
51K
Weighted-dip-belt-with-steel-chain-700x419.jpg
2021-10-20 14:34
47K
Weighted-dip-belt-with-steel-chain-700x200.jpg
2021-10-20 14:34
33K
Weighted-dip-belt-with-steel-chain-250x150.jpg
2021-02-12 19:43
26K
Weighted-dip-belt-with-steel-chain-150x150.jpg
2021-02-12 19:43
26K
Weighted-dip-belt-with-steel-chain-120x72.jpg
2021-02-12 19:43
23K
Weighted-dip-belt-tight-or-loose.jpg
2021-02-12 19:28
895K
Weighted-dip-belt-tight-or-loose-scaled.jpg
2021-10-20 14:34
788K
Weighted-dip-belt-tight-or-loose-1536x1130.jpg
2021-10-20 14:34
732K
Weighted-dip-belt-tight-or-loose-768x565.jpg
2021-10-20 14:34
635K
Weighted-dip-belt-tight-or-loose-700x515.jpg
2021-10-20 14:34
629K
Weighted-dip-belt-tight-or-loose-700x200.jpg
2021-02-12 19:28
594K
Weighted-dip-belt-tight-or-loose-250x184.jpg
2021-02-12 19:28
589K
Weighted-dip-belt-tight-or-loose-150x150.jpg
2021-02-12 19:28
585K
Weighted-dip-belt-tight-or-loose-120x88.jpg
2021-02-12 19:28
582K
Weighted-dip-belt-tight-or-loose-1.jpg
2021-02-14 16:31
1.0M
Weighted-dip-belt-tight-or-loose-1-scaled.jpg
2021-10-20 14:36
742K
Weighted-dip-belt-tight-or-loose-1-2048x1507.jpg
2021-10-20 14:36
757K
Weighted-dip-belt-tight-or-loose-1-1536x1131.jpg
2021-10-20 14:36
698K
Weighted-dip-belt-tight-or-loose-1-768x565.jpg
2021-10-20 14:36
626K
Weighted-dip-belt-tight-or-loose-1-700x515.jpg
2021-10-20 14:36
620K
Weighted-dip-belt-tight-or-loose-1-700x200.jpg
2021-02-14 16:31
592K
Weighted-dip-belt-tight-or-loose-1-250x184.jpg
2021-02-14 16:31
588K
Weighted-dip-belt-tight-or-loose-1-150x150.jpg
2021-02-14 16:31
585K
Weighted-dip-belt-tight-or-loose-1-120x88.jpg
2021-02-14 16:31
581K
Weighted-dip-belt-leather-vs-nylon.jpg
2021-02-14 16:29
1.6M
Weighted-dip-belt-leather-vs-nylon-scaled.jpg
2021-10-20 14:36
898K
Weighted-dip-belt-leather-vs-nylon-1536x1126.jpg
2021-10-20 14:36
813K
Weighted-dip-belt-leather-vs-nylon-768x563.jpg
2021-10-20 14:35
663K
Weighted-dip-belt-leather-vs-nylon-700x513.jpg
2021-10-20 14:35
651K
Weighted-dip-belt-leather-vs-nylon-700x200.jpg
2021-10-20 14:36
605K
Weighted-dip-belt-leather-vs-nylon-250x183.jpg
2021-02-14 16:29
592K
Weighted-dip-belt-leather-vs-nylon-150x150.jpg
2021-02-14 16:29
586K
Weighted-dip-belt-leather-vs-nylon-120x88.jpg
2021-02-14 16:29
583K
Weighted-dip-belt-chain-steel-vs-nylon.jpg
2021-02-12 19:29
1.0M
Weighted-dip-belt-chain-steel-vs-nylon-scaled.jpg
2021-10-20 14:34
895K
Weighted-dip-belt-chain-steel-vs-nylon-1536x1134.jpg
2021-10-20 14:34
808K
Weighted-dip-belt-chain-steel-vs-nylon-768x567.jpg
2021-10-20 14:34
658K
Weighted-dip-belt-chain-steel-vs-nylon-700x517.jpg
2021-10-20 14:34
648K
Weighted-dip-belt-chain-steel-vs-nylon-700x200.jpg
2021-10-20 14:34
625K
Weighted-dip-belt-chain-steel-vs-nylon-250x185.jpg
2021-02-12 19:29
595K
Weighted-dip-belt-chain-steel-vs-nylon-150x150.jpg
2021-02-12 19:29
589K
Weighted-dip-belt-chain-steel-vs-nylon-120x89.jpg
2021-02-12 19:29
585K
Weighted-dip-belt-chain-steel-vs-nylon-1.jpg
2021-02-14 16:33
1.3M
Weighted-dip-belt-chain-steel-vs-nylon-1-scaled.jpg
2021-10-20 14:36
836K
Weighted-dip-belt-chain-steel-vs-nylon-1-2048x1512.jpg
2021-10-20 14:36
862K
Weighted-dip-belt-chain-steel-vs-nylon-1-1536x1134.jpg
2021-10-20 14:36
760K
Weighted-dip-belt-chain-steel-vs-nylon-1-768x567.jpg
2021-10-20 14:36
628K
Weighted-dip-belt-chain-steel-vs-nylon-1-700x517.jpg
2021-10-20 14:36
619K
Weighted-dip-belt-chain-steel-vs-nylon-1-700x200.jpg
2021-10-20 14:36
599K
Weighted-dip-belt-chain-steel-vs-nylon-1-250x185.jpg
2021-02-14 16:33
571K
Weighted-dip-belt-chain-steel-vs-nylon-1-150x150.jpg
2021-02-14 16:33
566K
Weighted-dip-belt-chain-steel-vs-nylon-1-120x89.jpg
2021-02-14 16:33
562K
Wall-mounted-pull-up-bars-vs-doorway-bars.jpg
2021-02-11 05:38
943K
Wall-mounted-pull-up-bars-vs-doorway-bars-scaled.jpg
2021-02-11 05:38
847K
Wall-mounted-pull-up-bars-vs-doorway-bars-2048x1500.jpg
2021-02-11 05:38
877K
Wall-mounted-pull-up-bars-vs-doorway-bars-1536x1125.jpg
2021-02-11 05:38
767K
Wall-mounted-pull-up-bars-vs-doorway-bars-768x563.jpg
2021-02-11 05:38
634K
Wall-mounted-pull-up-bars-vs-doorway-bars-700x513.jpg
2021-02-11 05:38
624K
Wall-mounted-pull-up-bars-vs-doorway-bars-700x200.jpg
2021-02-11 05:38
582K
Wall-mounted-pull-up-bars-vs-doorway-bars-250x183.jpg
2021-02-11 05:38
573K
Wall-mounted-pull-up-bars-vs-doorway-bars-150x150.jpg
2021-02-11 05:38
567K
Wall-mounted-pull-up-bars-vs-doorway-bars-120x88.jpg
2021-02-11 05:38
563K
Wall-mounted-pull-up-bars-vs-doorway-bars-2.jpg
2021-02-12 19:13
726K
Wall-mounted-pull-up-bars-vs-doorway-bars-2-635x200.jpg
2021-02-12 19:13
586K
Wall-mounted-pull-up-bars-vs-doorway-bars-2-250x183.jpg
2021-02-12 19:13
575K
Wall-mounted-pull-up-bars-vs-doorway-bars-2-150x150.jpg
2021-02-12 19:13
568K
Wall-mounted-pull-up-bars-vs-doorway-bars-2-120x88.jpg
2021-02-12 19:13
564K
Wall-mounted-pull-up-bars-vs-doorway-bars-1.jpg
2021-02-12 19:03
603K
Wall-mounted-pull-up-bars-vs-doorway-bars-1-635x200.jpg
2021-02-12 19:03
585K
Wall-mounted-pull-up-bars-vs-doorway-bars-1-250x183.jpg
2021-02-12 19:03
576K
Wall-mounted-pull-up-bars-vs-doorway-bars-1-150x150.jpg
2021-02-12 19:03
570K
Wall-mounted-pull-up-bars-vs-doorway-bars-1-120x88.jpg
2021-02-12 19:03
566K
Wahoo-KICKR-Indoor-Bike-Mat.jpg
2021-02-16 19:06
109K
Wahoo-KICKR-Indoor-Bike-Mat-768x562.jpg
2021-10-20 14:38
70K
Wahoo-KICKR-Indoor-Bike-Mat-700x512.jpg
2021-10-20 14:38
62K
Wahoo-KICKR-Indoor-Bike-Mat-700x200.jpg
2021-10-20 14:38
40K
Wahoo-KICKR-Indoor-Bike-Mat-250x183.jpg
2021-02-16 19:06
30K
Wahoo-KICKR-Indoor-Bike-Mat-150x150.jpg
2021-02-16 19:06
29K
Wahoo-KICKR-Indoor-Bike-Mat-120x88.jpg
2021-02-16 19:06
27K
WOD-Wear-Elastic-Wrist-Wraps.jpg
2021-02-06 16:12
51K
WOD-Wear-Elastic-Wrist-Wraps-768x562.jpg
2021-02-08 13:20
46K
WOD-Wear-Elastic-Wrist-Wraps-700x512.jpg
2021-02-08 13:20
43K
WOD-Wear-Elastic-Wrist-Wraps-700x200.jpg
2021-02-08 13:20
35K
WOD-Wear-Elastic-Wrist-Wraps-250x183.jpg
2021-02-06 16:12
28K
WOD-Wear-Elastic-Wrist-Wraps-150x150.jpg
2021-02-06 16:12
27K
WOD-Wear-Elastic-Wrist-Wraps-120x88.jpg
2021-02-06 16:12
25K
Vertical-leg-press-vs-horizontal-vs-45-degree.jpg
2021-02-19 07:08
207K
Vertical-leg-press-vs-horizontal-vs-45-degree-scaled.jpg
2021-10-20 14:39
218K
Vertical-leg-press-vs-horizontal-vs-45-degree-2048x1501.jpg
2021-10-20 14:39
232K
Vertical-leg-press-vs-horizontal-vs-45-degree-1536x1125.jpg
2021-10-20 14:39
183K
Vertical-leg-press-vs-horizontal-vs-45-degree-768x563.jpg
2021-10-20 14:39
122K
Vertical-leg-press-vs-horizontal-vs-45-degree-700x513.jpg
2021-10-20 14:39
118K
Vertical-leg-press-vs-horizontal-vs-45-degree-700x200.jpg
2021-10-20 14:39
97K
Vertical-leg-press-vs-horizontal-vs-45-degree-250x183.jpg
2021-02-19 07:08
93K
Vertical-leg-press-vs-horizontal-vs-45-degree-150x150.jpg
2021-02-19 07:08
90K
Vertical-leg-press-vs-horizontal-vs-45-degree-120x88.jpg
2021-02-19 07:08
88K
Valor-Fitness-CC-4.jpg
2021-02-05 16:22
53K
Valor-Fitness-CC-4-643x200.jpg
2021-02-05 16:22
35K
Valor-Fitness-CC-4-250x271.jpg
2021-02-08 13:19
34K
Valor-Fitness-CC-4-150x150.jpg
2021-02-05 16:22
30K
Valor-Fitness-CC-4-120x130.jpg
2021-02-05 16:22
29K
Valor-Fitness-CC-4-1.jpg
2021-02-09 07:42
48K
Valor-Fitness-CC-4-1-768x562.jpg
2021-10-20 14:31
51K
Valor-Fitness-CC-4-1-700x512.jpg
2021-10-20 14:31
49K
Valor-Fitness-CC-4-1-700x200.jpg
2021-10-20 14:31
40K
Valor-Fitness-CC-4-1-250x183.jpg
2021-10-20 14:31
34K
Valor-Fitness-CC-4-1-150x150.jpg
2021-02-09 07:42
33K
Valor-Fitness-CC-4-1-120x88.jpg
2021-02-09 07:42
31K
VYBE-Percussion-Massage-Gun.jpg
2021-02-05 16:31
40K
VYBE-Percussion-Massage-Gun-643x200.jpg
2021-02-05 16:31
26K
VYBE-Percussion-Massage-Gun-250x271.jpg
2021-02-05 16:31
28K
VYBE-Percussion-Massage-Gun-150x150.jpg
2021-02-05 16:31
25K
VYBE-Percussion-Massage-Gun-120x130.jpg
2021-02-05 16:31
24K
VYBE-Percussion-Massage-Gun-1.jpg
2021-02-06 17:46
40K
VYBE-Percussion-Massage-Gun-1-768x562.jpg
2021-02-08 13:27
42K
VYBE-Percussion-Massage-Gun-1-700x512.jpg
2021-02-08 13:27
40K
VYBE-Percussion-Massage-Gun-1-700x200.jpg
2021-02-06 17:46
30K
VYBE-Percussion-Massage-Gun-1-250x183.jpg
2021-02-06 17:46
29K
VYBE-Percussion-Massage-Gun-1-150x150.jpg
2021-02-06 17:46
28K
VYBE-Percussion-Massage-Gun-1-120x88.jpg
2021-02-06 17:46
27K
Tone-Fitness-8lb-Weighted-Vest.jpg
2021-02-04 19:03
39K
Tone-Fitness-8lb-Weighted-Vest-643x200.jpg
2021-02-04 19:03
25K
Tone-Fitness-8lb-Weighted-Vest-250x271.jpg
2021-02-04 19:03
27K
Tone-Fitness-8lb-Weighted-Vest-150x150.jpg
2021-02-04 19:03
24K
Tone-Fitness-8lb-Weighted-Vest-120x130.jpg
2021-02-04 19:03
23K
Tone-Fitness-8lb-Weighted-Vest-1.jpg
2021-02-06 16:25
46K
Tone-Fitness-8lb-Weighted-Vest-1-768x562.jpg
2021-02-08 13:21
45K
Tone-Fitness-8lb-Weighted-Vest-1-700x512.jpg
2021-02-08 13:21
42K
Tone-Fitness-8lb-Weighted-Vest-1-700x200.jpg
2021-02-08 13:21
34K
Tone-Fitness-8lb-Weighted-Vest-1-250x183.jpg
2021-02-06 16:25
30K
Tone-Fitness-8lb-Weighted-Vest-1-150x150.jpg
2021-02-06 16:25
29K
Tone-Fitness-8lb-Weighted-Vest-1-120x88.jpg
2021-02-06 16:25
28K
Titan-Fitness-Hamstring-Developer.jpg
2021-02-05 08:38
42K
Titan-Fitness-Hamstring-Developer-643x200.jpg
2021-02-05 08:38
29K
Titan-Fitness-Hamstring-Developer-250x271.jpg
2021-02-08 13:18
29K
Titan-Fitness-Hamstring-Developer-150x150.jpg
2021-02-05 08:38
25K
Titan-Fitness-Hamstring-Developer-120x130.jpg
2021-02-05 08:38
25K
Titan-Fitness-Hamstring-Developer-1.jpg
2021-02-06 16:47
52K
Titan-Fitness-Hamstring-Developer-1-768x562.jpg
2021-02-08 13:26
51K
Titan-Fitness-Hamstring-Developer-1-700x512.jpg
2021-02-08 13:26
49K
Titan-Fitness-Hamstring-Developer-1-700x200.jpg
2021-02-08 13:27
41K
Titan-Fitness-Hamstring-Developer-1-250x183.jpg
2021-02-06 16:47
36K
Titan-Fitness-Hamstring-Developer-1-150x150.jpg
2021-02-06 16:47
35K
Titan-Fitness-Hamstring-Developer-1-120x88.jpg
2021-02-06 16:47
33K
Titan-6-Foot-34-Heavy-Chains.jpg
2021-02-06 16:17
47K
Titan-6-Foot-34-Heavy-Chains-768x562.jpg
2021-02-08 13:21
51K
Titan-6-Foot-34-Heavy-Chains-700x512.jpg
2021-02-08 13:21
47K
Titan-6-Foot-34-Heavy-Chains-700x200.jpg
2021-02-08 13:21
34K
Titan-6-Foot-34-Heavy-Chains-250x183.jpg
2021-02-08 13:21
27K
Titan-6-Foot-34-Heavy-Chains-150x150.jpg
2021-02-06 16:17
26K
Titan-6-Foot-34-Heavy-Chains-120x88.jpg
2021-02-06 16:17
24K
Theragun-G4-PRO.jpg
2021-02-05 16:32
45K
Theragun-G4-PRO-643x200.jpg
2021-02-05 16:32
30K
Theragun-G4-PRO-250x271.jpg
2021-02-05 16:32
31K
Theragun-G4-PRO-150x150.jpg
2021-02-05 16:32
27K
Theragun-G4-PRO-120x130.jpg
2021-02-05 16:32
27K
Theragun-G4-PRO-1.jpg
2021-02-06 17:45
55K
Theragun-G4-PRO-1-768x562.jpg
2021-02-08 13:27
49K
Theragun-G4-PRO-1-700x512.jpg
2021-02-08 13:27
46K
Theragun-G4-PRO-1-700x200.jpg
2021-02-08 13:27
38K
Theragun-G4-PRO-1-250x183.jpg
2021-02-06 17:45
34K
Theragun-G4-PRO-1-150x150.jpg
2021-02-06 17:45
33K
Theragun-G4-PRO-1-120x88.jpg
2021-02-06 17:45
31K
TheraBand-Stability-Trainer-Pad.jpg
2021-03-02 05:47
122K
TheraBand-Stability-Trainer-Pad-768x562.jpg
2021-10-20 14:40
50K
TheraBand-Stability-Trainer-Pad-700x512.jpg
2021-10-20 14:40
45K
TheraBand-Stability-Trainer-Pad-700x200.jpg
2021-10-20 14:40
25K
TheraBand-Stability-Trainer-Pad-250x183.jpg
2021-10-20 14:40
20K
TheraBand-Stability-Trainer-Pad-150x150.jpg
2021-03-02 05:47
18K
TheraBand-Stability-Trainer-Pad-120x88.jpg
2021-03-02 05:47
15K
The-Liomor-Ankle-Support-Breathable-Ankle-Brace.jpg
2021-02-26 06:06
45K
The-Liomor-Ankle-Support-Breathable-Ankle-Brace-768x562.jpg
2021-10-20 14:40
34K
The-Liomor-Ankle-Support-Breathable-Ankle-Brace-700x512.jpg
2021-10-20 14:40
30K
The-Liomor-Ankle-Support-Breathable-Ankle-Brace-700x200.jpg
2021-10-20 14:40
20K
The-Liomor-Ankle-Support-Breathable-Ankle-Brace-250x183.jpg
2021-02-26 06:06
14K
The-Liomor-Ankle-Support-Breathable-Ankle-Brace-150x150.jpg
2021-02-26 06:06
13K
The-Liomor-Ankle-Support-Breathable-Ankle-Brace-120x88.jpg
2021-02-26 06:06
11K
TDS-Premier-Vertical-Leg-Press.jpg
2021-02-19 07:06
78K
TDS-Premier-Vertical-Leg-Press-768x562.jpg
2021-02-19 07:06
36K
TDS-Premier-Vertical-Leg-Press-700x512.jpg
2021-02-19 07:06
32K
TDS-Premier-Vertical-Leg-Press-700x200.jpg
2021-02-19 07:06
19K
TDS-Premier-Vertical-Leg-Press-250x183.jpg
2021-02-19 07:06
13K
TDS-Premier-Vertical-Leg-Press-150x150.jpg
2021-02-19 07:06
11K
TDS-Premier-Vertical-Leg-Press-120x88.jpg
2021-02-19 07:06
9.4K
Superfit-Green-Insoles.jpg
2021-03-12 07:44
77K
Superfit-Green-Insoles-768x562.jpg
2021-10-20 14:45
31K
Superfit-Green-Insoles-700x512.jpg
2021-10-20 14:45
27K
Superfit-Green-Insoles-700x200.jpg
2021-10-20 14:45
22K
Superfit-Green-Insoles-250x183.jpg
2021-03-12 07:44
10K
Superfit-Green-Insoles-150x150.jpg
2021-03-12 07:44
9.3K
Superfit-Green-Insoles-120x88.jpg
2021-03-12 07:44
8.0K
Strength-sport-systems-Weight-Vest.jpg
2021-02-04 19:02
58K
Strength-sport-systems-Weight-Vest-643x200.jpg
2021-02-04 19:02
37K
Strength-sport-systems-Weight-Vest-250x271.jpg
2021-02-08 13:13
37K
Strength-sport-systems-Weight-Vest-150x150.jpg
2021-02-04 19:02
31K
Strength-sport-systems-Weight-Vest-120x130.jpg
2021-02-04 19:02
30K
Strength-sport-systems-Weight-Vest-1.jpg
2021-02-06 16:26
56K
Strength-sport-systems-Weight-Vest-1-768x562.jpg
2021-02-08 13:21
60K
Strength-sport-systems-Weight-Vest-1-700x512.jpg
2021-02-08 13:21
55K
Strength-sport-systems-Weight-Vest-1-700x200.jpg
2021-02-08 13:21
42K
Strength-sport-systems-Weight-Vest-1-250x183.jpg
2021-02-06 16:26
34K
Strength-sport-systems-Weight-Vest-1-150x150.jpg
2021-02-06 16:26
32K
Strength-sport-systems-Weight-Vest-1-120x88.jpg
2021-02-06 16:26
30K
Stoic-Wrist-Wraps.jpg
2021-02-06 16:12
40K
Stoic-Wrist-Wraps-768x562.jpg
2021-02-08 13:20
41K
Stoic-Wrist-Wraps-700x512.jpg
2021-02-08 13:20
39K
Stoic-Wrist-Wraps-700x200.jpg
2021-02-08 13:20
34K
Stoic-Wrist-Wraps-250x183.jpg
2021-02-06 16:12
25K
Stoic-Wrist-Wraps-150x150.jpg
2021-02-06 16:12
23K
Stoic-Wrist-Wraps-120x88.jpg
2021-02-06 16:12
22K
Sticking-kinesio-tapes-on-the-back.jpg
2021-02-14 15:44
638K
Sticking-kinesio-tapes-on-the-back-scaled.jpg
2021-02-14 15:44
682K
Sticking-kinesio-tapes-on-the-back-1536x1126.jpg
2021-02-14 15:44
654K
Sticking-kinesio-tapes-on-the-back-768x563.jpg
2021-02-14 15:44
608K
Sticking-kinesio-tapes-on-the-back-700x513.jpg
2021-02-14 15:44
605K
Sticking-kinesio-tapes-on-the-back-700x200.jpg
2021-02-14 15:44
589K
Sticking-kinesio-tapes-on-the-back-250x183.jpg
2021-02-14 15:44
585K
Sticking-kinesio-tapes-on-the-back-150x150.jpg
2021-02-14 15:44
582K
Sticking-kinesio-tapes-on-the-back-120x88.jpg
2021-02-14 15:44
581K
Spud-Black-Dip-Belt-with-Chain.jpg
2021-02-12 19:37
84K
Spud-Black-Dip-Belt-with-Chain-768x562.jpg
2021-10-20 14:34
77K
Spud-Black-Dip-Belt-with-Chain-700x512.jpg
2021-10-20 14:34
71K
Spud-Black-Dip-Belt-with-Chain-700x200.jpg
2021-10-20 14:34
49K
Spud-Black-Dip-Belt-with-Chain-250x183.jpg
2021-10-20 14:34
36K
Spud-Black-Dip-Belt-with-Chain-150x150.jpg
2021-02-12 19:37
33K
Spud-Black-Dip-Belt-with-Chain-120x88.jpg
2021-02-12 19:37
30K
Solofit-Balance-Fit-Board-with-Resistance-Bands.jpg
2021-03-02 05:46
163K
Solofit-Balance-Fit-Board-with-Resistance-Bands-768x562.jpg
2021-10-20 14:40
64K
Solofit-Balance-Fit-Board-with-Resistance-Bands-700x512.jpg
2021-10-20 14:40
56K
Solofit-Balance-Fit-Board-with-Resistance-Bands-700x200.jpg
2021-10-20 14:40
38K
Solofit-Balance-Fit-Board-with-Resistance-Bands-250x183.jpg
2021-10-20 14:40
19K
Solofit-Balance-Fit-Board-with-Resistance-Bands-150x150.jpg
2021-03-02 05:46
16K
Solofit-Balance-Fit-Board-with-Resistance-Bands-120x88.jpg
2021-03-02 05:46
13K
Seated-leg-curl-machine-with-weight-stack.jpg
2021-02-09 07:38
61K
Seated-leg-curl-machine-with-weight-stack-768x460.jpg
2021-10-20 14:31
53K
Seated-leg-curl-machine-with-weight-stack-700x419.jpg
2021-10-20 14:31
49K
Seated-leg-curl-machine-with-weight-stack-700x200.jpg
2021-10-20 14:31
34K
Seated-leg-curl-machine-with-weight-stack-250x150.jpg
2021-02-09 07:38
24K
Seated-leg-curl-machine-with-weight-stack-150x150.jpg
2021-02-09 07:38
23K
Seated-leg-curl-machine-with-weight-stack-120x72.jpg
2021-02-09 07:38
20K
Running-shoes-for-high-arches-and-low-arches.jpg
2021-02-18 18:39
842K
Running-shoes-for-high-arches-and-low-arches-scaled.jpg
2021-10-20 14:38
162K
Running-shoes-for-high-arches-and-low-arches-2048x1501.jpg
2021-10-20 14:38
174K
Running-shoes-for-high-arches-and-low-arches-1536x1126.jpg
2021-10-20 14:38
129K
Running-shoes-for-high-arches-and-low-arches-768x563.jpg
2021-10-20 14:38
71K
Running-shoes-for-high-arches-and-low-arches-700x513.jpg
2021-10-20 14:38
68K
Running-shoes-for-high-arches-and-low-arches-700x200.jpg
2021-10-20 14:38
52K
Running-shoes-for-high-arches-and-low-arches-250x183.jpg
2021-10-20 14:38
43K
Running-shoes-for-high-arches-and-low-arches-150x150.jpg
2021-02-18 18:39
40K
Running-shoes-for-high-arches-and-low-arches-120x88.jpg
2021-02-18 18:40
38K
Rubber-flooring-mat-for-home-gym.jpg
2021-02-06 17:41
40K
Rubber-flooring-mat-for-home-gym-768x460.jpg
2021-02-06 17:41
55K
Rubber-flooring-mat-for-home-gym-700x419.jpg
2021-02-08 13:27
52K
Rubber-flooring-mat-for-home-gym-700x200.jpg
2021-02-06 17:41
34K
Rubber-flooring-mat-for-home-gym-250x150.jpg
2021-02-06 17:41
28K
Rubber-flooring-mat-for-home-gym-150x150.jpg
2021-02-06 17:41
26K
Rubber-flooring-mat-for-home-gym-120x72.jpg
2021-02-06 17:41
24K
Rubber-Cal-Shark-Tooth-Heavy-Duty-Mat.jpg
2021-02-05 17:19
65K
Rubber-Cal-Shark-Tooth-Heavy-Duty-Mat-643x200.jpg
2021-02-08 13:20
46K
Rubber-Cal-Shark-Tooth-Heavy-Duty-Mat-250x271.jpg
2021-02-08 13:20
36K
Rubber-Cal-Shark-Tooth-Heavy-Duty-Mat-150x150.jpg
2021-02-05 17:19
29K
Rubber-Cal-Shark-Tooth-Heavy-Duty-Mat-120x130.jpg
2021-02-05 17:19
28K
Rubber-Cal-Shark-Tooth-Heavy-Duty-Mat-1.jpg
2021-02-06 16:49
53K
Rubber-Cal-Shark-Tooth-Heavy-Duty-Mat-1-768x562.jpg
2021-02-08 13:27
65K
Rubber-Cal-Shark-Tooth-Heavy-Duty-Mat-1-700x512.jpg
2021-02-08 13:27
59K
Rubber-Cal-Shark-Tooth-Heavy-Duty-Mat-1-700x200.jpg
2021-02-08 13:27
46K
Rubber-Cal-Shark-Tooth-Heavy-Duty-Mat-1-250x183.jpg
2021-02-06 16:49
30K
Rubber-Cal-Shark-Tooth-Heavy-Duty-Mat-1-150x150.jpg
2021-02-06 16:49
28K
Rubber-Cal-Shark-Tooth-Heavy-Duty-Mat-1-120x88.jpg
2021-02-06 16:49
26K
Rogues-USA-Aluminum-Collars.jpg
2021-03-12 07:01
63K
Rogues-USA-Aluminum-Collars-768x562.jpg
2021-10-20 14:43
42K
Rogues-USA-Aluminum-Collars-700x512.jpg
2021-10-20 14:43
38K
Rogues-USA-Aluminum-Collars-700x200.jpg
2021-10-20 14:43
23K
Rogues-USA-Aluminum-Collars-250x183.jpg
2021-03-12 07:01
16K
Rogues-USA-Aluminum-Collars-150x150.jpg
2021-03-12 07:01
15K
Rogues-USA-Aluminum-Collars-120x88.jpg
2021-03-12 07:01
13K
Rogue-OHIO-power-bar-Black-Zinc.jpg
2021-04-30 05:31
45K
Rogue-OHIO-power-bar-Black-Zinc-768x562.jpg
2021-10-20 14:46
28K
Rogue-OHIO-power-bar-Black-Zinc-700x512.jpg
2021-10-20 14:46
25K
Rogue-OHIO-power-bar-Black-Zinc-700x200.jpg
2021-10-20 14:46
22K
Rogue-OHIO-power-bar-Black-Zinc-250x183.jpg
2021-04-30 05:31
12K
Rogue-OHIO-power-bar-Black-Zinc-150x150.jpg
2021-04-30 05:31
11K
Rogue-OHIO-power-bar-Black-Zinc-120x88.jpg
2021-04-30 05:31
10K
Rogue-Leg-press-angled.jpg
2021-02-19 07:31
182K
Rogue-Leg-press-angled-768x460.jpg
2021-10-20 14:39
92K
Rogue-Leg-press-angled-700x419.jpg
2021-10-20 14:39
81K
Rogue-Leg-press-angled-700x200.jpg
2021-10-20 14:39
48K
Rogue-Leg-press-angled-250x150.jpg
2021-10-20 14:39
25K
Rogue-Leg-press-angled-150x150.jpg
2021-10-20 14:39
21K
Rogue-Leg-press-angled-120x72.jpg
2021-02-19 07:31
17K
Rogue-HD-Bar-Jack.jpg
2021-02-15 08:19
98K
Rogue-HD-Bar-Jack-768x562.jpg
2021-10-20 14:37
75K
Rogue-HD-Bar-Jack-700x512.jpg
2021-10-20 14:37
69K
Rogue-HD-Bar-Jack-700x200.jpg
2021-10-20 14:37
54K
Rogue-HD-Bar-Jack-250x183.jpg
2021-02-15 08:19
38K
Rogue-HD-Bar-Jack-150x150.jpg
2021-02-15 08:19
35K
Rogue-HD-Bar-Jack-120x88.jpg
2021-02-15 08:19
32K
Rogue-Fitness-Wooden-Rings.jpg
2021-02-01 19:06
44K
Rogue-Fitness-Wooden-Rings-643x200.jpg
2021-02-01 19:06
30K
Rogue-Fitness-Wooden-Rings-250x271.jpg
2021-02-01 19:06
27K
Rogue-Fitness-Wooden-Rings-150x150.jpg
2021-02-01 19:06
24K
Rogue-Fitness-Wooden-Rings-120x130.jpg
2021-02-01 19:06
23K
Rogue-Fitness-Wooden-Rings-1.jpg
2021-02-06 16:20
47K
Rogue-Fitness-Wooden-Rings-1-768x562.jpg
2021-02-08 13:21
46K
Rogue-Fitness-Wooden-Rings-1-700x512.jpg
2021-02-08 13:21
43K
Rogue-Fitness-Wooden-Rings-1-700x200.jpg
2021-02-06 16:20
37K
Rogue-Fitness-Wooden-Rings-1-250x183.jpg
2021-02-06 16:20
30K
Rogue-Fitness-Wooden-Rings-1-150x150.jpg
2021-02-06 16:20
29K
Rogue-Fitness-Wooden-Rings-1-120x88.jpg
2021-02-06 16:20
27K
Rogue-Deadlift-jack-with-barbell.jpg
2021-02-10 19:07
73K
Rogue-Deadlift-jack-with-barbell-768x460.jpg
2021-10-20 14:32
82K
Rogue-Deadlift-jack-with-barbell-700x419.jpg
2021-10-20 14:32
76K
Rogue-Deadlift-jack-with-barbell-700x200.jpg
2021-10-20 14:32
51K
Rogue-Deadlift-jack-with-barbell-250x150.jpg
2021-10-20 14:31
35K
Rogue-Deadlift-jack-with-barbell-150x150.jpg
2021-02-10 19:07
32K
Rogue-Deadlift-jack-with-barbell-120x72.jpg
2021-02-10 19:07
29K
Rogue-Charlie.jpg
2021-04-30 05:32
64K
Rogue-Charlie-768x562.jpg
2021-10-20 14:46
44K
Rogue-Charlie-700x512.jpg
2021-10-20 14:46
38K
Rogue-Charlie-700x200.jpg
2021-10-20 14:46
28K
Rogue-Charlie-250x183.jpg
2021-04-30 05:32
13K
Rogue-Charlie-150x150.jpg
2021-04-30 05:32
11K
Rogue-Charlie-120x88.jpg
2021-04-30 05:32
9.1K
RockTape-Kinesiology-Tape.jpg
2021-02-05 16:45
41K
RockTape-Kinesiology-Tape-643x200.jpg
2021-02-05 16:45
28K
RockTape-Kinesiology-Tape-250x271.jpg
2021-02-05 16:45
30K
RockTape-Kinesiology-Tape-150x150.jpg
2021-02-05 16:45
26K
RockTape-Kinesiology-Tape-120x130.jpg
2021-02-05 16:45
26K
RockTape-Kinesiology-Tape-1.jpg
2021-02-14 15:51
49K
RockTape-Kinesiology-Tape-1-768x562.jpg
2021-10-20 14:35
47K
RockTape-Kinesiology-Tape-1-700x512.jpg
2021-10-20 14:35
45K
RockTape-Kinesiology-Tape-1-700x200.jpg
2021-02-14 15:51
35K
RockTape-Kinesiology-Tape-1-250x183.jpg
2021-02-14 15:51
32K
RockTape-Kinesiology-Tape-1-150x150.jpg
2021-02-14 15:51
31K
RockTape-Kinesiology-Tape-1-120x88.jpg
2021-02-14 15:51
30K
Reebok-Nano-X.jpg
2021-02-18 19:06
71K
Reebok-Nano-X-768x562.jpg
2021-10-20 14:38
32K
Reebok-Nano-X-700x512.jpg
2021-10-20 14:38
29K
Reebok-Nano-X-700x200.jpg
2021-10-20 14:38
23K
Reebok-Nano-X-250x183.jpg
2021-02-18 19:06
11K
Reebok-Nano-X-150x150.jpg
2021-02-18 19:06
9.7K
Reebok-Nano-X-120x88.jpg
2021-02-18 19:06
8.2K
Reebok-Lifter-PR-Weightlifting-Shoes.jpg
2021-02-15 18:59
78K
Reebok-Lifter-PR-Weightlifting-Shoes-768x562.jpg
2021-10-20 14:37
53K
Reebok-Lifter-PR-Weightlifting-Shoes-700x512.jpg
2021-10-20 14:37
49K
Reebok-Lifter-PR-Weightlifting-Shoes-700x200.jpg
2021-10-20 14:37
42K
Reebok-Lifter-PR-Weightlifting-Shoes-250x183.jpg
2021-02-15 18:59
32K
Reebok-Lifter-PR-Weightlifting-Shoes-150x150.jpg
2021-02-15 18:59
31K
Reebok-Lifter-PR-Weightlifting-Shoes-120x88.jpg
2021-02-15 18:59
29K
Recovery-compression-sleeves-full-vs-half.jpg
2021-02-14 16:18
649K
Recovery-compression-sleeves-full-vs-half-635x200.jpg
2021-02-14 16:18
590K
Recovery-compression-sleeves-full-vs-half-250x182.jpg
2021-02-14 16:18
587K
Recovery-compression-sleeves-full-vs-half-150x150.jpg
2021-02-14 16:18
583K
Recovery-compression-sleeves-full-vs-half-120x87.jpg
2021-02-14 16:18
580K
Recovery-compression-sleeves-for-sweat.jpg
2021-02-14 16:20
691K
Recovery-compression-sleeves-for-sweat-635x200.jpg
2021-10-20 14:35
612K
Recovery-compression-sleeves-for-sweat-250x183.jpg
2021-02-14 16:20
593K
Recovery-compression-sleeves-for-sweat-150x150.jpg
2021-02-14 16:20
588K
Recovery-compression-sleeves-for-sweat-120x88.jpg
2021-02-14 16:20
583K
Recovery-compression-sleeves-for-full-arm-.jpg
2021-02-14 16:19
788K
Recovery-compression-sleeves-for-full-arm--635x200.jpg
2021-10-20 14:35
611K
Recovery-compression-sleeves-for-full-arm--250x183.jpg
2021-02-14 16:19
597K
Recovery-compression-sleeves-for-full-arm--150x150.jpg
2021-02-14 16:19
590K
Recovery-compression-sleeves-for-full-arm--120x88.jpg
2021-02-14 16:19
586K
Recovery-compression-sleeves-for-football.jpg
2021-02-14 16:15
52K
Recovery-compression-sleeves-for-football-768x460.jpg
2021-02-14 16:15
59K
Recovery-compression-sleeves-for-football-700x419.jpg
2021-02-14 16:15
55K
Recovery-compression-sleeves-for-football-700x200.jpg
2021-02-14 16:15
38K
Recovery-compression-sleeves-for-football-250x150.jpg
2021-02-14 16:15
28K
Recovery-compression-sleeves-for-football-150x150.jpg
2021-02-14 16:15
26K
Recovery-compression-sleeves-for-football-120x72.jpg
2021-02-14 16:15
24K
ROGUE-HG-2.0-COLLARS.jpg
2021-03-12 07:02
130K
ROGUE-HG-2.0-COLLARS-768x562.jpg
2021-10-20 14:43
55K
ROGUE-HG-2.0-COLLARS-700x512.jpg
2021-10-20 14:43
49K
ROGUE-HG-2.0-COLLARS-700x200.jpg
2021-03-12 07:02
29K
ROGUE-HG-2.0-COLLARS-250x183.jpg
2021-03-12 07:02
19K
ROGUE-HG-2.0-COLLARS-150x150.jpg
2021-03-12 07:02
16K
ROGUE-HG-2.0-COLLARS-120x88.jpg
2021-03-12 07:02
14K
ROGUE-GH-1-GHD.jpg
2021-02-05 08:37
45K
ROGUE-GH-1-GHD-643x200.jpg
2021-02-05 08:37
29K
ROGUE-GH-1-GHD-250x271.jpg
2021-02-08 13:18
31K
ROGUE-GH-1-GHD-150x150.jpg
2021-02-05 08:37
26K
ROGUE-GH-1-GHD-120x130.jpg
2021-02-05 08:37
25K
ROGUE-GH-1-GHD-1.jpg
2021-02-06 16:46
54K
ROGUE-GH-1-GHD-1-768x562.jpg
2021-02-08 13:26
60K
ROGUE-GH-1-GHD-1-700x512.jpg
2021-02-08 13:26
56K
ROGUE-GH-1-GHD-1-700x200.jpg
2021-02-06 16:46
43K
ROGUE-GH-1-GHD-1-250x183.jpg
2021-02-06 16:46
36K
ROGUE-GH-1-GHD-1-150x150.jpg
2021-02-06 16:46
35K
ROGUE-GH-1-GHD-1-120x88.jpg
2021-02-06 16:46
33K
ROGUE-DEADLIFT-BAR-JACK.jpg
2021-02-15 08:18
87K
ROGUE-DEADLIFT-BAR-JACK-768x562.jpg
2021-10-20 14:36
76K
ROGUE-DEADLIFT-BAR-JACK-700x512.jpg
2021-10-20 14:36
68K
ROGUE-DEADLIFT-BAR-JACK-700x200.jpg
2021-10-20 14:36
50K
ROGUE-DEADLIFT-BAR-JACK-250x183.jpg
2021-10-20 14:36
35K
ROGUE-DEADLIFT-BAR-JACK-150x150.jpg
2021-02-15 08:18
32K
ROGUE-DEADLIFT-BAR-JACK-120x88.jpg
2021-02-15 08:18
30K
ROGUE-ABRAM-GHD-2.jpg
2021-02-06 16:45
49K
ROGUE-ABRAM-GHD-2.0.jpg
2021-02-05 08:35
44K
ROGUE-ABRAM-GHD-2.0-643x200.jpg
2021-02-05 08:35
29K
ROGUE-ABRAM-GHD-2.0-250x271.jpg
2021-02-05 08:35
33K
ROGUE-ABRAM-GHD-2.0-150x150.jpg
2021-02-05 08:35
27K
ROGUE-ABRAM-GHD-2.0-120x130.jpg
2021-02-05 08:35
26K
ROGUE-ABRAM-GHD-2-768x562.jpg
2021-02-08 13:26
58K
ROGUE-ABRAM-GHD-2-700x512.jpg
2021-02-08 13:26
55K
ROGUE-ABRAM-GHD-2-700x200.jpg
2021-02-08 13:26
41K
ROGUE-ABRAM-GHD-2-250x183.jpg
2021-02-06 16:45
34K
ROGUE-ABRAM-GHD-2-150x150.jpg
2021-02-06 16:45
33K
ROGUE-ABRAM-GHD-2-120x88.jpg
2021-02-06 16:45
31K
Quiet-Percussion-gun.jpg
2021-02-05 16:34
91K
Quiet-Percussion-gun-scaled.jpg
2021-02-05 16:34
130K
Quiet-Percussion-gun-2048x1501.jpg
2021-02-08 13:19
133K
Quiet-Percussion-gun-1536x1125.jpg
2021-02-08 13:19
99K
Quiet-Percussion-gun-768x563.jpg
2021-02-08 13:19
57K
Quiet-Percussion-gun-700x513.jpg
2021-02-08 13:19
54K
Quiet-Percussion-gun-700x200.jpg
2021-02-08 13:19
43K
Quiet-Percussion-gun-250x183.jpg
2021-02-05 16:34
37K
Quiet-Percussion-gun-150x150.jpg
2021-02-05 16:34
35K
Quiet-Percussion-gun-120x88.jpg
2021-02-05 16:34
34K
Pull-up-bars-with-cushioned-handles-no-hand-pain.jpg
2021-02-11 05:39
809K
Pull-up-bars-with-cushioned-handles-no-hand-pain-scaled.jpg
2021-10-20 14:33
747K
Pull-up-bars-with-cushioned-handles-no-hand-pain-2048x1509.jpg
2021-10-20 14:32
766K
Pull-up-bars-with-cushioned-handles-no-hand-pain-1536x1132.jpg
2021-10-20 14:32
693K
Pull-up-bars-with-cushioned-handles-no-hand-pain-768x566.jpg
2021-10-20 14:32
607K
Pull-up-bars-with-cushioned-handles-no-hand-pain-700x516.jpg
2021-10-20 14:32
600K
Pull-up-bars-with-cushioned-handles-no-hand-pain-700x200.jpg
2021-02-11 05:39
575K
Pull-up-bars-with-cushioned-handles-no-hand-pain-250x184.jpg
2021-02-11 05:39
568K
Pull-up-bars-with-cushioned-handles-no-hand-pain-150x150.jpg
2021-02-11 05:39
565K
Pull-up-bars-with-cushioned-handles-no-hand-pain-120x88.jpg
2021-02-11 05:39
561K
Pull-up-bars-with-cushioned-handles-no-hand-pain-2.jpg
2021-02-12 19:13
705K
Pull-up-bars-with-cushioned-handles-no-hand-pain-2-635x200.jpg
2021-10-20 14:34
589K
Pull-up-bars-with-cushioned-handles-no-hand-pain-2-250x184.jpg
2021-02-12 19:13
574K
Pull-up-bars-with-cushioned-handles-no-hand-pain-2-150x150.jpg
2021-02-12 19:13
568K
Pull-up-bars-with-cushioned-handles-no-hand-pain-2-120x88.jpg
2021-02-12 19:13
564K
Pull-up-bars-with-cushioned-handles-no-hand-pain-1.jpg
2021-02-12 19:04
593K
Pull-up-bars-with-cushioned-handles-no-hand-pain-1-635x200.jpg
2021-10-20 14:33
583K
Pull-up-bars-with-cushioned-handles-no-hand-pain-1-250x184.jpg
2021-02-12 19:04
572K
Pull-up-bars-with-cushioned-handles-no-hand-pain-1-150x150.jpg
2021-02-12 19:04
567K
Pull-up-bars-with-cushioned-handles-no-hand-pain-1-120x88.jpg
2021-02-12 19:04
563K
Pull-up-bars-on-cement-wall-not-dry-wall.jpg
2021-02-12 19:04
596K
Pull-up-bars-on-cement-wall-not-dry-wall-635x200.jpg
2021-10-20 14:33
584K
Pull-up-bars-on-cement-wall-not-dry-wall-250x183.jpg
2021-02-12 19:04
572K
Pull-up-bars-on-cement-wall-not-dry-wall-150x150.jpg
2021-02-12 19:04
567K
Pull-up-bars-on-cement-wall-not-dry-wall-120x88.jpg
2021-02-12 19:04
563K
Pull-up-bars-on-cement-wall-not-dry-wall-1.jpg
2021-02-12 19:13
712K
Pull-up-bars-on-cement-wall-not-dry-wall-1-635x200.jpg
2021-10-20 14:34
591K
Pull-up-bars-on-cement-wall-not-dry-wall-1-250x183.jpg
2021-02-12 19:13
577K
Pull-up-bars-on-cement-wall-not-dry-wall-1-150x150.jpg
2021-02-12 19:13
571K
Pull-up-bars-on-cement-wall-not-dry-wall-1-120x88.jpg
2021-02-12 19:13
566K
ProsourceFit-Puzzle-Exercise-Mat.jpg
2021-02-06 16:48
58K
ProsourceFit-Puzzle-Exercise-Mat-768x562.jpg
2021-02-08 13:27
65K
ProsourceFit-Puzzle-Exercise-Mat-700x512.jpg
2021-02-08 13:27
59K
ProsourceFit-Puzzle-Exercise-Mat-700x200.jpg
2021-02-08 13:27
46K
ProsourceFit-Puzzle-Exercise-Mat-250x183.jpg
2021-02-08 13:27
34K
ProsourceFit-Puzzle-Exercise-Mat-150x150.jpg
2021-02-06 16:48
33K
ProsourceFit-Puzzle-Exercise-Mat-120x88.jpg
2021-02-06 16:48
31K
ProsourceFit-Puzzle-Exercise-Mat-.jpg
2021-02-05 17:15
66K
ProsourceFit-Puzzle-Exercise-Mat--643x200.jpg
2021-02-05 17:15
41K
ProsourceFit-Puzzle-Exercise-Mat--250x271.jpg
2021-02-08 13:20
35K
ProsourceFit-Puzzle-Exercise-Mat--150x150.jpg
2021-02-08 13:20
29K
ProsourceFit-Puzzle-Exercise-Mat--120x130.jpg
2021-02-05 17:15
28K
Prone-Leg-Curl-vs.-Seated-Leg-Curl.jpg
2021-02-01 19:27
148K
Prone-Leg-Curl-vs.-Seated-Leg-Curl-scaled.jpg
2021-02-01 19:27
190K
Prone-Leg-Curl-vs.-Seated-Leg-Curl-2048x1501.jpg
2021-02-08 13:11
195K
Prone-Leg-Curl-vs.-Seated-Leg-Curl-1536x1125.jpg
2021-02-08 13:11
159K
Prone-Leg-Curl-vs.-Seated-Leg-Curl-768x563.jpg
2021-02-08 13:11
112K
Prone-Leg-Curl-vs.-Seated-Leg-Curl-700x513.jpg
2021-02-08 13:11
109K
Prone-Leg-Curl-vs.-Seated-Leg-Curl-700x200.jpg
2021-02-08 13:11
95K
Prone-Leg-Curl-vs.-Seated-Leg-Curl-250x183.jpg
2021-02-08 13:11
88K
Prone-Leg-Curl-vs.-Seated-Leg-Curl-150x150.jpg
2021-02-01 19:27
85K
Prone-Leg-Curl-vs.-Seated-Leg-Curl-120x88.jpg
2021-02-01 19:27
83K
Prone-Leg-Curl-vs.-Seated-Leg-Curl-1.jpg
2021-02-12 06:33
197K
Prone-Leg-Curl-vs.-Seated-Leg-Curl-1-635x200.jpg
2021-02-12 07:56
101K
Prone-Leg-Curl-vs.-Seated-Leg-Curl-1-250x183.jpg
2021-02-12 07:56
93K
Prone-Leg-Curl-vs.-Seated-Leg-Curl-1-150x150.jpg
2021-02-12 06:33
88K
Prone-Leg-Curl-vs.-Seated-Leg-Curl-1-120x88.jpg
2021-02-12 06:33
86K
ProSource-Fit-Treadmill-Exercise-Equipment-Mats.jpg
2021-02-16 19:06
63K
ProSource-Fit-Treadmill-Exercise-Equipment-Mats-768x562.jpg
2021-10-20 14:38
47K
ProSource-Fit-Treadmill-Exercise-Equipment-Mats-700x512.jpg
2021-10-20 14:38
44K
ProSource-Fit-Treadmill-Exercise-Equipment-Mats-700x200.jpg
2021-10-20 14:38
39K
ProSource-Fit-Treadmill-Exercise-Equipment-Mats-250x183.jpg
2021-02-16 19:06
32K
ProSource-Fit-Treadmill-Exercise-Equipment-Mats-150x150.jpg
2021-02-16 19:06
31K
ProSource-Fit-Treadmill-Exercise-Equipment-Mats-120x88.jpg
2021-02-16 19:06
30K
Powerstep-Full-Length-Orthotic-Shoe-Insoles-Original.jpg
2021-03-12 07:25
82K
Powerstep-Full-Length-Orthotic-Shoe-Insoles-Original-768x562.jpg
2021-10-20 14:45
34K
Powerstep-Full-Length-Orthotic-Shoe-Insoles-Original-700x512.jpg
2021-10-20 14:45
30K
Powerstep-Full-Length-Orthotic-Shoe-Insoles-Original-700x200.jpg
2021-10-20 14:45
25K
Powerstep-Full-Length-Orthotic-Shoe-Insoles-Original-250x183.jpg
2021-03-12 07:25
13K
Powerstep-Full-Length-Orthotic-Shoe-Insoles-Original-150x150.jpg
2021-03-12 07:25
12K
Powerstep-Full-Length-Orthotic-Shoe-Insoles-Original-120x88.jpg
2021-03-12 07:25
11K
Plantar-Fasciitis-Feet-Insoles-Arch-Supports-Orthotics-Inserts.jpg
2021-03-12 07:37
91K
Plantar-Fasciitis-Feet-Insoles-Arch-Supports-Orthotics-Inserts-768x562.jpg
2021-10-20 14:45
39K
Plantar-Fasciitis-Feet-Insoles-Arch-Supports-Orthotics-Inserts-700x512.jpg
2021-10-20 14:45
34K
Plantar-Fasciitis-Feet-Insoles-Arch-Supports-Orthotics-Inserts-700x200.jpg
2021-10-20 14:45
24K
Plantar-Fasciitis-Feet-Insoles-Arch-Supports-Orthotics-Inserts-250x183.jpg
2021-03-12 07:37
13K
Plantar-Fasciitis-Feet-Insoles-Arch-Supports-Orthotics-Inserts-150x150.jpg
2021-03-12 07:37
11K
Plantar-Fasciitis-Feet-Insoles-Arch-Supports-Orthotics-Inserts-120x88.jpg
2021-03-12 07:37
9.3K
Physix-Gear-Sport-tape.jpg
2021-02-05 16:47
50K
Physix-Gear-Sport-tape-643x200.jpg
2021-02-05 16:47
41K
Physix-Gear-Sport-tape-250x271.jpg
2021-02-08 13:19
32K
Physix-Gear-Sport-tape-150x150.jpg
2021-02-05 16:47
27K
Physix-Gear-Sport-tape-120x130.jpg
2021-02-05 16:47
26K
Physix-Gear-Sport-tape-1.jpg
2021-02-14 15:52
50K
Physix-Gear-Sport-tape-1-768x562.jpg
2021-10-20 14:35
52K
Physix-Gear-Sport-tape-1-700x512.jpg
2021-10-20 14:35
48K
Physix-Gear-Sport-tape-1-700x200.jpg
2021-10-20 14:35
43K
Physix-Gear-Sport-tape-1-250x183.jpg
2021-02-14 15:52
31K
Physix-Gear-Sport-tape-1-150x150.jpg
2021-02-14 15:52
29K
Physix-Gear-Sport-tape-1-120x88.jpg
2021-02-14 15:52
28K
Physix-Gear-Sport-Full-Length-Orthotic-Inserts-with-Arch-Support.jpg
2021-03-12 07:27
77K
Physix-Gear-Sport-Full-Length-Orthotic-Inserts-with-Arch-Support-768x562.jpg
2021-10-20 14:45
34K
Physix-Gear-Sport-Full-Length-Orthotic-Inserts-with-Arch-Support-700x512.jpg
2021-10-20 14:45
30K
Physix-Gear-Sport-Full-Length-Orthotic-Inserts-with-Arch-Support-700x200.jpg
2021-10-20 14:45
19K
Physix-Gear-Sport-Full-Length-Orthotic-Inserts-with-Arch-Support-250x183.jpg
2021-03-12 07:27
12K
Physix-Gear-Sport-Full-Length-Orthotic-Inserts-with-Arch-Support-150x150.jpg
2021-03-12 07:27
11K
Physix-Gear-Sport-Full-Length-Orthotic-Inserts-with-Arch-Support-120x88.jpg
2021-03-12 07:27
8.9K
Person-applying-Kinesio-Tape-on-his-knee.jpg
2021-02-14 16:02
61K
Person-applying-Kinesio-Tape-on-his-knee-768x460.jpg
2021-10-20 14:35
67K
Person-applying-Kinesio-Tape-on-his-knee-700x419.jpg
2021-10-20 14:35
62K
Person-applying-Kinesio-Tape-on-his-knee-700x200.jpg
2021-10-20 14:35
45K
Person-applying-Kinesio-Tape-on-his-knee-250x150.jpg
2021-02-14 16:02
32K
Person-applying-Kinesio-Tape-on-his-knee-150x150.jpg
2021-02-14 16:02
30K
Person-applying-Kinesio-Tape-on-his-knee-120x72.jpg
2021-02-14 16:02
27K
Percussion-gun-with-multiple-vibration-settings.jpg
2021-02-05 16:36
253K
Percussion-gun-with-multiple-vibration-settings-scaled.jpg
2021-02-05 16:36
141K
Percussion-gun-with-multiple-vibration-settings-2048x1494.jpg
2021-02-08 13:19
150K
Percussion-gun-with-multiple-vibration-settings-1536x1120.jpg
2021-02-08 13:19
114K
Percussion-gun-with-multiple-vibration-settings-768x560.jpg
2021-02-08 13:19
67K
Percussion-gun-with-multiple-vibration-settings-700x511.jpg
2021-02-08 13:19
63K
Percussion-gun-with-multiple-vibration-settings-700x200.jpg
2021-02-05 16:36
47K
Percussion-gun-with-multiple-vibration-settings-250x182.jpg
2021-02-05 16:36
44K
Percussion-gun-with-multiple-vibration-settings-150x150.jpg
2021-02-05 16:36
42K
Percussion-gun-with-multiple-vibration-settings-120x88.jpg
2021-02-05 16:36
40K
POWERTEC-Leg-Press.jpg
2021-02-19 07:06
87K
POWERTEC-Leg-Press-768x562.jpg
2021-10-20 14:39
40K
POWERTEC-Leg-Press-700x512.jpg
2021-10-20 14:39
36K
POWERTEC-Leg-Press-700x200.jpg
2021-10-20 14:39
22K
POWERTEC-Leg-Press-250x183.jpg
2021-02-19 07:06
15K
POWERTEC-Leg-Press-150x150.jpg
2021-02-19 07:06
13K
POWERTEC-Leg-Press-120x88.jpg
2021-02-19 07:06
11K
ONETWOFIT-Wall-Mounted-Pull-Up-Bars.jpg
2021-02-12 19:00
44K
ONETWOFIT-Wall-Mounted-Pull-Up-Bars-768x562.jpg
2021-10-20 14:33
39K
ONETWOFIT-Wall-Mounted-Pull-Up-Bars-700x512.jpg
2021-10-20 14:33
37K
ONETWOFIT-Wall-Mounted-Pull-Up-Bars-700x200.jpg
2021-10-20 14:33
36K
ONETWOFIT-Wall-Mounted-Pull-Up-Bars-250x183.jpg
2021-10-20 14:33
29K
ONETWOFIT-Wall-Mounted-Pull-Up-Bars-150x150.jpg
2021-02-12 19:00
28K
ONETWOFIT-Wall-Mounted-Pull-Up-Bars-120x88.jpg
2021-02-12 19:00
27K
Nike-Romaleos-4-Amp.jpg
2021-02-15 19:00
88K
Nike-Romaleos-4-Amp-768x562.jpg
2021-10-20 14:37
53K
Nike-Romaleos-4-Amp-700x512.jpg
2021-10-20 14:37
49K
Nike-Romaleos-4-Amp-700x200.jpg
2021-10-20 14:37
45K
Nike-Romaleos-4-Amp-250x183.jpg
2021-02-15 19:00
29K
Nike-Romaleos-4-Amp-150x150.jpg
2021-02-15 19:00
28K
Nike-Romaleos-4-Amp-120x88.jpg
2021-02-15 19:00
26K
Nike-Metcon-6.jpg
2021-02-18 19:07
80K
Nike-Metcon-6-768x562.jpg
2021-10-20 14:39
35K
Nike-Metcon-6-700x512.jpg
2021-10-20 14:39
31K
Nike-Metcon-6-700x200.jpg
2021-10-20 14:39
28K
Nike-Metcon-6-250x183.jpg
2021-02-18 19:07
12K
Nike-Metcon-6-150x150.jpg
2021-02-18 19:07
10K
Nike-Metcon-6-120x88.jpg
2021-02-18 19:07
8.6K
NAYOYA-Gymnastic-Rings.jpg
2021-02-01 19:04
48K
NAYOYA-Gymnastic-Rings-643x200.jpg
2021-02-08 13:10
40K
NAYOYA-Gymnastic-Rings-250x271.jpg
2021-02-08 13:10
27K
NAYOYA-Gymnastic-Rings-150x150.jpg
2021-02-01 19:04
24K
NAYOYA-Gymnastic-Rings-120x130.jpg
2021-02-01 19:04
23K
NAYOYA-Gymnastic-Rings-1.jpg
2021-02-06 16:20
69K
NAYOYA-Gymnastic-Rings-1-768x562.jpg
2021-02-08 13:21
49K
NAYOYA-Gymnastic-Rings-1-700x512.jpg
2021-02-08 13:21
46K
NAYOYA-Gymnastic-Rings-1-700x200.jpg
2021-02-08 13:21
43K
NAYOYA-Gymnastic-Rings-1-250x183.jpg
2021-02-06 16:20
30K
NAYOYA-Gymnastic-Rings-1-150x150.jpg
2021-02-06 16:20
29K
NAYOYA-Gymnastic-Rings-1-120x88.jpg
2021-02-06 16:20
27K
Mirror-Sheets-Self-Adhesive-Non-Glass-Mirror-Tiles.jpg
2021-02-04 19:26
56K
Mirror-Sheets-Self-Adhesive-Non-Glass-Mirror-Tiles-643x200.jpg
2021-02-04 19:26
40K
Mirror-Sheets-Self-Adhesive-Non-Glass-Mirror-Tiles-250x271.jpg
2021-02-08 13:17
35K
Mirror-Sheets-Self-Adhesive-Non-Glass-Mirror-Tiles-150x150.jpg
2021-02-04 19:26
29K
Mirror-Sheets-Self-Adhesive-Non-Glass-Mirror-Tiles-120x130.jpg
2021-02-04 19:26
28K
Mirror-Sheets-Self-Adhesive-Non-Glass-Mirror-Tiles-1.jpg
2021-02-06 16:30
49K
Mirror-Sheets-Self-Adhesive-Non-Glass-Mirror-Tiles-1-768x562.jpg
2021-02-08 13:26
56K
Mirror-Sheets-Self-Adhesive-Non-Glass-Mirror-Tiles-1-700x512.jpg
2021-02-08 13:26
52K
Mirror-Sheets-Self-Adhesive-Non-Glass-Mirror-Tiles-1-700x200.jpg
2021-02-08 13:26
43K
Mirror-Sheets-Self-Adhesive-Non-Glass-Mirror-Tiles-1-250x183.jpg
2021-02-06 16:30
30K
Mirror-Sheets-Self-Adhesive-Non-Glass-Mirror-Tiles-1-150x150.jpg
2021-02-06 16:30
28K
Mirror-Sheets-Self-Adhesive-Non-Glass-Mirror-Tiles-1-120x88.jpg
2021-02-06 16:30
26K
Med-Spec-ASO-Ankle-Stabilize.jpg
2021-02-26 06:06
91K
Med-Spec-ASO-Ankle-Stabilize-768x562.jpg
2021-10-20 14:40
34K
Med-Spec-ASO-Ankle-Stabilize-700x512.jpg
2021-10-20 14:40
30K
Med-Spec-ASO-Ankle-Stabilize-700x200.jpg
2021-10-20 14:40
18K
Med-Spec-ASO-Ankle-Stabilize-250x183.jpg
2021-02-26 06:06
13K
Med-Spec-ASO-Ankle-Stabilize-150x150.jpg
2021-02-26 06:06
12K
Med-Spec-ASO-Ankle-Stabilize-120x88.jpg
2021-02-26 06:06
11K
Marcy-SB-350.jpg
2021-02-05 16:22
42K
Marcy-SB-350-643x200.jpg
2021-02-05 16:22
29K
Marcy-SB-350-250x271.jpg
2021-02-05 16:22
28K
Marcy-SB-350-150x150.jpg
2021-02-05 16:22
25K
Marcy-SB-350-120x130.jpg
2021-02-05 16:22
24K
Marcy-SB-350-1.jpg
2021-02-09 07:43
41K
Marcy-SB-350-1-768x562.jpg
2021-10-20 14:31
44K
Marcy-SB-350-1-700x512.jpg
2021-10-20 14:31
41K
Marcy-SB-350-1-700x200.jpg
2021-10-20 14:31
34K
Marcy-SB-350-1-250x183.jpg
2021-02-09 07:43
29K
Marcy-SB-350-1-150x150.jpg
2021-02-09 07:43
28K
Marcy-SB-350-1-120x88.jpg
2021-02-09 07:43
27K
Man-using-percussion-gun-for-shoulder.jpg
2021-02-06 17:44
50K
Man-using-percussion-gun-for-shoulder-768x460.jpg
2021-02-08 13:27
75K
Man-using-percussion-gun-for-shoulder-700x419.jpg
2021-02-08 13:27
70K
Man-using-percussion-gun-for-shoulder-700x200.jpg
2021-02-08 13:27
46K
Man-using-percussion-gun-for-shoulder-250x150.jpg
2021-02-08 13:27
33K
Man-using-percussion-gun-for-shoulder-150x150.jpg
2021-02-08 13:27
29K
Man-using-percussion-gun-for-shoulder-120x72.jpg
2021-02-06 17:44
26K
Man-training-with-weighted-vest.jpg
2021-02-04 19:09
54K
Man-training-with-weighted-vest-768x460.jpg
2021-02-08 13:13
76K
Man-training-with-weighted-vest-700x419.jpg
2021-02-08 13:13
71K
Man-training-with-weighted-vest-700x200.jpg
2021-02-08 13:13
47K
Man-training-with-weighted-vest-250x150.jpg
2021-02-08 13:13
34K
Man-training-with-weighted-vest-150x150.jpg
2021-02-04 19:09
31K
Man-training-with-weighted-vest-120x72.jpg
2021-02-04 19:09
27K
Man-installing-gym-mirror.jpg
2021-02-04 05:15
123K
Man-installing-gym-mirror-scaled.jpg
2021-02-04 05:15
219K
Man-installing-gym-mirror-2048x1501.jpg
2021-02-04 05:15
235K
Man-installing-gym-mirror-1536x1125.jpg
2021-02-04 05:15
173K
Man-installing-gym-mirror-768x563.jpg
2021-02-04 05:15
97K
Man-installing-gym-mirror-700x513.jpg
2021-02-04 05:15
92K
Man-installing-gym-mirror-700x200.jpg
2021-02-04 05:15
68K
Man-installing-gym-mirror-250x183.jpg
2021-02-04 05:15
65K
Man-installing-gym-mirror-150x150.jpg
2021-02-04 05:15
63K
Man-installing-gym-mirror-120x88.jpg
2021-02-04 05:15
61K
Man-installing-gym-mirror-1.jpg
2021-02-04 19:14
123K
Man-installing-gym-mirror-1-scaled.jpg
2021-02-04 19:14
219K
Man-installing-gym-mirror-1-2048x1501.jpg
2021-02-04 19:14
235K
Man-installing-gym-mirror-1-1536x1125.jpg
2021-02-04 19:14
173K
Man-installing-gym-mirror-1-768x563.jpg
2021-02-04 19:14
97K
Man-installing-gym-mirror-1-700x513.jpg
2021-02-04 19:14
92K
Man-installing-gym-mirror-1-700x200.jpg
2021-02-04 19:14
68K
Man-installing-gym-mirror-1-250x183.jpg
2021-02-04 19:14
65K
Man-installing-gym-mirror-1-150x150.jpg
2021-02-04 19:14
63K
Man-installing-gym-mirror-1-120x88.jpg
2021-02-04 19:14
61K
Lightweight-Percussion-gun.jpg
2021-02-05 16:35
371K
Lightweight-Percussion-gun-scaled.jpg
2021-02-05 16:35
148K
Lightweight-Percussion-gun-2048x1507.jpg
2021-02-08 13:19
153K
Lightweight-Percussion-gun-1536x1130.jpg
2021-02-08 13:19
117K
Lightweight-Percussion-gun-768x565.jpg
2021-02-08 13:19
70K
Lightweight-Percussion-gun-700x515.jpg
2021-02-08 13:19
66K
Lightweight-Percussion-gun-700x200.jpg
2021-02-05 16:35
49K
Lightweight-Percussion-gun-250x184.jpg
2021-02-05 16:35
45K
Lightweight-Percussion-gun-150x150.jpg
2021-02-05 16:35
42K
Lightweight-Percussion-gun-120x88.jpg
2021-02-05 16:35
40K
Leg-press-with-head-rest-padding.jpg
2021-02-19 07:09
341K
Leg-press-with-head-rest-padding-scaled.jpg
2021-10-20 14:39
246K
Leg-press-with-head-rest-padding-2048x1501.jpg
2021-02-19 07:09
261K
Leg-press-with-head-rest-padding-1536x1125.jpg
2021-10-20 14:39
205K
Leg-press-with-head-rest-padding-768x563.jpg
2021-10-20 14:39
132K
Leg-press-with-head-rest-padding-700x513.jpg
2021-10-20 14:39
127K
Leg-press-with-head-rest-padding-700x200.jpg
2021-02-19 07:09
99K
Leg-press-with-head-rest-padding-250x183.jpg
2021-10-20 14:39
94K
Leg-press-with-head-rest-padding-150x150.jpg
2021-02-19 07:09
90K
Leg-press-with-head-rest-padding-120x88.jpg
2021-02-19 07:09
87K
Leg-press-price-and-cost-of-maintenance.jpg
2021-02-19 07:08
202K
Leg-press-price-and-cost-of-maintenance-scaled.jpg
2021-10-20 14:39
206K
Leg-press-price-and-cost-of-maintenance-2048x1501.jpg
2021-10-20 14:39
220K
Leg-press-price-and-cost-of-maintenance-1536x1125.jpg
2021-10-20 14:39
167K
Leg-press-price-and-cost-of-maintenance-768x563.jpg
2021-10-20 14:39
100K
Leg-press-price-and-cost-of-maintenance-700x513.jpg
2021-10-20 14:39
95K
Leg-press-price-and-cost-of-maintenance-700x200.jpg
2021-10-20 14:39
71K
Leg-press-price-and-cost-of-maintenance-250x183.jpg
2021-10-20 14:39
66K
Leg-press-price-and-cost-of-maintenance-150x150.jpg
2021-02-19 07:09
63K
Leg-press-price-and-cost-of-maintenance-120x88.jpg
2021-02-19 07:09
60K
Leg-press-machine-breaking-accident.jpg
2021-02-19 07:09
218K
Leg-press-machine-breaking-accident-scaled.jpg
2021-10-20 14:39
237K
Leg-press-machine-breaking-accident-2048x1501.jpg
2021-10-20 14:39
251K
Leg-press-machine-breaking-accident-1536x1125.jpg
2021-10-20 14:39
197K
Leg-press-machine-breaking-accident-768x563.jpg
2021-10-20 14:39
129K
Leg-press-machine-breaking-accident-700x513.jpg
2021-10-20 14:39
124K
Leg-press-machine-breaking-accident-700x200.jpg
2021-10-20 14:39
104K
Leg-press-machine-breaking-accident-250x183.jpg
2021-10-20 14:39
95K
Leg-press-machine-breaking-accident-150x150.jpg
2021-02-19 07:09
92K
Leg-press-machine-breaking-accident-120x88.jpg
2021-02-19 07:09
89K
Leg-curl-with-padding-for-home-gym.jpg
2021-02-05 16:13
138K
Leg-curl-with-padding-for-home-gym-scaled.jpg
2021-02-05 16:13
196K
Leg-curl-with-padding-for-home-gym-2048x1501.jpg
2021-02-08 13:19
207K
Leg-curl-with-padding-for-home-gym-1536x1125.jpg
2021-02-08 13:18
154K
Leg-curl-with-padding-for-home-gym-768x563.jpg
2021-02-08 13:18
89K
Leg-curl-with-padding-for-home-gym-700x513.jpg
2021-02-08 13:18
84K
Leg-curl-with-padding-for-home-gym-700x200.jpg
2021-02-08 13:19
65K
Leg-curl-with-padding-for-home-gym-250x183.jpg
2021-02-05 16:13
59K
Leg-curl-with-padding-for-home-gym-150x150.jpg
2021-02-05 16:13
56K
Leg-curl-with-padding-for-home-gym-120x88.jpg
2021-02-05 16:13
54K
Leg-curl-with-padding-for-home-gym-1.jpg
2021-02-12 06:32
152K
Leg-curl-with-padding-for-home-gym-1-635x200.jpg
2021-02-12 07:56
68K
Leg-curl-with-padding-for-home-gym-1-250x183.jpg
2021-02-12 06:32
60K
Leg-curl-with-padding-for-home-gym-1-150x150.jpg
2021-02-12 06:32
57K
Leg-curl-with-padding-for-home-gym-1-120x88.jpg
2021-02-12 06:32
54K
Leg-curl-with-adjustable-thigh-pad-1-2.jpg
2021-02-12 06:36
187K
Leg-curl-with-adjustable-thigh-pad-1-2-635x200.jpg
2021-02-12 06:36
97K
Leg-curl-with-adjustable-thigh-pad-1-2-250x183.jpg
2021-02-12 06:36
89K
Leg-curl-with-adjustable-thigh-pad-1-2-150x150.jpg
2021-02-12 06:36
86K
Leg-curl-with-adjustable-thigh-pad-1-2-120x88.jpg
2021-02-12 06:36
83K
Leg-curl-with-adjustable-thigh-pad-1-1.jpg
2021-02-12 06:32
164K
Leg-curl-with-adjustable-thigh-pad-1-1-635x200.jpg
2021-02-12 06:32
94K
Leg-curl-with-adjustable-thigh-pad-1-1-250x183.jpg
2021-02-12 07:56
88K
Leg-curl-with-adjustable-thigh-pad-1-1-150x150.jpg
2021-02-12 06:32
85K
Leg-curl-with-adjustable-thigh-pad-1-1-120x88.jpg
2021-02-12 06:32
82K
Leg-curl-with-adjustable-thigh-pad-.jpg
2021-02-05 16:12
146K
Leg-curl-with-adjustable-thigh-pad--scaled.jpg
2021-02-05 16:12
189K
Leg-curl-with-adjustable-thigh-pad--2048x1501.jpg
2021-02-08 13:18
195K
Leg-curl-with-adjustable-thigh-pad--1536x1125.jpg
2021-02-08 13:18
157K
Leg-curl-with-adjustable-thigh-pad--768x563.jpg
2021-02-08 13:18
110K
Leg-curl-with-adjustable-thigh-pad--700x513.jpg
2021-02-08 13:18
107K
Leg-curl-with-adjustable-thigh-pad--700x200.jpg
2021-02-05 16:12
92K
Leg-curl-with-adjustable-thigh-pad--250x183.jpg
2021-02-05 16:12
87K
Leg-curl-with-adjustable-thigh-pad--150x150.jpg
2021-02-05 16:12
84K
Leg-curl-with-adjustable-thigh-pad--120x88.jpg
2021-02-05 16:12
82K
Kinetic-Trainer-Mat.jpg
2021-02-16 19:06
77K
Kinetic-Trainer-Mat-768x562.jpg
2021-10-20 14:38
59K
Kinetic-Trainer-Mat-700x512.jpg
2021-10-20 14:38
54K
Kinetic-Trainer-Mat-700x200.jpg
2021-10-20 14:38
47K
Kinetic-Trainer-Mat-250x183.jpg
2021-02-16 19:06
34K
Kinetic-Trainer-Mat-150x150.jpg
2021-02-16 19:06
32K
Kinetic-Trainer-Mat-120x88.jpg
2021-02-16 19:06
31K
Kinesio-tapes-for-shoulders-pre-cut.jpg
2021-02-14 15:46
664K
Kinesio-tapes-for-shoulders-pre-cut-scaled.jpg
2021-10-20 14:35
706K
Kinesio-tapes-for-shoulders-pre-cut-1536x1121.jpg
2021-10-20 14:35
670K
Kinesio-tapes-for-shoulders-pre-cut-768x560.jpg
2021-02-14 15:46
612K
Kinesio-tapes-for-shoulders-pre-cut-700x511.jpg
2021-02-14 15:46
607K
Kinesio-tapes-for-shoulders-pre-cut-700x200.jpg
2021-02-14 15:46
591K
Kinesio-tapes-for-shoulders-pre-cut-250x182.jpg
2021-02-14 15:46
584K
Kinesio-tapes-for-shoulders-pre-cut-150x150.jpg
2021-02-14 15:46
581K
Kinesio-tapes-for-shoulders-pre-cut-120x88.jpg
2021-02-14 15:46
579K
Kinesio-tapes-cotton-vs-synthetic.jpg
2021-02-14 15:41
665K
Kinesio-tapes-cotton-vs-synthetic-scaled.jpg
2021-10-20 14:35
730K
Kinesio-tapes-cotton-vs-synthetic-1536x1124.jpg
2021-10-20 14:35
686K
Kinesio-tapes-cotton-vs-synthetic-768x562.jpg
2021-10-20 14:35
614K
Kinesio-tapes-cotton-vs-synthetic-700x512.jpg
2021-10-20 14:35
608K
Kinesio-tapes-cotton-vs-synthetic-700x200.jpg
2021-02-14 15:41
592K
Kinesio-tapes-cotton-vs-synthetic-250x183.jpg
2021-02-14 15:41
583K
Kinesio-tapes-cotton-vs-synthetic-150x150.jpg
2021-02-14 15:41
581K
Kinesio-tapes-cotton-vs-synthetic-120x88.jpg
2021-02-14 15:41
579K
Kinesio-Tex-tape.jpg
2021-02-05 16:47
41K
Kinesio-Tex-tape-643x200.jpg
2021-02-05 16:47
30K
Kinesio-Tex-tape-250x271.jpg
2021-02-05 16:47
28K
Kinesio-Tex-tape-150x150.jpg
2021-02-05 16:47
25K
Kinesio-Tex-tape-120x130.jpg
2021-02-05 16:47
24K
Kinesio-Tex-tape-1.jpg
2021-02-14 15:52
47K
Kinesio-Tex-tape-1-768x562.jpg
2021-10-20 14:35
45K
Kinesio-Tex-tape-1-700x512.jpg
2021-10-20 14:35
43K
Kinesio-Tex-tape-1-700x200.jpg
2021-10-20 14:35
36K
Kinesio-Tex-tape-1-250x183.jpg
2021-02-14 15:52
30K
Kinesio-Tex-tape-1-150x150.jpg
2021-02-14 15:52
30K
Kinesio-Tex-tape-1-120x88.jpg
2021-02-14 15:52
29K
KT-Tape-Pro.jpg
2021-02-05 16:47
57K
KT-Tape-Pro-643x200.jpg
2021-02-05 16:47
41K
KT-Tape-Pro-250x271.jpg
2021-02-08 13:19
36K
KT-Tape-Pro-150x150.jpg
2021-02-05 16:47
31K
KT-Tape-Pro-120x130.jpg
2021-02-05 16:47
30K
KT-Tape-Pro-1.jpg
2021-02-14 15:53
53K
KT-Tape-Pro-1-768x562.jpg
2021-10-20 14:35
56K
KT-Tape-Pro-1-700x512.jpg
2021-10-20 14:35
52K
KT-Tape-Pro-1-700x200.jpg
2021-10-20 14:35
45K
KT-Tape-Pro-1-250x183.jpg
2021-02-14 15:53
35K
KT-Tape-Pro-1-150x150.jpg
2021-02-14 15:53
33K
KT-Tape-Pro-1-120x88.jpg
2021-02-14 15:53
32K
Iron-Bull-Strength-Wrist-Wraps-Lifting-Straps-Combo.jpg
2021-02-06 16:12
37K
Iron-Bull-Strength-Wrist-Wraps-Lifting-Straps-Combo-768x562.jpg
2021-02-08 13:20
40K
Iron-Bull-Strength-Wrist-Wraps-Lifting-Straps-Combo-700x512.jpg
2021-02-08 13:20
38K
Iron-Bull-Strength-Wrist-Wraps-Lifting-Straps-Combo-700x200.jpg
2021-02-08 13:20
32K
Iron-Bull-Strength-Wrist-Wraps-Lifting-Straps-Combo-250x183.jpg
2021-02-06 16:12
25K
Iron-Bull-Strength-Wrist-Wraps-Lifting-Straps-Combo-150x150.jpg
2021-02-06 16:12
24K
Iron-Bull-Strength-Wrist-Wraps-Lifting-Straps-Combo-120x88.jpg
2021-02-06 16:12
23K
Hyperice-Hypervolt.jpg
2021-02-05 16:32
41K
Hyperice-Hypervolt-643x200.jpg
2021-02-05 16:32
26K
Hyperice-Hypervolt-250x271.jpg
2021-02-05 16:32
29K
Hyperice-Hypervolt-150x150.jpg
2021-02-05 16:32
26K
Hyperice-Hypervolt-120x130.jpg
2021-02-05 16:32
25K
Hyperice-Hypervolt-1.jpg
2021-02-06 17:46
42K
Hyperice-Hypervolt-1-768x562.jpg
2021-02-08 13:27
45K
Hyperice-Hypervolt-1-700x512.jpg
2021-02-08 13:27
43K
Hyperice-Hypervolt-1-700x200.jpg
2021-02-06 17:46
32K
Hyperice-Hypervolt-1-250x183.jpg
2021-02-06 17:46
30K
Hyperice-Hypervolt-1-150x150.jpg
2021-02-06 17:46
29K
Hyperice-Hypervolt-1-120x88.jpg
2021-02-06 17:46
28K
Heavy-chains-vs-Loading-chains-weightlifting.jpg
2021-02-05 05:46
173K
Heavy-chains-vs-Loading-chains-weightlifting-scaled.jpg
2021-02-05 05:46
271K
Heavy-chains-vs-Loading-chains-weightlifting-2048x1501.jpg
2021-02-08 13:17
288K
Heavy-chains-vs-Loading-chains-weightlifting-1536x1125.jpg
2021-02-08 13:17
216K
Heavy-chains-vs-Loading-chains-weightlifting-768x563.jpg
2021-02-08 13:17
128K
Heavy-chains-vs-Loading-chains-weightlifting-700x513.jpg
2021-02-08 13:17
121K
Heavy-chains-vs-Loading-chains-weightlifting-700x200.jpg
2021-02-05 05:46
91K
Heavy-chains-vs-Loading-chains-weightlifting-250x183.jpg
2021-02-08 13:17
85K
Heavy-chains-vs-Loading-chains-weightlifting-150x150.jpg
2021-02-05 05:46
80K
Heavy-chains-vs-Loading-chains-weightlifting-120x88.jpg
2021-02-05 05:46
78K
Gymnastic-rings-used-by-man-and-woman.jpg
2021-02-01 18:58
80K
Gymnastic-rings-used-by-man-and-woman-768x460.jpg
2021-02-08 13:10
84K
Gymnastic-rings-used-by-man-and-woman-700x419.jpg
2021-02-08 13:10
77K
Gymnastic-rings-used-by-man-and-woman-700x200.jpg
2021-02-08 13:10
51K
Gymnastic-rings-used-by-man-and-woman-250x150.jpg
2021-02-08 13:10
35K
Gymnastic-rings-used-by-man-and-woman-150x150.jpg
2021-02-08 13:10
31K
Gymnastic-rings-used-by-man-and-woman-120x72.jpg
2021-02-01 18:58
28K
Gym-shoes-with-best-fit.jpg
2021-02-18 18:38
395K
Gym-shoes-with-best-fit-scaled.jpg
2021-10-20 14:38
229K
Gym-shoes-with-best-fit-2048x1501.jpg
2021-10-20 14:38
246K
Gym-shoes-with-best-fit-1536x1125.jpg
2021-10-20 14:38
177K
Gym-shoes-with-best-fit-768x563.jpg
2021-10-20 14:38
87K
Gym-shoes-with-best-fit-700x513.jpg
2021-10-20 14:38
81K
Gym-shoes-with-best-fit-700x200.jpg
2021-02-18 18:38
50K
Gym-shoes-with-best-fit-250x183.jpg
2021-02-18 18:38
44K
Gym-shoes-with-best-fit-150x150.jpg
2021-02-18 18:38
40K
Gym-shoes-with-best-fit-120x88.jpg
2021-02-18 18:38
38K
Gym-shoes-for-shock-absorption-and-foot-pain.jpg
2021-02-18 18:40
839K
Gym-shoes-for-shock-absorption-and-foot-pain-scaled.jpg
2021-10-20 14:38
172K
Gym-shoes-for-shock-absorption-and-foot-pain-2048x1501.jpg
2021-10-20 14:38
186K
Gym-shoes-for-shock-absorption-and-foot-pain-1536x1126.jpg
2021-10-20 14:38
137K
Gym-shoes-for-shock-absorption-and-foot-pain-768x563.jpg
2021-10-20 14:38
75K
Gym-shoes-for-shock-absorption-and-foot-pain-700x513.jpg
2021-10-20 14:38
71K
Gym-shoes-for-shock-absorption-and-foot-pain-700x200.jpg
2021-02-18 18:40
52K
Gym-shoes-for-shock-absorption-and-foot-pain-250x183.jpg
2021-10-20 14:38
44K
Gym-shoes-for-shock-absorption-and-foot-pain-150x150.jpg
2021-02-18 18:40
41K
Gym-shoes-for-shock-absorption-and-foot-pain-120x88.jpg
2021-02-18 18:40
39K
Gym-mirror-size-measurement.jpg
2021-02-04 05:17
94K
Gym-mirror-size-measurement-scaled.jpg
2021-02-04 05:17
131K
Gym-mirror-size-measurement-2048x1501.jpg
2021-02-04 05:17
141K
Gym-mirror-size-measurement-1536x1125.jpg
2021-02-04 05:17
107K
Gym-mirror-size-measurement-768x563.jpg
2021-02-04 05:17
66K
Gym-mirror-size-measurement-700x513.jpg
2021-02-04 05:17
63K
Gym-mirror-size-measurement-700x200.jpg
2021-02-04 05:17
47K
Gym-mirror-size-measurement-250x183.jpg
2021-02-04 05:17
45K
Gym-mirror-size-measurement-150x150.jpg
2021-02-04 05:17
42K
Gym-mirror-size-measurement-120x88.jpg
2021-02-04 05:17
41K
Gym-mirror-size-measurement-2.jpg
2021-02-04 19:20
94K
Gym-mirror-size-measurement-2-scaled.jpg
2021-02-04 19:20
131K
Gym-mirror-size-measurement-2-2048x1501.jpg
2021-02-04 19:20
141K
Gym-mirror-size-measurement-2-1536x1125.jpg
2021-02-04 19:20
107K
Gym-mirror-size-measurement-2-768x563.jpg
2021-02-04 19:20
66K
Gym-mirror-size-measurement-2-700x513.jpg
2021-02-04 19:20
63K
Gym-mirror-size-measurement-2-700x200.jpg
2021-02-04 19:20
47K
Gym-mirror-size-measurement-2-250x183.jpg
2021-02-04 19:20
45K
Gym-mirror-size-measurement-2-150x150.jpg
2021-02-04 19:20
42K
Gym-mirror-size-measurement-2-120x88.jpg
2021-02-04 19:20
41K
Gym-mirror-size-measurement-1.jpg
2021-02-04 19:15
94K
Gym-mirror-size-measurement-1-scaled.jpg
2021-02-04 19:15
131K
Gym-mirror-size-measurement-1-2048x1501.jpg
2021-02-04 19:15
141K
Gym-mirror-size-measurement-1-1536x1125.jpg
2021-02-04 19:15
107K
Gym-mirror-size-measurement-1-768x563.jpg
2021-02-04 19:15
66K
Gym-mirror-size-measurement-1-700x513.jpg
2021-02-04 19:15
63K
Gym-mirror-size-measurement-1-700x200.jpg
2021-02-04 19:15
47K
Gym-mirror-size-measurement-1-250x183.jpg
2021-02-04 19:15
45K
Gym-mirror-size-measurement-1-150x150.jpg
2021-02-04 19:15
42K
Gym-mirror-size-measurement-1-120x88.jpg
2021-02-04 19:15
41K
Gym-mirror-safety-edges.jpg
2021-02-04 05:16
102K
Gym-mirror-safety-edges-scaled.jpg
2021-02-04 05:16
147K
Gym-mirror-safety-edges-2048x1501.jpg
2021-02-08 13:12
158K
Gym-mirror-safety-edges-1536x1125.jpg
2021-02-08 13:12
116K
Gym-mirror-safety-edges-768x563.jpg
2021-02-08 13:12
68K
Gym-mirror-safety-edges-700x513.jpg
2021-02-04 05:16
64K
Gym-mirror-safety-edges-700x200.jpg
2021-02-04 05:16
48K
Gym-mirror-safety-edges-250x183.jpg
2021-02-04 05:16
44K
Gym-mirror-safety-edges-150x150.jpg
2021-02-04 05:16
41K
Gym-mirror-safety-edges-120x88.jpg
2021-02-04 05:16
39K
Gym-mirror-safety-edges-1.jpg
2021-02-04 19:20
102K
Gym-mirror-safety-edges-1-scaled.jpg
2021-02-04 19:20
147K
Gym-mirror-safety-edges-1-2048x1501.jpg
2021-02-08 13:13
158K
Gym-mirror-safety-edges-1-1536x1125.jpg
2021-02-08 13:13
116K
Gym-mirror-safety-edges-1-768x563.jpg
2021-02-08 13:13
68K
Gym-mirror-safety-edges-1-700x513.jpg
2021-02-04 19:20
64K
Gym-mirror-safety-edges-1-700x200.jpg
2021-02-04 19:21
48K
Gym-mirror-safety-edges-1-250x183.jpg
2021-02-04 19:20
44K
Gym-mirror-safety-edges-1-150x150.jpg
2021-02-04 19:20
41K
Gym-mirror-safety-edges-1-120x88.jpg
2021-02-04 19:21
39K
Gym-mirror-Acrylic-vs-Glass.jpg
2021-02-04 05:15
95K
Gym-mirror-Acrylic-vs-Glass-scaled.jpg
2021-02-04 05:15
137K
Gym-mirror-Acrylic-vs-Glass-2048x1501.jpg
2021-02-04 05:15
148K
Gym-mirror-Acrylic-vs-Glass-1536x1125.jpg
2021-02-04 05:15
110K
Gym-mirror-Acrylic-vs-Glass-768x563.jpg
2021-02-04 05:15
68K
Gym-mirror-Acrylic-vs-Glass-700x513.jpg
2021-02-04 05:15
64K
Gym-mirror-Acrylic-vs-Glass-700x200.jpg
2021-02-04 05:15
49K
Gym-mirror-Acrylic-vs-Glass-250x183.jpg
2021-02-04 05:15
47K
Gym-mirror-Acrylic-vs-Glass-150x150.jpg
2021-02-04 05:15
44K
Gym-mirror-Acrylic-vs-Glass-120x88.jpg
2021-02-04 05:15
43K
Gym-mirror-Acrylic-vs-Glass-1.jpg
2021-02-04 19:14
95K
Gym-mirror-Acrylic-vs-Glass-1-scaled.jpg
2021-02-04 19:14
137K
Gym-mirror-Acrylic-vs-Glass-1-2048x1501.jpg
2021-02-04 19:14
148K
Gym-mirror-Acrylic-vs-Glass-1-1536x1125.jpg
2021-02-04 19:14
110K
Gym-mirror-Acrylic-vs-Glass-1-768x563.jpg
2021-02-04 19:14
68K
Gym-mirror-Acrylic-vs-Glass-1-700x513.jpg
2021-02-04 19:14
64K
Gym-mirror-Acrylic-vs-Glass-1-700x200.jpg
2021-02-04 19:14
49K
Gym-mirror-Acrylic-vs-Glass-1-250x183.jpg
2021-02-04 19:14
47K
Gym-mirror-Acrylic-vs-Glass-1-150x150.jpg
2021-02-04 19:14
44K
Gym-mirror-Acrylic-vs-Glass-1-120x88.jpg
2021-02-04 19:14
43K
Gym-flooring-mats-for-garage-water-resistant.jpg
2021-02-05 17:06
620K
Gym-flooring-mats-for-garage-water-resistant-scaled.jpg
2021-02-05 17:06
148K
Gym-flooring-mats-for-garage-water-resistant-1536x1125.jpg
2021-02-08 13:20
114K
Gym-flooring-mats-for-garage-water-resistant-768x563.jpg
2021-02-08 13:20
62K
Gym-flooring-mats-for-garage-water-resistant-700x513.jpg
2021-02-08 13:20
57K
Gym-flooring-mats-for-garage-water-resistant-700x200.jpg
2021-02-08 13:20
49K
Gym-flooring-mats-for-garage-water-resistant-250x183.jpg
2021-02-05 17:06
37K
Gym-flooring-mats-for-garage-water-resistant-150x150.jpg
2021-02-05 17:06
35K
Gym-flooring-mats-for-garage-water-resistant-120x88.jpg
2021-02-05 17:06
33K
Gym-flooring-mats-easy-installation.jpg
2021-02-05 17:05
1.0M
Gym-flooring-mats-easy-installation-scaled.jpg
2021-02-05 17:05
833K
Gym-flooring-mats-easy-installation-2048x1501.jpg
2021-02-08 13:20
849K
Gym-flooring-mats-easy-installation-1536x1126.jpg
2021-02-08 13:20
761K
Gym-flooring-mats-easy-installation-768x563.jpg
2021-02-08 13:20
646K
Gym-flooring-mats-easy-installation-700x513.jpg
2021-02-08 13:20
636K
Gym-flooring-mats-easy-installation-700x200.jpg
2021-02-05 17:05
596K
Gym-flooring-mats-easy-installation-250x183.jpg
2021-02-05 17:05
590K
Gym-flooring-mats-easy-installation-150x150.jpg
2021-02-05 17:05
585K
Gym-flooring-mats-easy-installation-120x88.jpg
2021-02-05 17:05
581K
Gym-floor-horse-stall-mats-vs-rubber-mats.jpg
2021-02-05 17:05
322K
Gym-floor-horse-stall-mats-vs-rubber-mats-scaled.jpg
2021-02-05 17:05
212K
Gym-floor-horse-stall-mats-vs-rubber-mats-2048x1501.jpg
2021-02-08 13:20
225K
Gym-floor-horse-stall-mats-vs-rubber-mats-1536x1126.jpg
2021-02-08 13:20
150K
Gym-floor-horse-stall-mats-vs-rubber-mats-768x563.jpg
2021-02-08 13:20
58K
Gym-floor-horse-stall-mats-vs-rubber-mats-700x513.jpg
2021-02-08 13:20
51K
Gym-floor-horse-stall-mats-vs-rubber-mats-700x200.jpg
2021-02-08 13:20
28K
Gym-floor-horse-stall-mats-vs-rubber-mats-250x183.jpg
2021-02-05 17:05
17K
Gym-floor-horse-stall-mats-vs-rubber-mats-150x150.jpg
2021-02-05 17:05
14K
Gym-floor-horse-stall-mats-vs-rubber-mats-120x88.jpg
2021-02-05 17:05
13K
Glute-ham-developer-types-hyper-extension-bench.jpg
2021-02-05 08:27
157K
Glute-ham-developer-types-hyper-extension-bench-scaled.jpg
2021-02-05 08:27
197K
Glute-ham-developer-types-hyper-extension-bench-2048x1501.jpg
2021-02-08 13:18
202K
Glute-ham-developer-types-hyper-extension-bench-1536x1125.jpg
2021-02-08 13:18
165K
Glute-ham-developer-types-hyper-extension-bench-768x563.jpg
2021-02-08 13:18
118K
Glute-ham-developer-types-hyper-extension-bench-700x513.jpg
2021-02-08 13:18
114K
Glute-ham-developer-types-hyper-extension-bench-700x200.jpg
2021-02-08 13:18
100K
Glute-ham-developer-types-hyper-extension-bench-250x183.jpg
2021-02-08 13:18
93K
Glute-ham-developer-types-hyper-extension-bench-150x150.jpg
2021-02-05 08:27
90K
Glute-ham-developer-types-hyper-extension-bench-120x88.jpg
2021-02-05 08:27
89K
Glute-ham-developer-stable-for-home-gym.jpg
2021-02-05 08:31
165K
Glute-ham-developer-stable-for-home-gym-scaled.jpg
2021-02-05 08:31
231K
Glute-ham-developer-stable-for-home-gym-2048x1501.jpg
2021-02-08 13:18
240K
Glute-ham-developer-stable-for-home-gym-1536x1125.jpg
2021-02-08 13:18
191K
Glute-ham-developer-stable-for-home-gym-768x563.jpg
2021-02-08 13:18
129K
Glute-ham-developer-stable-for-home-gym-700x513.jpg
2021-02-08 13:18
124K
Glute-ham-developer-stable-for-home-gym-700x200.jpg
2021-02-05 08:31
99K
Glute-ham-developer-stable-for-home-gym-250x183.jpg
2021-02-08 13:18
98K
Glute-ham-developer-stable-for-home-gym-150x150.jpg
2021-02-05 08:31
95K
Glute-ham-developer-stable-for-home-gym-120x88.jpg
2021-02-05 08:31
93K
Glute-ham-developer-stable-for-home-gym-.jpg
2021-02-06 16:42
153K
Glute-ham-developer-stable-for-home-gym--scaled.jpg
2021-02-06 16:42
227K
Glute-ham-developer-stable-for-home-gym--2048x1501.jpg
2021-02-08 13:26
237K
Glute-ham-developer-stable-for-home-gym--1536x1125.jpg
2021-02-08 13:26
187K
Glute-ham-developer-stable-for-home-gym--768x563.jpg
2021-02-08 13:26
126K
Glute-ham-developer-stable-for-home-gym--700x513.jpg
2021-02-08 13:26
121K
Glute-ham-developer-stable-for-home-gym--700x200.jpg
2021-02-06 16:42
95K
Glute-ham-developer-stable-for-home-gym--250x183.jpg
2021-02-08 13:26
95K
Glute-ham-developer-stable-for-home-gym--150x150.jpg
2021-02-06 16:42
92K
Glute-ham-developer-stable-for-home-gym--120x88.jpg
2021-02-06 16:42
90K
Glute-ham-developer-exercise-for-definition-and-strength.jpg
2021-02-06 16:51
48K
Glute-ham-developer-exercise-for-definition-and-strength-768x460.jpg
2021-02-08 13:27
60K
Glute-ham-developer-exercise-for-definition-and-strength-700x419.jpg
2021-02-08 13:27
56K
Glute-ham-developer-exercise-for-definition-and-strength-700x200.jpg
2021-02-08 13:27
41K
Glute-ham-developer-exercise-for-definition-and-strength-250x150.jpg
2021-02-06 16:51
29K
Glute-ham-developer-exercise-for-definition-and-strength-150x150.jpg
2021-02-06 16:51
27K
Glute-ham-developer-exercise-for-definition-and-strength-120x72.jpg
2021-02-06 16:51
25K
Glute-ham-developer-adjustable-length-and-hip-pad.jpg
2021-02-05 08:27
168K
Glute-ham-developer-adjustable-length-and-hip-pad-scaled.jpg
2021-02-05 08:27
258K
Glute-ham-developer-adjustable-length-and-hip-pad-2048x1501.jpg
2021-02-08 13:18
268K
Glute-ham-developer-adjustable-length-and-hip-pad-1536x1125.jpg
2021-02-08 13:18
206K
Glute-ham-developer-adjustable-length-and-hip-pad-768x563.jpg
2021-02-08 13:18
129K
Glute-ham-developer-adjustable-length-and-hip-pad-700x513.jpg
2021-02-08 13:18
124K
Glute-ham-developer-adjustable-length-and-hip-pad-700x200.jpg
2021-02-08 13:18
99K
Glute-ham-developer-adjustable-length-and-hip-pad-250x183.jpg
2021-02-08 13:18
92K
Glute-ham-developer-adjustable-length-and-hip-pad-150x150.jpg
2021-02-05 08:27
89K
Glute-ham-developer-adjustable-length-and-hip-pad-120x88.jpg
2021-02-05 08:27
87K
Glute-ham-developer-adjustable-length-and-hip-pad-1.jpg
2021-02-05 08:29
168K
Glute-ham-developer-adjustable-length-and-hip-pad-1-scaled.jpg
2021-02-05 08:29
258K
Glute-ham-developer-adjustable-length-and-hip-pad-1-2048x1501.jpg
2021-02-08 13:18
268K
Glute-ham-developer-adjustable-length-and-hip-pad-1-1536x1125.jpg
2021-02-08 13:18
206K
Glute-ham-developer-adjustable-length-and-hip-pad-1-768x563.jpg
2021-02-08 13:18
129K
Glute-ham-developer-adjustable-length-and-hip-pad-1-700x513.jpg
2021-02-08 13:18
124K
Glute-ham-developer-adjustable-length-and-hip-pad-1-700x200.jpg
2021-02-08 13:18
99K
Glute-ham-developer-adjustable-length-and-hip-pad-1-250x183.jpg
2021-02-08 13:18
92K
Glute-ham-developer-adjustable-length-and-hip-pad-1-150x150.jpg
2021-02-05 08:29
89K
Glute-ham-developer-adjustable-length-and-hip-pad-1-120x88.jpg
2021-02-05 08:29
87K
Gets-Pull-Up-Bar.jpg
2021-02-12 18:59
42K
Gets-Pull-Up-Bar-768x562.jpg
2021-10-20 14:33
40K
Gets-Pull-Up-Bar-700x512.jpg
2021-10-20 14:33
38K
Gets-Pull-Up-Bar-700x200.jpg
2021-02-12 18:59
34K
Gets-Pull-Up-Bar-250x183.jpg
2021-02-12 18:59
29K
Gets-Pull-Up-Bar-150x150.jpg
2021-02-12 18:59
28K
Gets-Pull-Up-Bar-120x88.jpg
2021-02-12 18:59
27K
Find-the-right-buckle-to-go-with-your-choice-of-strap..jpg
2021-02-01 18:52
88K
Find-the-right-buckle-to-go-with-your-choice-of-strap.-scaled.jpg
2021-02-01 18:52
132K
Find-the-right-buckle-to-go-with-your-choice-of-strap.-2048x1501.jpg
2021-02-01 18:52
141K
Find-the-right-buckle-to-go-with-your-choice-of-strap.-1536x1125.jpg
2021-02-01 18:52
108K
Find-the-right-buckle-to-go-with-your-choice-of-strap.-768x563.jpg
2021-02-01 18:52
67K
Find-the-right-buckle-to-go-with-your-choice-of-strap.-700x513.jpg
2021-02-01 18:52
64K
Find-the-right-buckle-to-go-with-your-choice-of-strap.-700x200.jpg
2021-02-01 18:52
50K
Find-the-right-buckle-to-go-with-your-choice-of-strap.-250x183.jpg
2021-02-01 18:52
48K
Find-the-right-buckle-to-go-with-your-choice-of-strap.-150x150.jpg
2021-02-01 18:52
47K
Find-the-right-buckle-to-go-with-your-choice-of-strap.-120x88.jpg
2021-02-01 18:52
45K
FANYUSHOW-Beveled-Frameless-Explosion-Proof-Wall-Mirror.jpg
2021-02-04 19:24
35K
FANYUSHOW-Beveled-Frameless-Explosion-Proof-Wall-Mirror-643x200.jpg
2021-02-04 19:24
24K
FANYUSHOW-Beveled-Frameless-Explosion-Proof-Wall-Mirror-250x271.jpg
2021-02-04 19:24
26K
FANYUSHOW-Beveled-Frameless-Explosion-Proof-Wall-Mirror-150x150.jpg
2021-02-04 19:24
24K
FANYUSHOW-Beveled-Frameless-Explosion-Proof-Wall-Mirror-120x130.jpg
2021-02-04 19:24
24K
FANYUSHOW-Beveled-Frameless-Explosion-Proof-Wall-Mirror-1.jpg
2021-02-06 16:31
32K
FANYUSHOW-Beveled-Frameless-Explosion-Proof-Wall-Mirror-1-768x562.jpg
2021-02-06 16:31
32K
FANYUSHOW-Beveled-Frameless-Explosion-Proof-Wall-Mirror-1-700x512.jpg
2021-02-06 16:31
31K
FANYUSHOW-Beveled-Frameless-Explosion-Proof-Wall-Mirror-1-700x200.jpg
2021-02-06 16:31
25K
FANYUSHOW-Beveled-Frameless-Explosion-Proof-Wall-Mirror-1-250x183.jpg
2021-02-06 16:31
25K
FANYUSHOW-Beveled-Frameless-Explosion-Proof-Wall-Mirror-1-150x150.jpg
2021-02-06 16:31
24K
FANYUSHOW-Beveled-Frameless-Explosion-Proof-Wall-Mirror-1-120x88.jpg
2021-02-06 16:31
23K
Emerge-Olympic-Wooden-Gymnastic-Rings.jpg
2021-02-01 19:04
58K
Emerge-Olympic-Wooden-Gymnastic-Rings-643x200.jpg
2021-02-01 19:04
35K
Emerge-Olympic-Wooden-Gymnastic-Rings-250x271.jpg
2021-02-08 13:10
33K
Emerge-Olympic-Wooden-Gymnastic-Rings-150x150.jpg
2021-02-01 19:04
29K
Emerge-Olympic-Wooden-Gymnastic-Rings-120x130.jpg
2021-02-01 19:04
28K
Emerge-Olympic-Wooden-Gymnastic-Rings-1.jpg
2021-02-06 16:21
47K
Emerge-Olympic-Wooden-Gymnastic-Rings-1-768x562.jpg
2021-02-08 13:21
49K
Emerge-Olympic-Wooden-Gymnastic-Rings-1-700x512.jpg
2021-02-08 13:21
46K
Emerge-Olympic-Wooden-Gymnastic-Rings-1-700x200.jpg
2021-02-08 13:21
37K
Emerge-Olympic-Wooden-Gymnastic-Rings-1-250x183.jpg
2021-02-06 16:21
30K
Emerge-Olympic-Wooden-Gymnastic-Rings-1-150x150.jpg
2021-02-06 16:21
29K
Emerge-Olympic-Wooden-Gymnastic-Rings-1-120x88.jpg
2021-02-06 16:21
27K
Deadlift-jack-with-powder-coating-for-scratches.jpg
2021-02-15 08:15
339K
Deadlift-jack-with-powder-coating-for-scratches-scaled.jpg
2021-10-20 14:36
215K
Deadlift-jack-with-powder-coating-for-scratches-2048x1500.jpg
2021-10-20 14:36
233K
Deadlift-jack-with-powder-coating-for-scratches-1536x1125.jpg
2021-10-20 14:36
166K
Deadlift-jack-with-powder-coating-for-scratches-768x563.jpg
2021-10-20 14:36
84K
Deadlift-jack-with-powder-coating-for-scratches-700x513.jpg
2021-10-20 14:36
78K
Deadlift-jack-with-powder-coating-for-scratches-700x200.jpg
2021-10-20 14:36
52K
Deadlift-jack-with-powder-coating-for-scratches-250x183.jpg
2021-02-15 08:15
46K
Deadlift-jack-with-powder-coating-for-scratches-150x150.jpg
2021-02-15 08:15
43K
Deadlift-jack-with-powder-coating-for-scratches-120x88.jpg
2021-02-15 08:15
41K
Deadlift-jack-full-size-vs-mini.jpg
2021-02-15 08:13
254K
Deadlift-jack-full-size-vs-mini-scaled.jpg
2021-10-20 14:36
175K
Deadlift-jack-full-size-vs-mini-2048x1500.jpg
2021-10-20 14:36
188K
Deadlift-jack-full-size-vs-mini-1536x1125.jpg
2021-10-20 14:36
138K
Deadlift-jack-full-size-vs-mini-768x563.jpg
2021-10-20 14:36
76K
Deadlift-jack-full-size-vs-mini-700x513.jpg
2021-10-20 14:36
70K
Deadlift-jack-full-size-vs-mini-700x200.jpg
2021-02-15 08:13
46K
Deadlift-jack-full-size-vs-mini-250x183.jpg
2021-02-15 08:13
44K
Deadlift-jack-full-size-vs-mini-150x150.jpg
2021-02-15 08:13
40K
Deadlift-jack-full-size-vs-mini-120x88.jpg
2021-02-15 08:13
39K
Deadlift-jack-easy-to-use-with-plates.jpg
2021-02-15 08:14
132K
Deadlift-jack-easy-to-use-with-plates-scaled.jpg
2021-10-20 14:36
187K
Deadlift-jack-easy-to-use-with-plates-2048x1501.jpg
2021-10-20 14:36
202K
Deadlift-jack-easy-to-use-with-plates-1536x1125.jpg
2021-10-20 14:36
147K
Deadlift-jack-easy-to-use-with-plates-768x563.jpg
2021-10-20 14:36
78K
Deadlift-jack-easy-to-use-with-plates-700x513.jpg
2021-10-20 14:36
73K
Deadlift-jack-easy-to-use-with-plates-700x200.jpg
2021-02-15 08:14
49K
Deadlift-jack-easy-to-use-with-plates-250x183.jpg
2021-02-15 08:14
44K
Deadlift-jack-easy-to-use-with-plates-150x150.jpg
2021-02-15 08:14
40K
Deadlift-jack-easy-to-use-with-plates-120x88.jpg
2021-02-15 08:14
39K
Dark-Iron-Fitness-Leather-Weight-Lifting-Dip-Belt.jpg
2021-02-12 19:36
72K
Dark-Iron-Fitness-Leather-Weight-Lifting-Dip-Belt-768x562.jpg
2021-10-20 14:34
64K
Dark-Iron-Fitness-Leather-Weight-Lifting-Dip-Belt-700x512.jpg
2021-10-20 14:34
59K
Dark-Iron-Fitness-Leather-Weight-Lifting-Dip-Belt-700x200.jpg
2021-10-20 14:34
45K
Dark-Iron-Fitness-Leather-Weight-Lifting-Dip-Belt-250x183.jpg
2021-02-12 19:36
34K
Dark-Iron-Fitness-Leather-Weight-Lifting-Dip-Belt-150x150.jpg
2021-02-12 19:36
32K
Dark-Iron-Fitness-Leather-Weight-Lifting-Dip-Belt-120x88.jpg
2021-02-12 19:36
30K
DMoose-Fitness-Dip-Belt-with-Chain.jpg
2021-02-12 19:37
56K
DMoose-Fitness-Dip-Belt-with-Chain-768x562.jpg
2021-10-20 14:34
54K
DMoose-Fitness-Dip-Belt-with-Chain-700x512.jpg
2021-10-20 14:34
50K
DMoose-Fitness-Dip-Belt-with-Chain-700x200.jpg
2021-10-20 14:34
42K
DMoose-Fitness-Dip-Belt-with-Chain-250x183.jpg
2021-02-12 19:37
30K
DMoose-Fitness-Dip-Belt-with-Chain-150x150.jpg
2021-02-12 19:37
29K
DMoose-Fitness-Dip-Belt-with-Chain-120x88.jpg
2021-02-12 19:37
27K
CompressionZ-arm-sleeves.jpg
2021-02-12 18:53
60K
CompressionZ-arm-sleeves-768x562.jpg
2021-10-20 14:33
42K
CompressionZ-arm-sleeves-700x512.jpg
2021-10-20 14:33
40K
CompressionZ-arm-sleeves-700x200.jpg
2021-02-12 18:53
32K
CompressionZ-arm-sleeves-250x183.jpg
2021-02-12 18:53
30K
CompressionZ-arm-sleeves-150x150.jpg
2021-02-12 18:53
29K
CompressionZ-arm-sleeves-120x88.jpg
2021-02-12 18:53
28K
Clout-Fitness-Quick-Release-collars.jpg
2021-03-12 07:01
87K
Clout-Fitness-Quick-Release-collars-768x562.jpg
2021-10-20 14:43
40K
Clout-Fitness-Quick-Release-collars-700x512.jpg
2021-10-20 14:43
36K
Clout-Fitness-Quick-Release-collars-700x200.jpg
2021-10-20 14:43
22K
Clout-Fitness-Quick-Release-collars-250x183.jpg
2021-03-12 07:01
16K
Clout-Fitness-Quick-Release-collars-150x150.jpg
2021-03-12 07:01
15K
Clout-Fitness-Quick-Release-collars-120x88.jpg
2021-03-12 07:01
13K
Ceiling-pull-up-bars-for-home-gym.jpg
2021-02-10 19:16
46K
Ceiling-pull-up-bars-for-home-gym-768x460.jpg
2021-02-10 19:16
52K
Ceiling-pull-up-bars-for-home-gym-700x419.jpg
2021-02-10 19:16
49K
Ceiling-pull-up-bars-for-home-gym-700x200.jpg
2021-02-10 19:16
36K
Ceiling-pull-up-bars-for-home-gym-250x150.jpg
2021-02-10 19:16
28K
Ceiling-pull-up-bars-for-home-gym-150x150.jpg
2021-02-10 19:16
25K
Ceiling-pull-up-bars-for-home-gym-120x72.jpg
2021-02-10 19:16
24K
CEP-Compression-Calf-Sleeves-3.jpg
2021-02-12 18:54
58K
CEP-Compression-Calf-Sleeves-3-768x562.jpg
2021-10-20 14:33
51K
CEP-Compression-Calf-Sleeves-3-700x512.jpg
2021-10-20 14:33
47K
CEP-Compression-Calf-Sleeves-3-700x200.jpg
2021-10-20 14:33
37K
CEP-Compression-Calf-Sleeves-3-250x183.jpg
2021-02-12 18:54
29K
CEP-Compression-Calf-Sleeves-3-150x150.jpg
2021-02-12 18:54
28K
CEP-Compression-Calf-Sleeves-3-120x88.jpg
2021-02-12 18:54
27K
CAP-Barbell-Olympic-2-Inch-Solid-Chrome-Bar-6-Foot.jpg
2021-02-23 18:42
58K
CAP-Barbell-Olympic-2-Inch-Solid-Chrome-Bar-6-Foot-768x562.jpg
2021-10-20 14:39
24K
CAP-Barbell-Olympic-2-Inch-Solid-Chrome-Bar-6-Foot-700x512.jpg
2021-10-20 14:39
21K
CAP-Barbell-Olympic-2-Inch-Solid-Chrome-Bar-6-Foot-700x200.jpg
2021-10-20 14:39
13K
CAP-Barbell-Olympic-2-Inch-Solid-Chrome-Bar-6-Foot-250x183.jpg
2021-02-23 18:42
9.4K
CAP-Barbell-Olympic-2-Inch-Solid-Chrome-Bar-6-Foot-150x150.jpg
2021-02-23 18:42
8.5K
CAP-Barbell-Olympic-2-Inch-Solid-Chrome-Bar-6-Foot-120x88.jpg
2021-02-23 18:42
7.5K
Brute-Belt-Nylon-Dip-Pullup-Squat-Belt.jpg
2021-02-12 19:38
53K
Brute-Belt-Nylon-Dip-Pullup-Squat-Belt-768x562.jpg
2021-10-20 14:34
49K
Brute-Belt-Nylon-Dip-Pullup-Squat-Belt-700x512.jpg
2021-10-20 14:34
46K
Brute-Belt-Nylon-Dip-Pullup-Squat-Belt-700x200.jpg
2021-10-20 14:34
43K
Brute-Belt-Nylon-Dip-Pullup-Squat-Belt-250x183.jpg
2021-02-12 19:38
31K
Brute-Belt-Nylon-Dip-Pullup-Squat-Belt-150x150.jpg
2021-02-12 19:38
29K
Brute-Belt-Nylon-Dip-Pullup-Squat-Belt-120x88.jpg
2021-02-12 19:38
28K
Body-Solid-ProClubLine-Leg-Press-Machine-Weight-Stack-.jpg
2021-02-19 07:07
96K
Body-Solid-ProClubLine-Leg-Press-Machine-Weight-Stack--768x562.jpg
2021-10-20 14:39
44K
Body-Solid-ProClubLine-Leg-Press-Machine-Weight-Stack--700x512.jpg
2021-10-20 14:39
40K
Body-Solid-ProClubLine-Leg-Press-Machine-Weight-Stack--700x200.jpg
2021-02-19 07:07
24K
Body-Solid-ProClubLine-Leg-Press-Machine-Weight-Stack--250x183.jpg
2021-02-19 07:07
17K
Body-Solid-ProClubLine-Leg-Press-Machine-Weight-Stack--150x150.jpg
2021-02-19 07:07
15K
Body-Solid-ProClubLine-Leg-Press-Machine-Weight-Stack--120x88.jpg
2021-02-19 07:07
13K
Body-Solid-DLEC-Pro.jpg
2021-02-05 16:21
50K
Body-Solid-DLEC-Pro-643x200.jpg
2021-02-05 16:21
33K
Body-Solid-DLEC-Pro-250x271.jpg
2021-02-08 13:19
33K
Body-Solid-DLEC-Pro-150x150.jpg
2021-02-05 16:21
28K
Body-Solid-DLEC-Pro-120x130.jpg
2021-02-05 16:21
27K
Body-Solid-DLEC-Pro-1.jpg
2021-02-09 07:42
53K
Body-Solid-DLEC-Pro-1-768x562.jpg
2021-10-20 14:31
56K
Body-Solid-DLEC-Pro-1-700x512.jpg
2021-10-20 14:31
52K
Body-Solid-DLEC-Pro-1-700x200.jpg
2021-10-20 14:31
42K
Body-Solid-DLEC-Pro-1-250x183.jpg
2021-02-09 07:42
35K
Body-Solid-DLEC-Pro-1-150x150.jpg
2021-02-09 07:42
34K
Body-Solid-DLEC-Pro-1-120x88.jpg
2021-02-09 07:42
32K
Bike-mat-thickness-for-noise-and-stability.jpg
2021-02-16 08:16
91K
Bike-mat-thickness-for-noise-and-stability-scaled.jpg
2021-10-20 14:37
118K
Bike-mat-thickness-for-noise-and-stability-2048x1501.jpg
2021-10-20 14:37
126K
Bike-mat-thickness-for-noise-and-stability-1536x1125.jpg
2021-10-20 14:37
95K
Bike-mat-thickness-for-noise-and-stability-768x563.jpg
2021-10-20 14:37
57K
Bike-mat-thickness-for-noise-and-stability-700x513.jpg
2021-10-20 14:37
53K
Bike-mat-thickness-for-noise-and-stability-700x200.jpg
2021-02-16 08:16
42K
Bike-mat-thickness-for-noise-and-stability-250x183.jpg
2021-02-16 08:16
37K
Bike-mat-thickness-for-noise-and-stability-150x150.jpg
2021-02-16 08:16
35K
Bike-mat-thickness-for-noise-and-stability-120x88.jpg
2021-02-16 08:16
34K
Bike-mat-thickness-for-noise-and-stability-1.jpg
2021-02-16 19:00
194K
Bike-mat-thickness-for-noise-and-stability-1-scaled.jpg
2021-10-20 14:37
145K
Bike-mat-thickness-for-noise-and-stability-1-2048x1501.jpg
2021-10-20 14:37
155K
Bike-mat-thickness-for-noise-and-stability-1-1536x1125.jpg
2021-10-20 14:37
115K
Bike-mat-thickness-for-noise-and-stability-1-768x563.jpg
2021-10-20 14:37
67K
Bike-mat-thickness-for-noise-and-stability-1-700x513.jpg
2021-10-20 14:37
63K
Bike-mat-thickness-for-noise-and-stability-1-700x200.jpg
2021-02-16 19:00
48K
Bike-mat-thickness-for-noise-and-stability-1-250x183.jpg
2021-02-16 19:00
43K
Bike-mat-thickness-for-noise-and-stability-1-150x150.jpg
2021-02-16 19:00
40K
Bike-mat-thickness-for-noise-and-stability-1-120x88.jpg
2021-02-16 19:00
39K
Bike-mat-size-for-exercise-bike.jpg
2021-02-16 19:02
115K
Bike-mat-size-for-exercise-bike-635x200.jpg
2021-02-16 19:02
59K
Bike-mat-size-for-exercise-bike-250x183.jpg
2021-02-16 19:02
52K
Bike-mat-size-for-exercise-bike-150x150.jpg
2021-02-16 19:02
48K
Bike-mat-size-for-exercise-bike-120x88.jpg
2021-02-16 19:02
45K
Bike-mat-for-indoor-exercise-bike.jpg
2021-02-10 19:13
65K
Bike-mat-for-indoor-exercise-bike-768x460.jpg
2021-02-12 07:58
75K
Bike-mat-for-indoor-exercise-bike-700x419.jpg
2021-02-12 07:58
70K
Bike-mat-for-indoor-exercise-bike-700x200.jpg
2021-02-12 07:58
47K
Bike-mat-for-indoor-exercise-bike-250x150.jpg
2021-02-10 19:13
34K
Bike-mat-for-indoor-exercise-bike-150x150.jpg
2021-02-10 19:13
32K
Bike-mat-for-indoor-exercise-bike-120x72.jpg
2021-02-10 19:13
29K
Bike-mat-foam-rubber-PVC.jpg
2021-02-16 19:01
364K
Bike-mat-foam-rubber-PVC-scaled.jpg
2021-02-16 19:01
240K
Bike-mat-foam-rubber-PVC-2048x1501.jpg
2021-02-16 19:01
255K
Bike-mat-foam-rubber-PVC-1536x1125.jpg
2021-02-16 19:01
185K
Bike-mat-foam-rubber-PVC-768x563.jpg
2021-02-16 19:01
87K
Bike-mat-foam-rubber-PVC-700x513.jpg
2021-02-16 19:01
81K
Bike-mat-foam-rubber-PVC-700x200.jpg
2021-02-16 19:01
54K
Bike-mat-foam-rubber-PVC-250x183.jpg
2021-02-16 19:01
42K
Bike-mat-foam-rubber-PVC-150x150.jpg
2021-02-16 19:01
38K
Bike-mat-foam-rubber-PVC-120x88.jpg
2021-02-16 19:01
37K
Barbell-collars-vs-clamps-1-1.jpg
2021-03-12 07:10
1.2M
Barbell-collars-vs-clamps-1-1-scaled.jpg
2021-10-20 14:44
836K
Barbell-collars-vs-clamps-1-1-2048x1495.jpg
2021-10-20 14:44
860K
Barbell-collars-vs-clamps-1-1-1536x1121.jpg
2021-10-20 14:44
768K
Barbell-collars-vs-clamps-1-1-768x560.jpg
2021-10-20 14:44
650K
Barbell-collars-vs-clamps-1-1-700x511.jpg
2021-10-20 14:44
642K
Barbell-collars-vs-clamps-1-1-700x200.jpg
2021-03-12 07:10
609K
Barbell-collars-vs-clamps-1-1-250x182.jpg
2021-03-12 07:10
593K
Barbell-collars-vs-clamps-1-1-150x150.jpg
2021-03-12 07:10
588K
Barbell-collars-vs-clamps-1-1-120x88.jpg
2021-03-12 07:10
584K
Barbell-collars-vs-clamps-.jpg
2021-03-12 07:05
830K
Barbell-collars-vs-clamps--scaled.jpg
2021-10-20 14:43
849K
Barbell-collars-vs-clamps--1536x1121.jpg
2021-10-20 14:43
776K
Barbell-collars-vs-clamps--768x561.jpg
2021-10-20 14:43
651K
Barbell-collars-vs-clamps--700x511.jpg
2021-10-20 14:43
642K
Barbell-collars-vs-clamps--700x200.jpg
2021-03-12 07:05
610K
Barbell-collars-vs-clamps--250x183.jpg
2021-03-12 07:05
593K
Barbell-collars-vs-clamps--150x150.jpg
2021-03-12 07:05
588K
Barbell-collars-vs-clamps--120x88.jpg
2021-03-12 07:05
584K
Barbell-collars-size-on-barbell-sleeve.jpg
2021-03-12 07:08
222K
Barbell-collars-size-on-barbell-sleeve-scaled.jpg
2021-03-12 07:08
224K
Barbell-collars-size-on-barbell-sleeve-2048x1501.jpg
2021-03-12 07:08
239K
Barbell-collars-size-on-barbell-sleeve-1536x1125.jpg
2021-03-12 07:08
187K
Barbell-collars-size-on-barbell-sleeve-768x563.jpg
2021-03-12 07:08
123K
Barbell-collars-size-on-barbell-sleeve-700x513.jpg
2021-03-12 07:08
119K
Barbell-collars-size-on-barbell-sleeve-700x200.jpg
2021-03-12 07:08
104K
Barbell-collars-size-on-barbell-sleeve-250x183.jpg
2021-03-12 07:08
93K
Barbell-collars-size-on-barbell-sleeve-150x150.jpg
2021-03-12 07:08
91K
Barbell-collars-size-on-barbell-sleeve-120x88.jpg
2021-03-12 07:08
88K
Barbell-collars-for-deadlifts.jpg
2021-02-11 17:25
67K
Barbell-collars-for-deadlifts-steel.jpg
2021-03-12 07:08
344K
Barbell-collars-for-deadlifts-steel-scaled.jpg
2021-03-12 07:08
368K
Barbell-collars-for-deadlifts-steel-2048x1501.jpg
2021-10-20 14:44
398K
Barbell-collars-for-deadlifts-steel-1536x1125.jpg
2021-10-20 14:44
292K
Barbell-collars-for-deadlifts-steel-768x563.jpg
2021-10-20 14:44
161K
Barbell-collars-for-deadlifts-steel-700x513.jpg
2021-10-20 14:44
152K
Barbell-collars-for-deadlifts-steel-700x200.jpg
2021-03-12 07:08
112K
Barbell-collars-for-deadlifts-steel-250x183.jpg
2021-03-12 07:08
101K
Barbell-collars-for-deadlifts-steel-150x150.jpg
2021-03-12 07:08
95K
Barbell-collars-for-deadlifts-steel-120x88.jpg
2021-03-12 07:08
92K
Barbell-collars-for-deadlifts-768x460.jpg
2021-10-20 14:33
61K
Barbell-collars-for-deadlifts-700x419.jpg
2021-10-20 14:33
56K
Barbell-collars-for-deadlifts-700x200.jpg
2021-10-20 14:33
39K
Barbell-collars-for-deadlifts-250x150.jpg
2021-02-11 17:25
28K
Barbell-collars-for-deadlifts-150x150.jpg
2021-02-11 17:25
26K
Barbell-collars-for-deadlifts-120x72.jpg
2021-02-11 17:25
24K
Barbell-collars-breaking-accident.jpg
2021-03-12 07:08
320K
Barbell-collars-breaking-accident-scaled.jpg
2021-10-20 14:44
352K
Barbell-collars-breaking-accident-2048x1501.jpg
2021-10-20 14:44
378K
Barbell-collars-breaking-accident-1536x1125.jpg
2021-10-20 14:44
277K
Barbell-collars-breaking-accident-768x563.jpg
2021-10-20 14:44
154K
Barbell-collars-breaking-accident-700x513.jpg
2021-10-20 14:44
145K
Barbell-collars-breaking-accident-700x200.jpg
2021-10-20 14:44
112K
Barbell-collars-breaking-accident-250x183.jpg
2021-10-20 14:44
97K
Barbell-collars-breaking-accident-150x150.jpg
2021-03-12 07:08
91K
Barbell-collars-breaking-accident-120x88.jpg
2021-03-12 07:08
88K
Barbell-collars-breaking-accident-1.jpg
2021-03-12 07:19
319K
Barbell-collars-breaking-accident-1-scaled.jpg
2021-10-20 14:45
351K
Barbell-collars-breaking-accident-1-2048x1501.jpg
2021-10-20 14:44
377K
Barbell-collars-breaking-accident-1-1536x1125.jpg
2021-10-20 14:44
277K
Barbell-collars-breaking-accident-1-768x563.jpg
2021-10-20 14:44
154K
Barbell-collars-breaking-accident-1-700x513.jpg
2021-10-20 14:44
145K
Barbell-collars-breaking-accident-1-700x200.jpg
2021-10-20 14:44
113K
Barbell-collars-breaking-accident-1-250x183.jpg
2021-10-20 14:44
97K
Barbell-collars-breaking-accident-1-150x150.jpg
2021-03-12 07:19
91K
Barbell-collars-breaking-accident-1-120x88.jpg
2021-03-12 07:19
88K
BalanceFrom-Puzzle-Exercise-Mat.jpg
2021-02-05 17:19
53K
BalanceFrom-Puzzle-Exercise-Mat-643x200.jpg
2021-02-05 17:19
39K
BalanceFrom-Puzzle-Exercise-Mat-250x271.jpg
2021-02-08 13:20
31K
BalanceFrom-Puzzle-Exercise-Mat-150x150.jpg
2021-02-05 17:19
28K
BalanceFrom-Puzzle-Exercise-Mat-120x130.jpg
2021-02-05 17:19
27K
BalanceFrom-Puzzle-Exercise-Mat-1.jpg
2021-02-06 16:49
40K
BalanceFrom-Puzzle-Exercise-Mat-1-768x562.jpg
2021-02-08 13:27
47K
BalanceFrom-Puzzle-Exercise-Mat-1-700x512.jpg
2021-02-08 13:27
44K
BalanceFrom-Puzzle-Exercise-Mat-1-700x200.jpg
2021-02-08 13:27
39K
BalanceFrom-Puzzle-Exercise-Mat-1-250x183.jpg
2021-02-06 16:49
27K
BalanceFrom-Puzzle-Exercise-Mat-1-150x150.jpg
2021-02-06 16:49
26K
BalanceFrom-Puzzle-Exercise-Mat-1-120x88.jpg
2021-02-06 16:49
25K
Balance-boards-Rocker-board-vs.-Wobble-board.jpg
2021-03-02 05:52
1.2M
Balance-boards-Rocker-board-vs.-Wobble-board-scaled.jpg
2021-10-20 14:40
807K
Balance-boards-Rocker-board-vs.-Wobble-board-2048x1513.jpg
2021-10-20 14:40
831K
Balance-boards-Rocker-board-vs.-Wobble-board-1536x1135.jpg
2021-10-20 14:40
742K
Balance-boards-Rocker-board-vs.-Wobble-board-768x567.jpg
2021-10-20 14:40
637K
Balance-boards-Rocker-board-vs.-Wobble-board-700x517.jpg
2021-10-20 14:40
630K
Balance-boards-Rocker-board-vs.-Wobble-board-700x200.jpg
2021-03-02 05:52
592K
Balance-boards-Rocker-board-vs.-Wobble-board-250x185.jpg
2021-03-02 05:52
588K
Balance-boards-Rocker-board-vs.-Wobble-board-150x150.jpg
2021-03-02 05:52
583K
Balance-boards-Rocker-board-vs.-Wobble-board-120x89.jpg
2021-03-02 05:52
580K
Balance-board-wood-vs-plastic.jpg
2021-03-02 06:01
1.1M
Balance-board-wood-vs-plastic-scaled.jpg
2021-10-20 14:40
156K
Balance-board-wood-vs-plastic-1536x1125.jpg
2021-10-20 14:40
122K
Balance-board-wood-vs-plastic-768x563.jpg
2021-10-20 14:40
64K
Balance-board-wood-vs-plastic-700x513.jpg
2021-10-20 14:40
60K
Balance-board-wood-vs-plastic-700x200.jpg
2021-10-20 14:40
49K
Balance-board-wood-vs-plastic-250x183.jpg
2021-03-02 06:01
38K
Balance-board-wood-vs-plastic-150x150.jpg
2021-03-02 06:01
35K
Balance-board-wood-vs-plastic-120x88.jpg
2021-03-02 06:01
34K
Balance-board-wobble-board-for-core-strength.jpg
2021-02-17 07:38
78K
Balance-board-wobble-board-for-core-strength-768x460.jpg
2021-02-17 07:38
68K
Balance-board-wobble-board-for-core-strength-700x419.jpg
2021-02-17 07:38
63K
Balance-board-wobble-board-for-core-strength-700x200.jpg
2021-02-17 07:38
44K
Balance-board-wobble-board-for-core-strength-250x150.jpg
2021-02-17 07:38
31K
Balance-board-wobble-board-for-core-strength-150x150.jpg
2021-02-17 07:38
29K
Balance-board-wobble-board-for-core-strength-120x72.jpg
2021-02-17 07:38
25K
Balance-board-wobble-board-for-core-strength-1.jpg
2021-02-17 07:42
120K
Balance-board-wobble-board-for-core-strength-1-768x460.jpg
2021-02-17 07:42
72K
Balance-board-wobble-board-for-core-strength-1-700x419.jpg
2021-02-17 07:42
66K
Balance-board-wobble-board-for-core-strength-1-700x200.jpg
2021-02-17 07:42
46K
Balance-board-wobble-board-for-core-strength-1-250x150.jpg
2021-02-17 07:42
32K
Balance-board-wobble-board-for-core-strength-1-150x150.jpg
2021-02-17 07:42
29K
Balance-board-wobble-board-for-core-strength-1-120x72.jpg
2021-02-17 07:42
25K
Balance-board-deck-.jpg
2021-03-02 06:02
1.5M
Balance-board-deck--scaled.jpg
2021-10-20 14:41
239K
Balance-board-deck--1536x1125.jpg
2021-10-20 14:40
181K
Balance-board-deck--768x563.jpg
2021-10-20 14:40
84K
Balance-board-deck--700x513.jpg
2021-10-20 14:40
77K
Balance-board-deck--700x200.jpg
2021-10-20 14:40
55K
Balance-board-deck--250x183.jpg
2021-03-02 06:02
38K
Balance-board-deck--150x150.jpg
2021-03-02 06:02
35K
Balance-board-deck--120x88.jpg
2021-03-02 06:02
33K
Balance-board-adjustable-difficulty-level.jpg
2021-03-02 06:03
1.7M
Balance-board-adjustable-difficulty-level-scaled.jpg
2021-10-20 14:41
268K
Balance-board-adjustable-difficulty-level-1536x1125.jpg
2021-10-20 14:41
206K
Balance-board-adjustable-difficulty-level-768x563.jpg
2021-10-20 14:41
99K
Balance-board-adjustable-difficulty-level-700x513.jpg
2021-10-20 14:41
91K
Balance-board-adjustable-difficulty-level-700x200.jpg
2021-10-20 14:41
55K
Balance-board-adjustable-difficulty-level-250x183.jpg
2021-03-02 06:03
47K
Balance-board-adjustable-difficulty-level-150x150.jpg
2021-03-02 06:04
43K
Balance-board-adjustable-difficulty-level-120x88.jpg
2021-03-02 06:04
40K
BDL-Wall-Mounted-Pull-Up-Bar.jpg
2021-02-12 19:00
57K
BDL-Wall-Mounted-Pull-Up-Bar-768x562.jpg
2021-10-20 14:33
50K
BDL-Wall-Mounted-Pull-Up-Bar-700x512.jpg
2021-10-20 14:33
48K
BDL-Wall-Mounted-Pull-Up-Bar-700x200.jpg
2021-10-20 14:33
38K
BDL-Wall-Mounted-Pull-Up-Bar-250x183.jpg
2021-02-12 19:00
34K
BDL-Wall-Mounted-Pull-Up-Bar-150x150.jpg
2021-02-12 19:00
33K
BDL-Wall-Mounted-Pull-Up-Bar-120x88.jpg
2021-02-12 19:00
31K
Arch-supports-water-test-for-arch-type.jpg
2021-03-12 07:13
655K
Arch-supports-water-test-for-arch-type-scaled.jpg
2021-10-20 14:44
104K
Arch-supports-water-test-for-arch-type-1536x1125.jpg
2021-10-20 14:44
83K
Arch-supports-water-test-for-arch-type-768x563.jpg
2021-10-20 14:44
45K
Arch-supports-water-test-for-arch-type-700x513.jpg
2021-10-20 14:44
42K
Arch-supports-water-test-for-arch-type-700x200.jpg
2021-03-12 07:14
23K
Arch-supports-water-test-for-arch-type-250x183.jpg
2021-03-12 07:14
23K
Arch-supports-water-test-for-arch-type-150x150.jpg
2021-03-12 07:14
19K
Arch-supports-water-test-for-arch-type-120x88.jpg
2021-03-12 07:14
18K
Arch-support-without-odor-and-smell.jpg
2021-03-12 07:14
357K
Arch-support-without-odor-and-smell-scaled.jpg
2021-10-20 14:44
137K
Arch-support-without-odor-and-smell-2048x1501.jpg
2021-10-20 14:44
147K
Arch-support-without-odor-and-smell-1536x1125.jpg
2021-10-20 14:44
110K
Arch-support-without-odor-and-smell-768x563.jpg
2021-10-20 14:44
63K
Arch-support-without-odor-and-smell-700x513.jpg
2021-10-20 14:44
59K
Arch-support-without-odor-and-smell-700x200.jpg
2021-10-20 14:44
42K
Arch-support-without-odor-and-smell-250x183.jpg
2021-03-12 07:14
37K
Arch-support-without-odor-and-smell-150x150.jpg
2021-03-12 07:14
34K
Arch-support-without-odor-and-smell-120x88.jpg
2021-03-12 07:14
32K
Arch-support-gel-vs-rubber-material.jpg
2021-03-12 07:15
237K
Arch-support-gel-vs-rubber-material-scaled.jpg
2021-10-20 14:44
260K
Arch-support-gel-vs-rubber-material-2048x1501.jpg
2021-10-20 14:44
283K
Arch-support-gel-vs-rubber-material-1536x1125.jpg
2021-10-20 14:44
195K
Arch-support-gel-vs-rubber-material-768x563.jpg
2021-10-20 14:44
89K
Arch-support-gel-vs-rubber-material-700x513.jpg
2021-10-20 14:44
82K
Arch-support-gel-vs-rubber-material-700x200.jpg
2021-03-12 07:15
58K
Arch-support-gel-vs-rubber-material-250x183.jpg
2021-03-12 07:15
45K
Arch-support-gel-vs-rubber-material-150x150.jpg
2021-03-12 07:15
40K
Arch-support-gel-vs-rubber-material-120x88.jpg
2021-03-12 07:15
38K
Arch-support-for-foot-pain.jpg
2021-02-17 07:43
90K
Arch-support-for-foot-pain-768x460.jpg
2021-02-17 07:43
54K
Arch-support-for-foot-pain-700x419.jpg
2021-02-17 07:43
50K
Arch-support-for-foot-pain-700x200.jpg
2021-02-17 07:43
40K
Arch-support-for-foot-pain-250x150.jpg
2021-02-17 07:43
30K
Arch-support-for-foot-pain-150x150.jpg
2021-02-17 07:43
28K
Arch-support-for-foot-pain-120x72.jpg
2021-02-17 07:43
26K
Ankle-braces-sweat-resistant-and-breathable.jpg
2021-02-26 06:01
891K
Ankle-braces-sweat-resistant-and-breathable-scaled.jpg
2021-10-20 14:39
133K
Ankle-braces-sweat-resistant-and-breathable-1536x1123.jpg
2021-10-20 14:39
103K
Ankle-braces-sweat-resistant-and-breathable-768x562.jpg
2021-10-20 14:39
49K
Ankle-braces-sweat-resistant-and-breathable-700x512.jpg
2021-10-20 14:39
45K
Ankle-braces-sweat-resistant-and-breathable-700x200.jpg
2021-10-20 14:39
29K
Ankle-braces-sweat-resistant-and-breathable-250x183.jpg
2021-02-26 06:01
22K
Ankle-braces-sweat-resistant-and-breathable-150x150.jpg
2021-02-26 06:01
19K
Ankle-braces-sweat-resistant-and-breathable-120x88.jpg
2021-02-26 06:01
17K
Ankle-braces-sleeves-vs-straps-vs-lace-up.jpg
2021-02-26 06:00
490K
Ankle-braces-sleeves-vs-straps-vs-lace-up-scaled.jpg
2021-10-20 14:39
190K
Ankle-braces-sleeves-vs-straps-vs-lace-up-2048x1501.jpg
2021-10-20 14:39
206K
Ankle-braces-sleeves-vs-straps-vs-lace-up-1536x1126.jpg
2021-10-20 14:39
151K
Ankle-braces-sleeves-vs-straps-vs-lace-up-768x563.jpg
2021-10-20 14:39
79K
Ankle-braces-sleeves-vs-straps-vs-lace-up-700x513.jpg
2021-10-20 14:39
73K
Ankle-braces-sleeves-vs-straps-vs-lace-up-700x200.jpg
2021-10-20 14:39
56K
Ankle-braces-sleeves-vs-straps-vs-lace-up-250x183.jpg
2021-02-26 06:00
46K
Ankle-braces-sleeves-vs-straps-vs-lace-up-150x150.jpg
2021-02-26 06:00
42K
Ankle-braces-sleeves-vs-straps-vs-lace-up-120x88.jpg
2021-02-26 06:00
40K
Ankle-brace-for-injury-prevention-at-gym.jpg
2021-02-17 07:37
58K
Ankle-brace-for-injury-prevention-at-gym-768x460.jpg
2021-10-20 14:38
79K
Ankle-brace-for-injury-prevention-at-gym-700x419.jpg
2021-10-20 14:38
73K
Ankle-brace-for-injury-prevention-at-gym-700x200.jpg
2021-10-20 14:38
46K
Ankle-brace-for-injury-prevention-at-gym-250x150.jpg
2021-02-17 07:37
31K
Ankle-brace-for-injury-prevention-at-gym-150x150.jpg
2021-02-17 07:37
28K
Ankle-brace-for-injury-prevention-at-gym-120x72.jpg
2021-02-17 07:37
24K
AlrensTM-Silver-6-Pcs-Squares.jpg
2021-02-04 19:25
43K
AlrensTM-Silver-6-Pcs-Squares-643x200.jpg
2021-02-04 19:25
29K
AlrensTM-Silver-6-Pcs-Squares-250x271.jpg
2021-02-04 19:25
32K
AlrensTM-Silver-6-Pcs-Squares-150x150.jpg
2021-02-04 19:25
27K
AlrensTM-Silver-6-Pcs-Squares-120x130.jpg
2021-02-04 19:25
26K
AlrensTM-Silver-6-Pcs-Squares-1.jpg
2021-02-06 16:31
45K
AlrensTM-Silver-6-Pcs-Squares-1-768x562.jpg
2021-02-06 16:31
55K
AlrensTM-Silver-6-Pcs-Squares-1-700x512.jpg
2021-02-06 16:31
51K
AlrensTM-Silver-6-Pcs-Squares-1-700x200.jpg
2021-02-06 16:31
36K
AlrensTM-Silver-6-Pcs-Squares-1-250x183.jpg
2021-02-06 16:31
31K
AlrensTM-Silver-6-Pcs-Squares-1-150x150.jpg
2021-02-06 16:31
29K
AlrensTM-Silver-6-Pcs-Squares-1-120x88.jpg
2021-02-06 16:31
27K
Advantage-Rigging-Chain-Package.jpg
2021-02-06 16:17
53K
Advantage-Rigging-Chain-Package-768x562.jpg
2021-02-08 13:21
59K
Advantage-Rigging-Chain-Package-700x512.jpg
2021-02-08 13:21
54K
Advantage-Rigging-Chain-Package-700x200.jpg
2021-02-08 13:21
45K
Advantage-Rigging-Chain-Package-250x183.jpg
2021-02-06 16:17
31K
Advantage-Rigging-Chain-Package-150x150.jpg
2021-02-06 16:17
29K
Advantage-Rigging-Chain-Package-120x88.jpg
2021-02-06 16:17
27K
Adidas-Adipower-II.jpg
2021-02-15 19:00
78K
Adidas-Adipower-II-768x562.jpg
2021-10-20 14:37
48K
Adidas-Adipower-II-700x512.jpg
2021-10-20 14:37
45K
Adidas-Adipower-II-700x200.jpg
2021-10-20 14:37
40K
Adidas-Adipower-II-250x183.jpg
2021-02-15 19:00
28K
Adidas-Adipower-II-150x150.jpg
2021-02-15 19:00
27K
Adidas-Adipower-II-120x88.jpg
2021-02-15 19:00
26K
Ader-Fitness-Weight-Lifting-Chain-Set.jpg
2021-02-06 16:18
59K
Ader-Fitness-Weight-Lifting-Chain-Set-768x562.jpg
2021-02-08 13:21
59K
Ader-Fitness-Weight-Lifting-Chain-Set-700x512.jpg
2021-02-08 13:21
54K
Ader-Fitness-Weight-Lifting-Chain-Set-700x200.jpg
2021-02-08 13:21
39K
Ader-Fitness-Weight-Lifting-Chain-Set-250x183.jpg
2021-02-08 13:21
32K
Ader-Fitness-Weight-Lifting-Chain-Set-150x150.jpg
2021-02-06 16:18
31K
Ader-Fitness-Weight-Lifting-Chain-Set-120x88.jpg
2021-02-06 16:18
28K
Acrylic-gym-mirrors-with-frame.jpg
2021-02-04 19:19
46K
Acrylic-gym-mirrors-with-frame-768x460.jpg
2021-02-08 13:13
69K
Acrylic-gym-mirrors-with-frame-700x419.jpg
2021-02-08 13:13
64K
Acrylic-gym-mirrors-with-frame-700x200.jpg
2021-02-08 13:13
46K
Acrylic-gym-mirrors-with-frame-250x150.jpg
2021-02-08 13:13
30K
Acrylic-gym-mirrors-with-frame-150x150.jpg
2021-02-04 19:19
27K
Acrylic-gym-mirrors-with-frame-120x72.jpg
2021-02-04 19:19
24K
A-good-leg-curl-machine-must-be-adjustable..jpg
2021-02-01 19:26
225K
A-good-leg-curl-machine-must-be-adjustable.-scaled.jpg
2021-02-01 19:26
386K
A-good-leg-curl-machine-must-be-adjustable.-2048x1501.jpg
2021-02-08 13:11
406K
A-good-leg-curl-machine-must-be-adjustable.-1536x1125.jpg
2021-02-08 13:11
294K
A-good-leg-curl-machine-must-be-adjustable.-768x563.jpg
2021-02-08 13:11
155K
A-good-leg-curl-machine-must-be-adjustable.-700x513.jpg
2021-02-08 13:11
145K
A-good-leg-curl-machine-must-be-adjustable.-700x200.jpg
2021-02-08 13:11
107K
A-good-leg-curl-machine-must-be-adjustable.-250x183.jpg
2021-02-08 13:11
95K
A-good-leg-curl-machine-must-be-adjustable.-150x150.jpg
2021-02-08 13:11
91K
A-good-leg-curl-machine-must-be-adjustable.-120x88.jpg
2021-02-01 19:26
88K
A-good-leg-curl-machine-must-be-adjustable.-1.jpg
2021-02-12 06:31
257K
A-good-leg-curl-machine-must-be-adjustable.-1-635x200.jpg
2021-02-12 08:32
112K
A-good-leg-curl-machine-must-be-adjustable.-1-250x183.jpg
2021-02-12 08:32
97K
A-good-leg-curl-machine-must-be-adjustable.-1-150x150.jpg
2021-02-12 06:31
92K
A-good-leg-curl-machine-must-be-adjustable.-1-120x88.jpg
2021-02-12 06:31
89K
Apache/2.4.29 (Ubuntu) Server at chiliguides.com Port 443
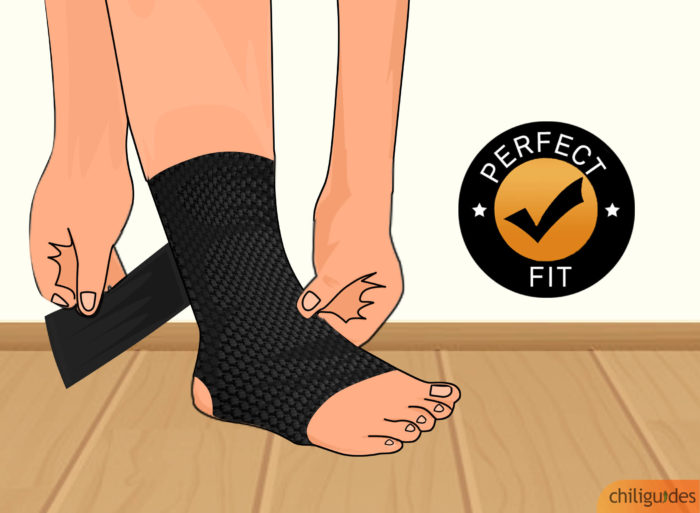
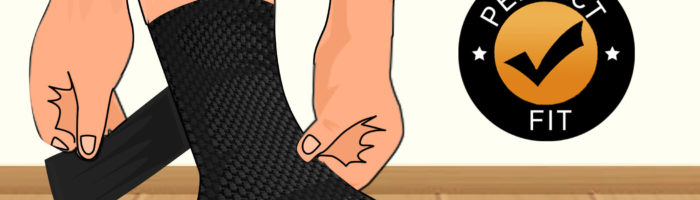
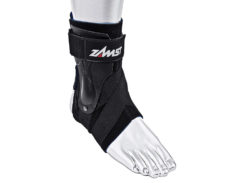
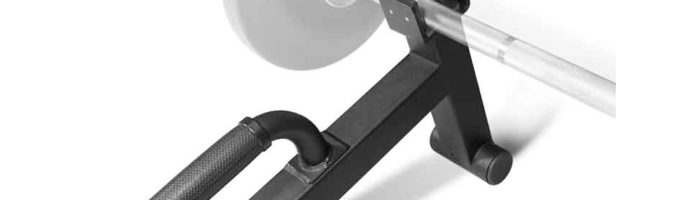
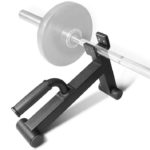
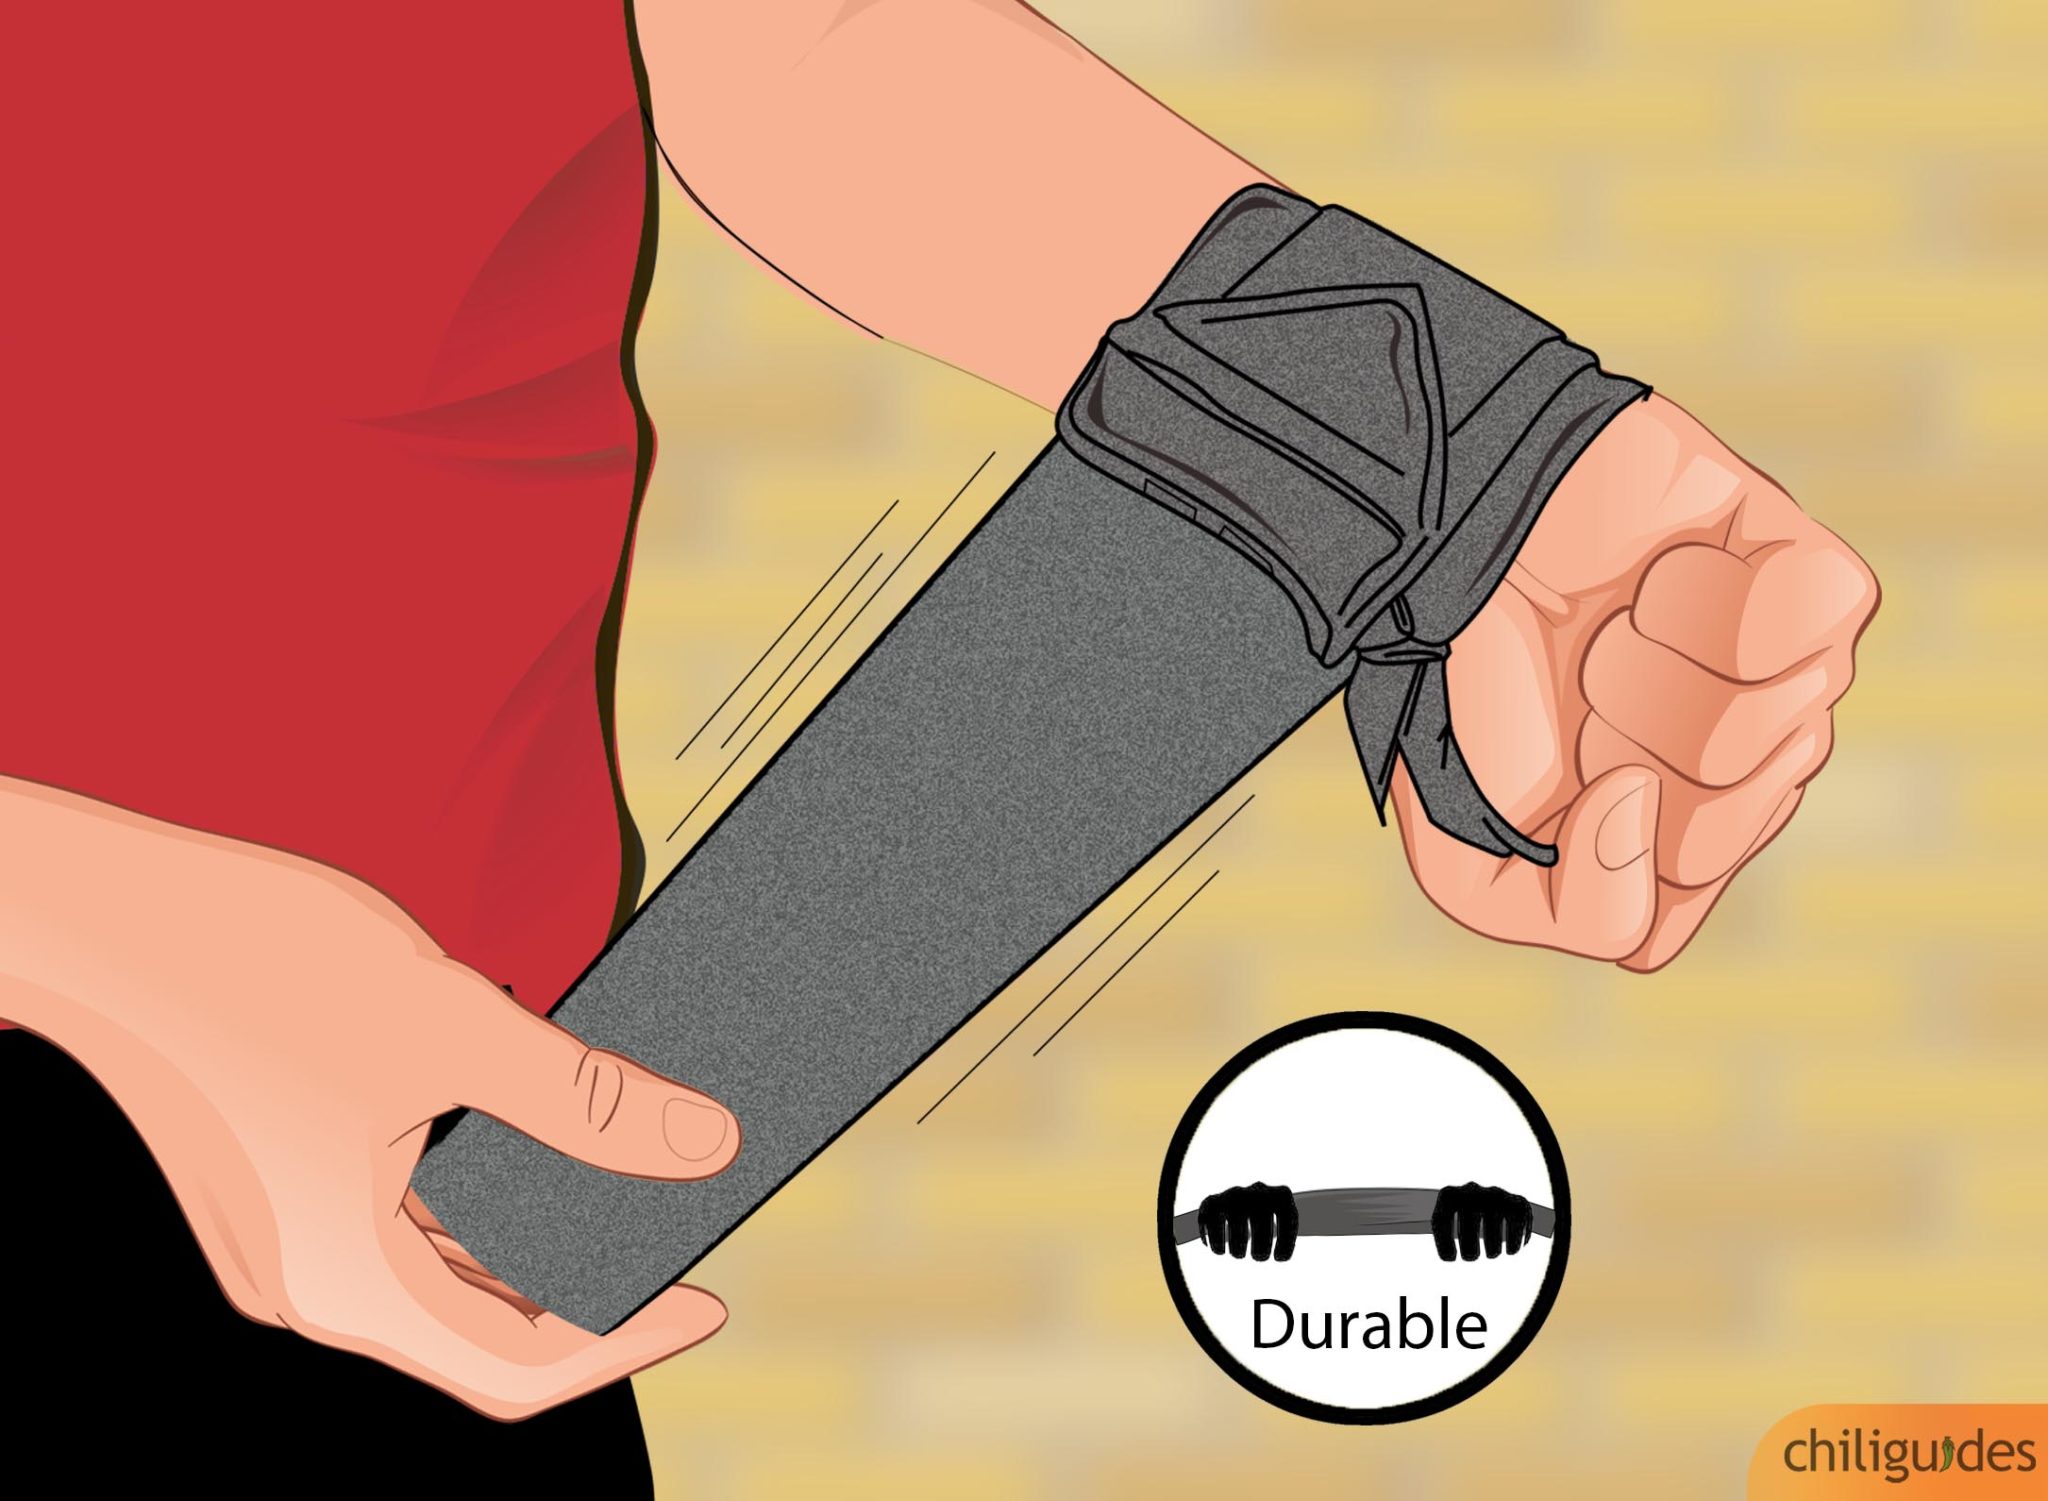
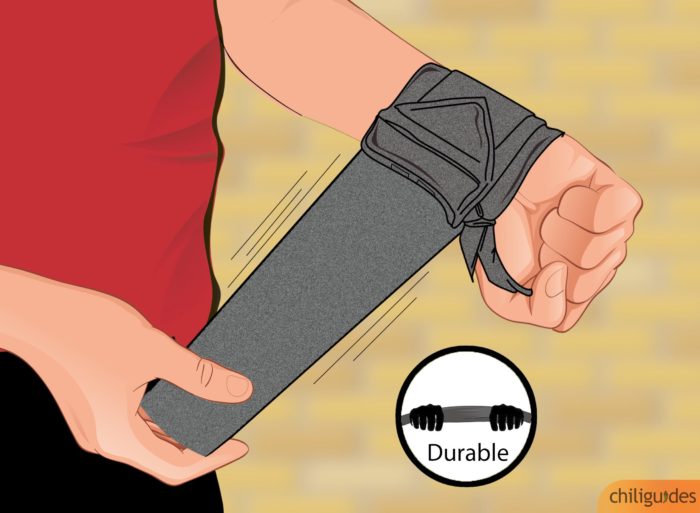
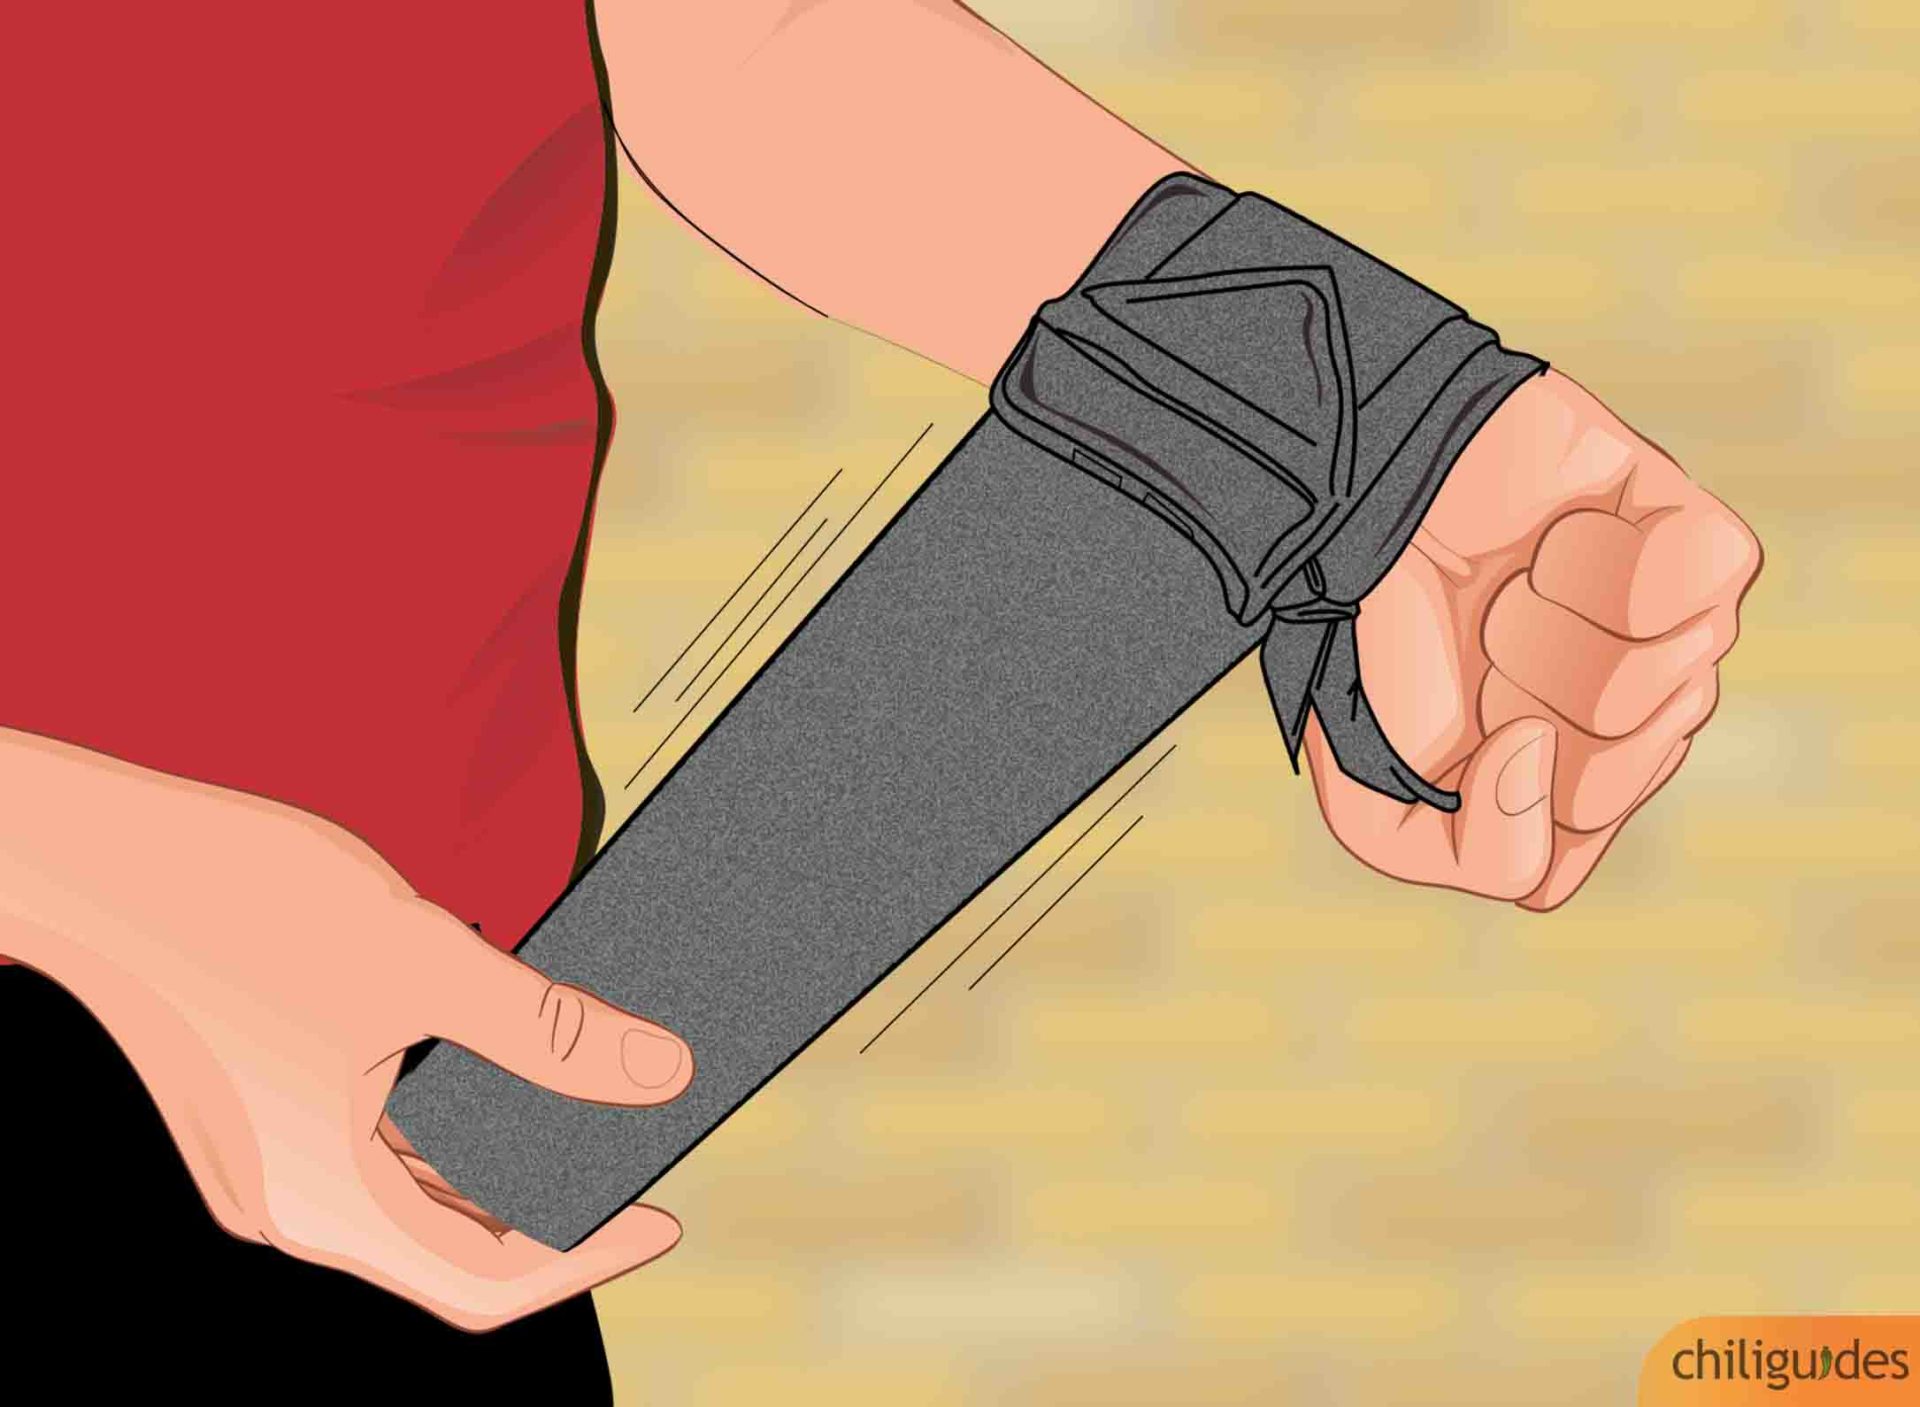
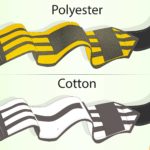
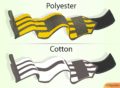
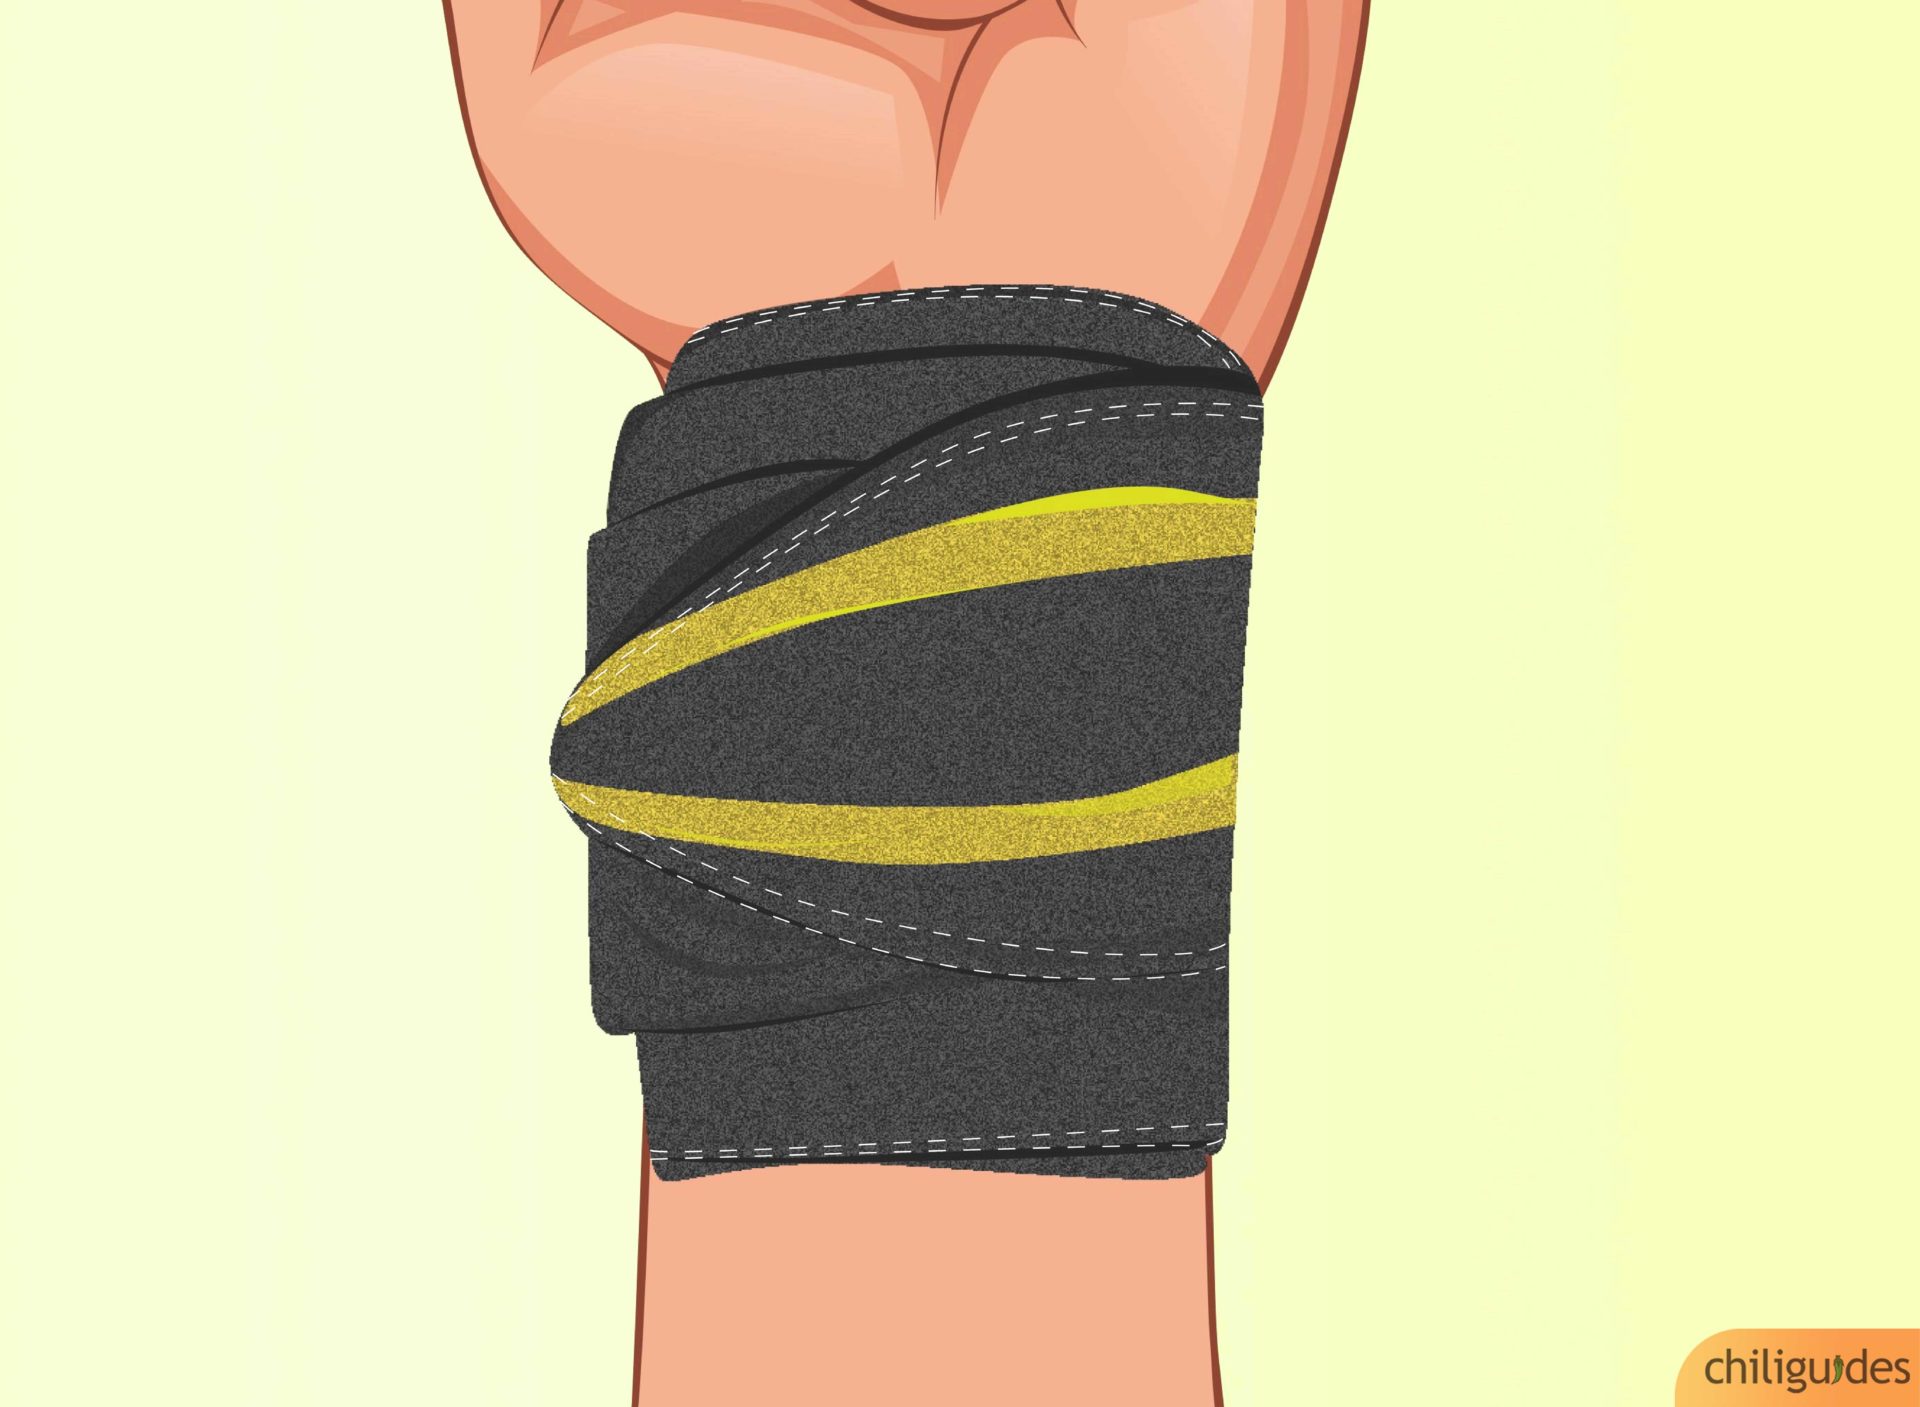
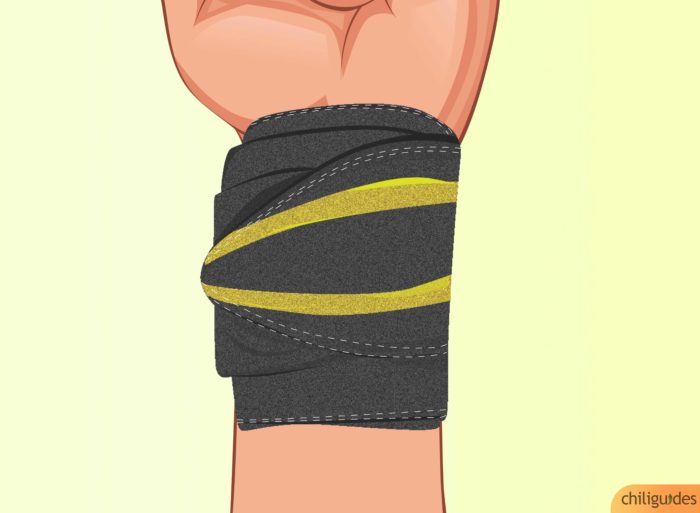
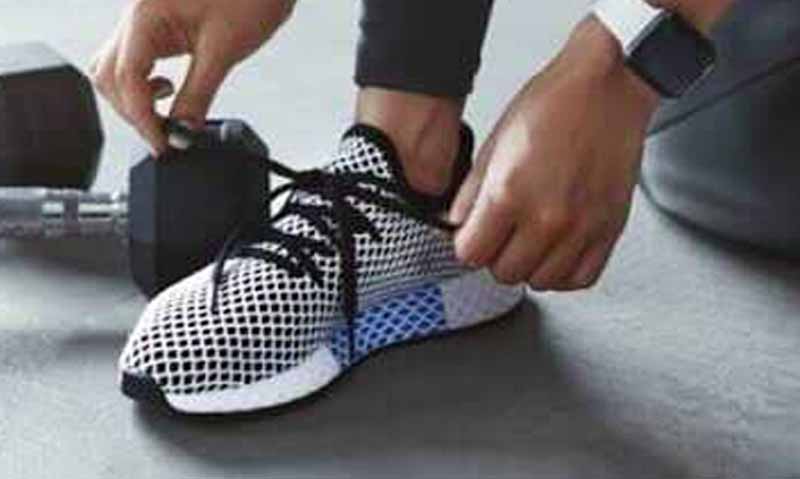
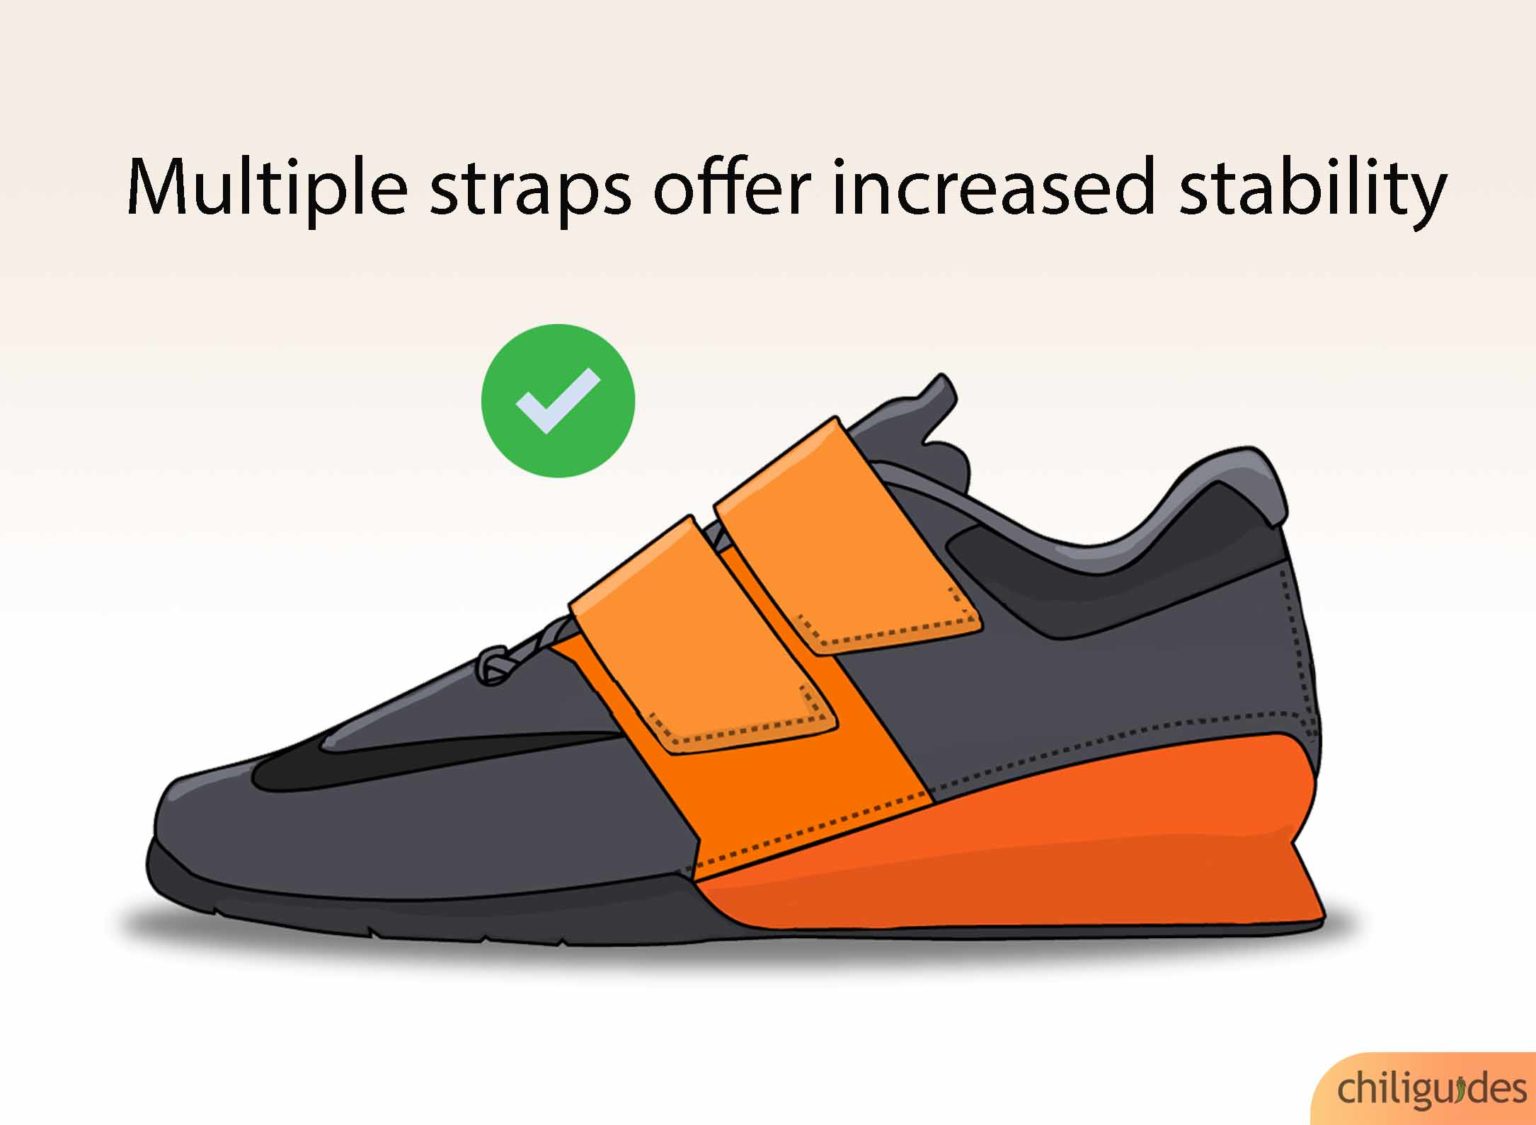
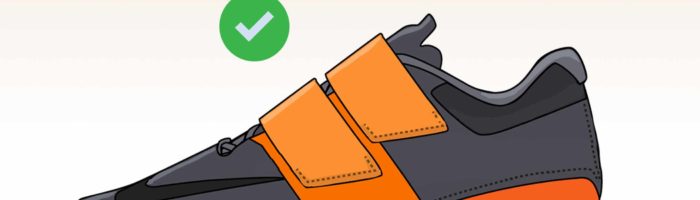
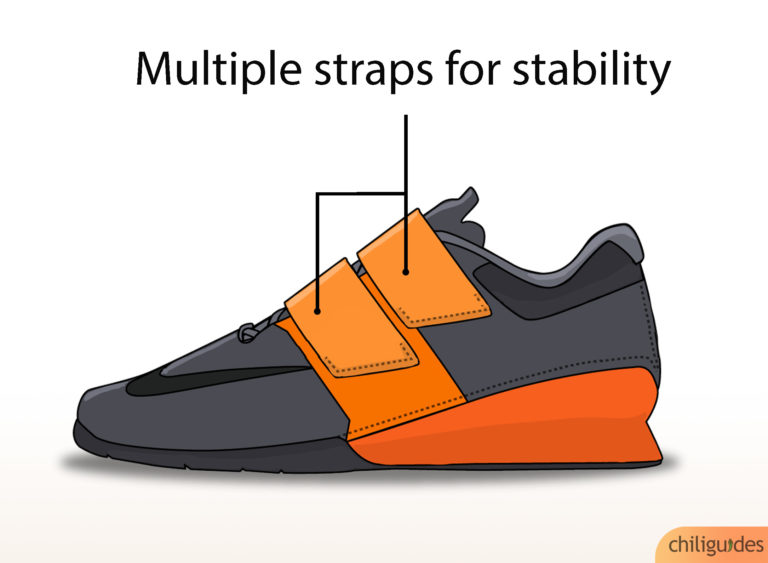
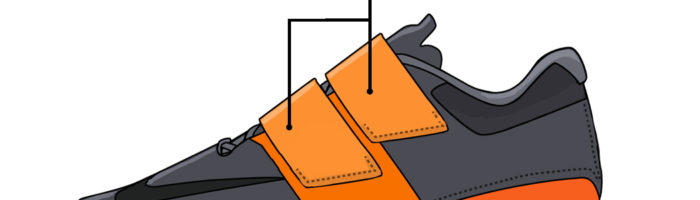
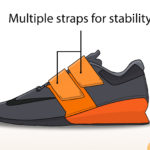
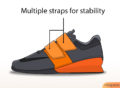
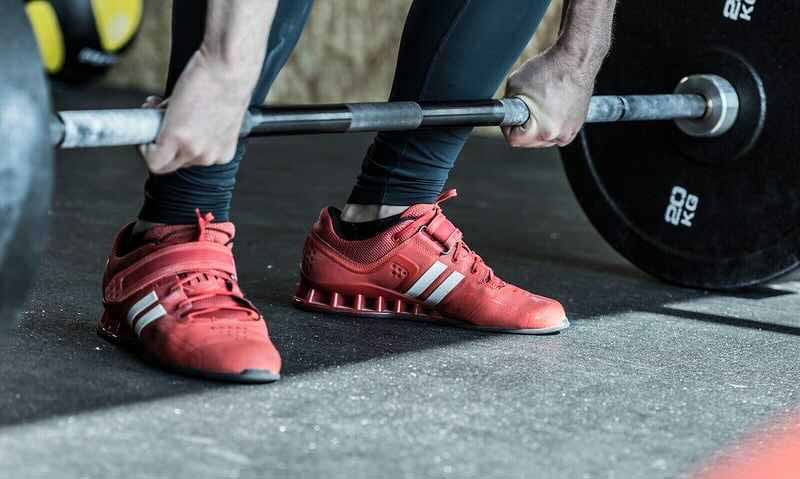
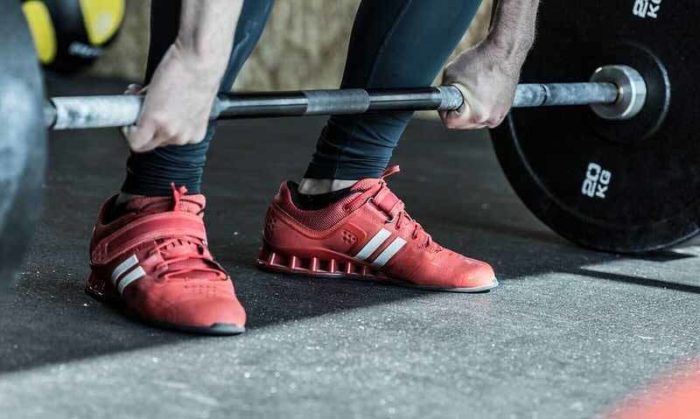
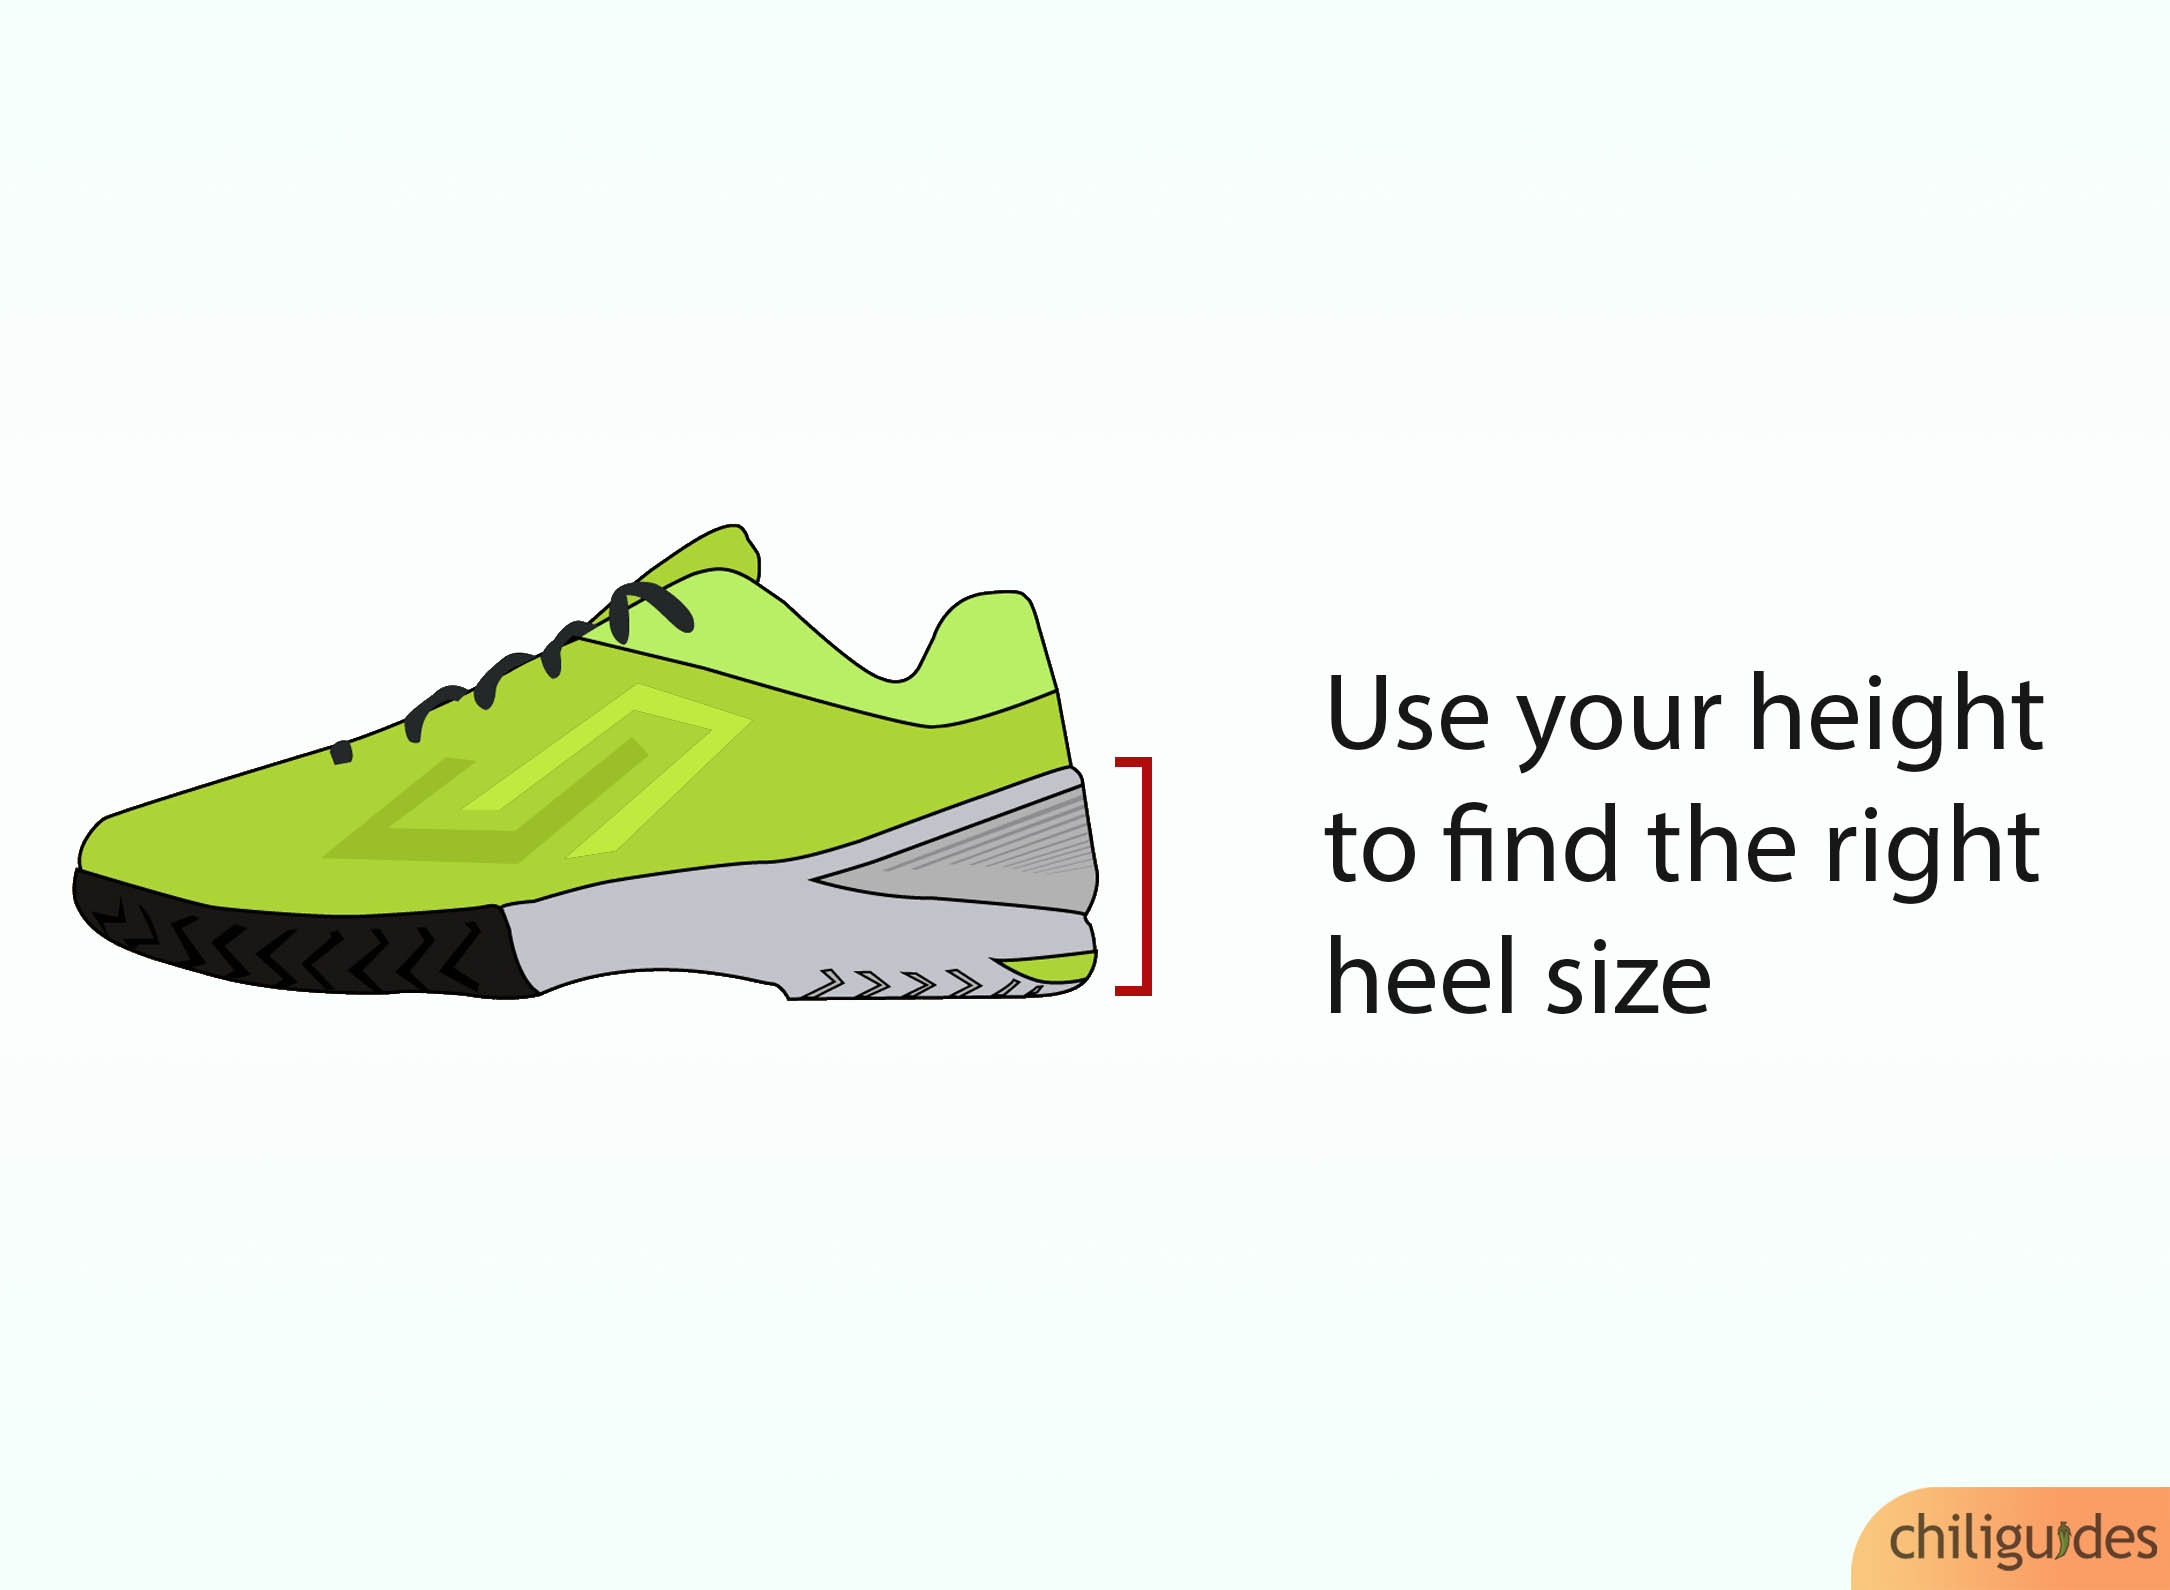
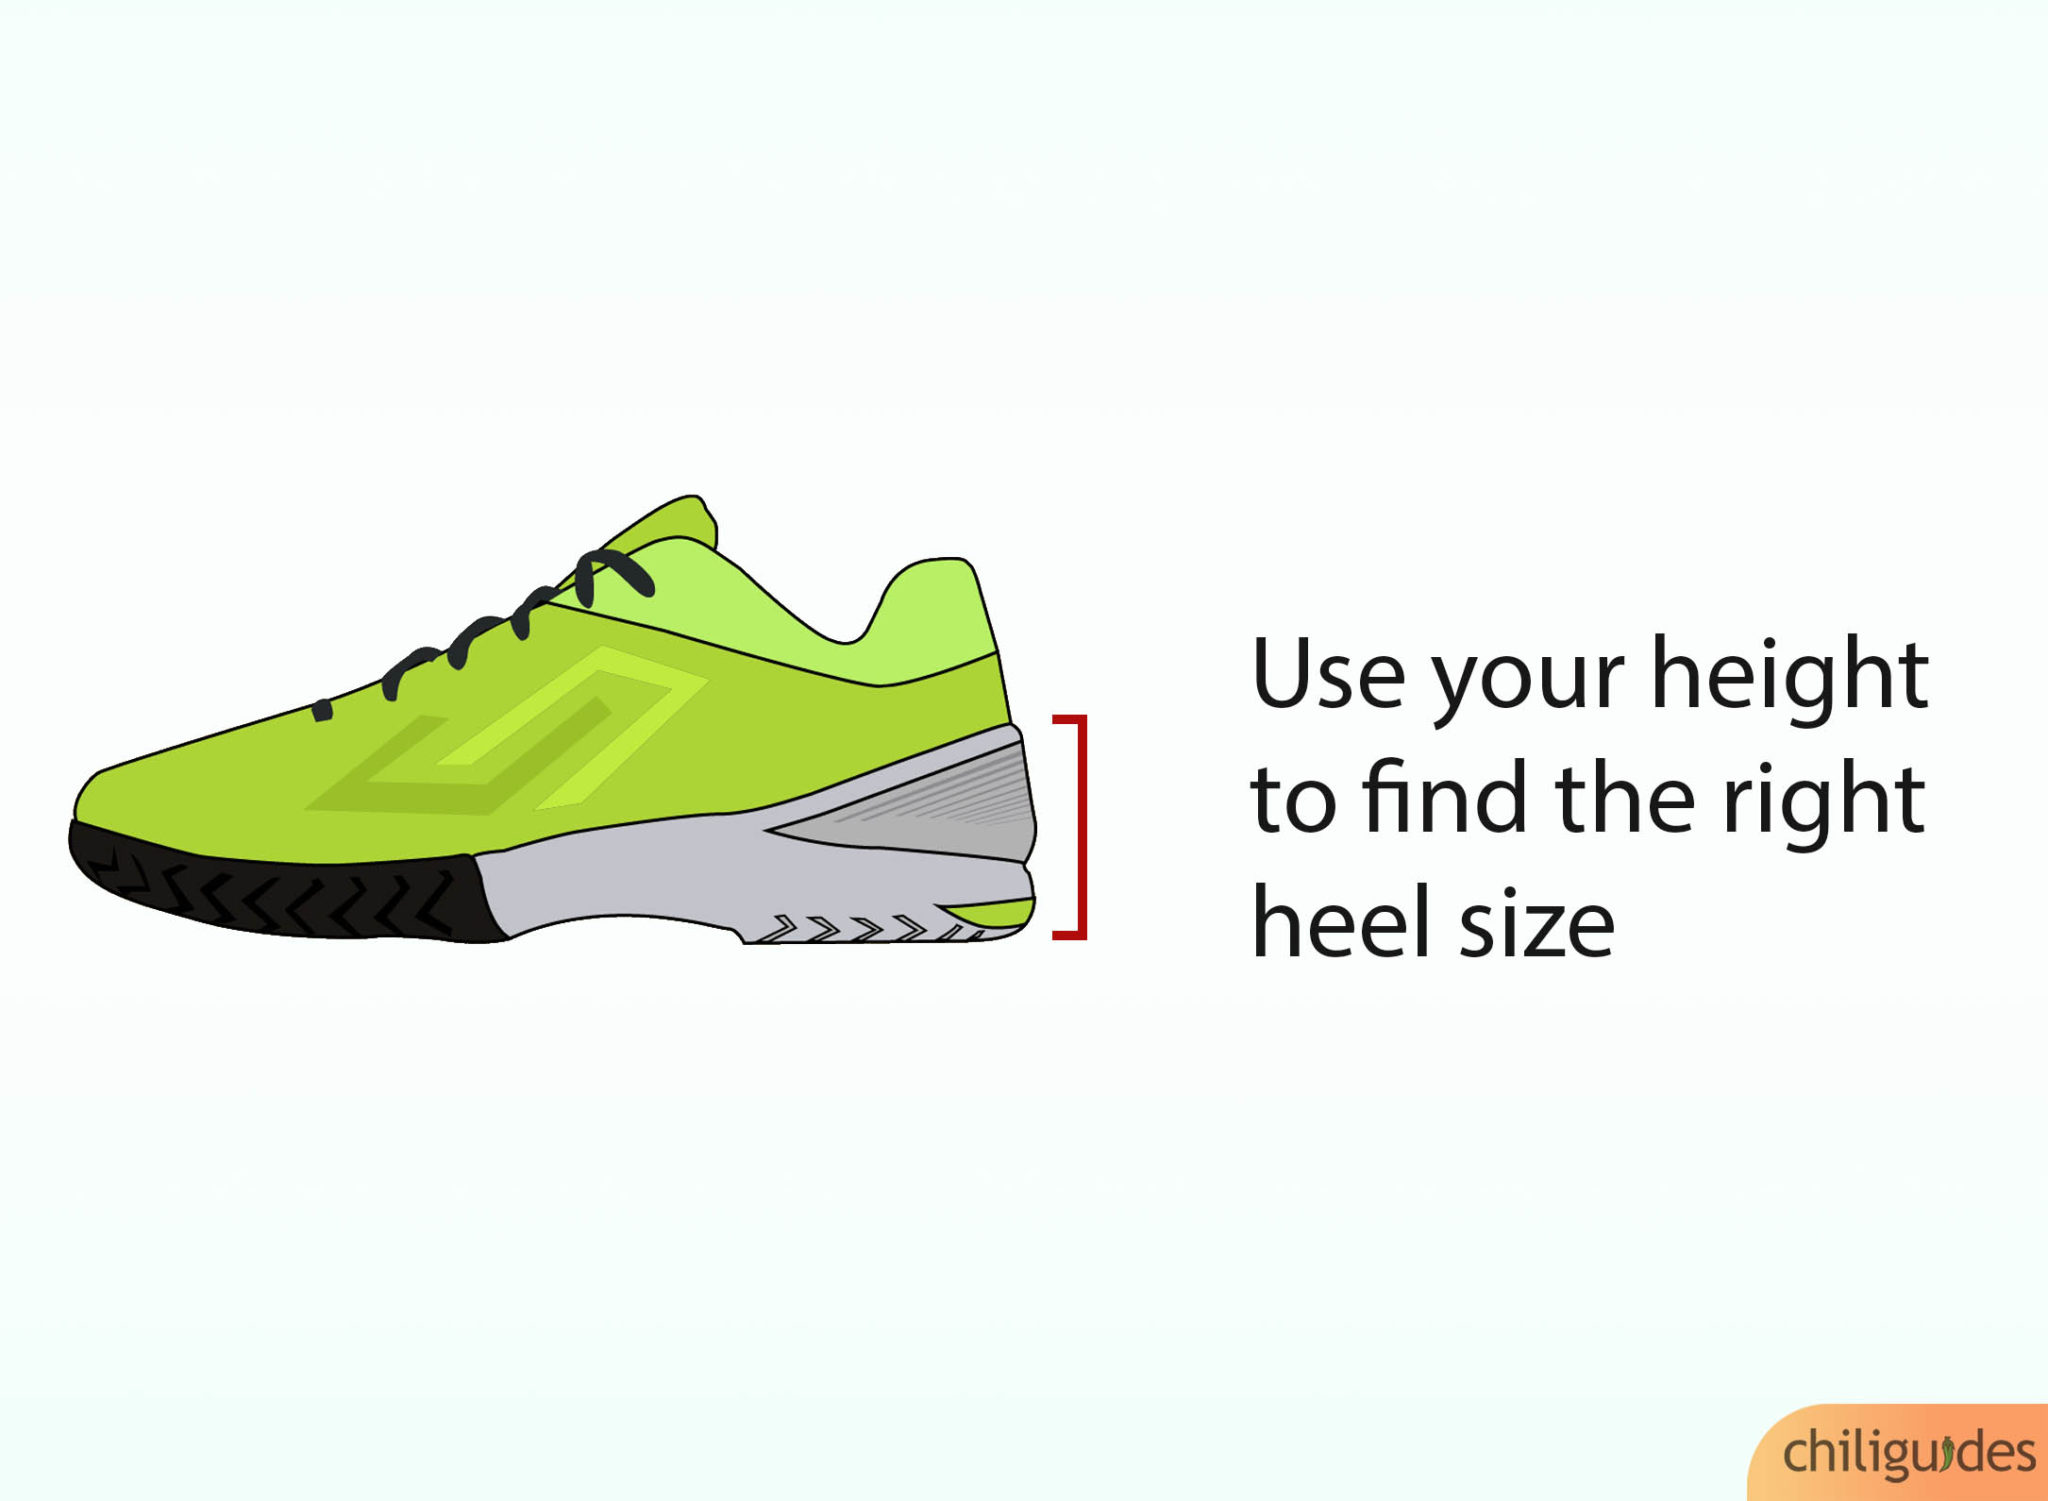
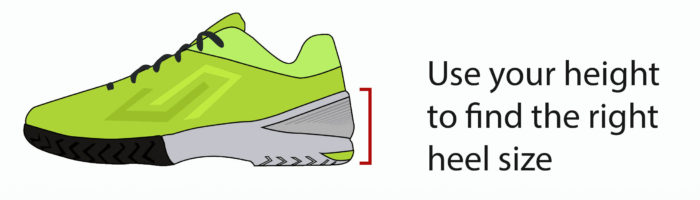
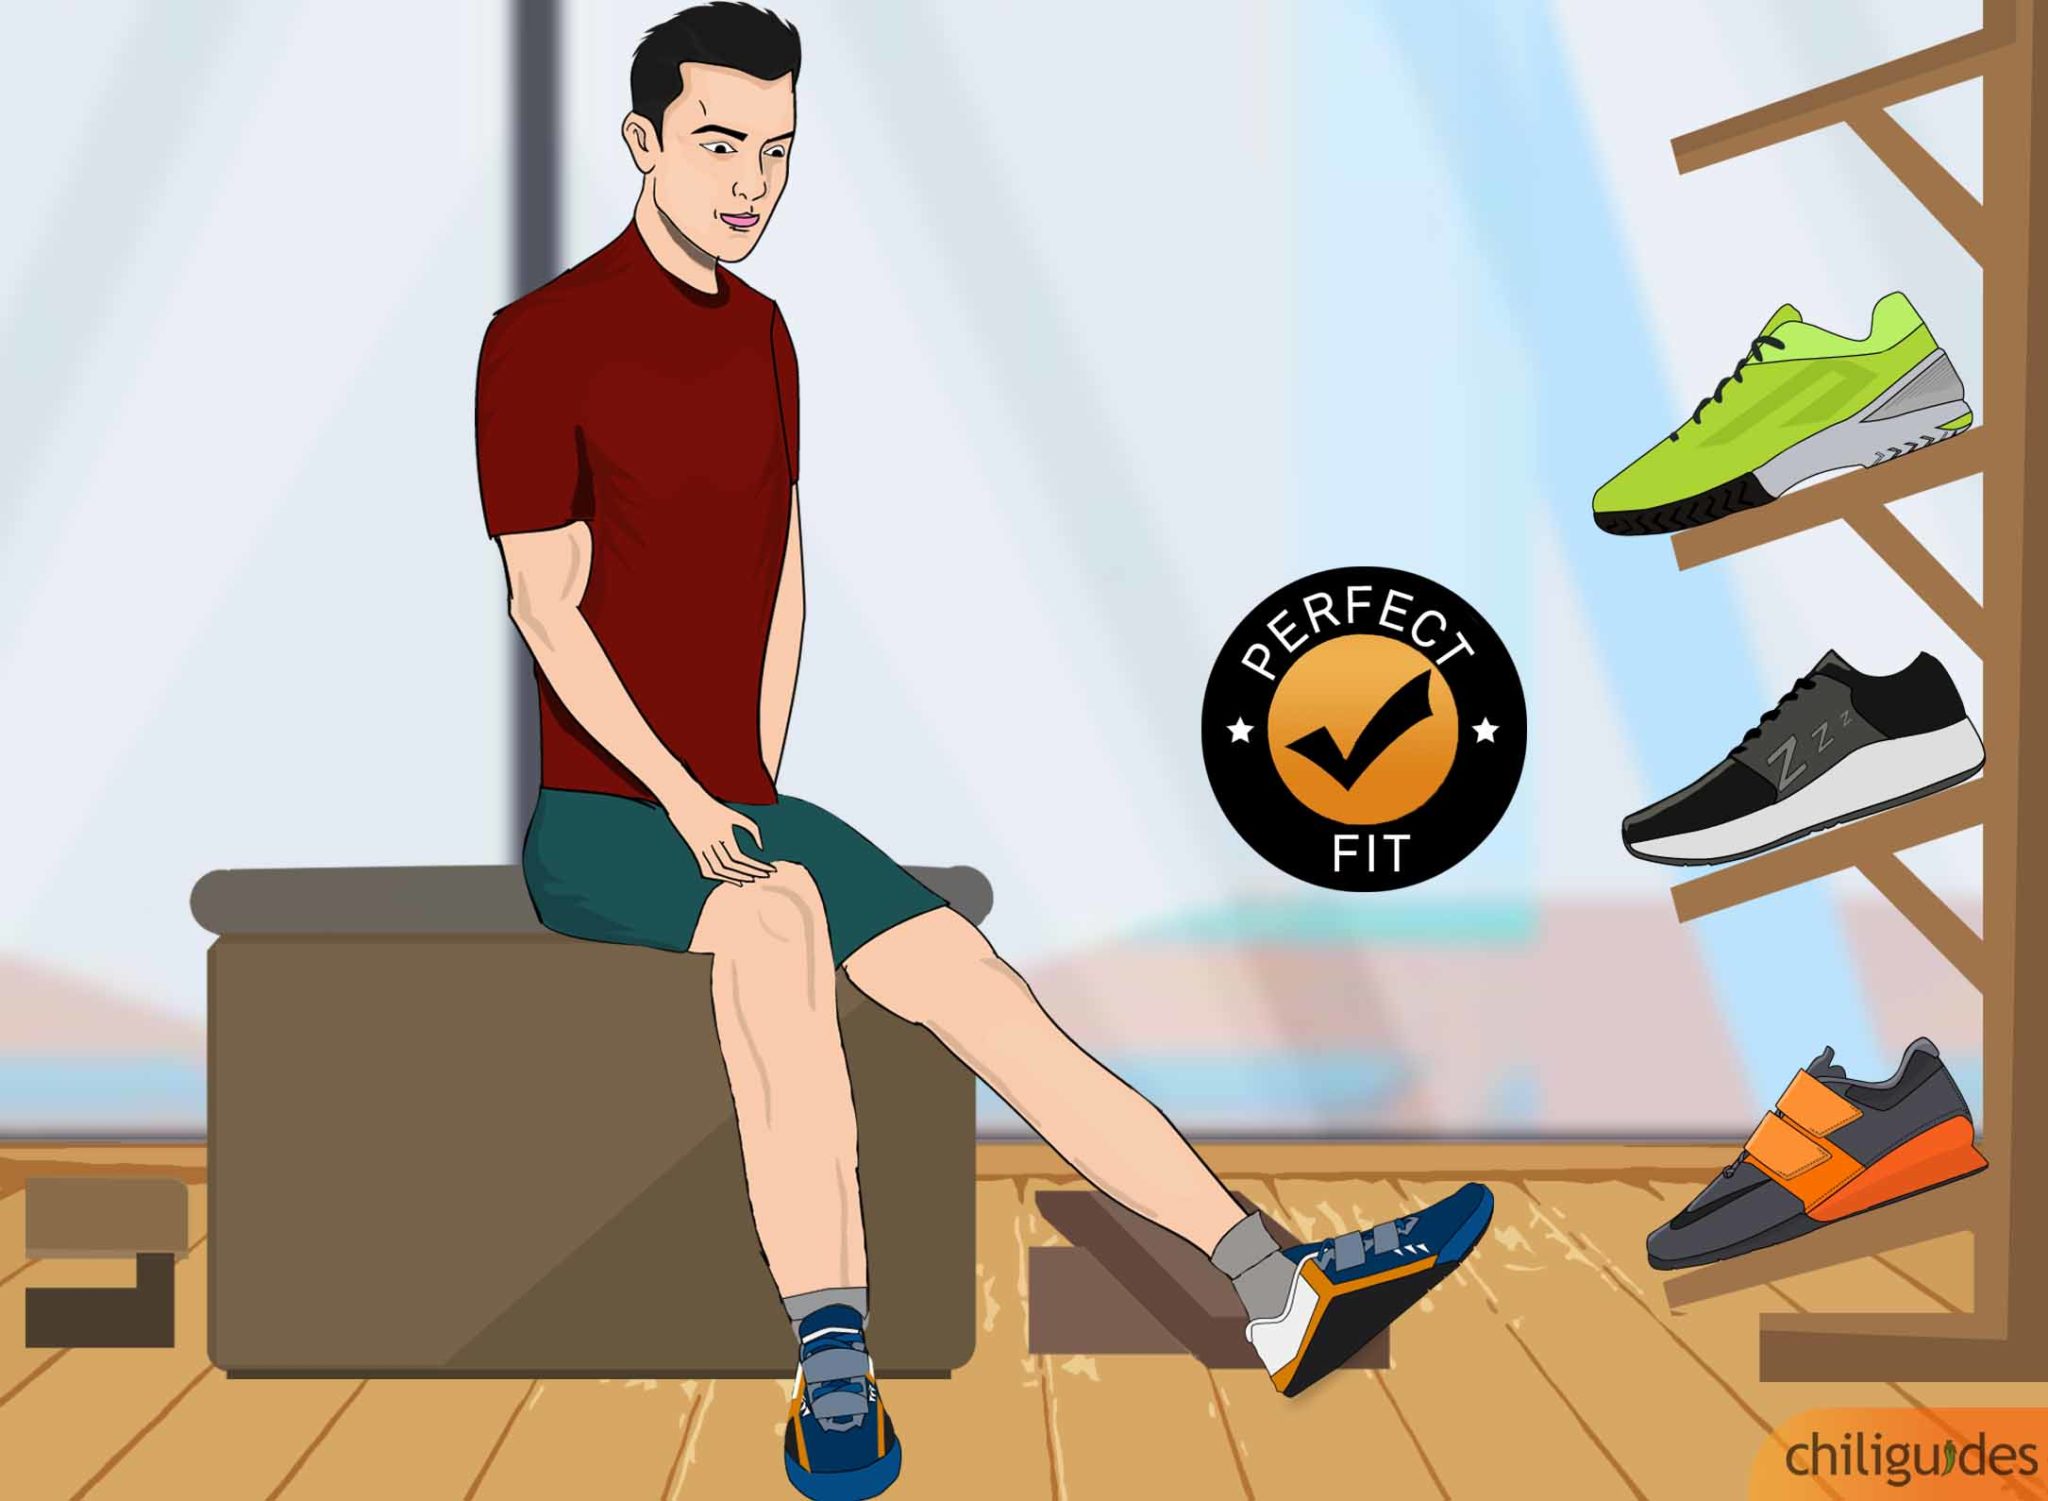
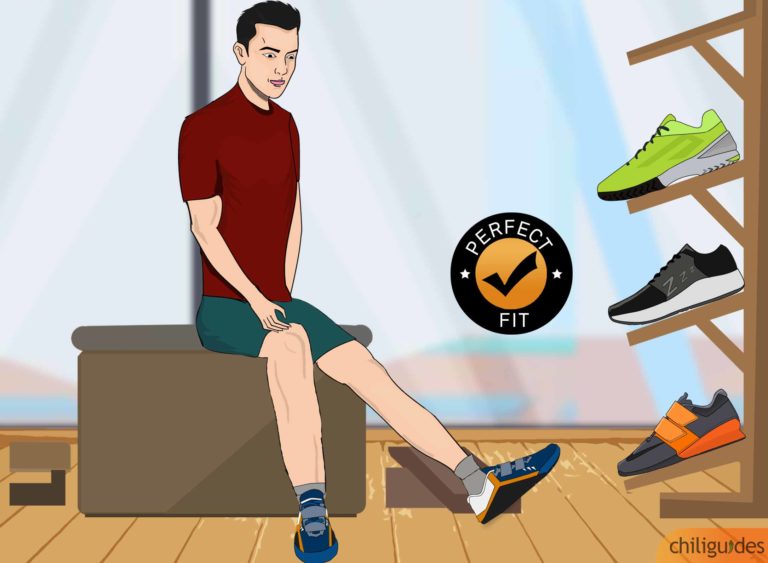
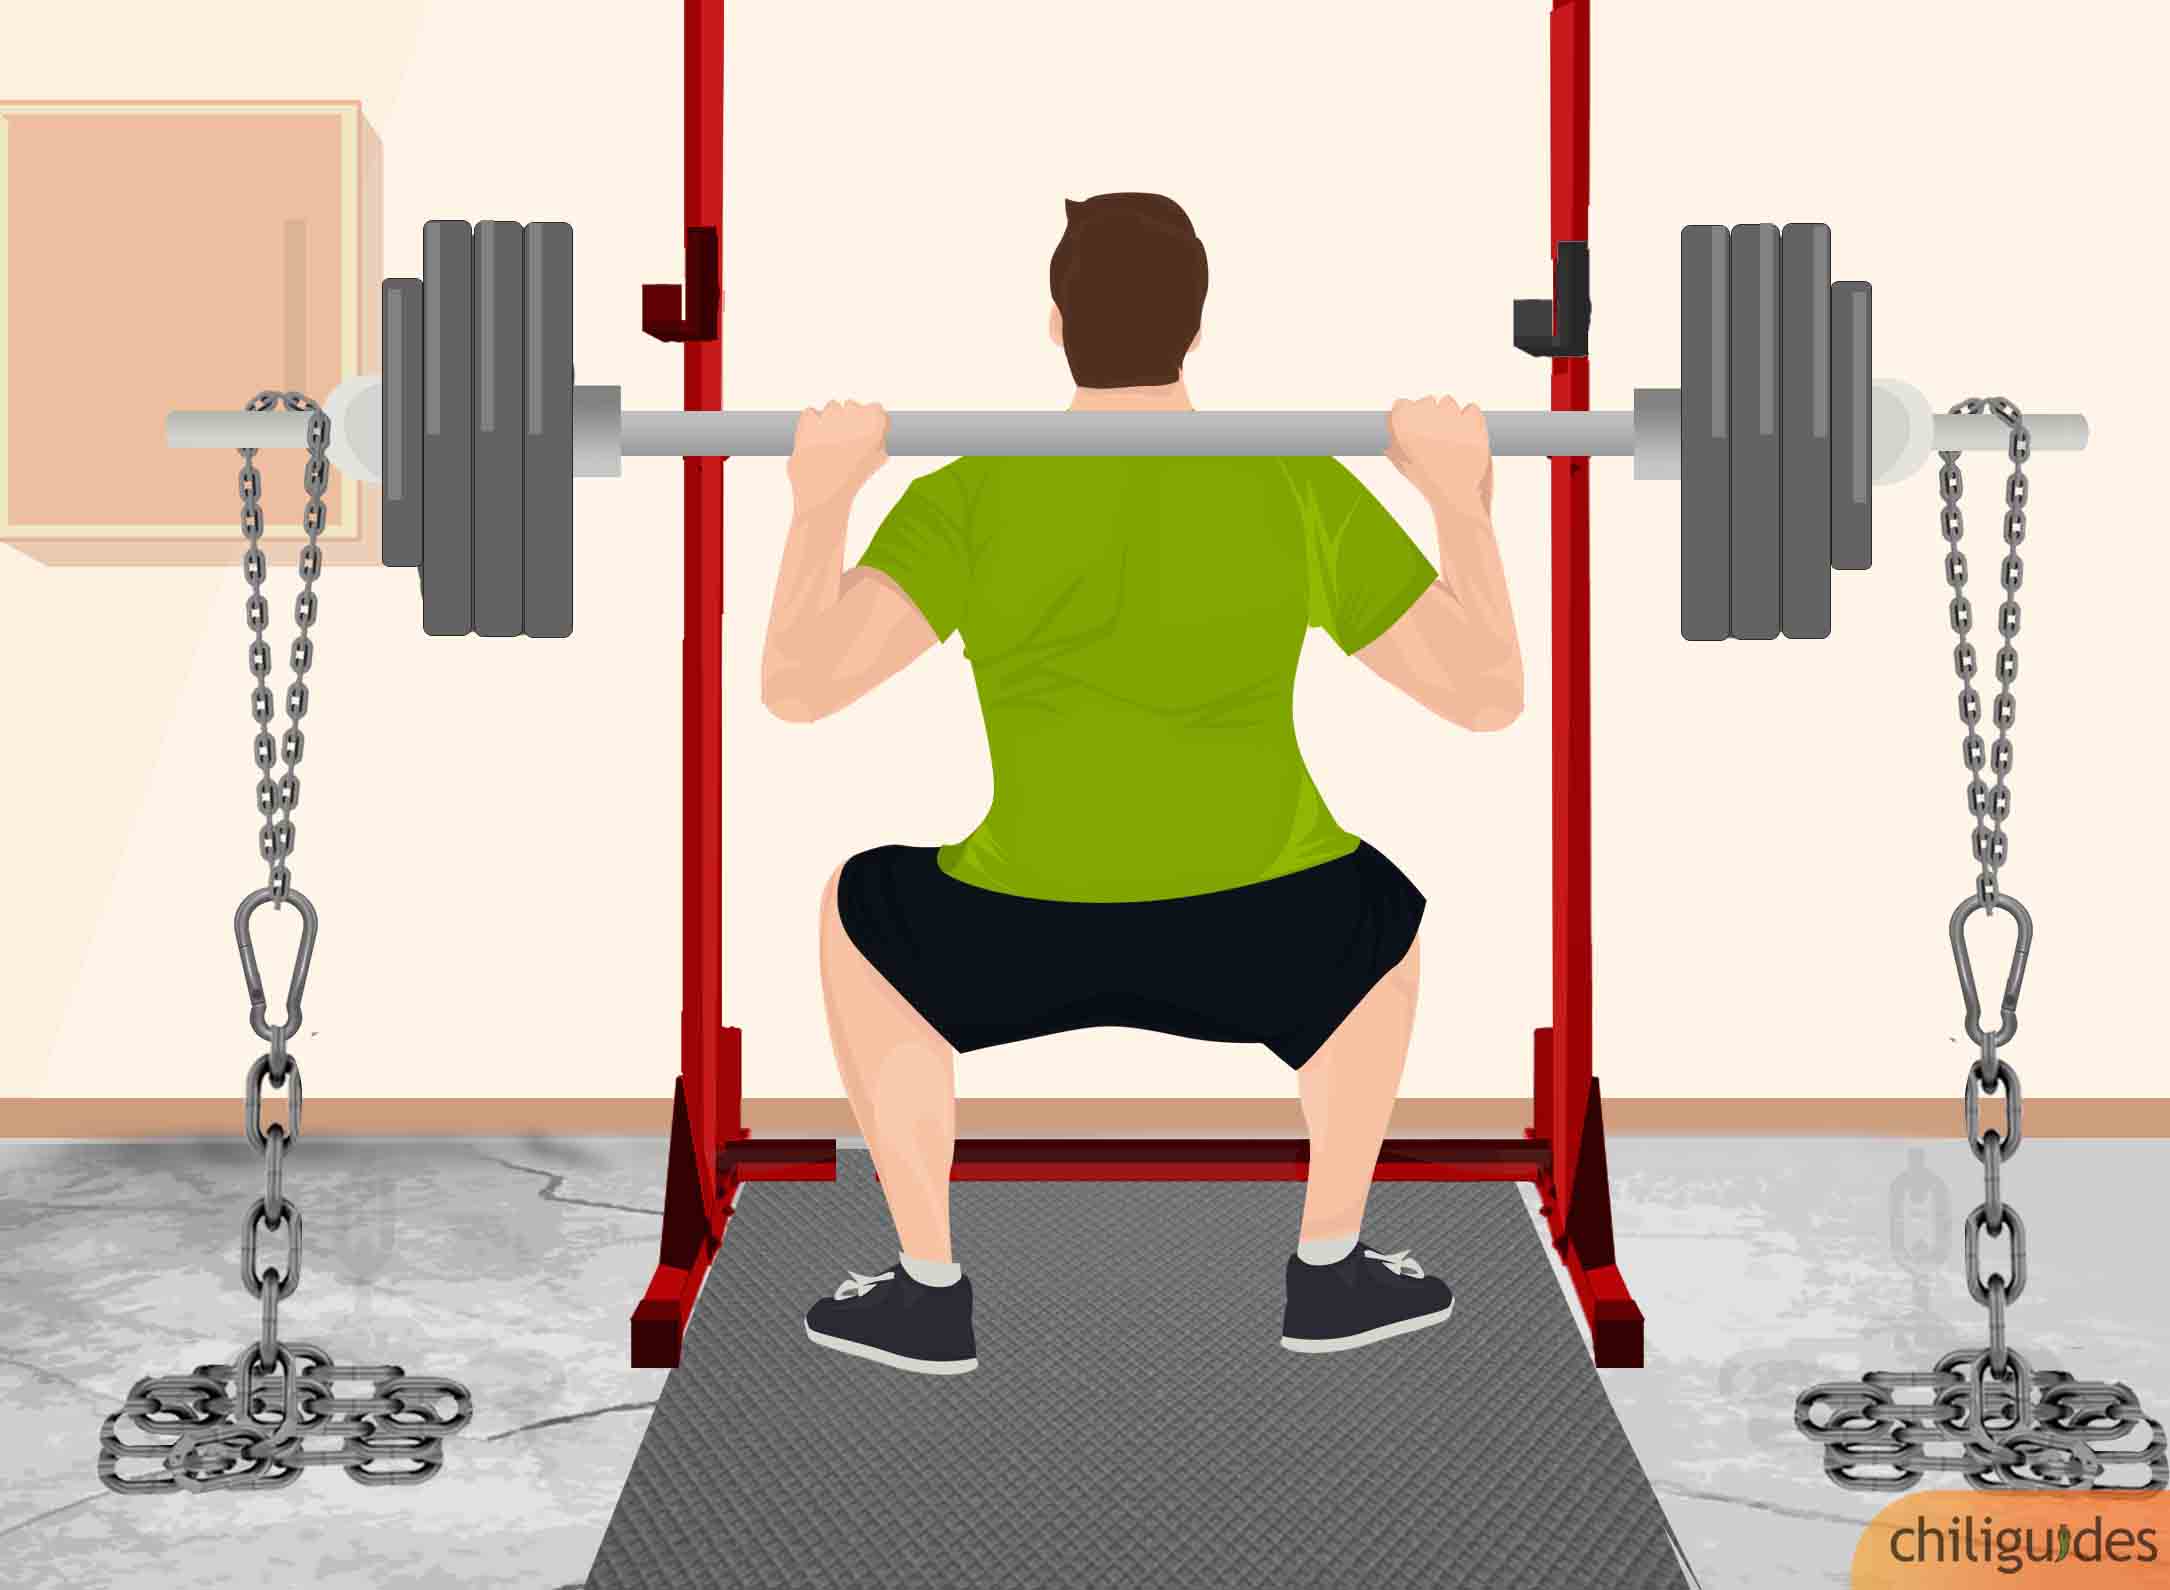
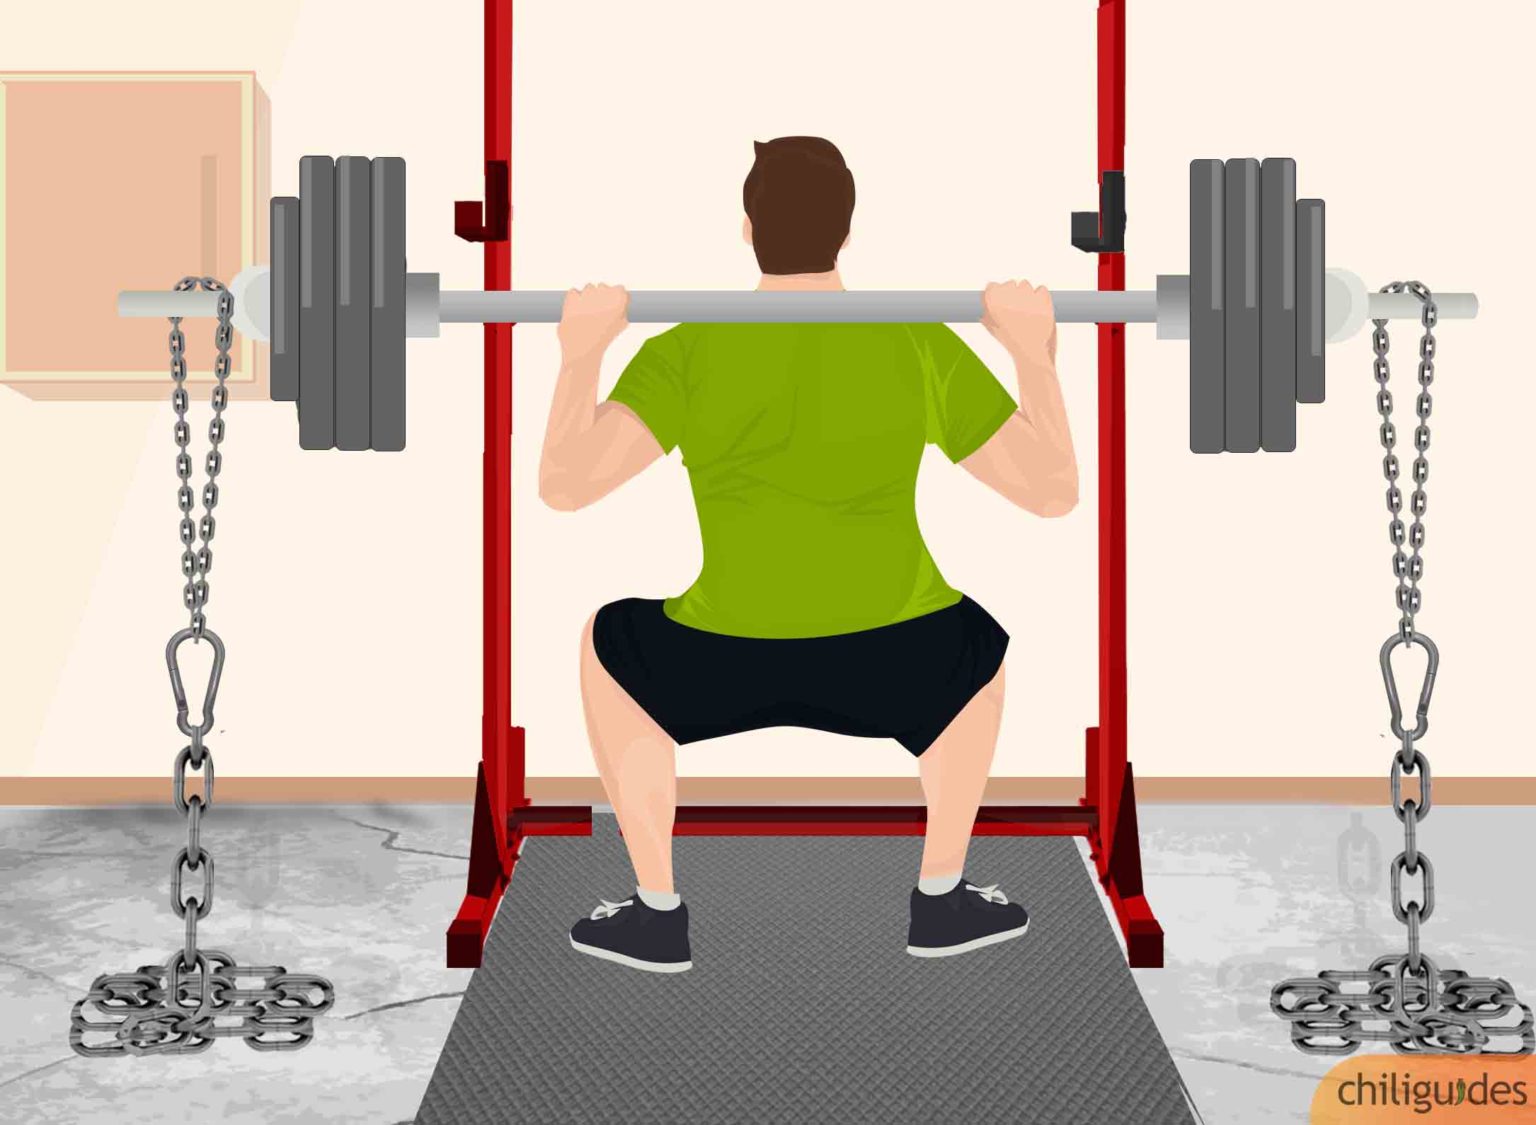
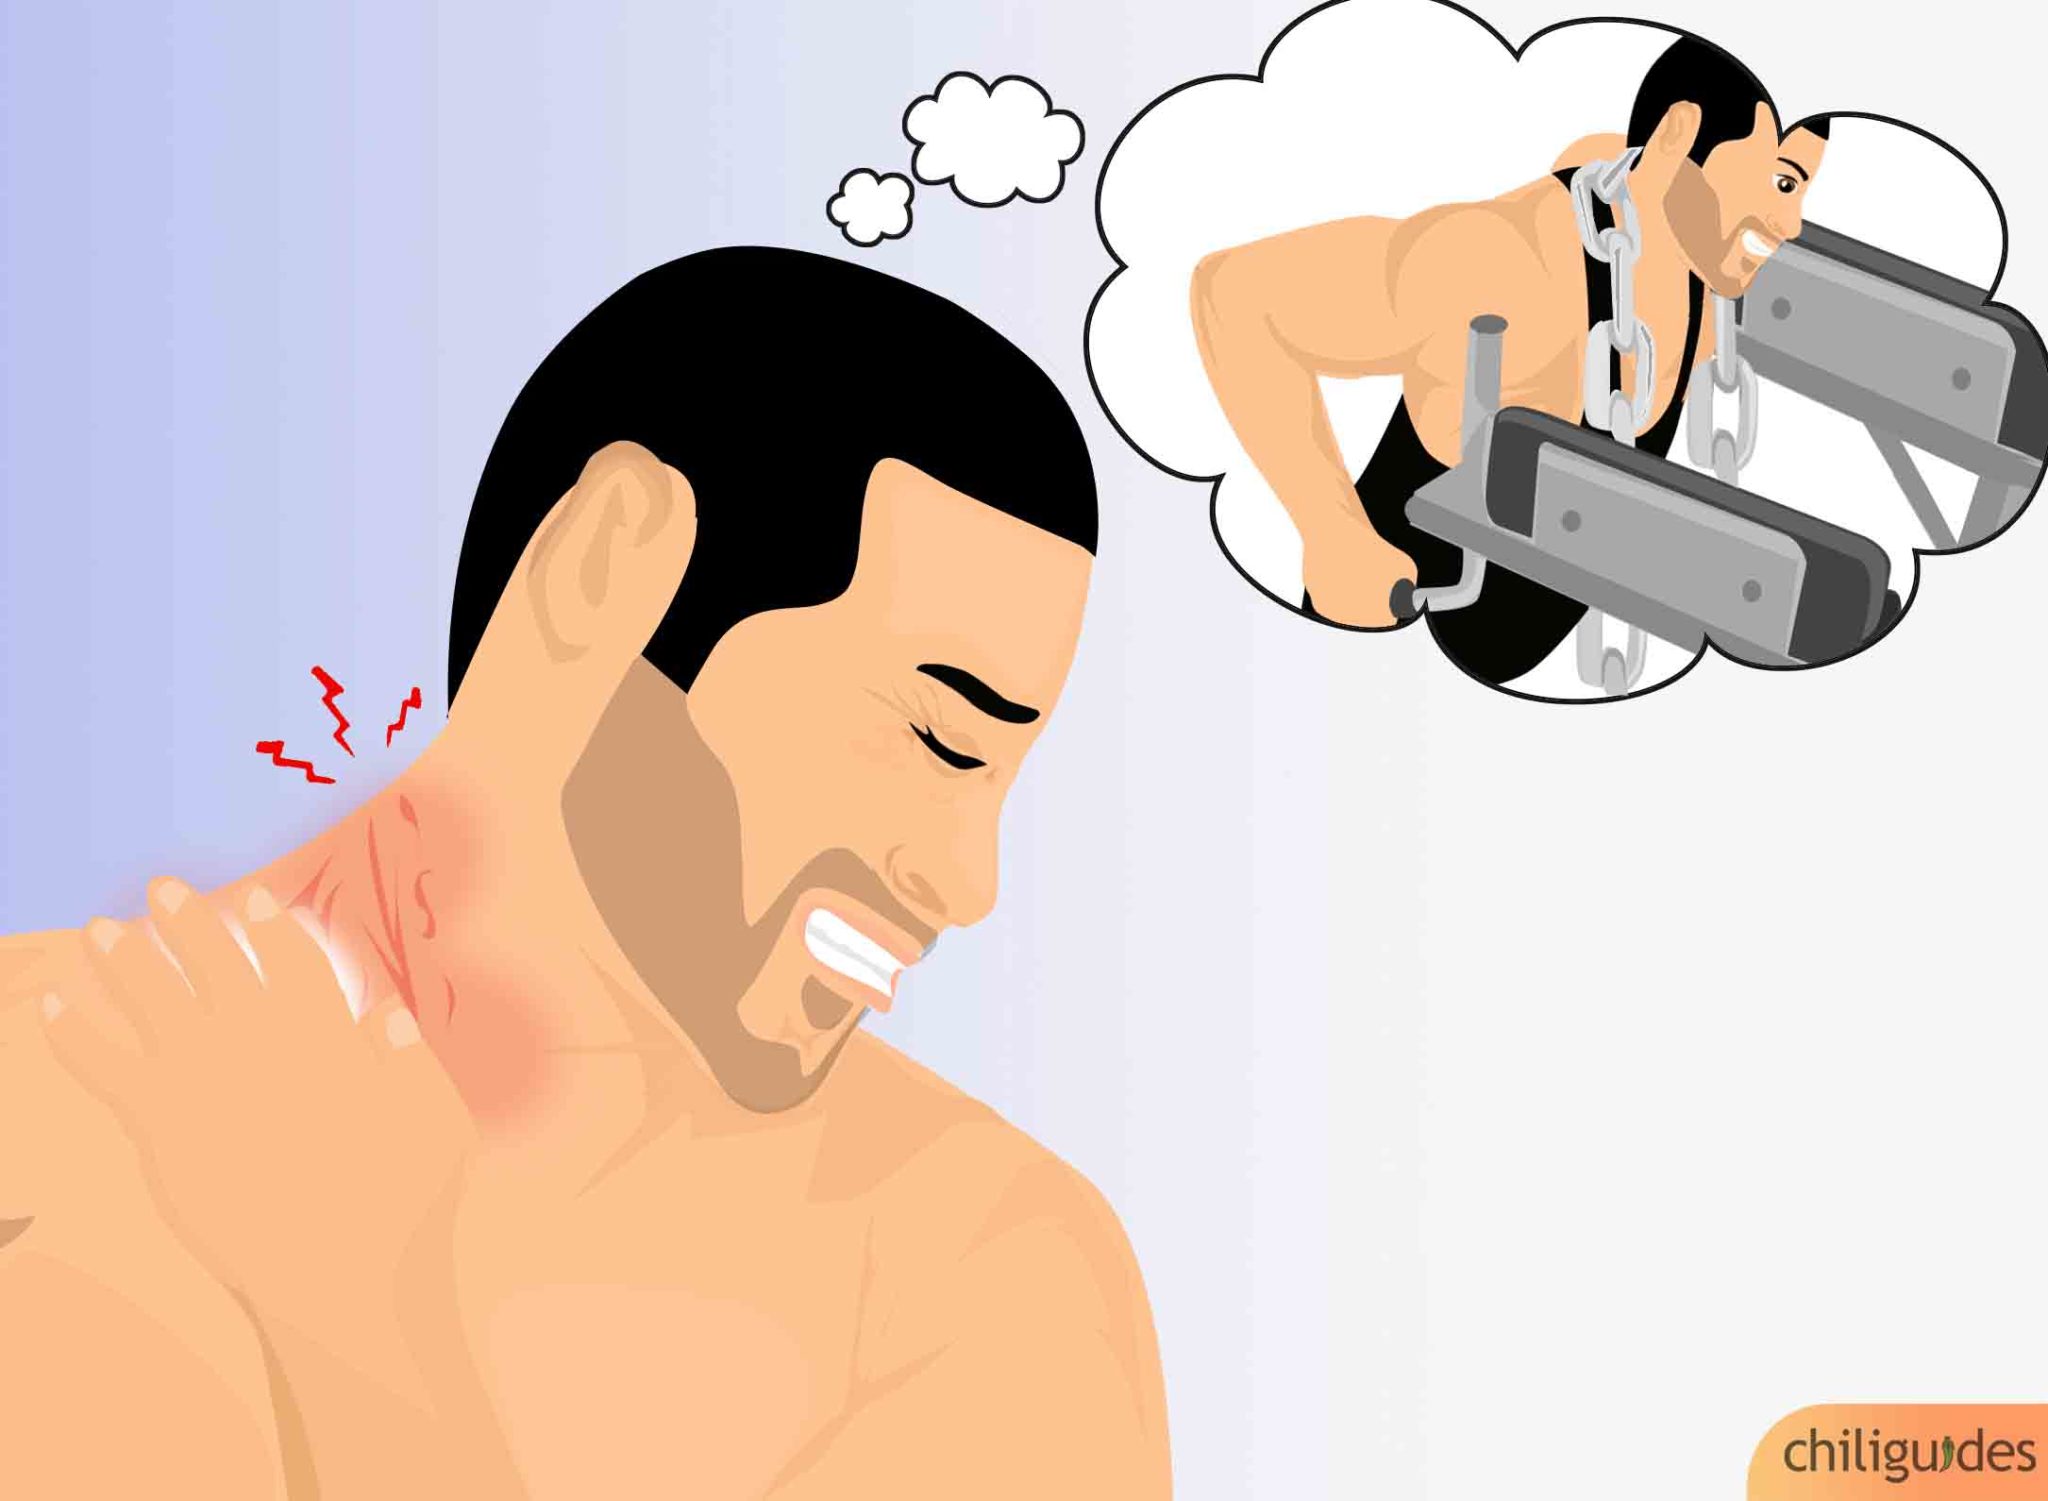
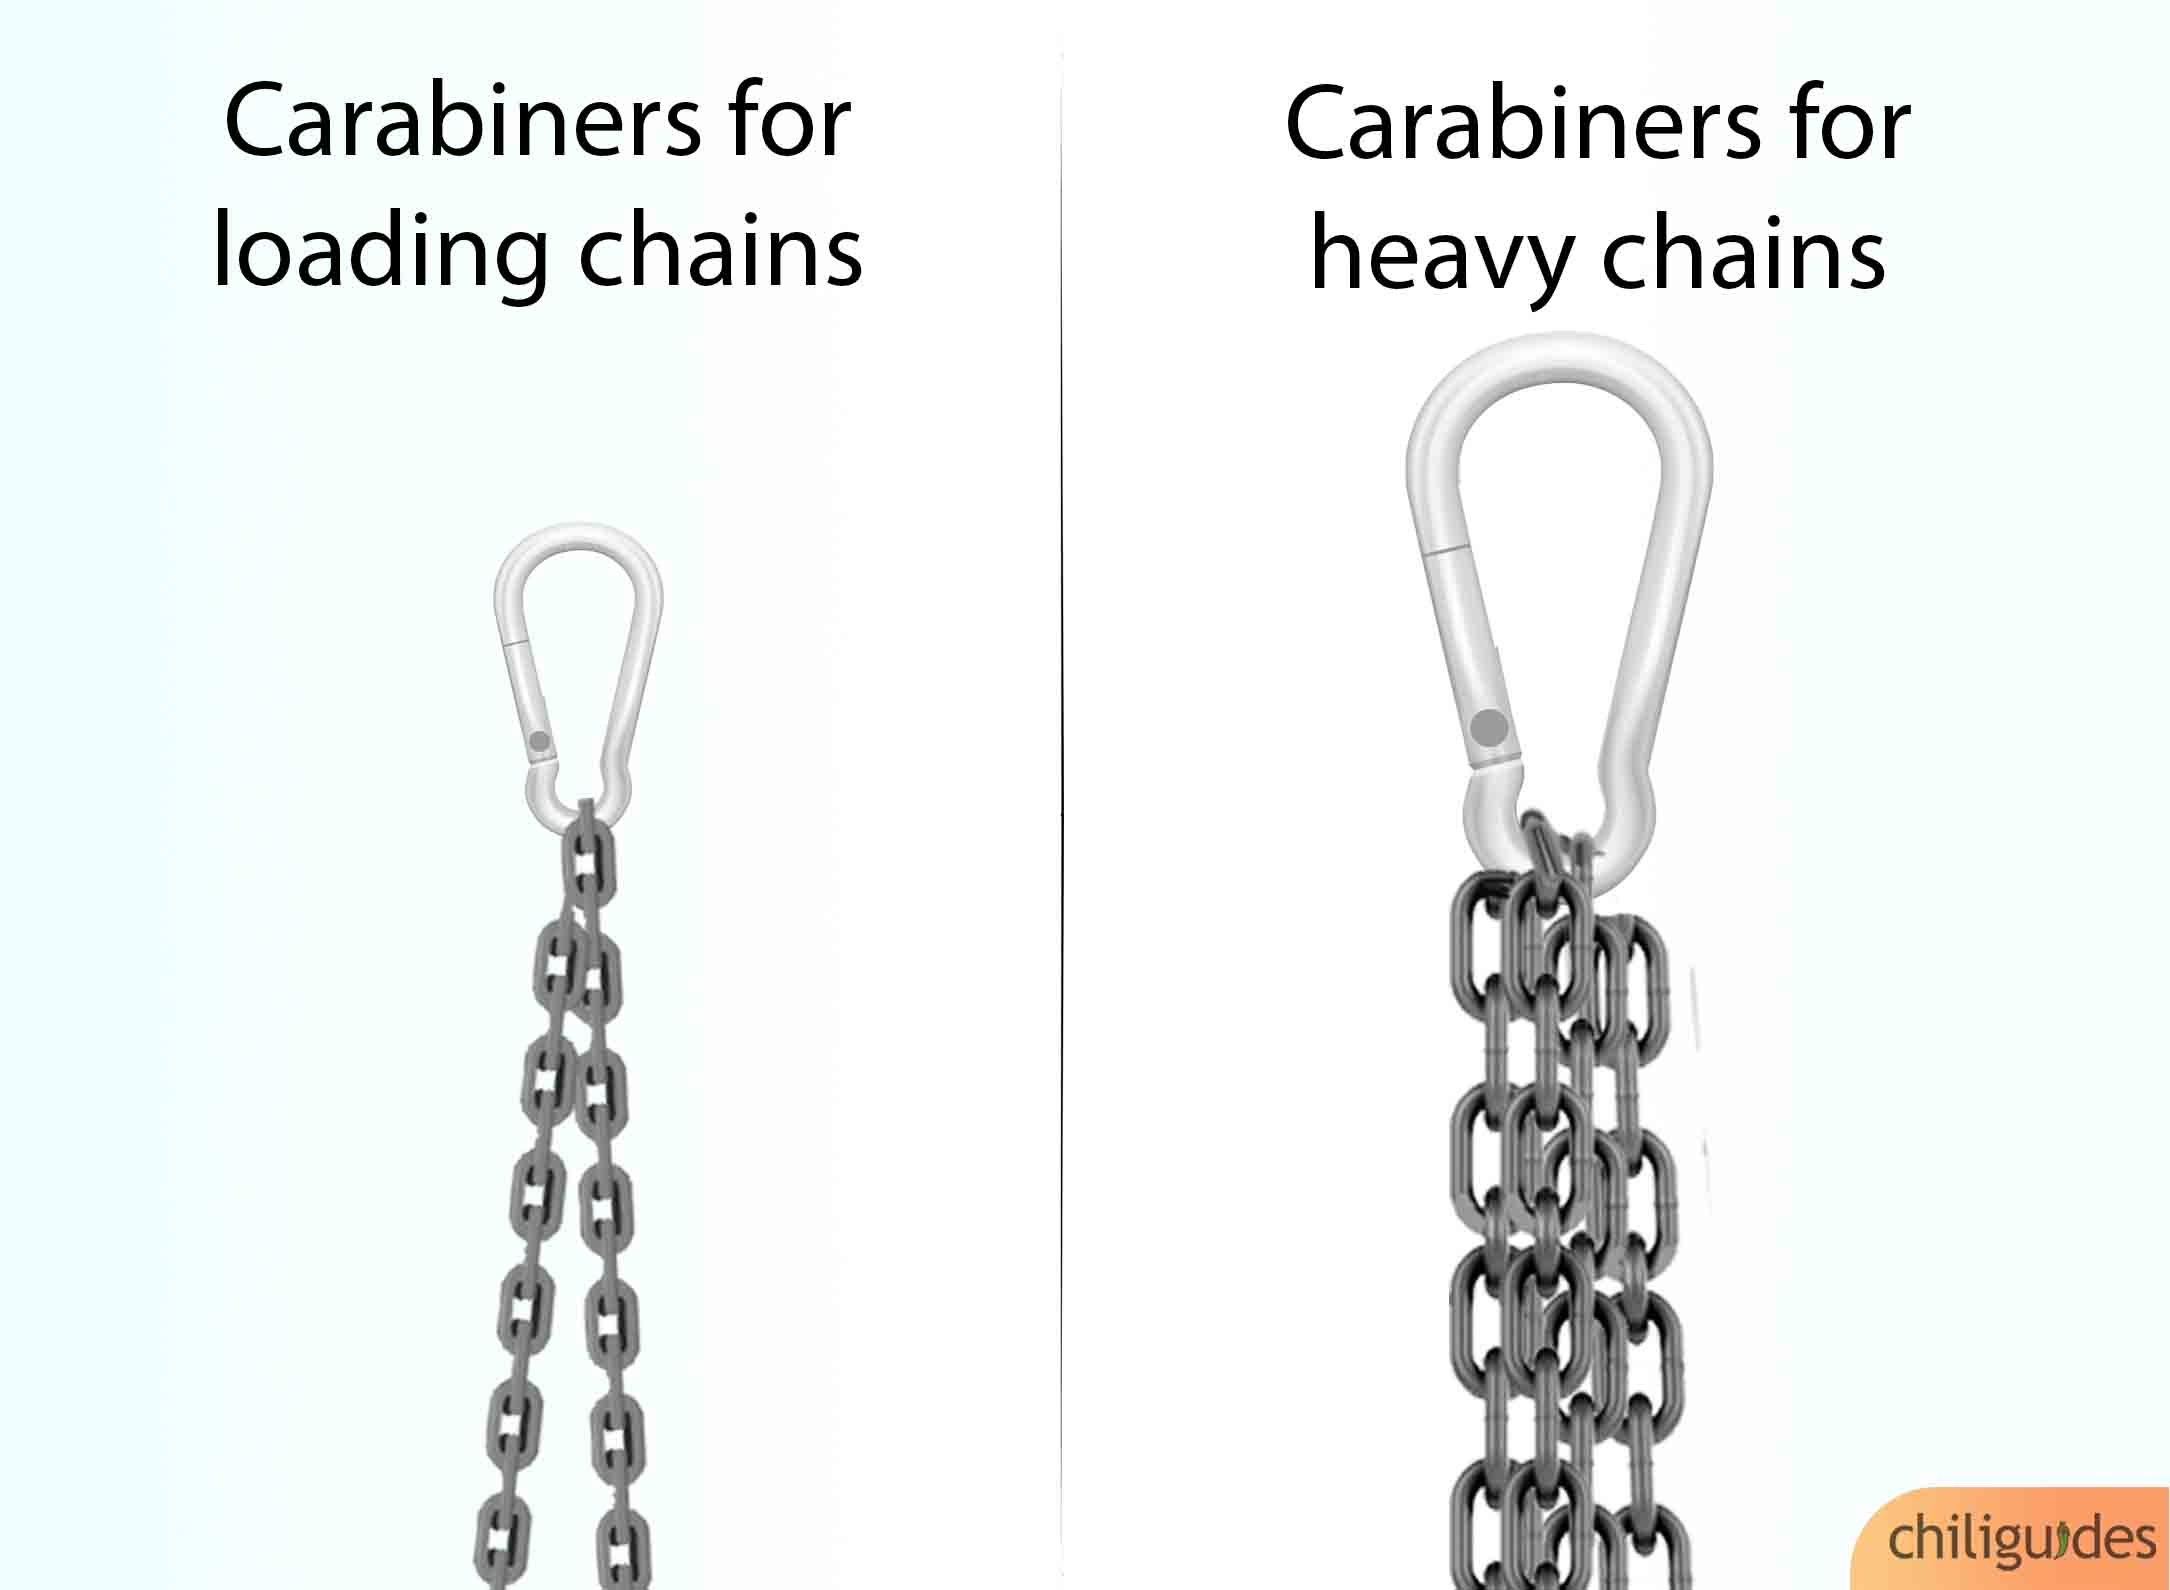
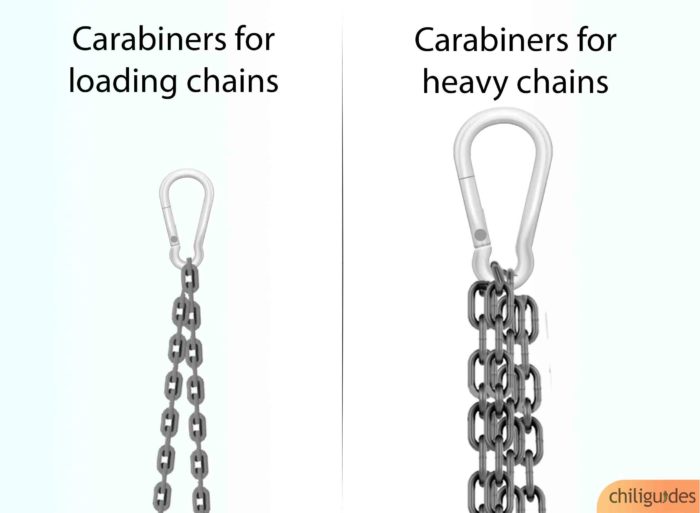
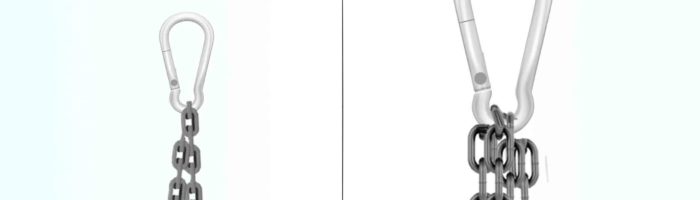
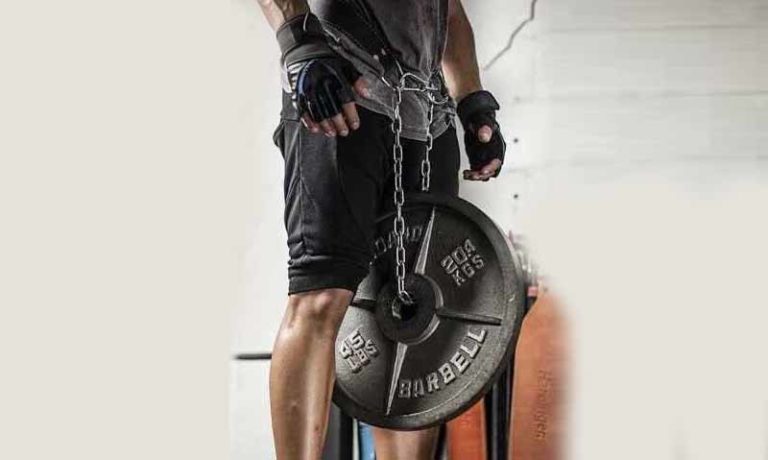
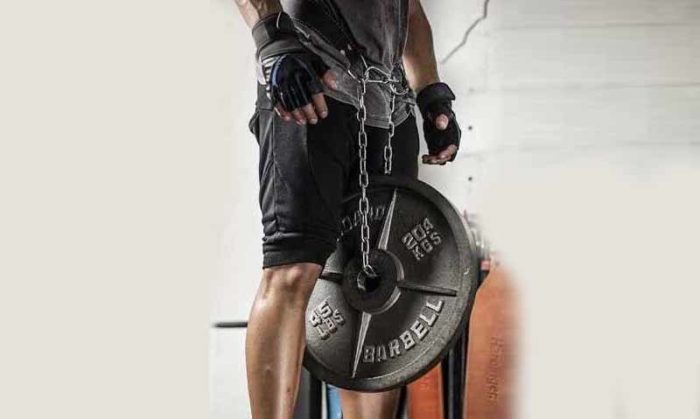
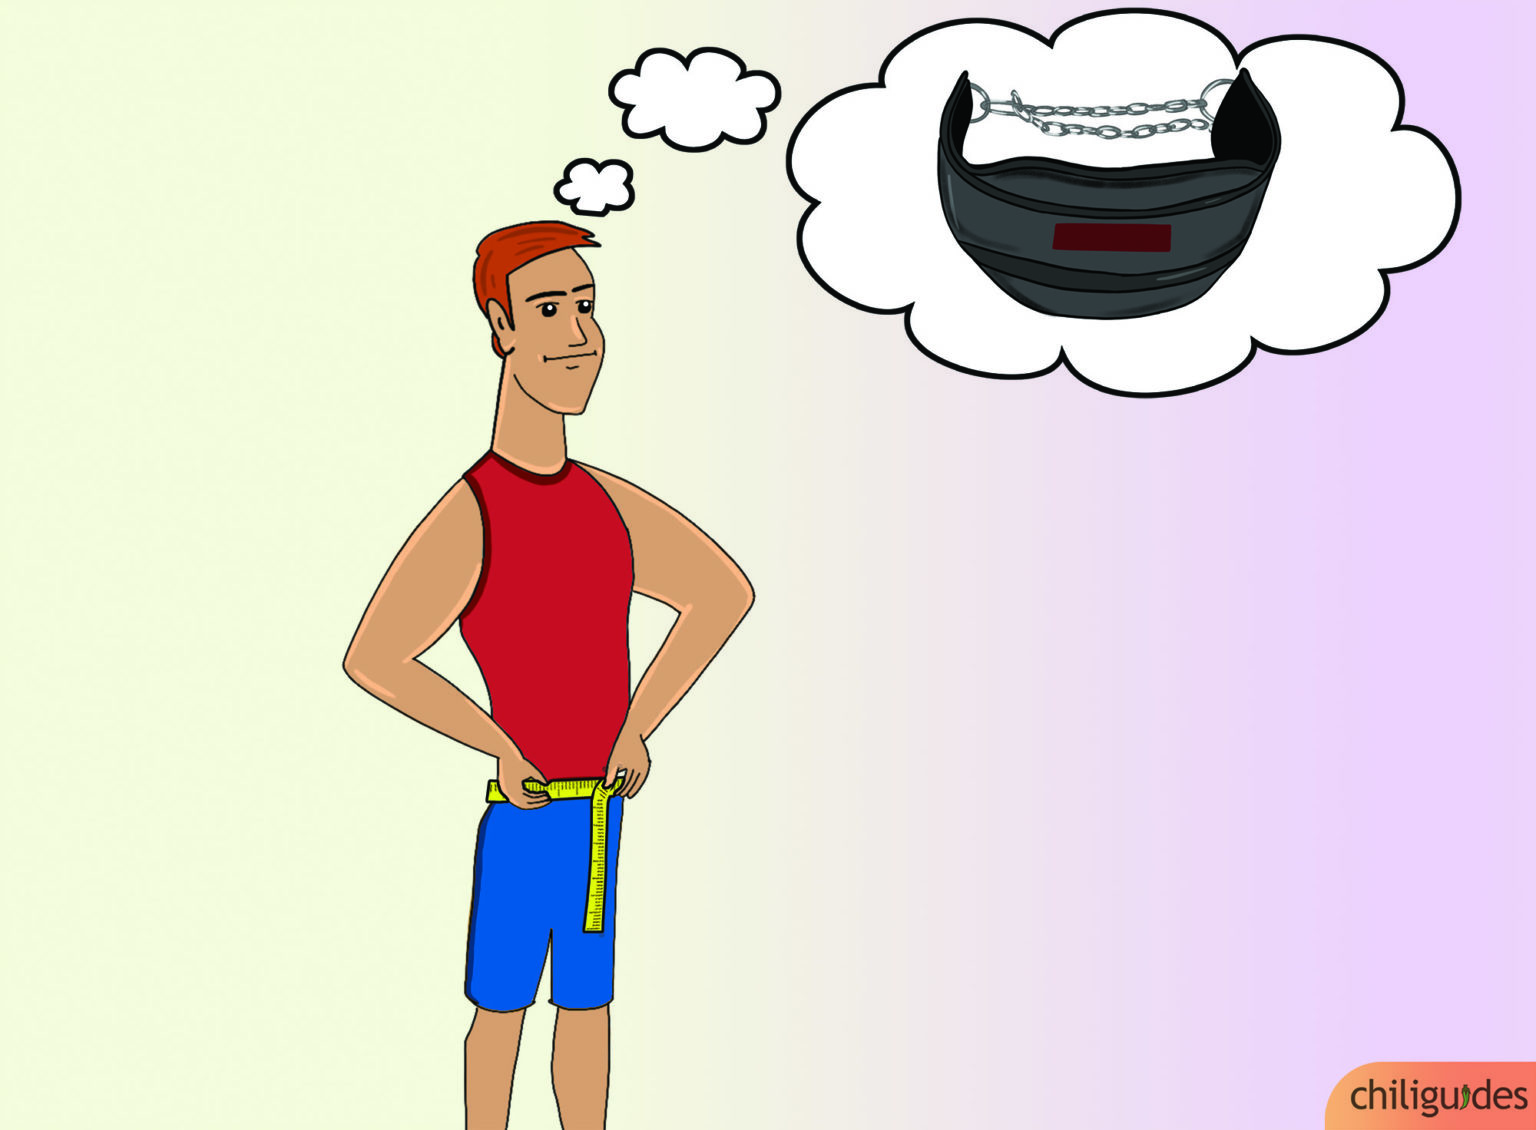
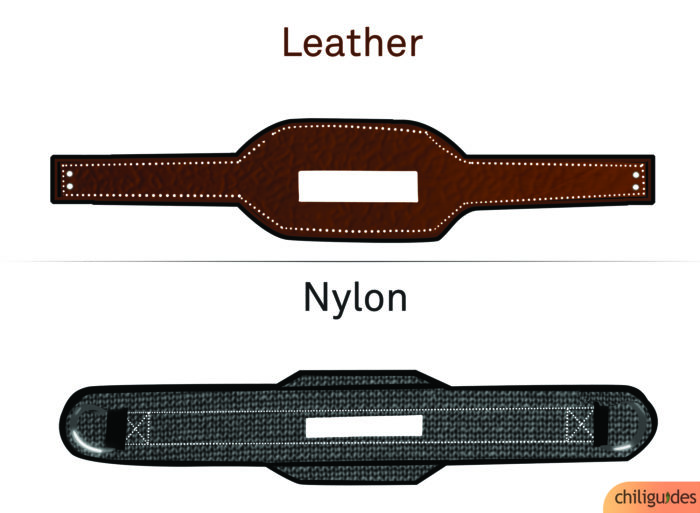
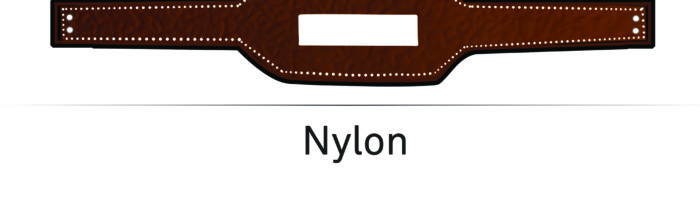
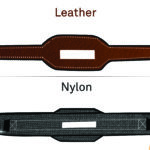
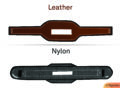
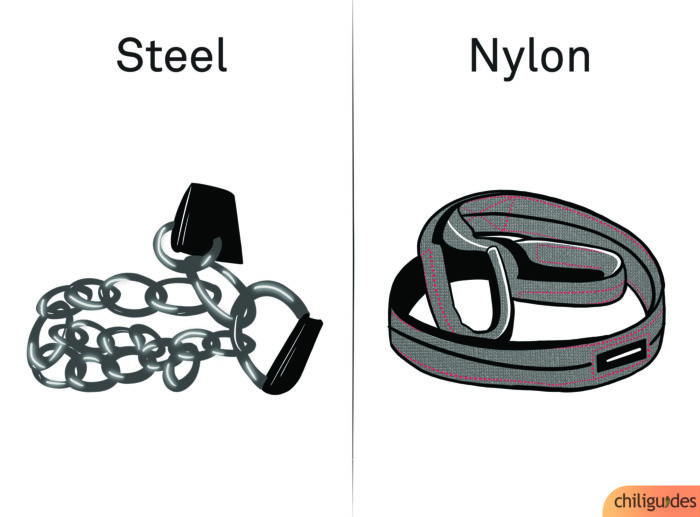
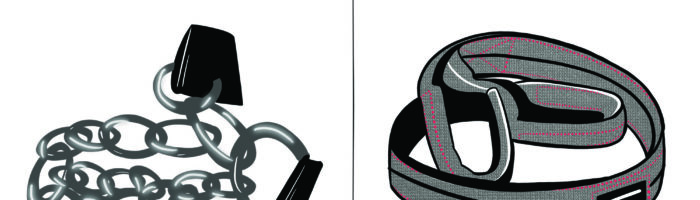
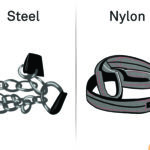
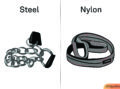
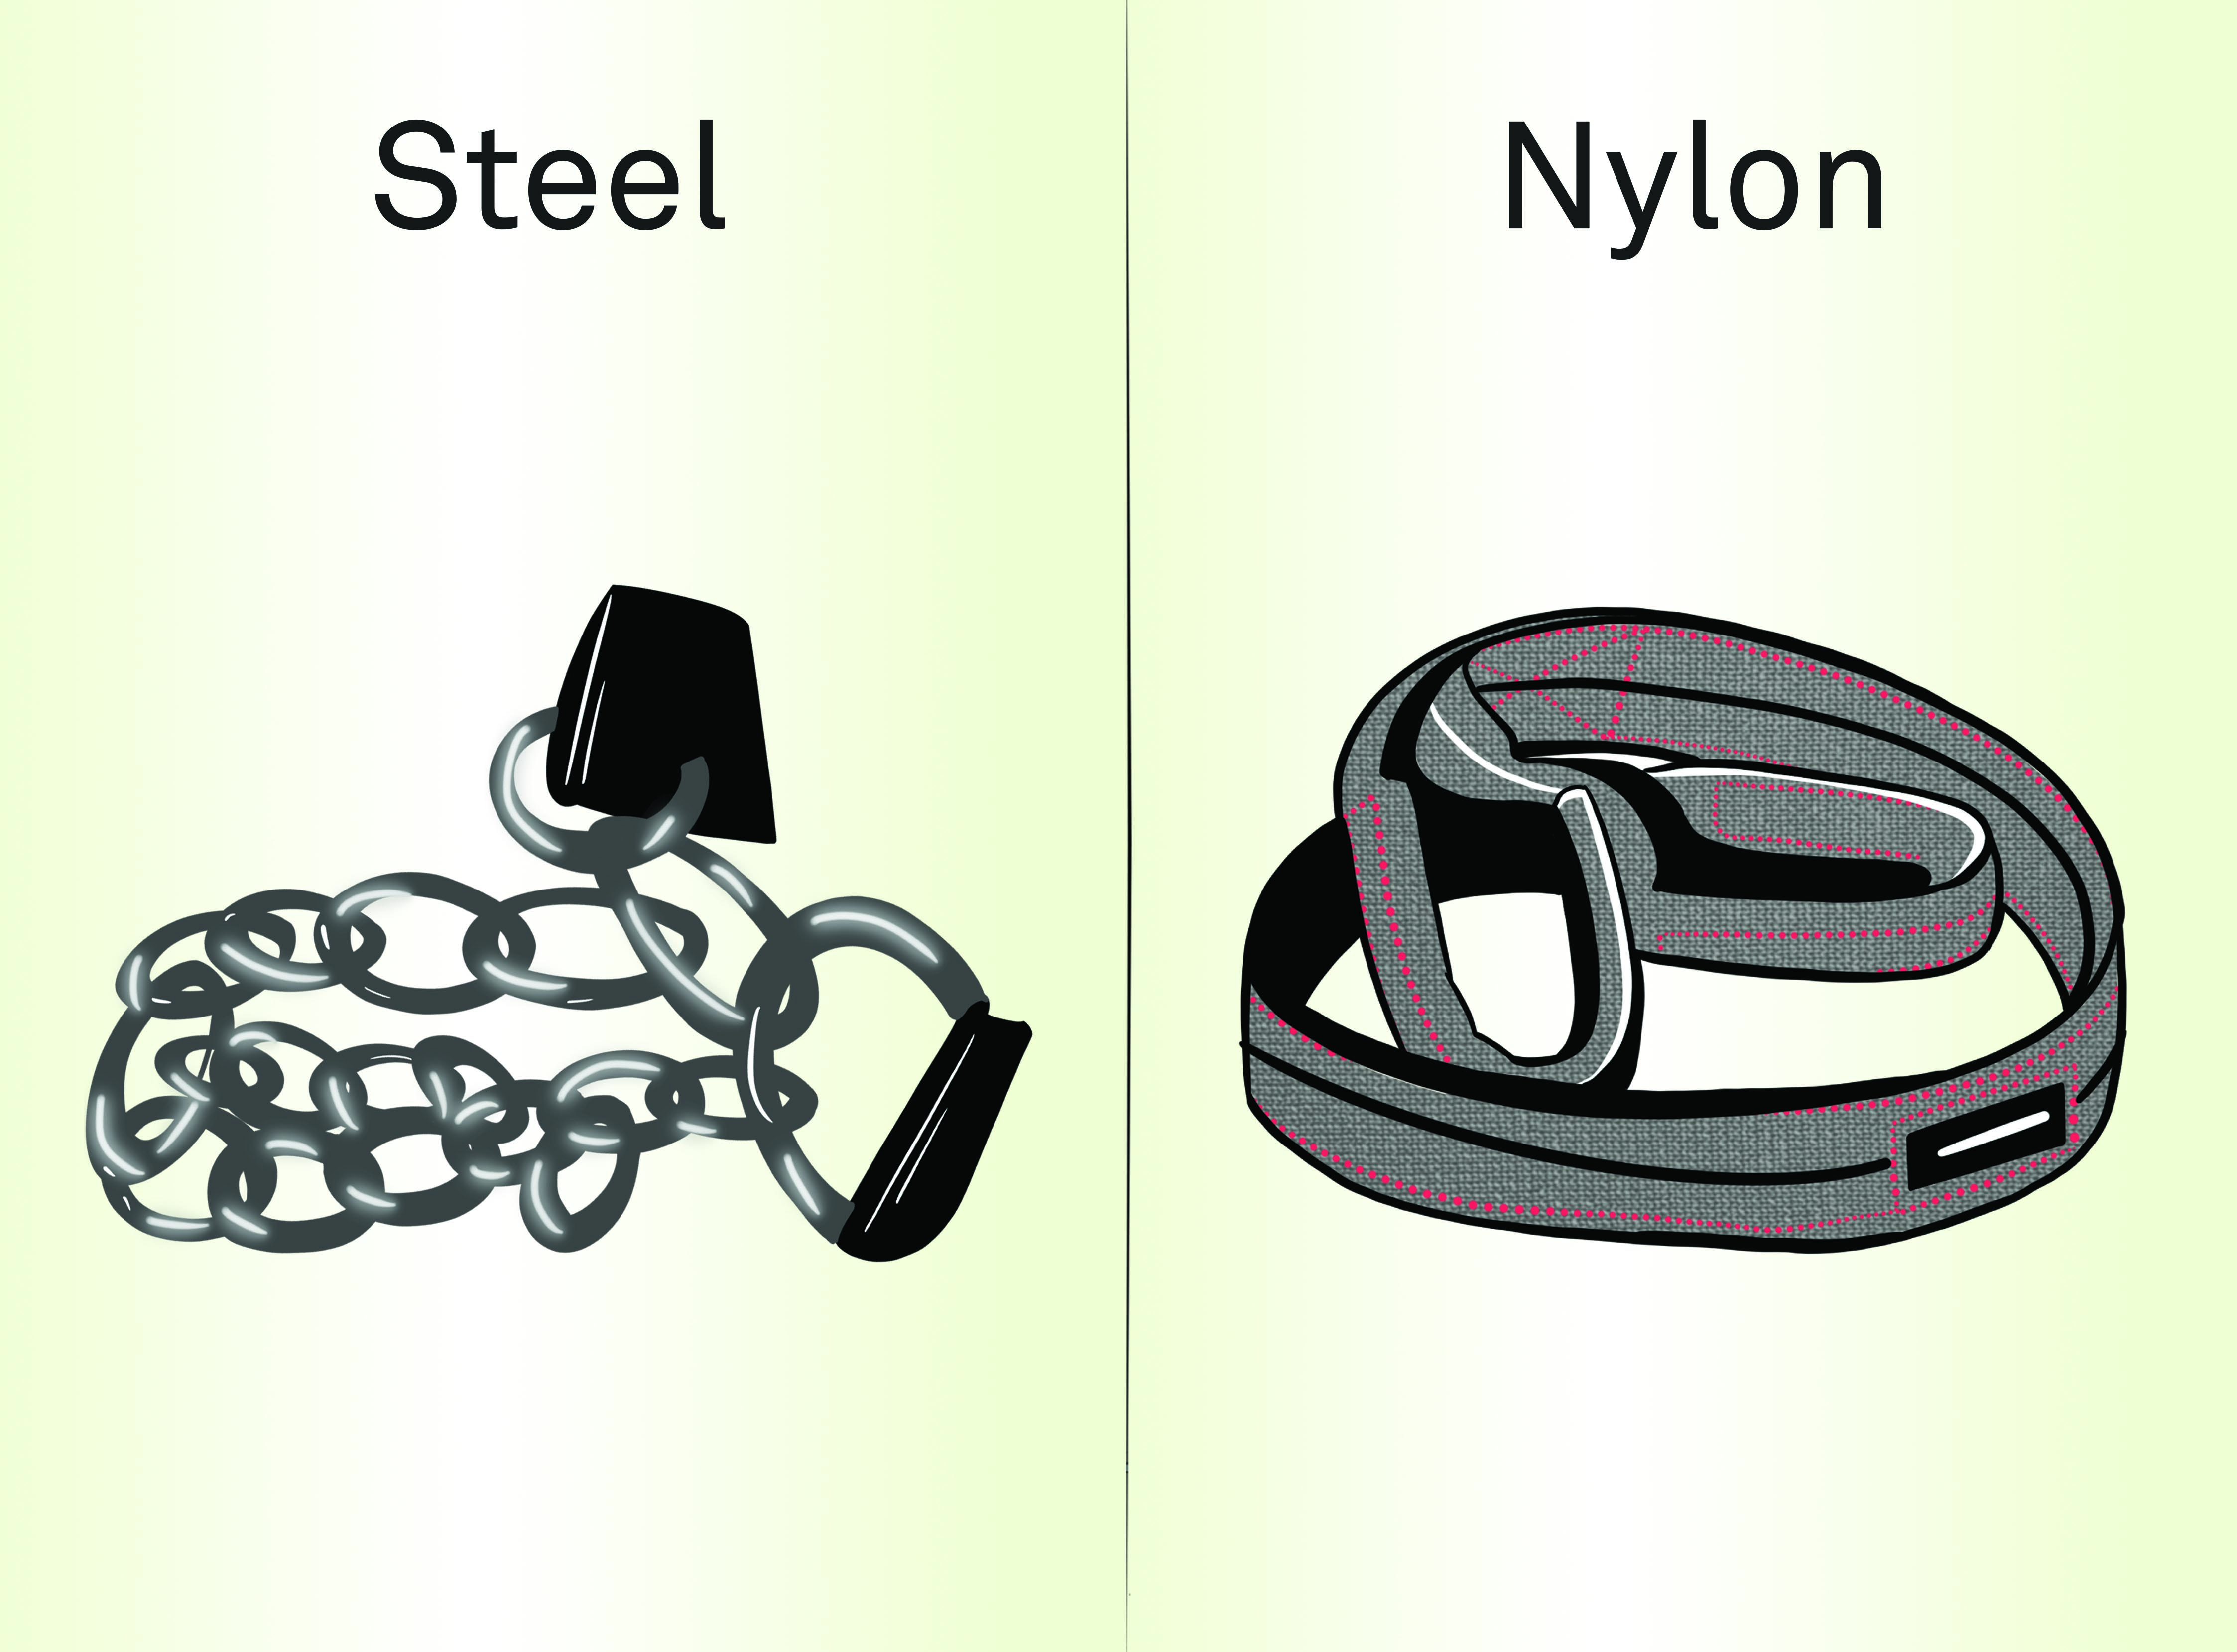
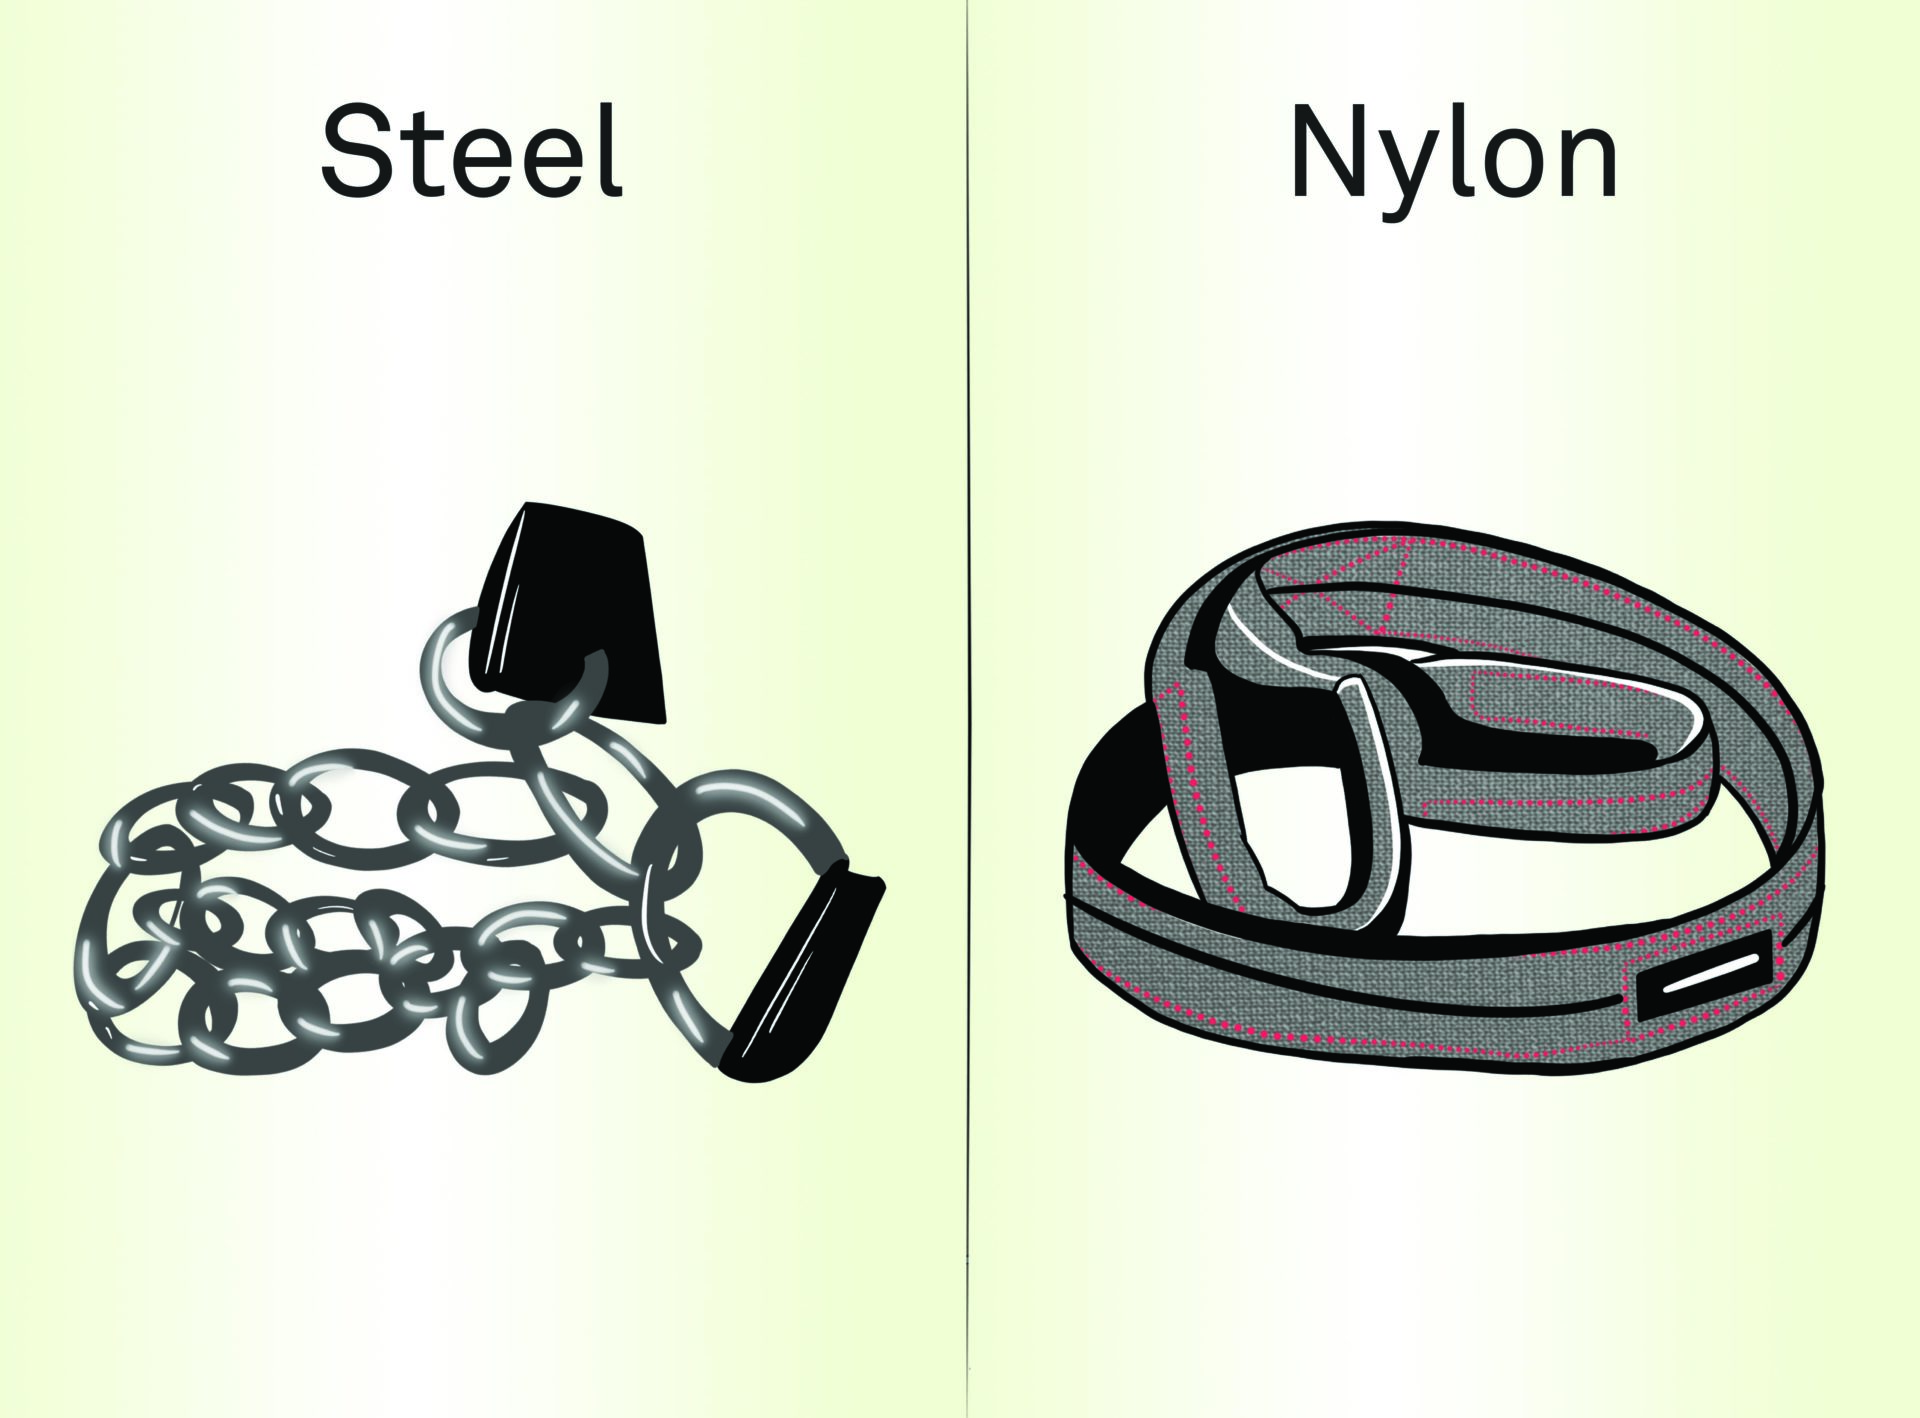
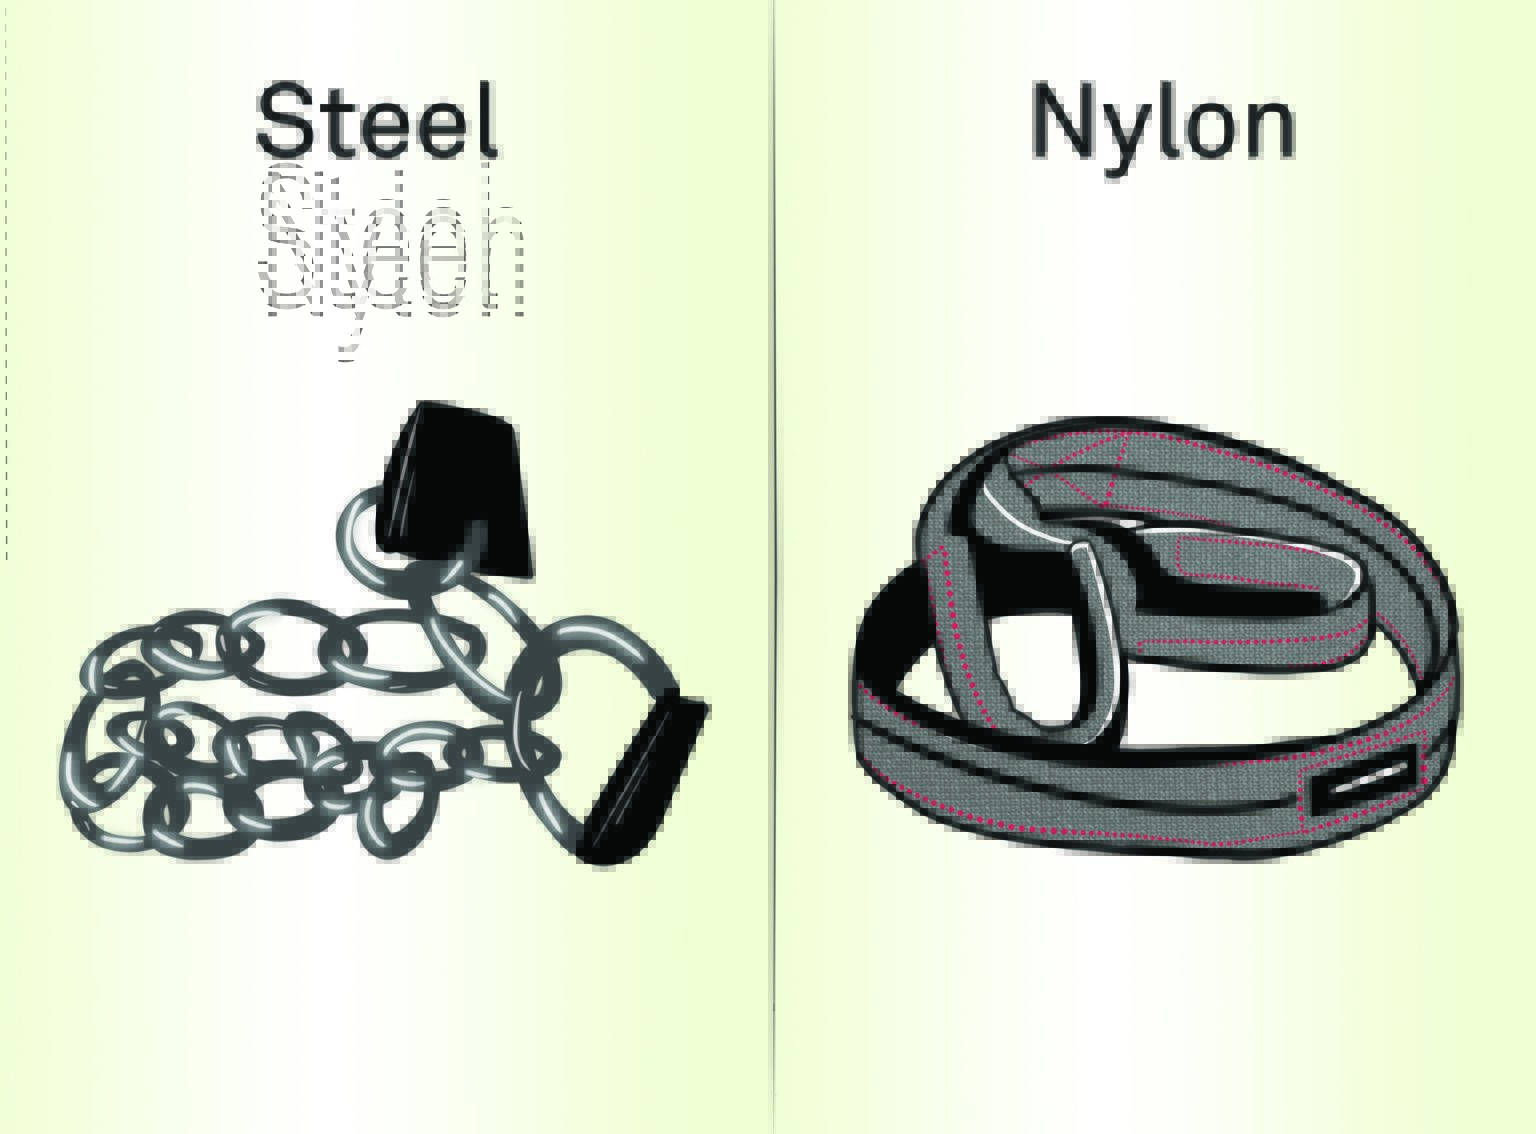
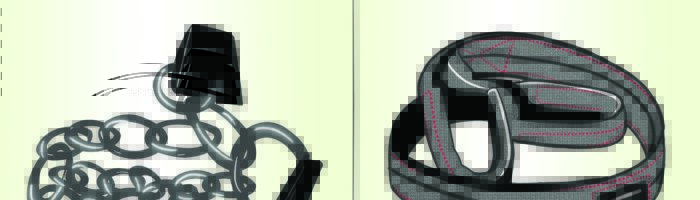
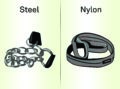
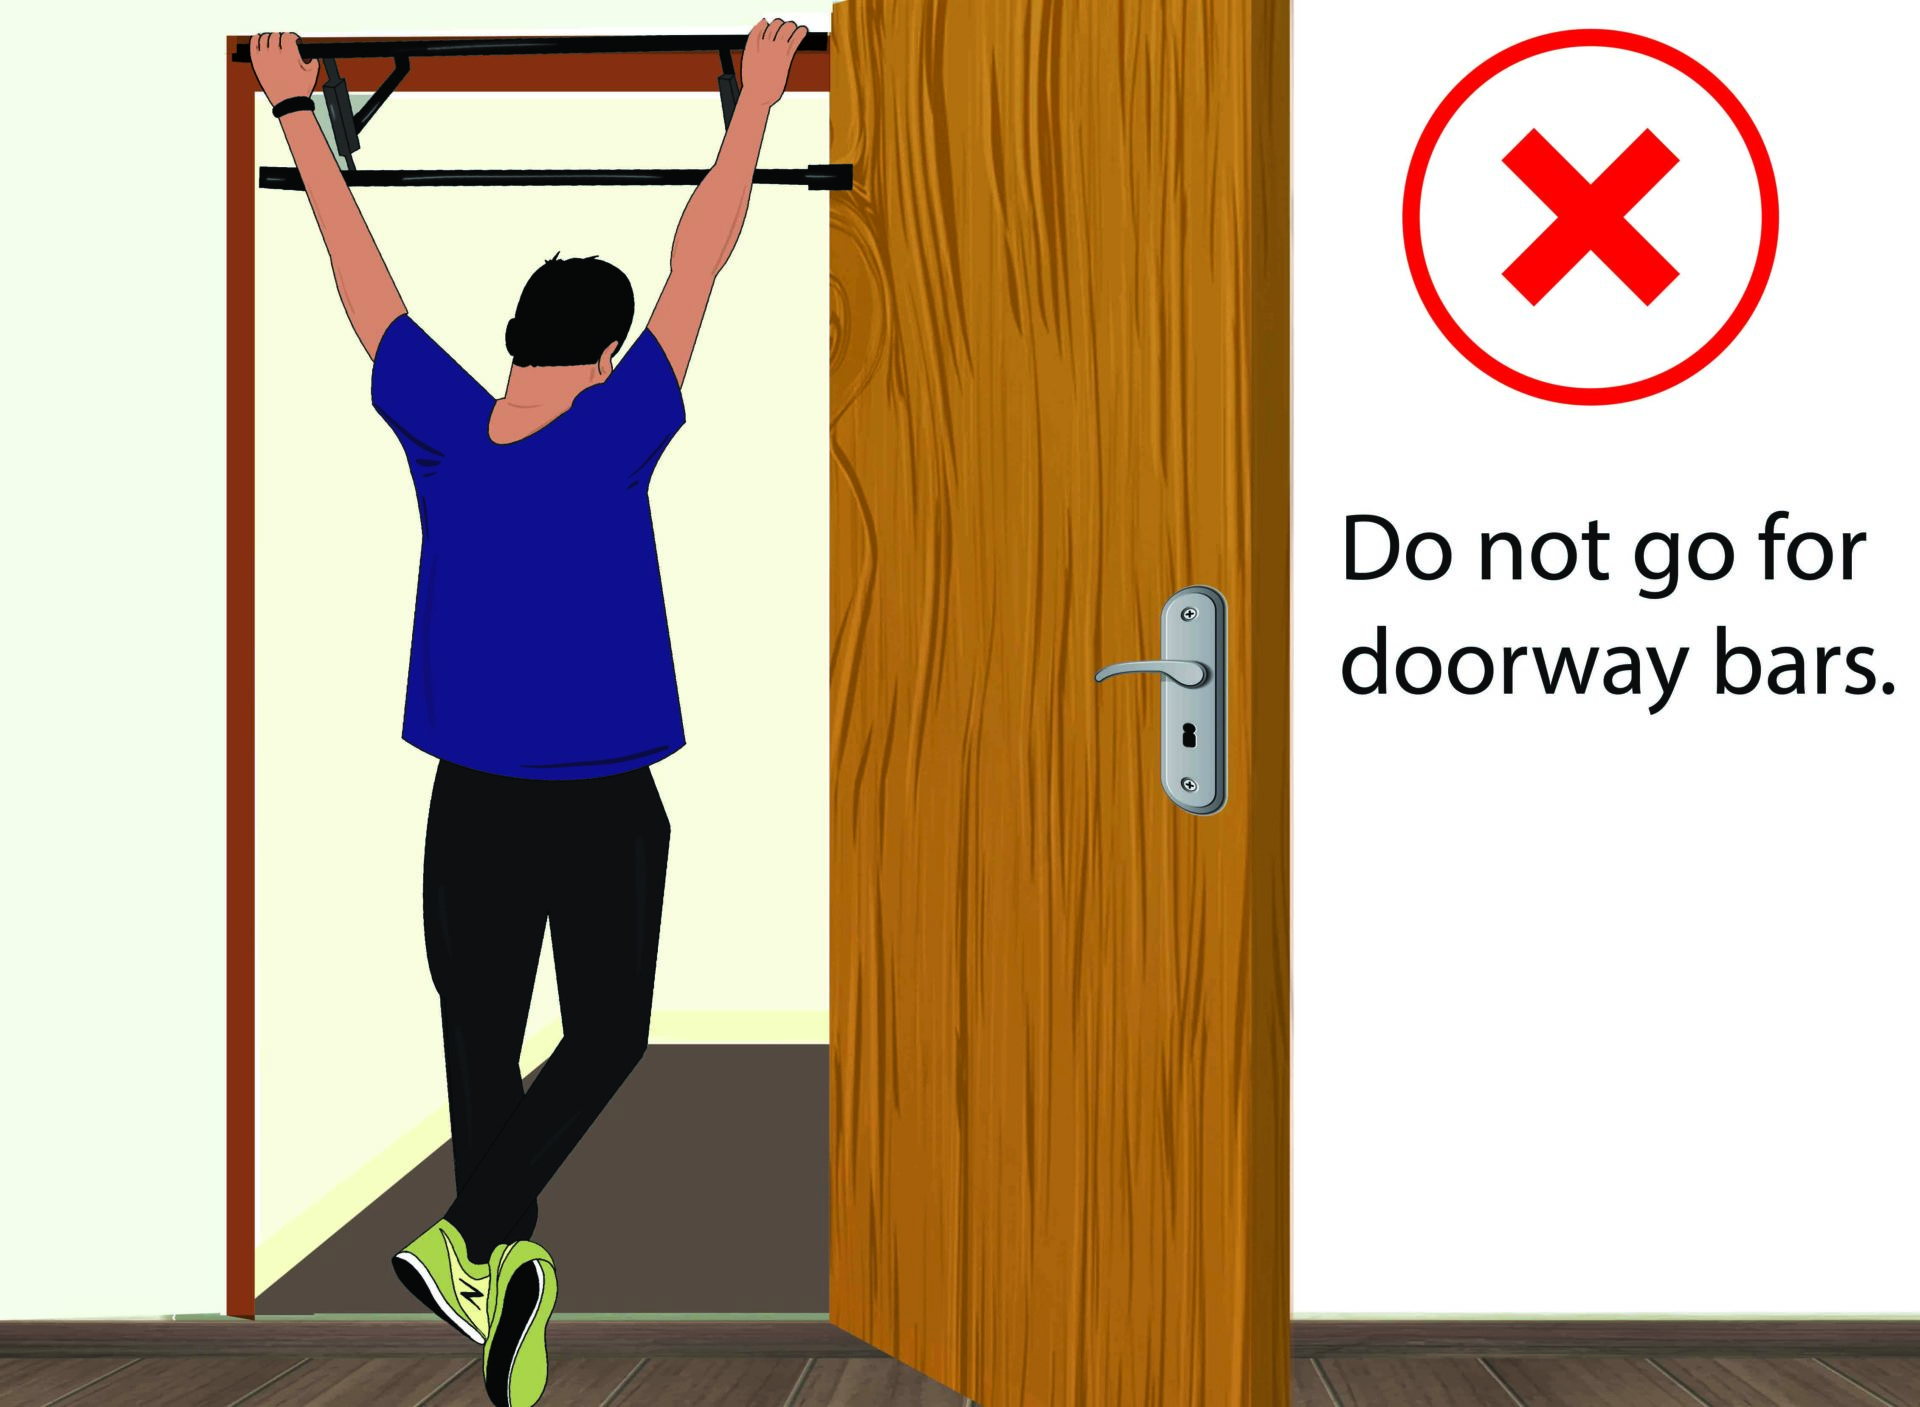
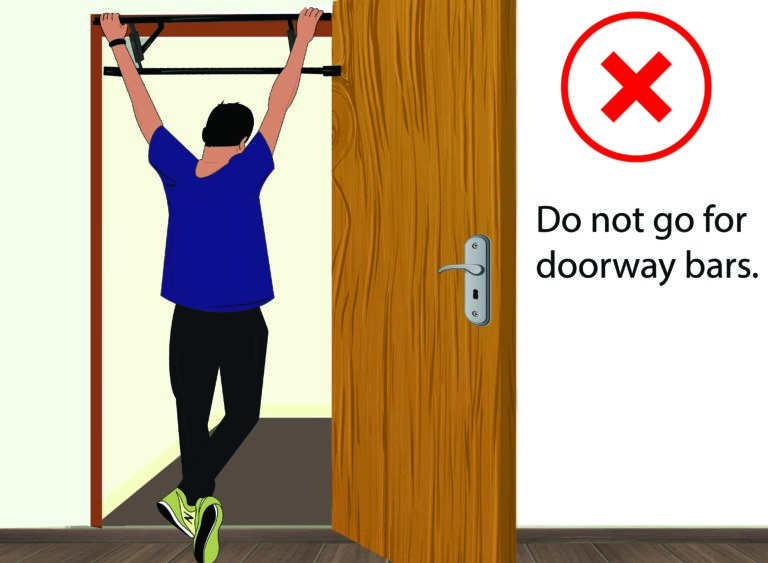
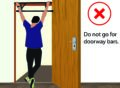
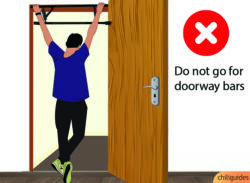
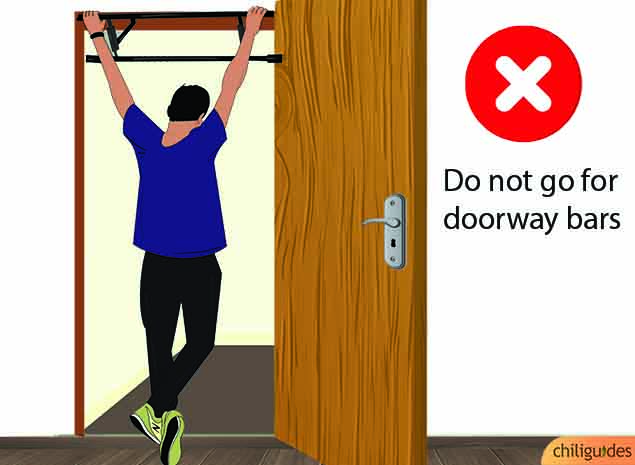
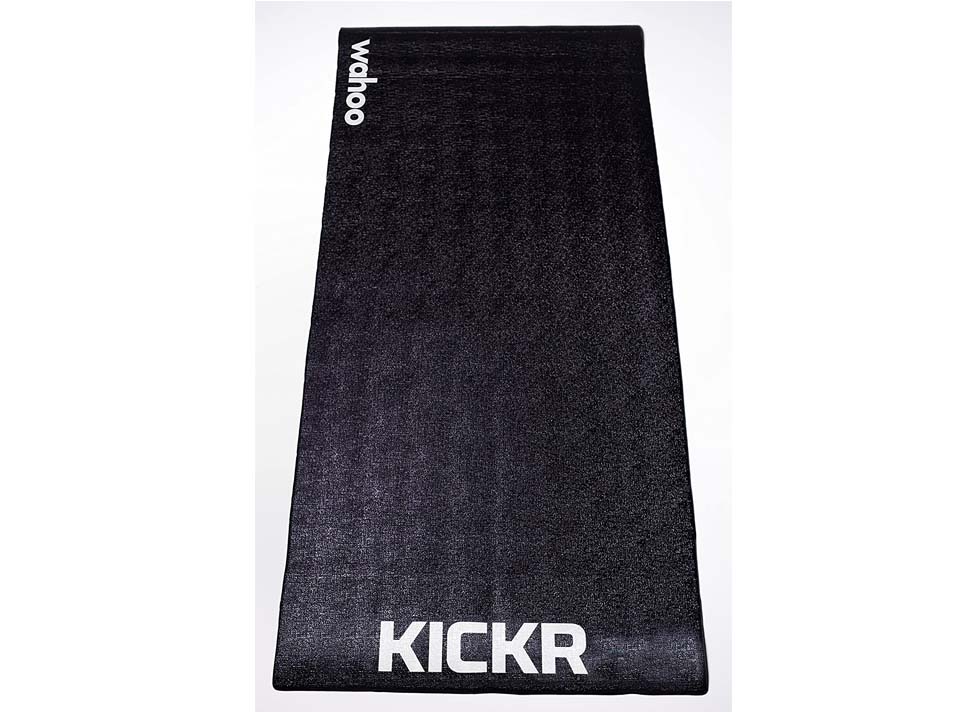
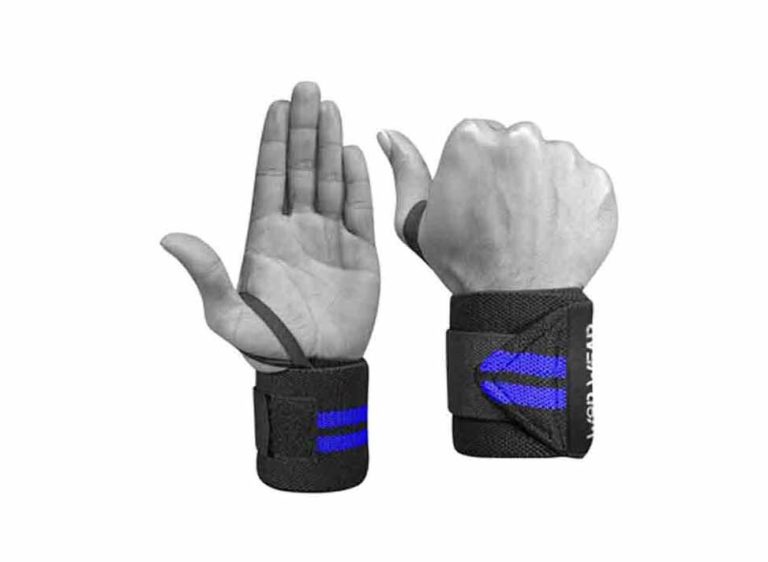
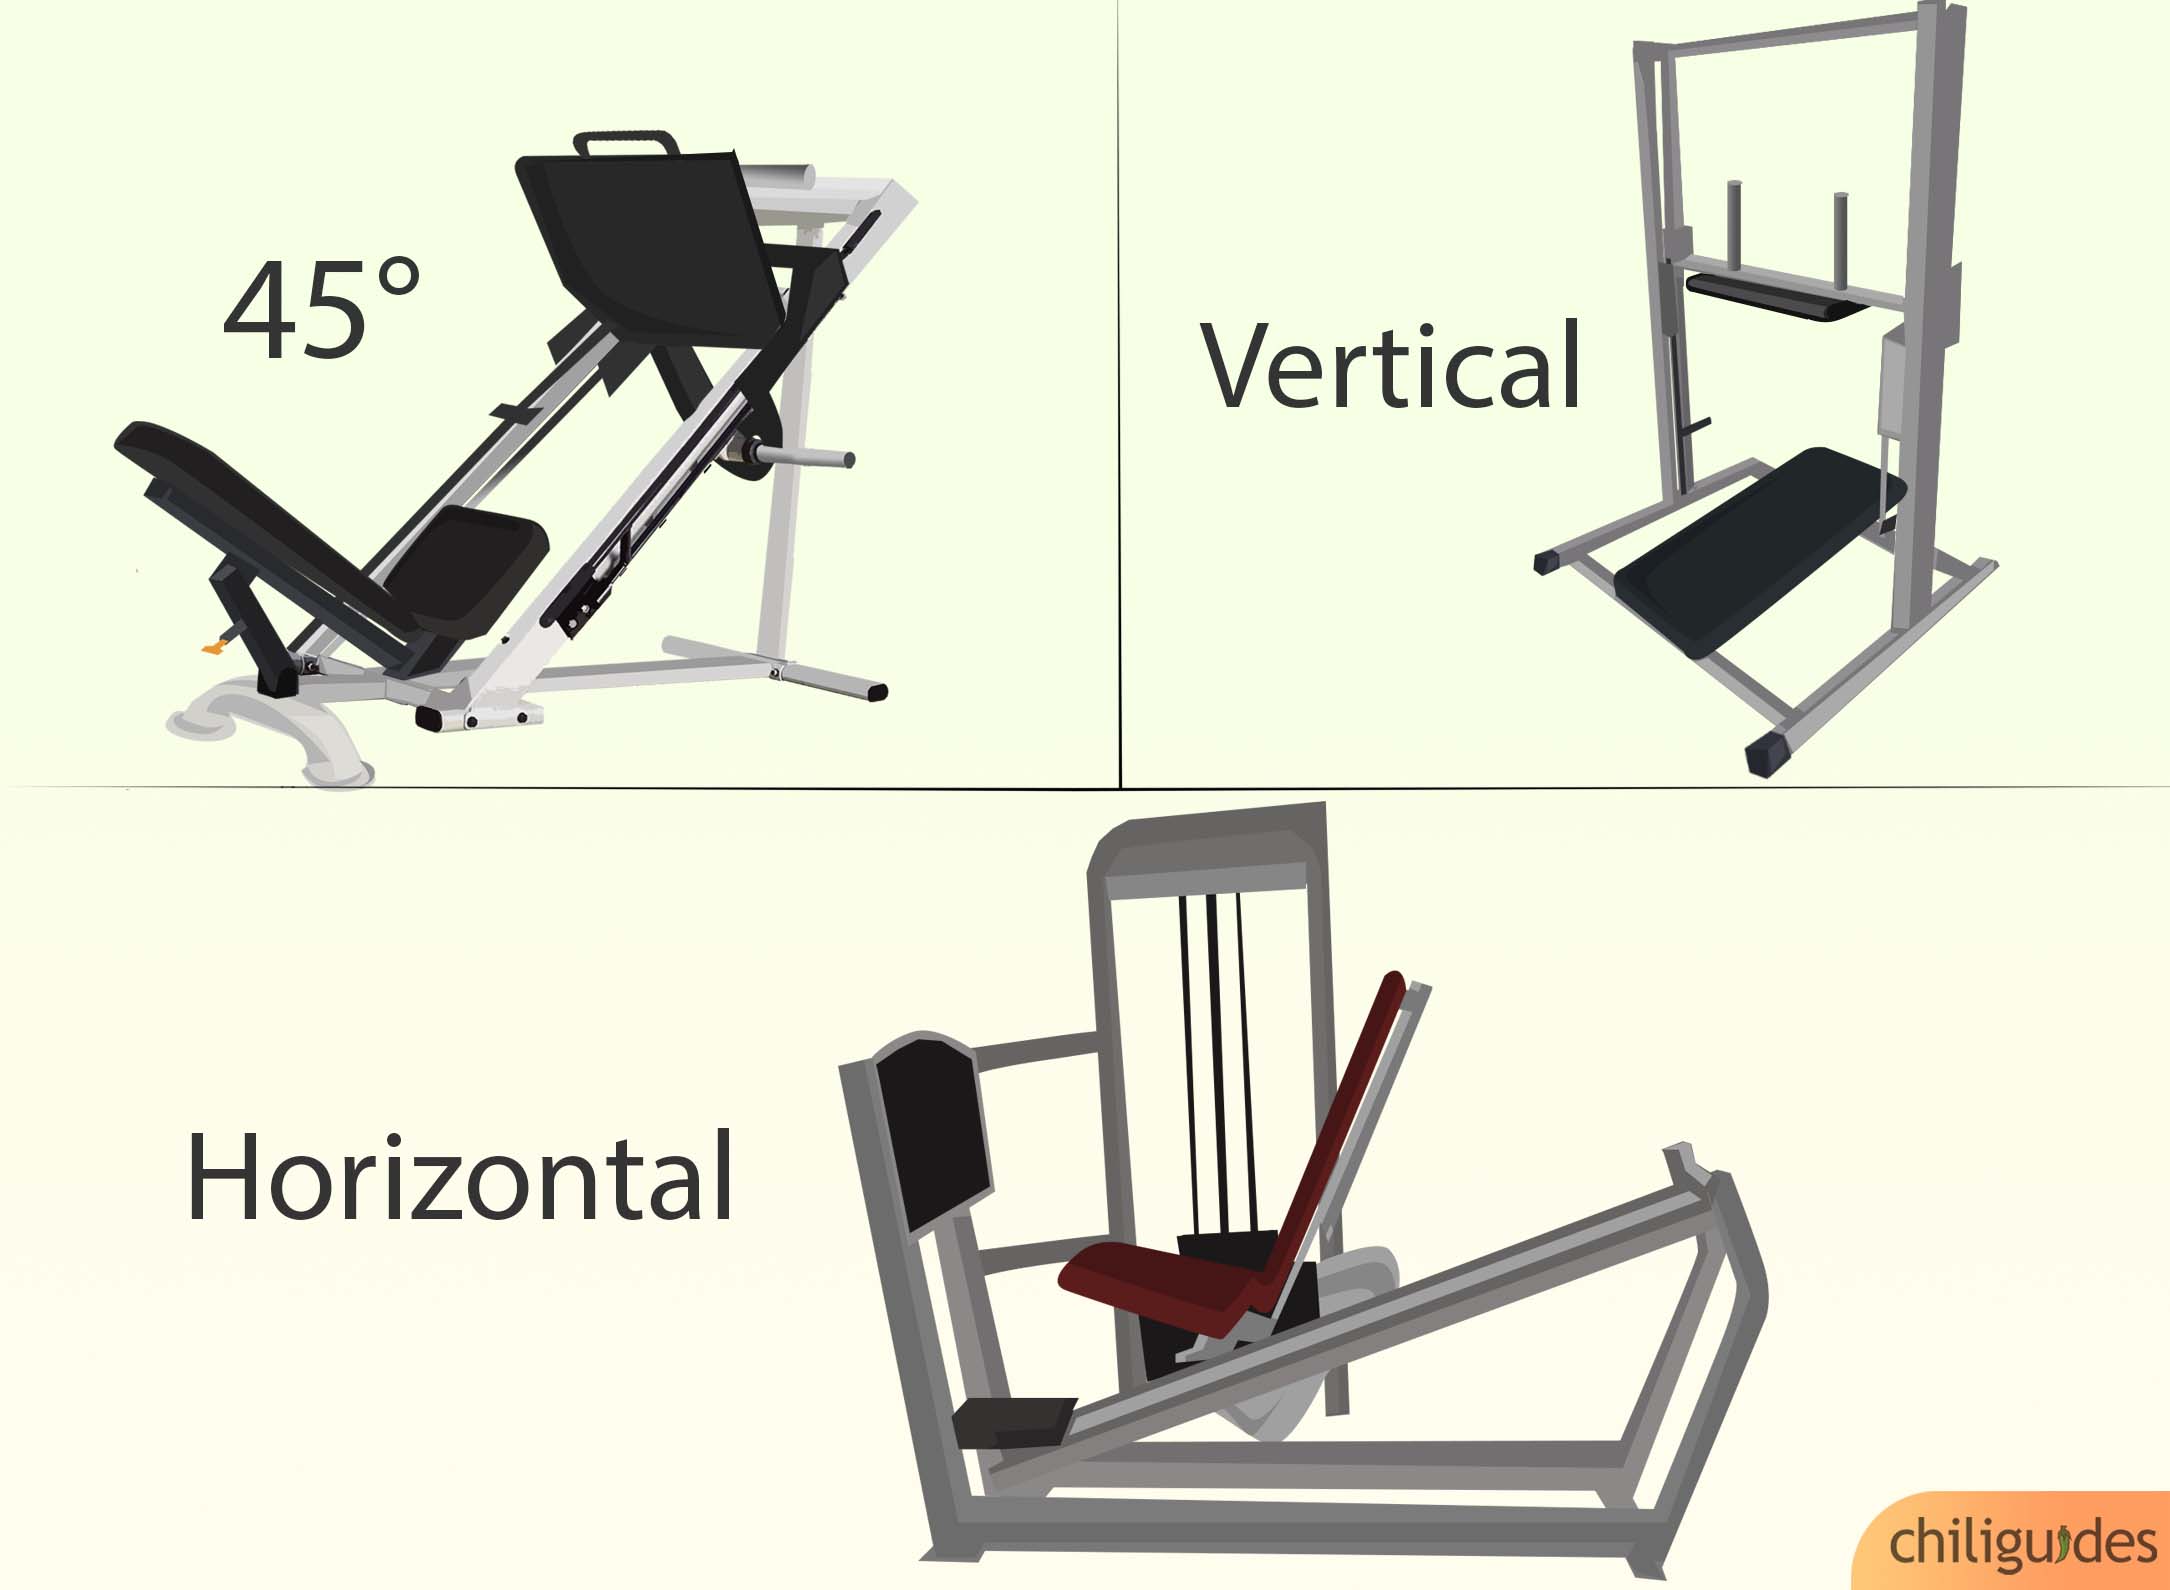
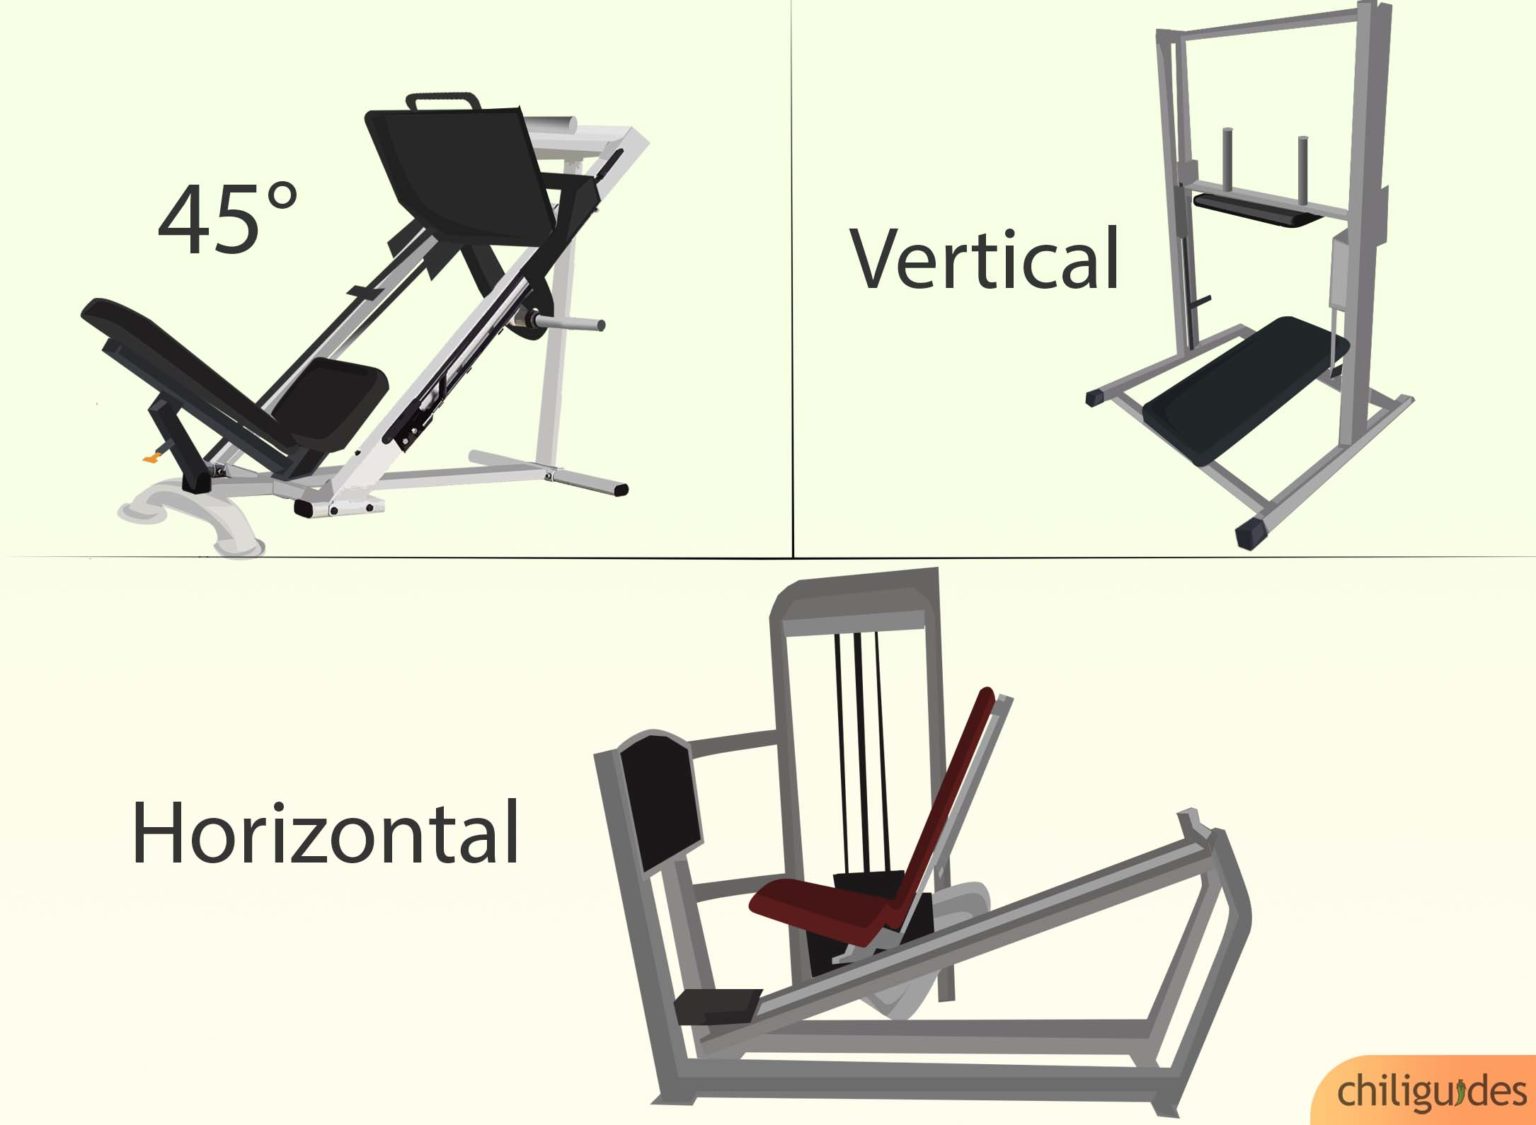
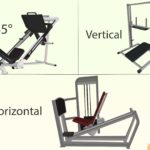
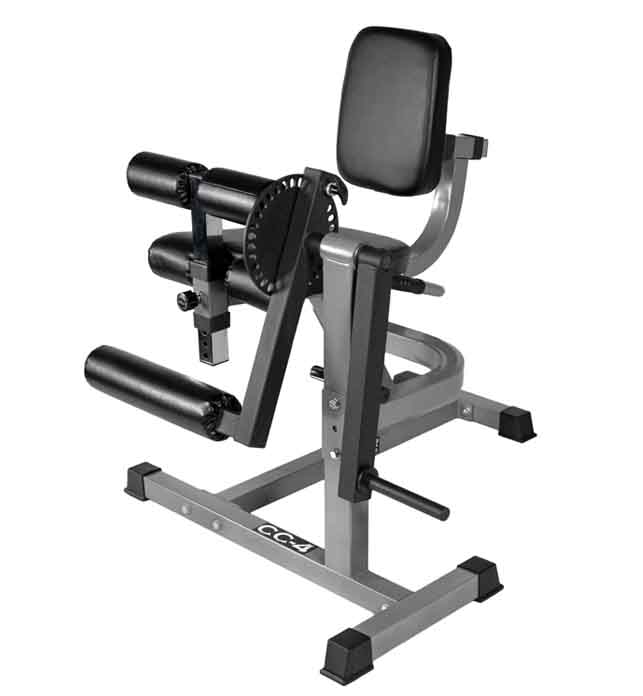
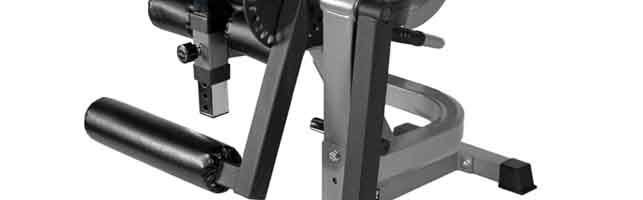
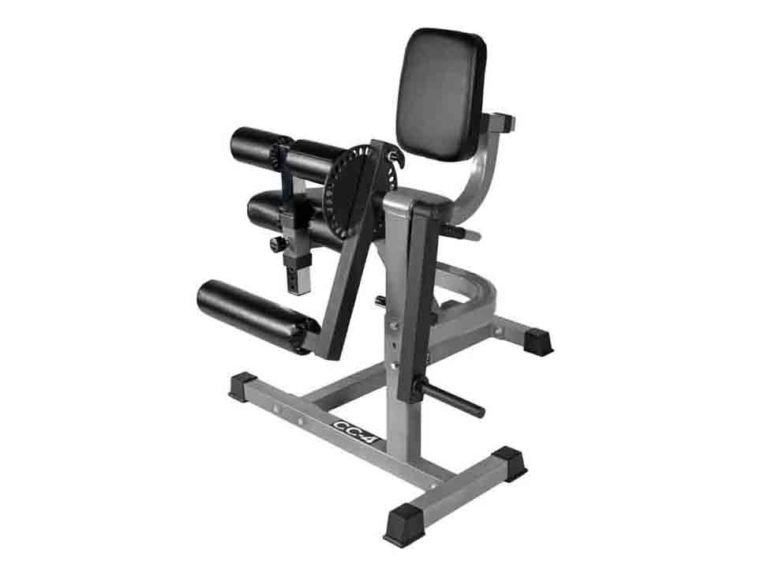
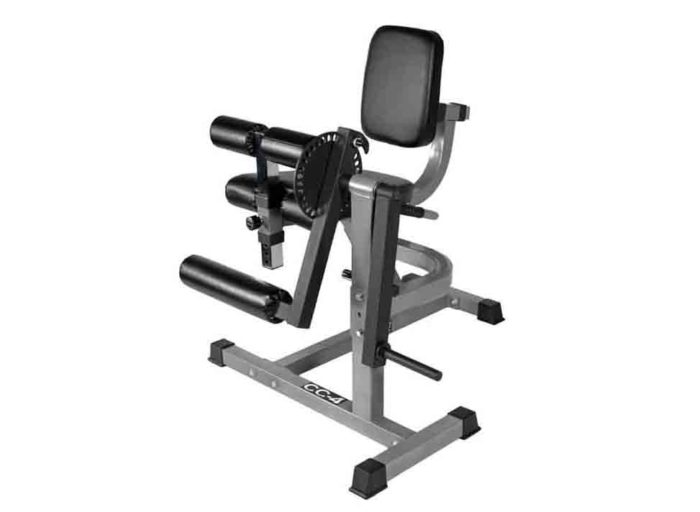
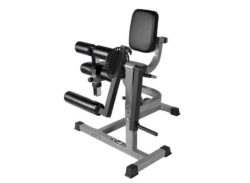
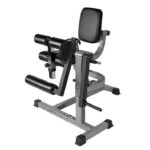
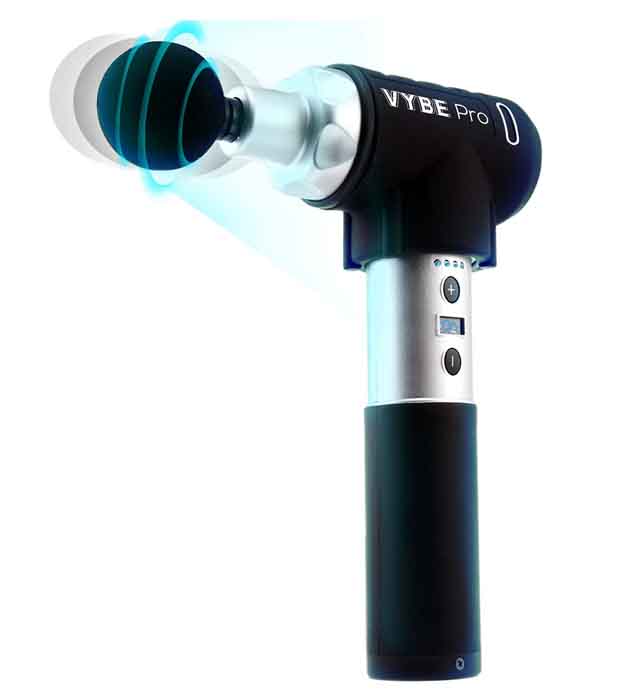
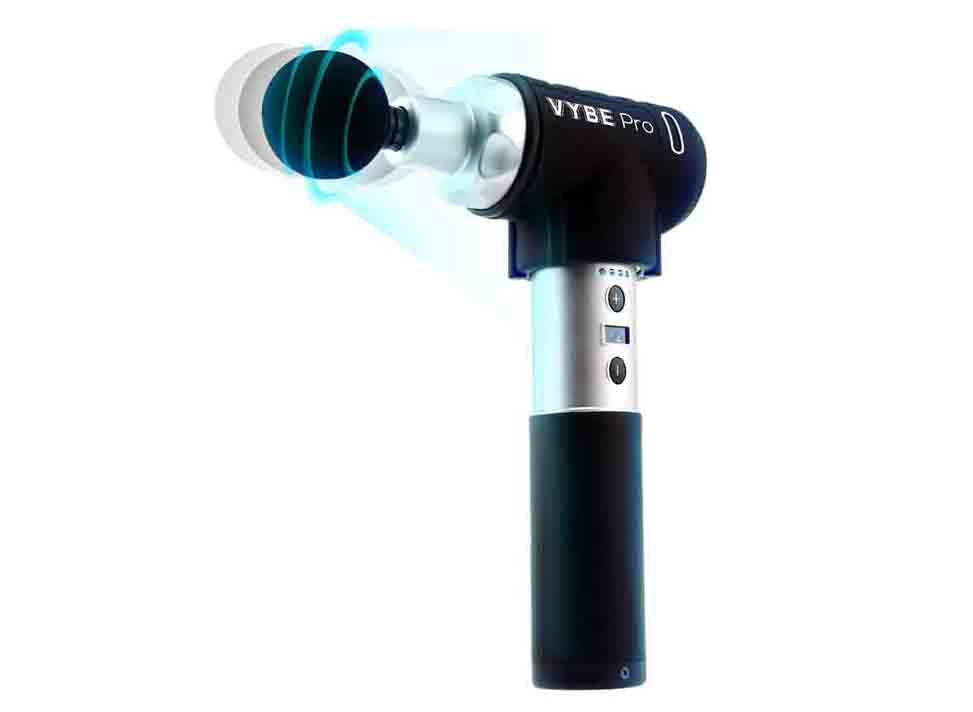
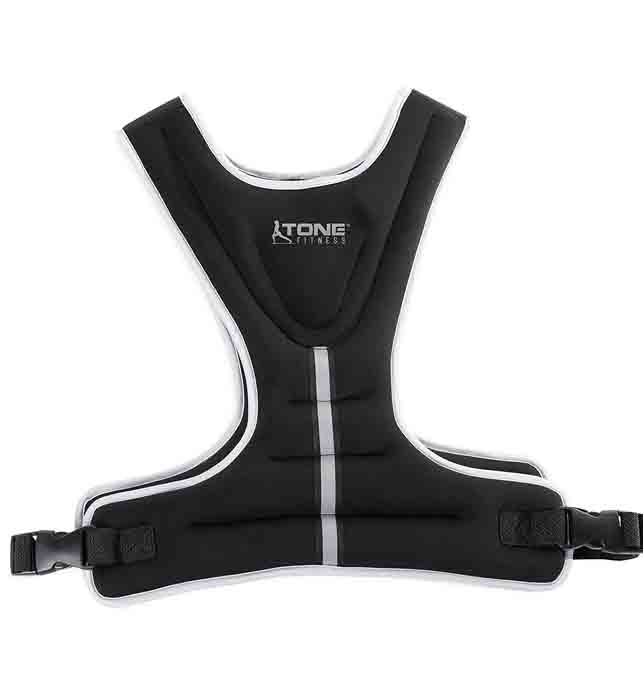
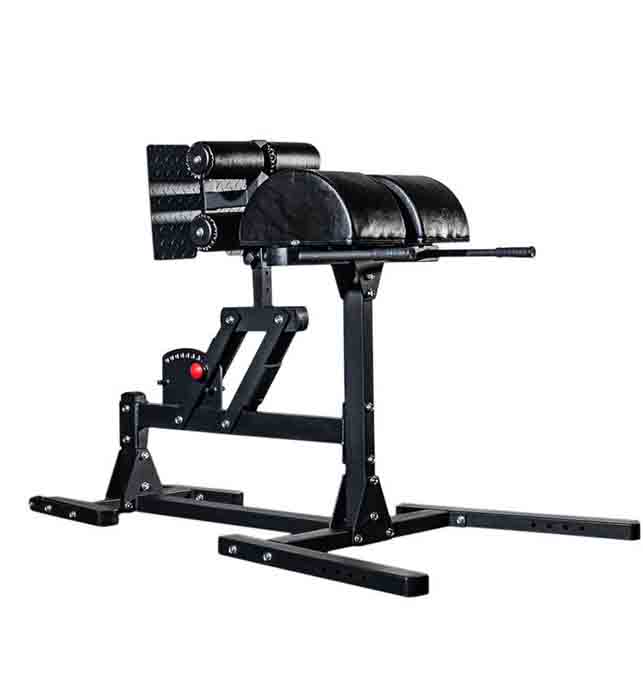
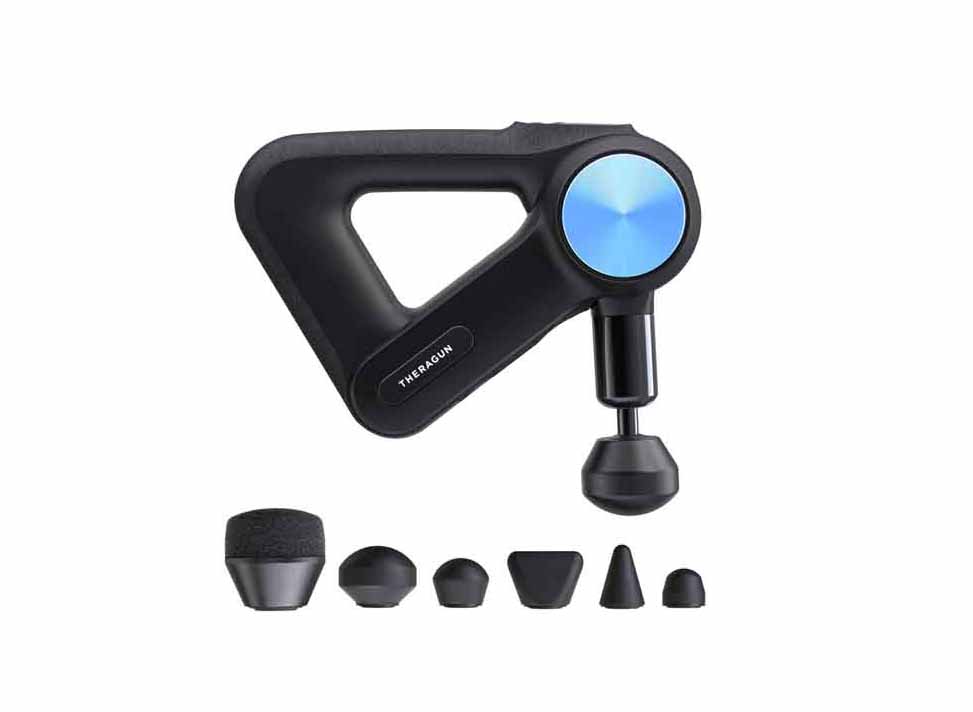
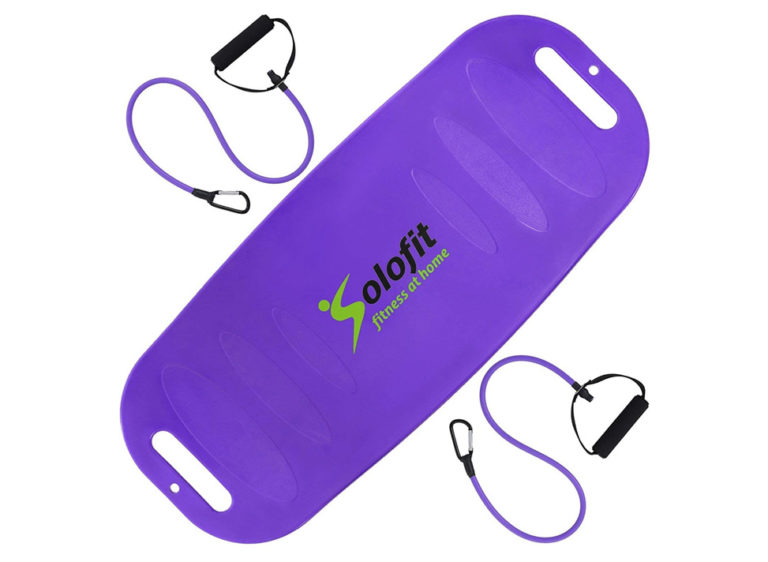
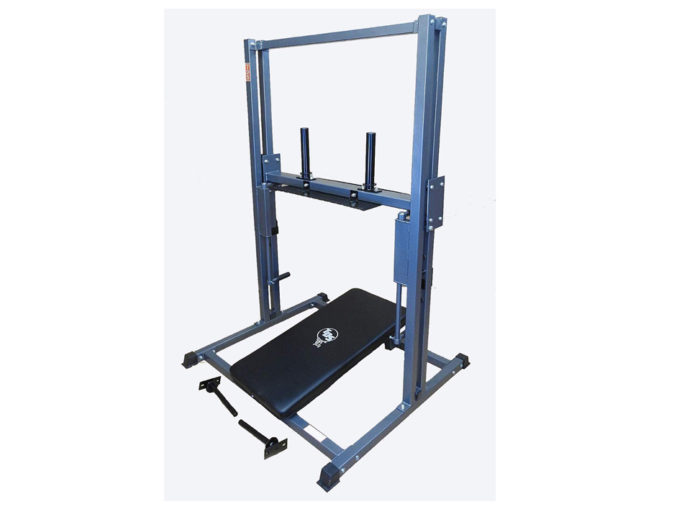
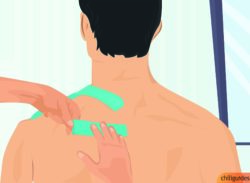
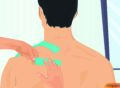
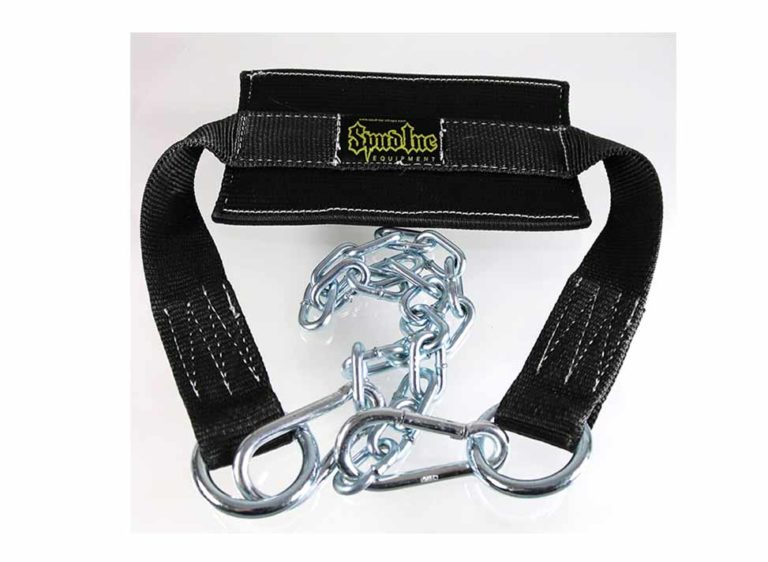
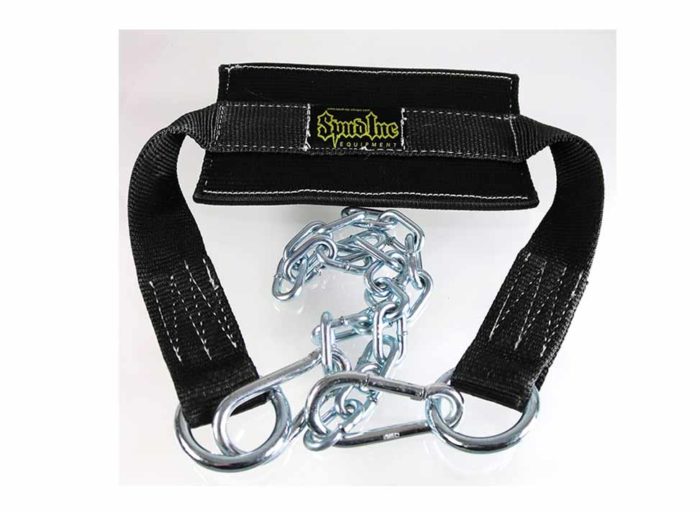
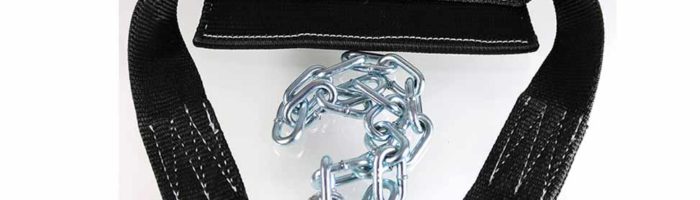
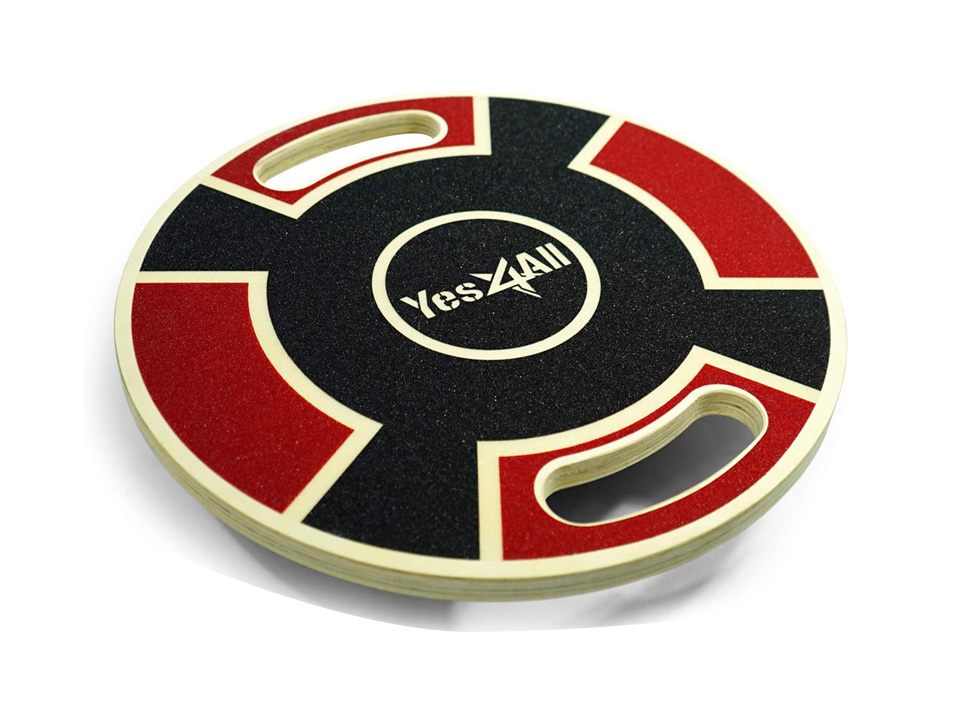
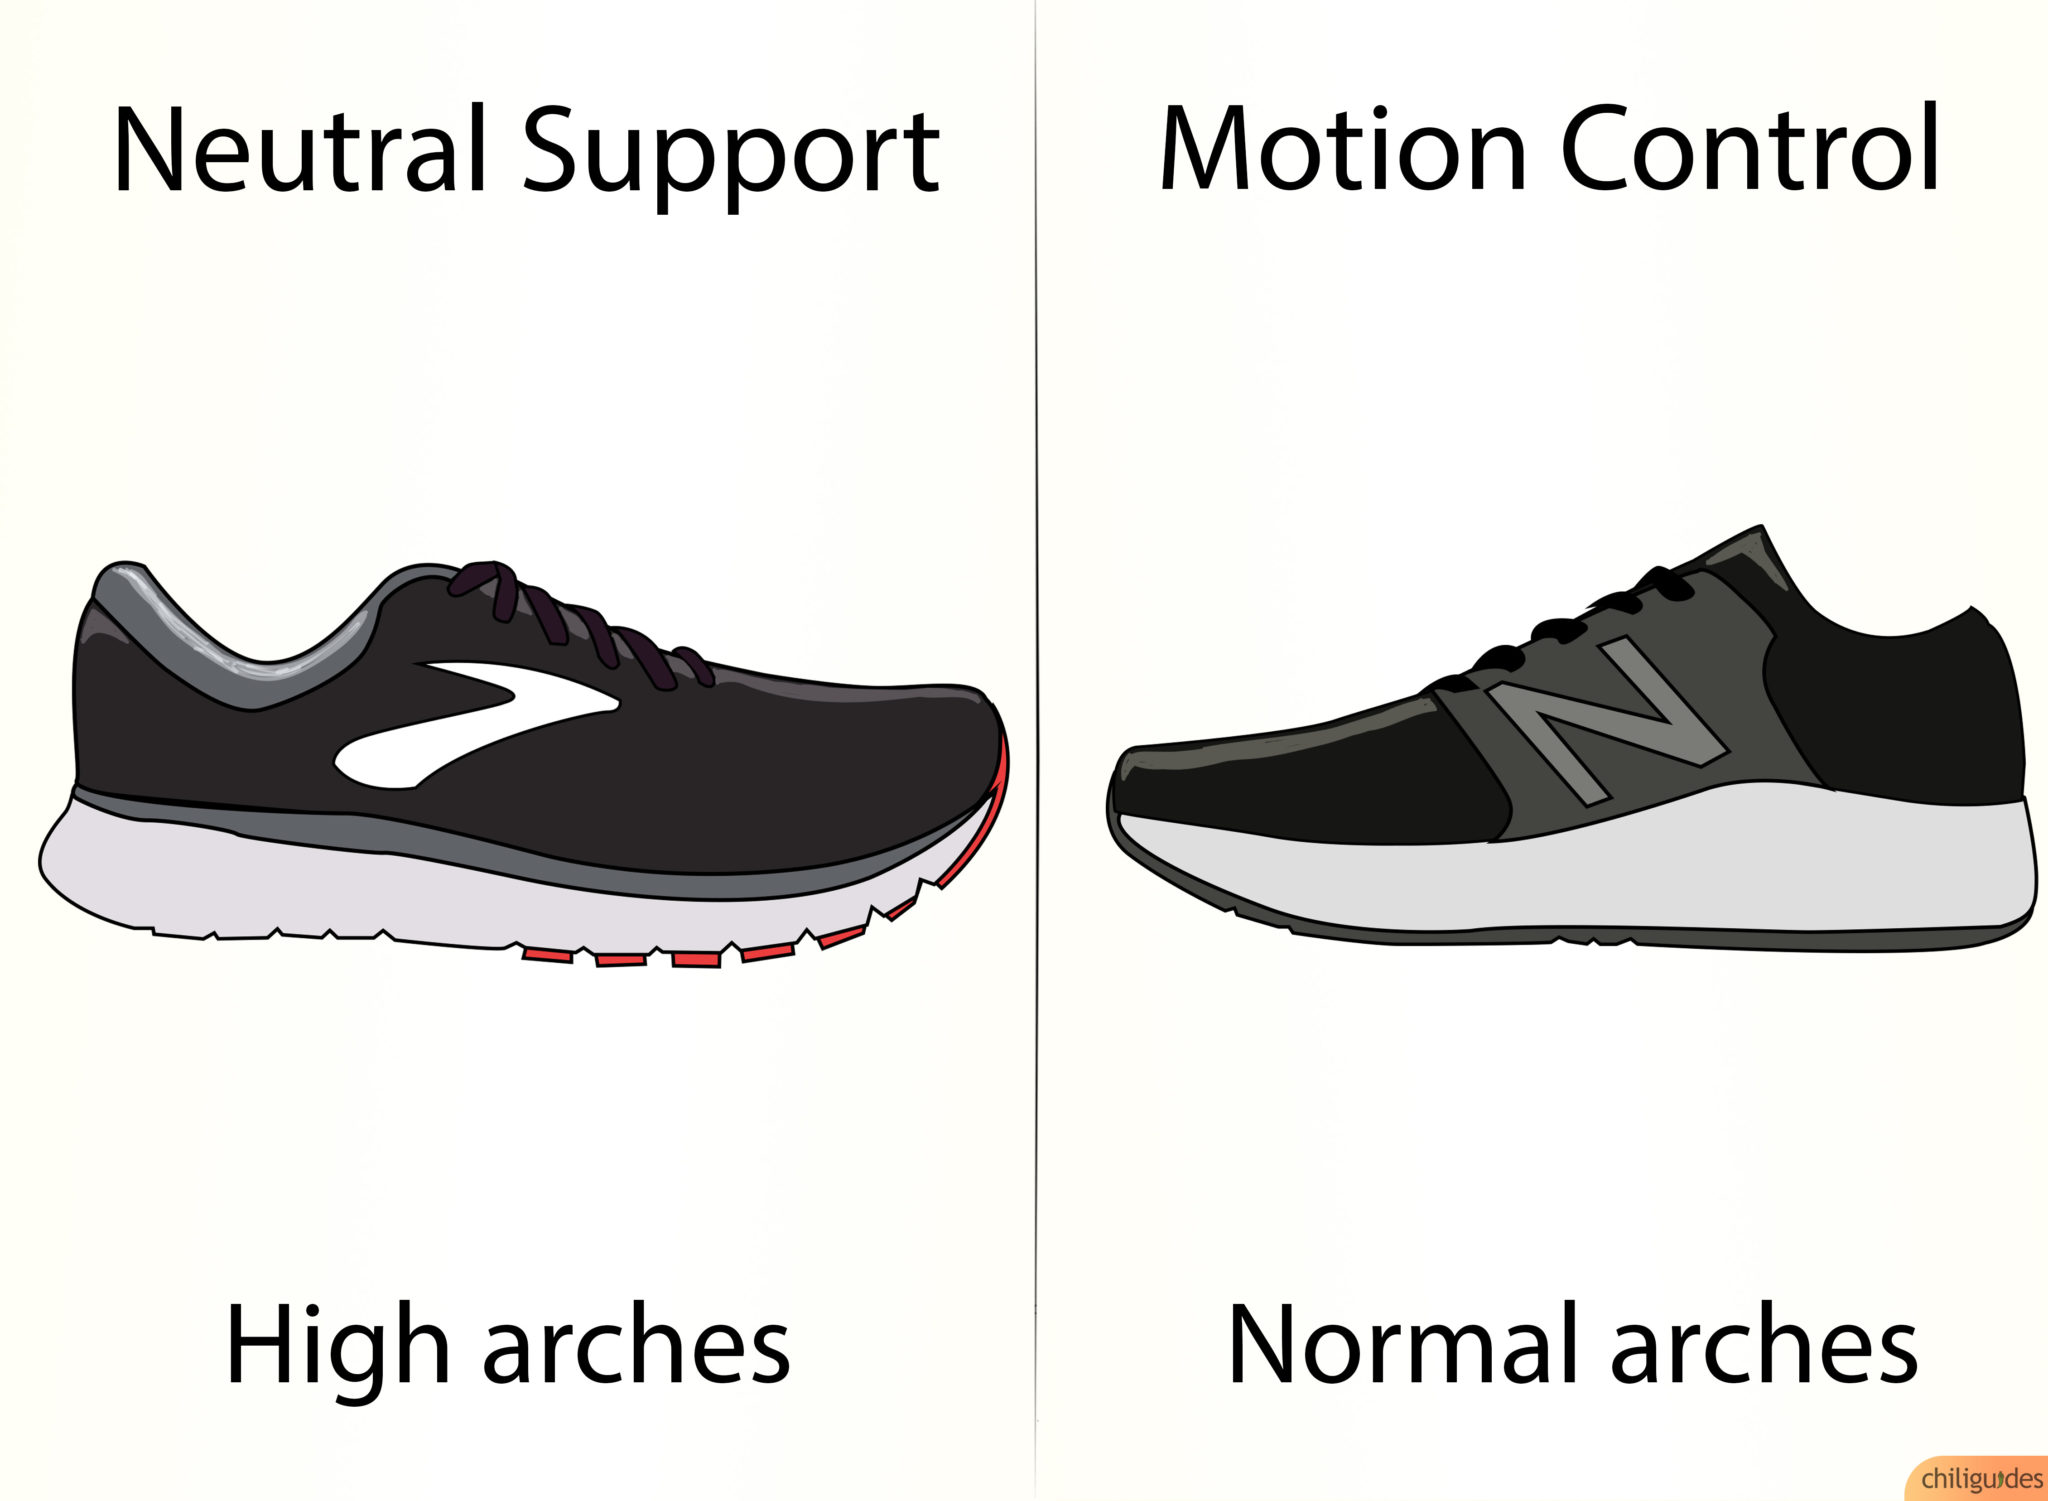
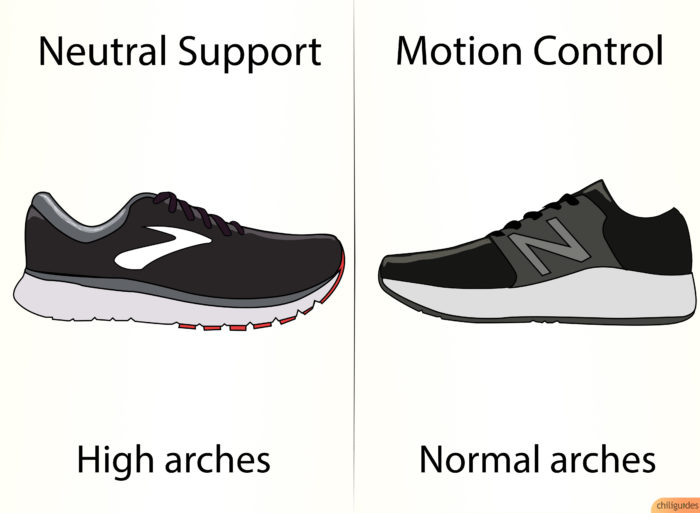
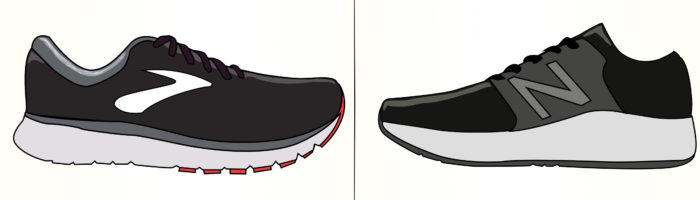
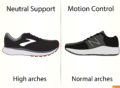
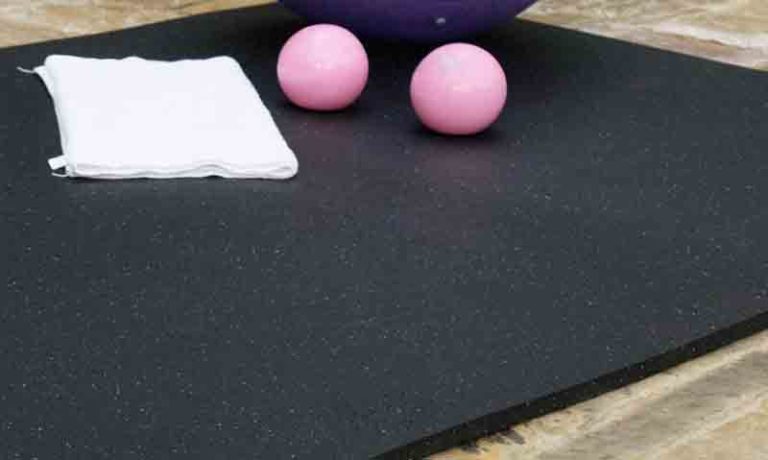
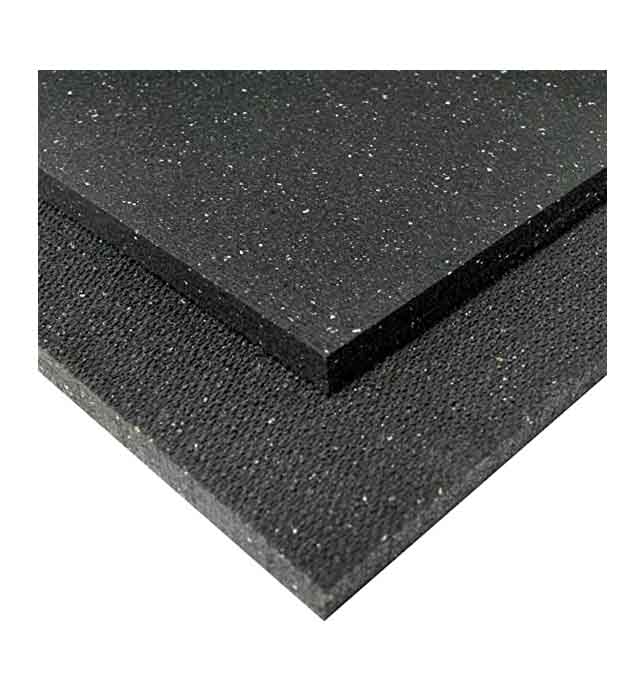
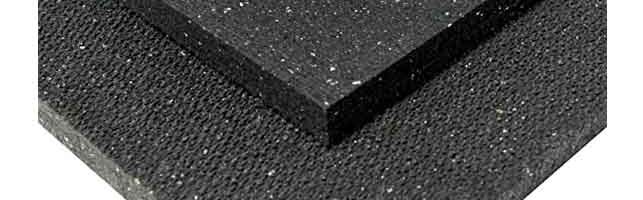
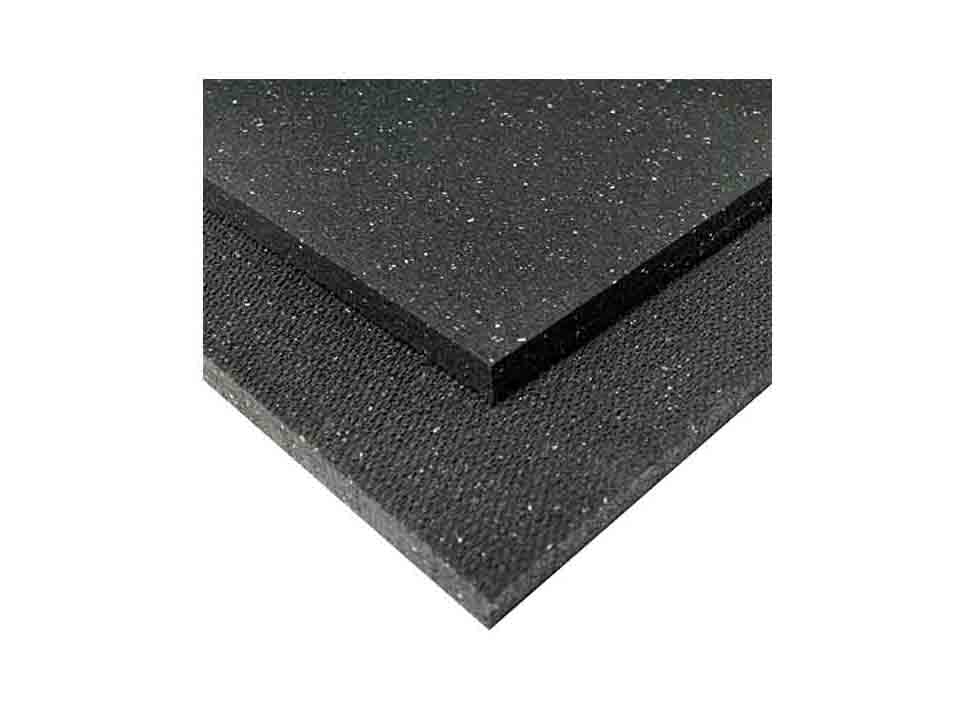
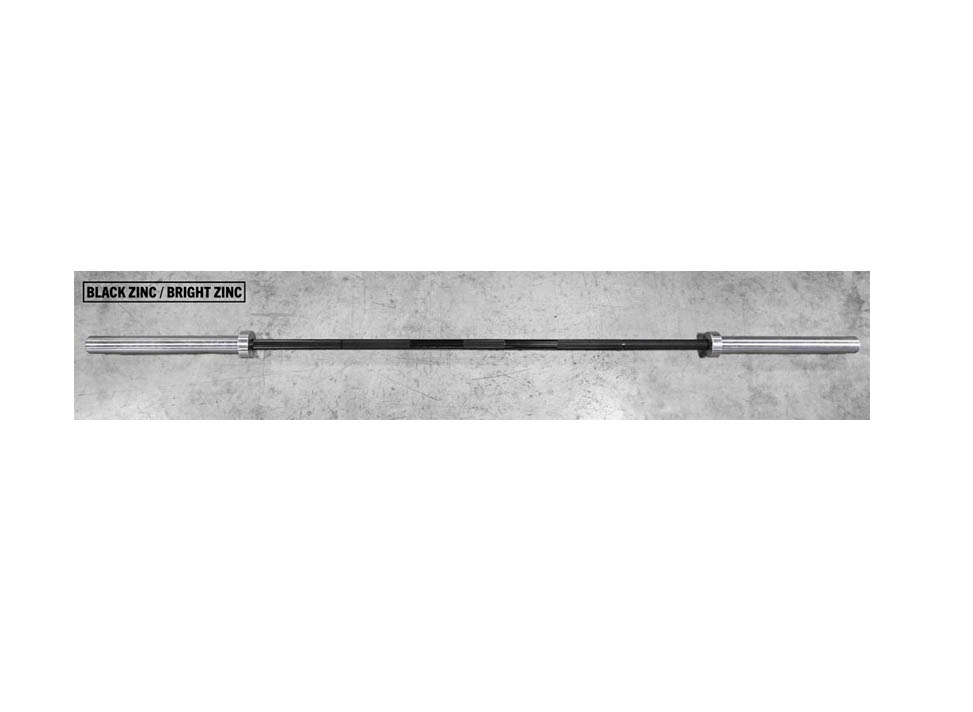
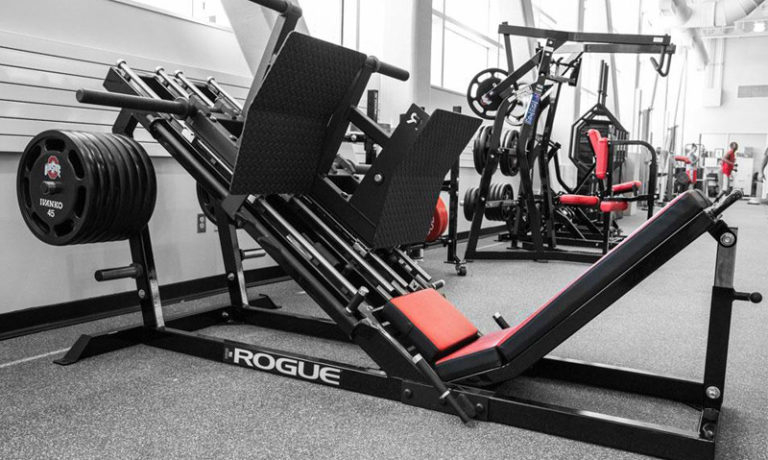
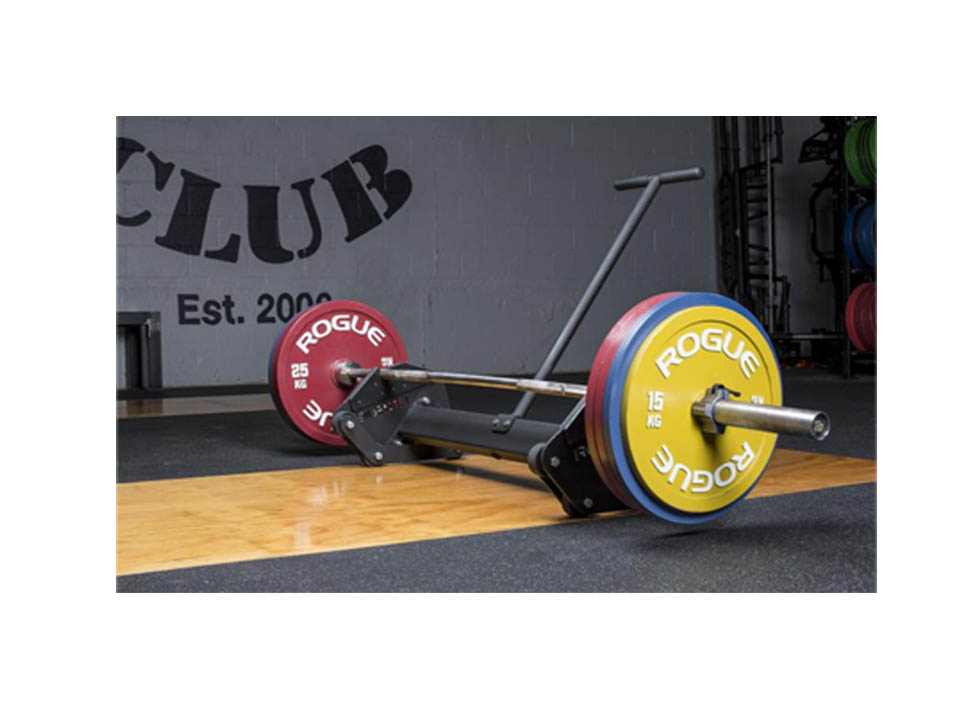
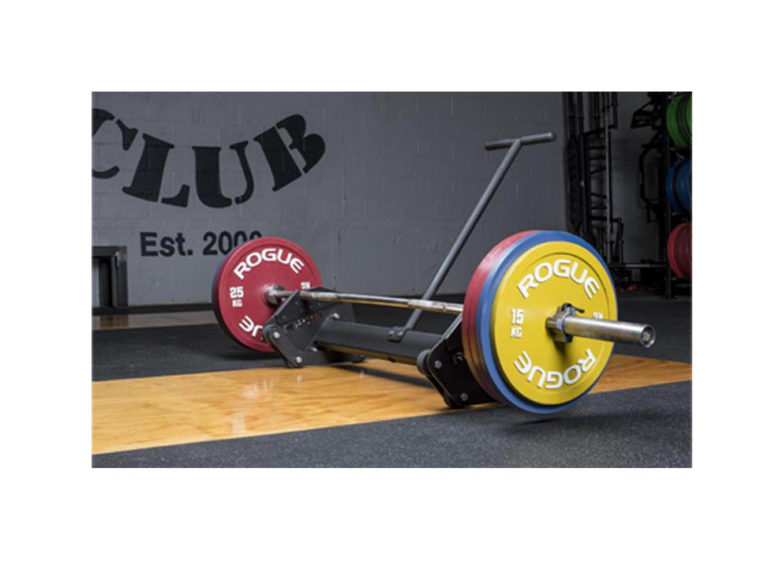
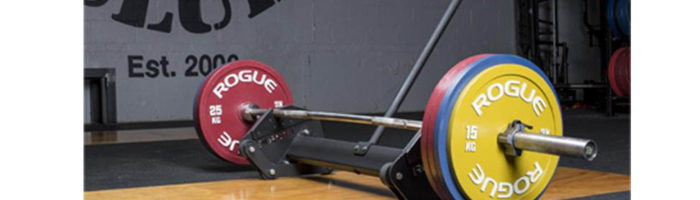
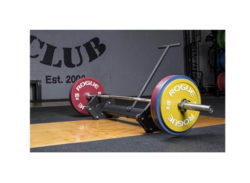
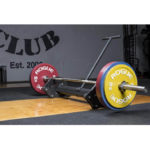
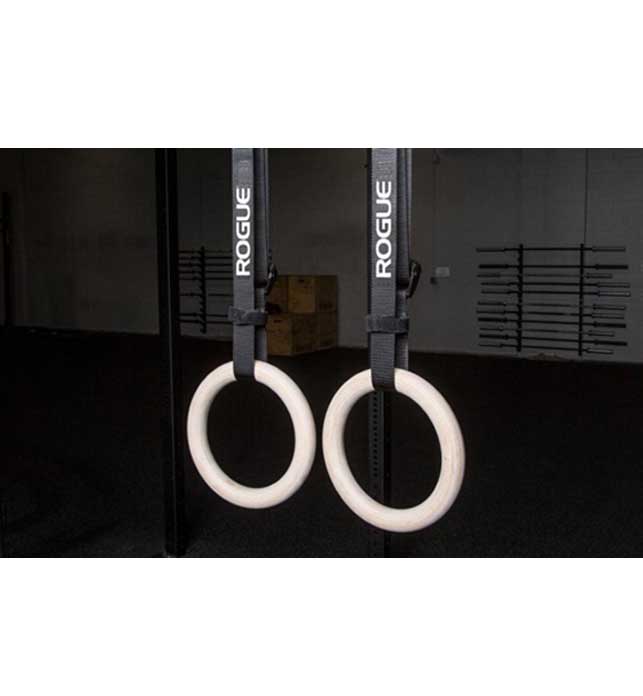
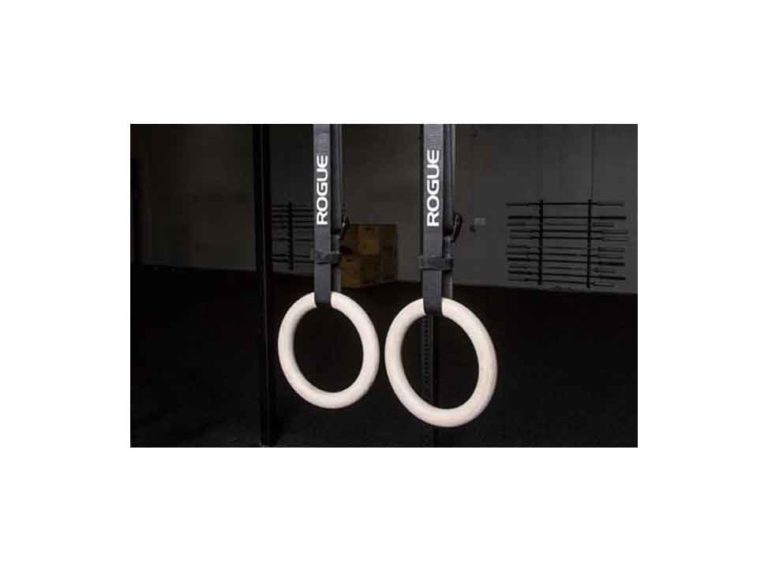
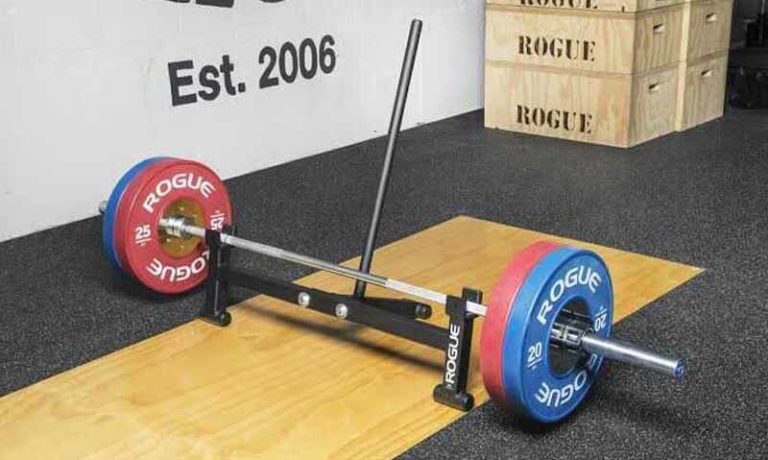
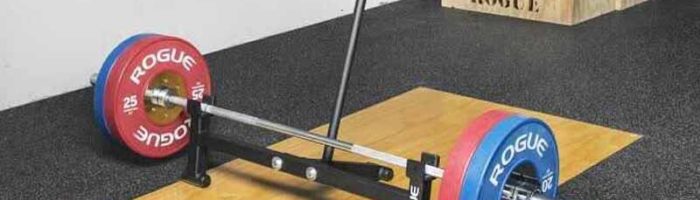
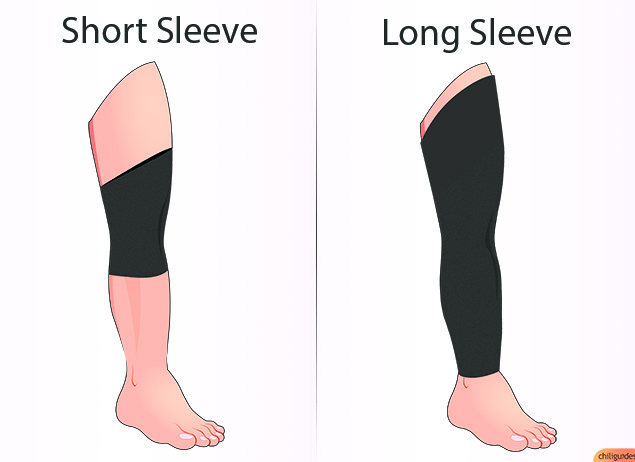
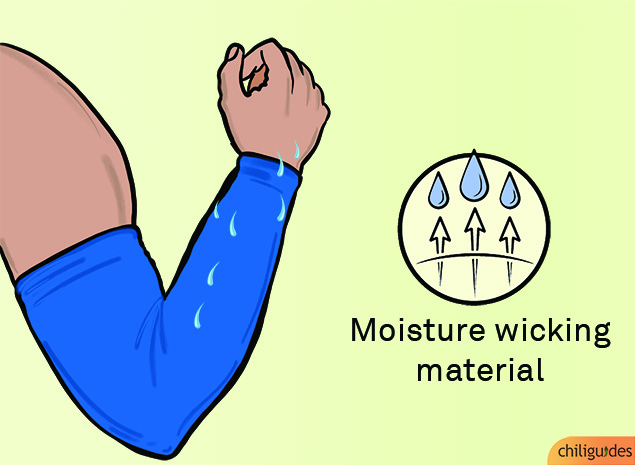
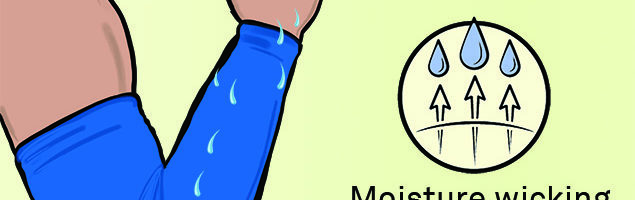
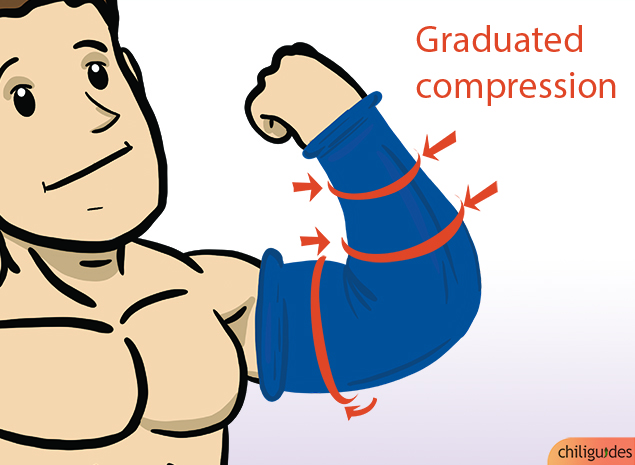
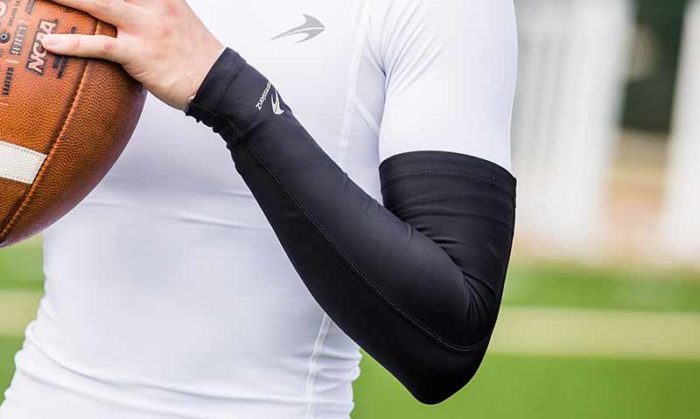
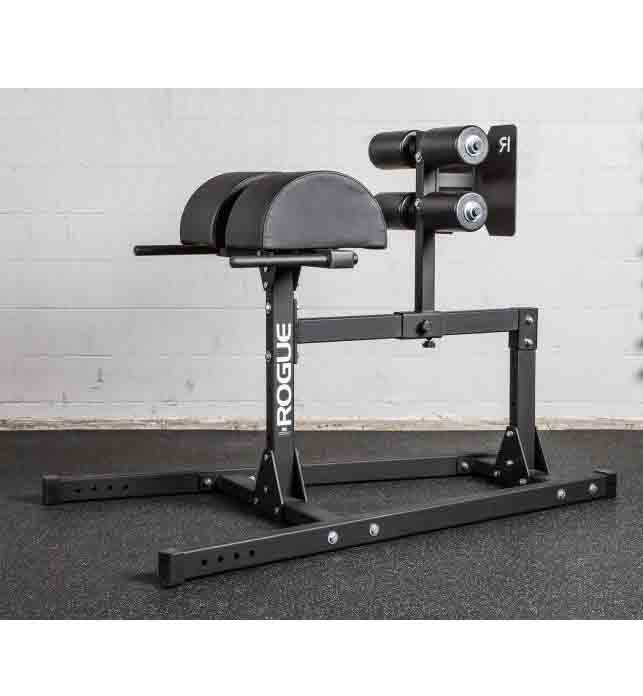
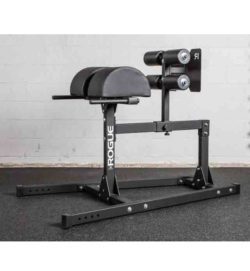
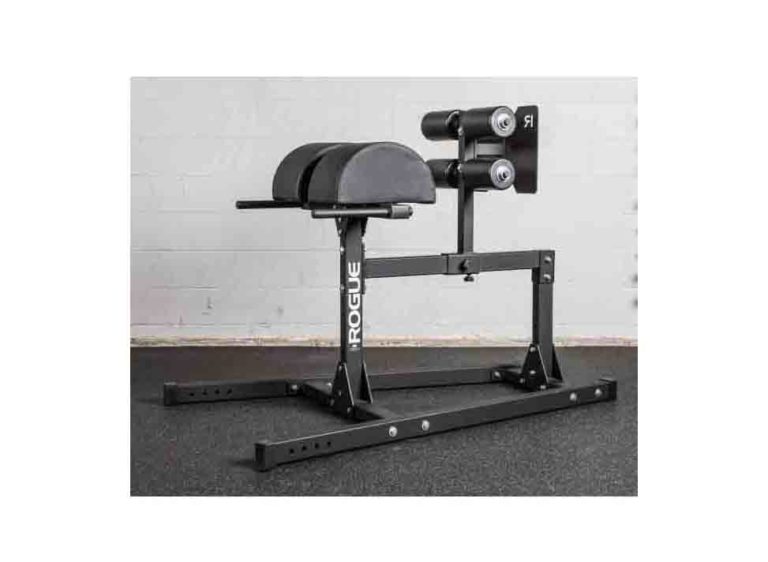
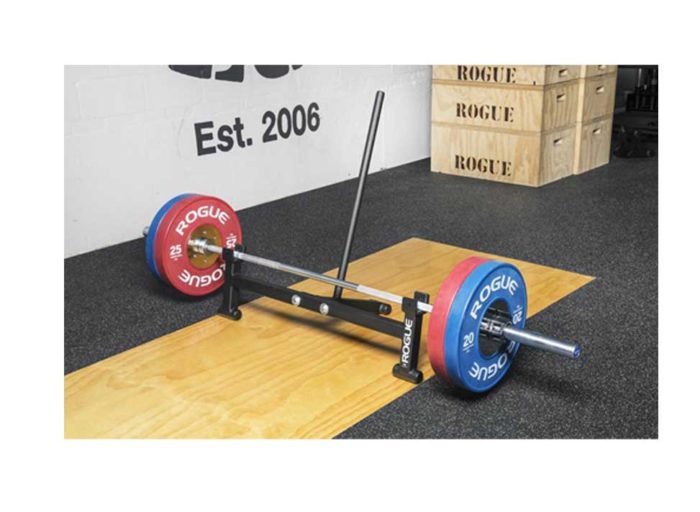
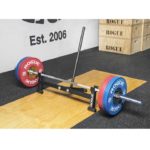
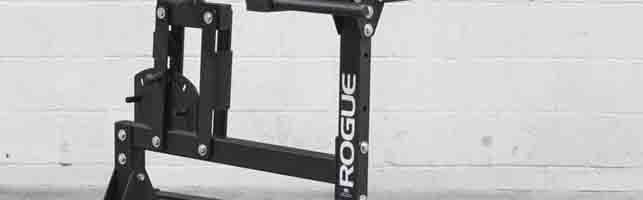
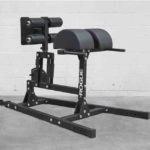
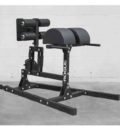
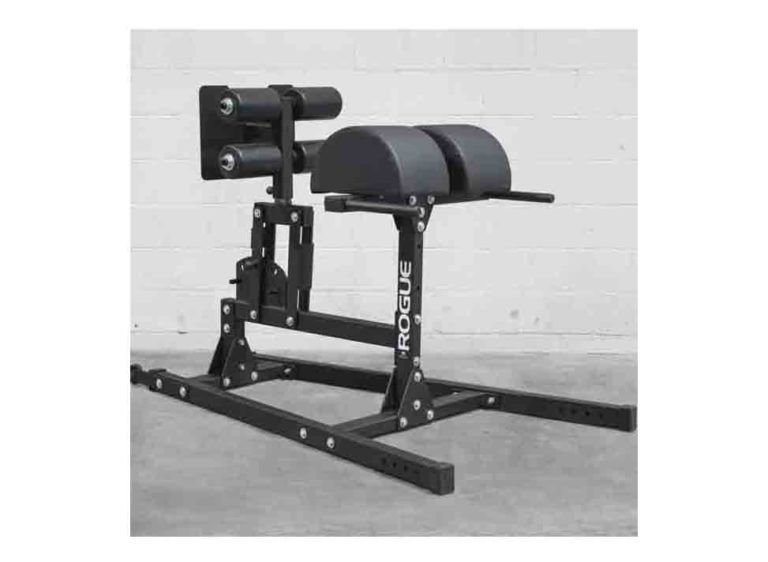
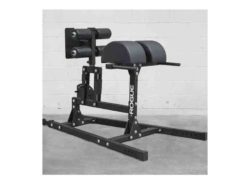
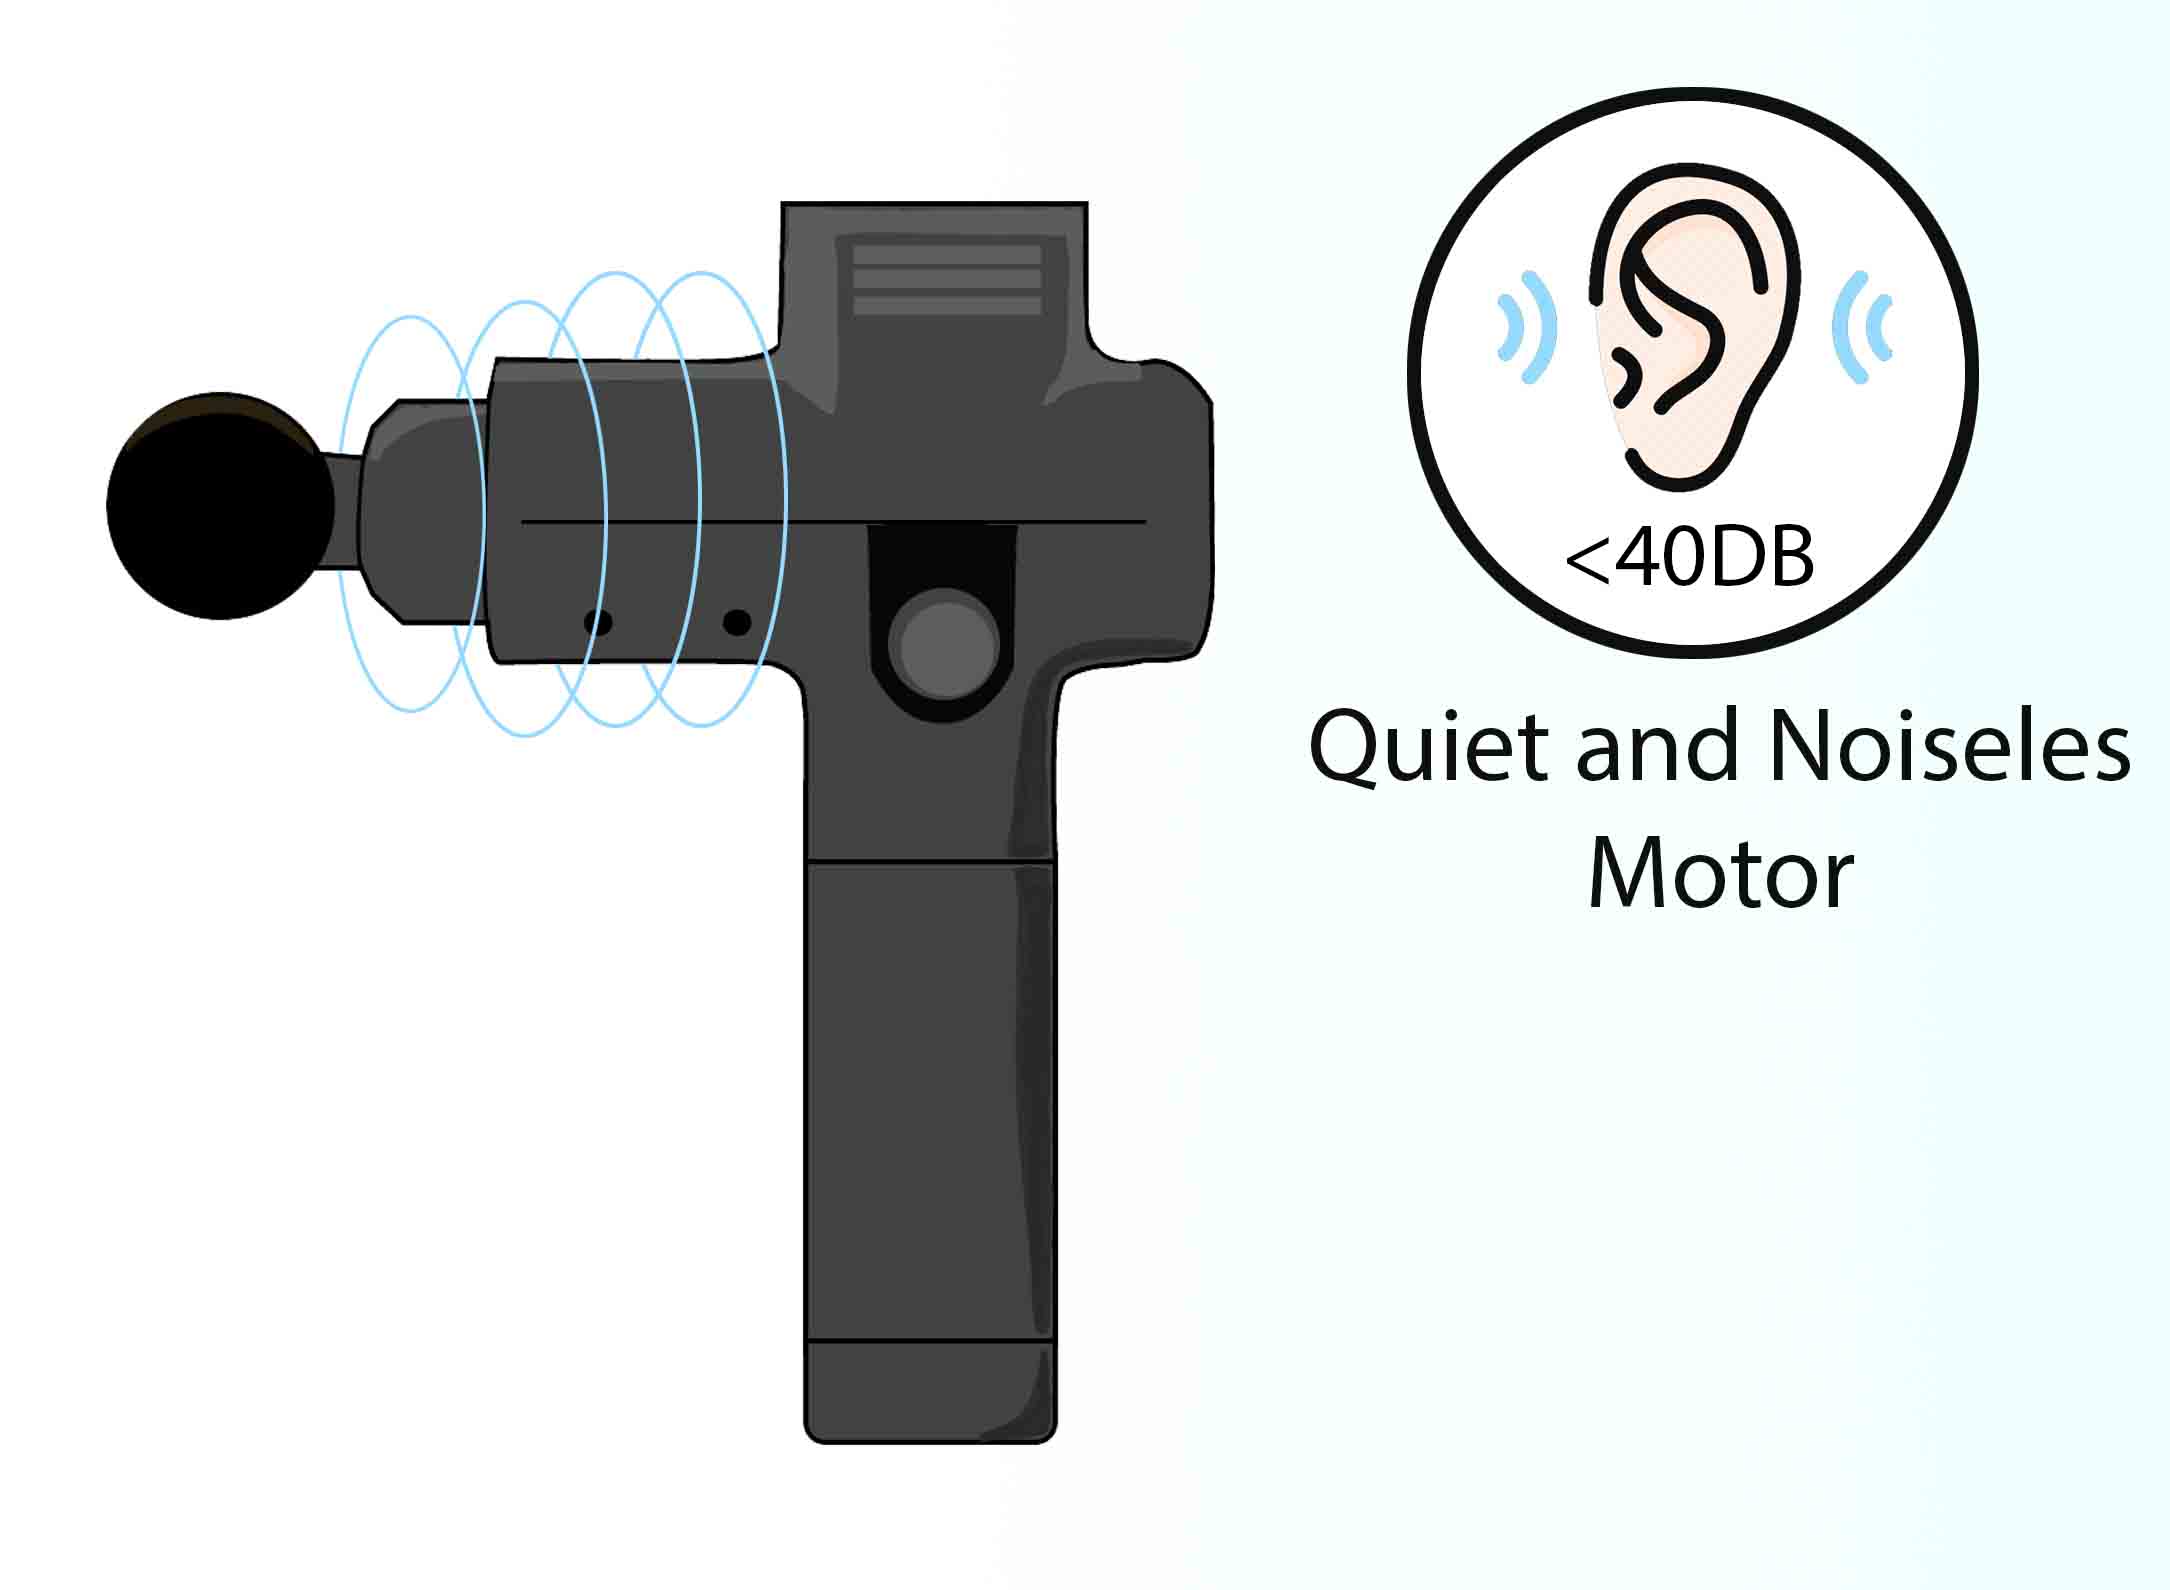
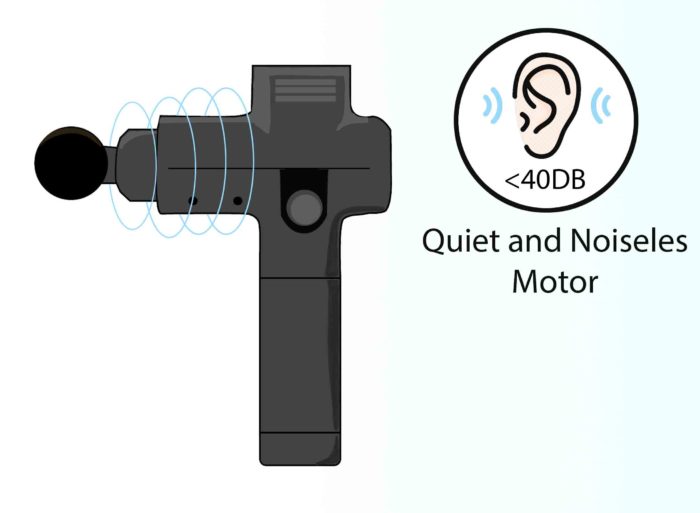
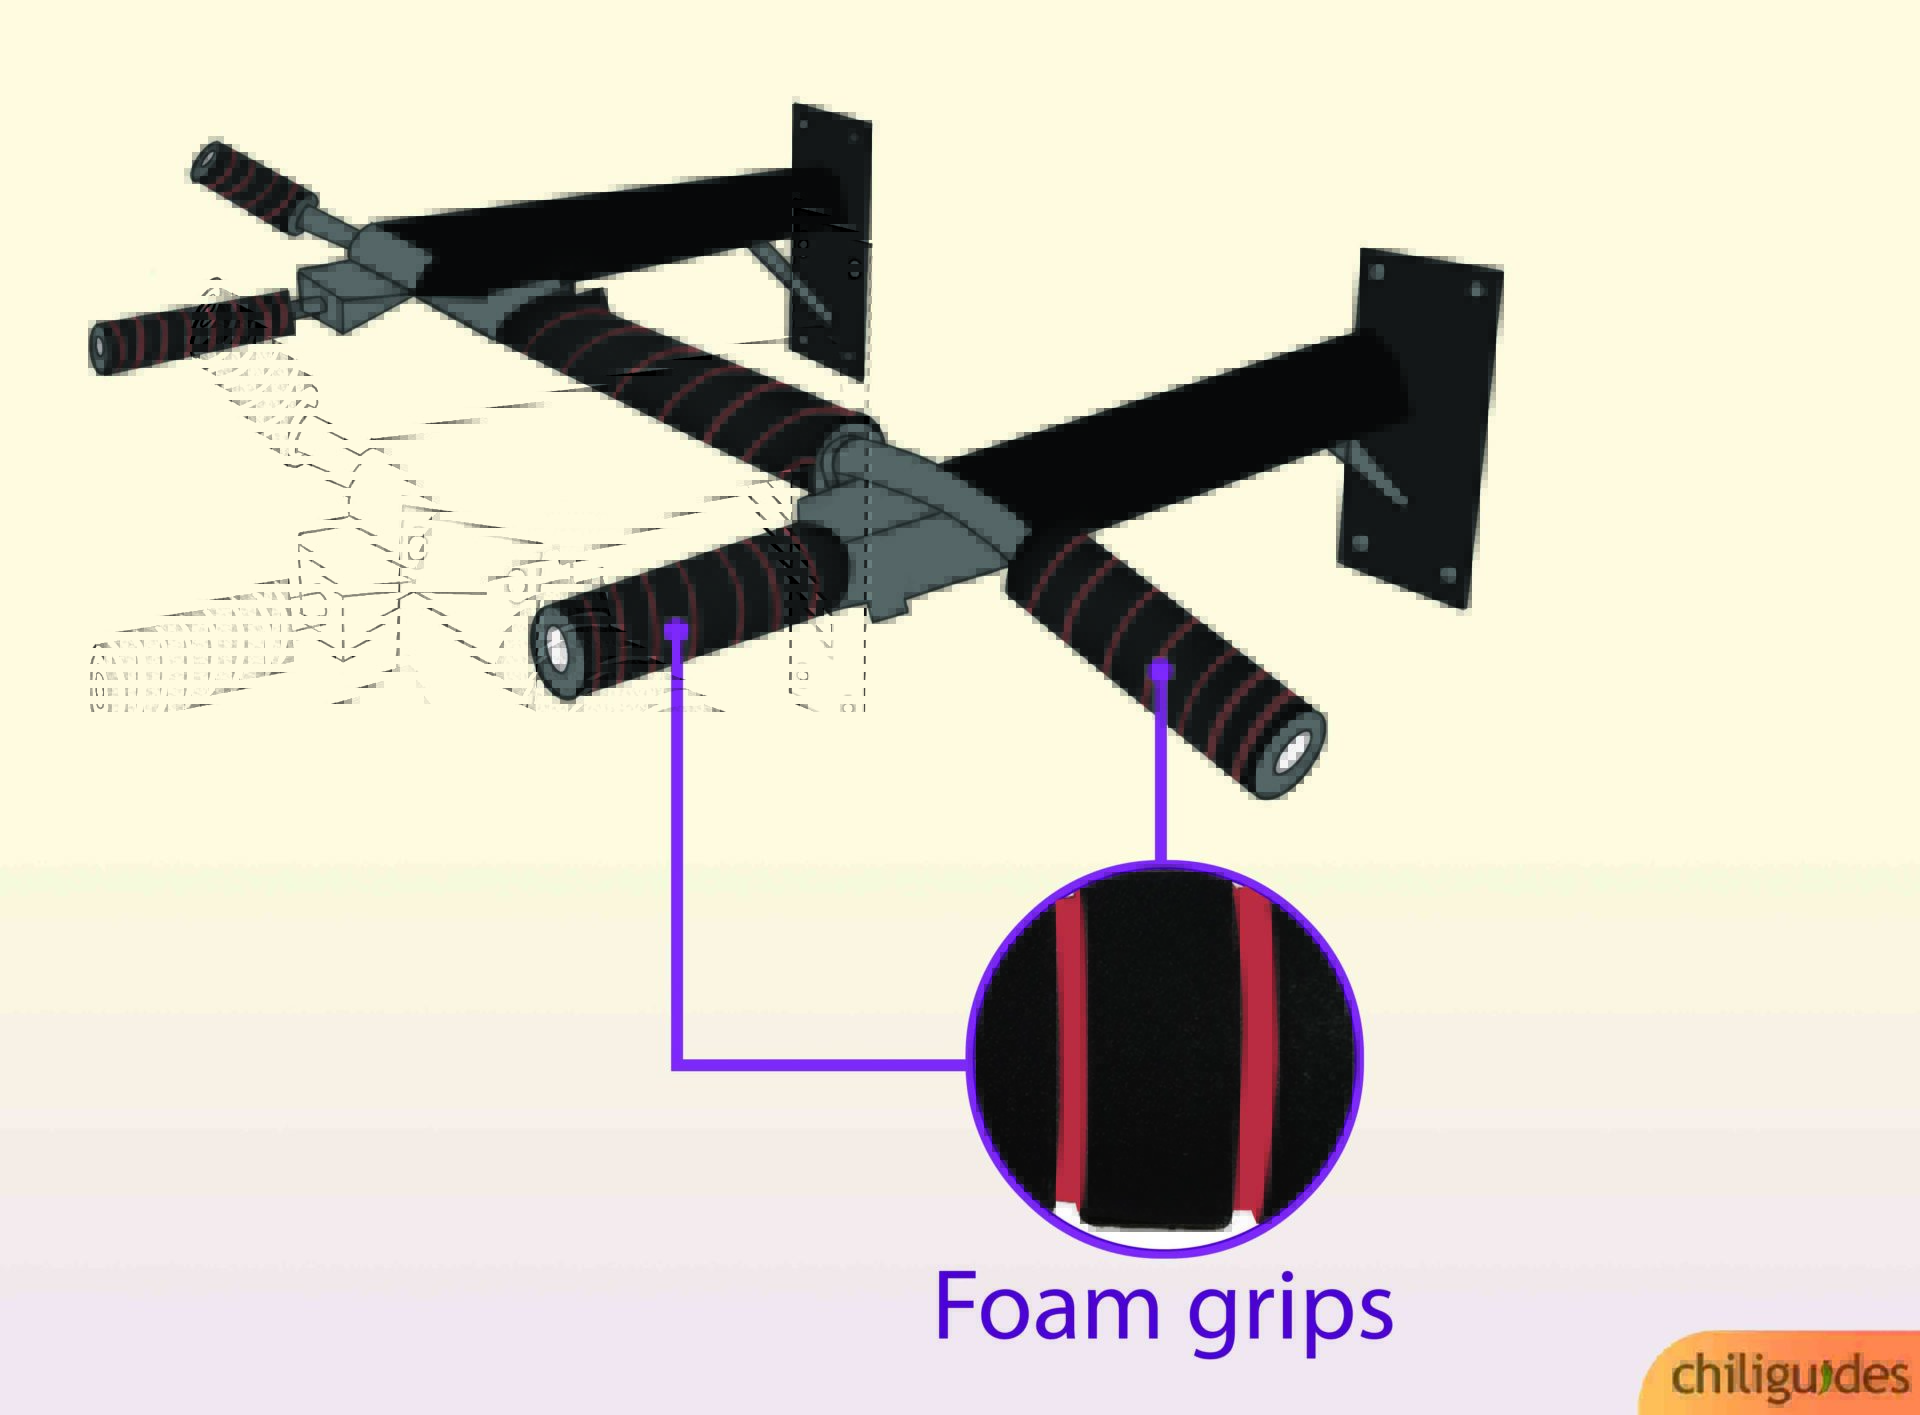
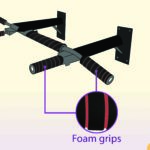
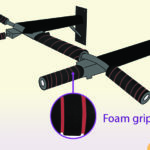
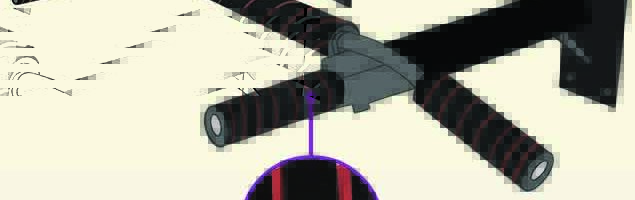
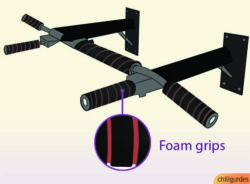
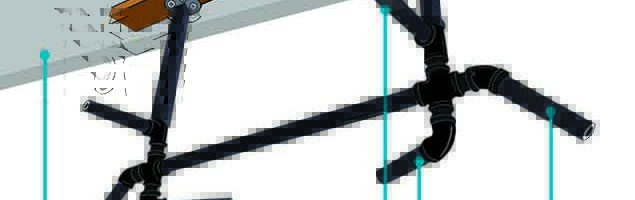
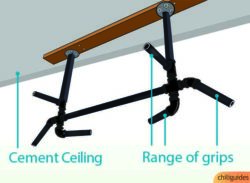
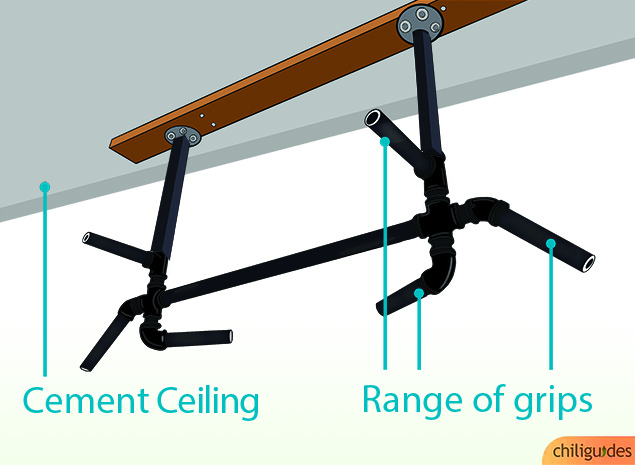
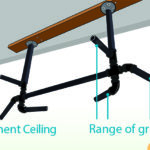
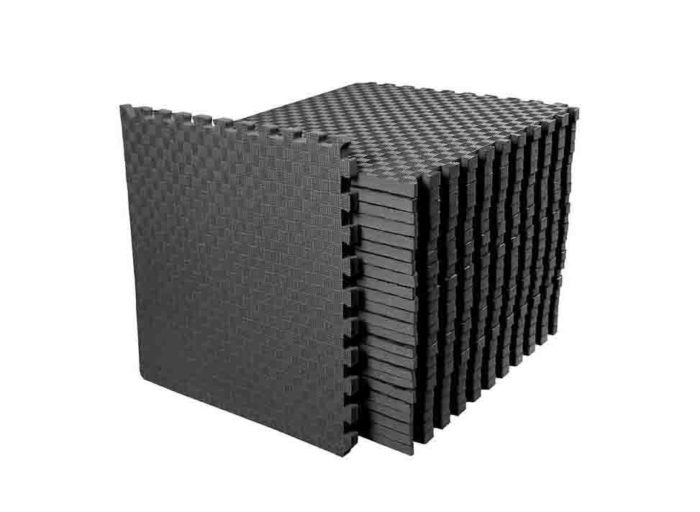
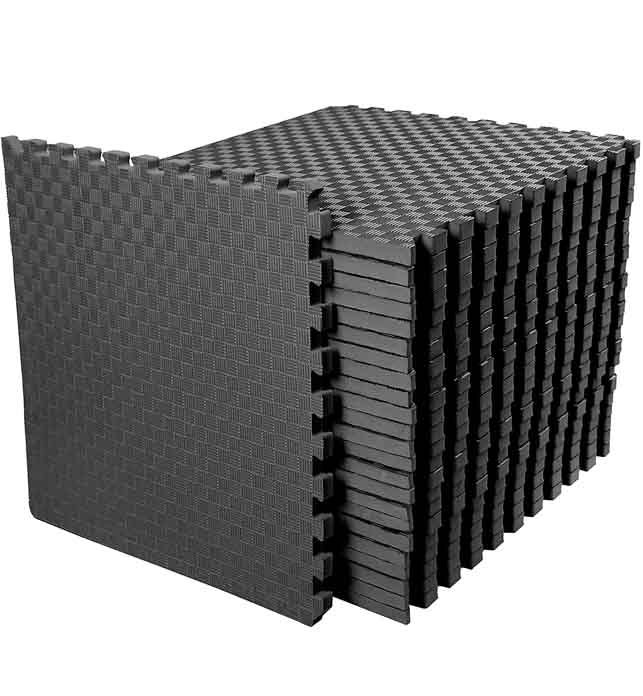
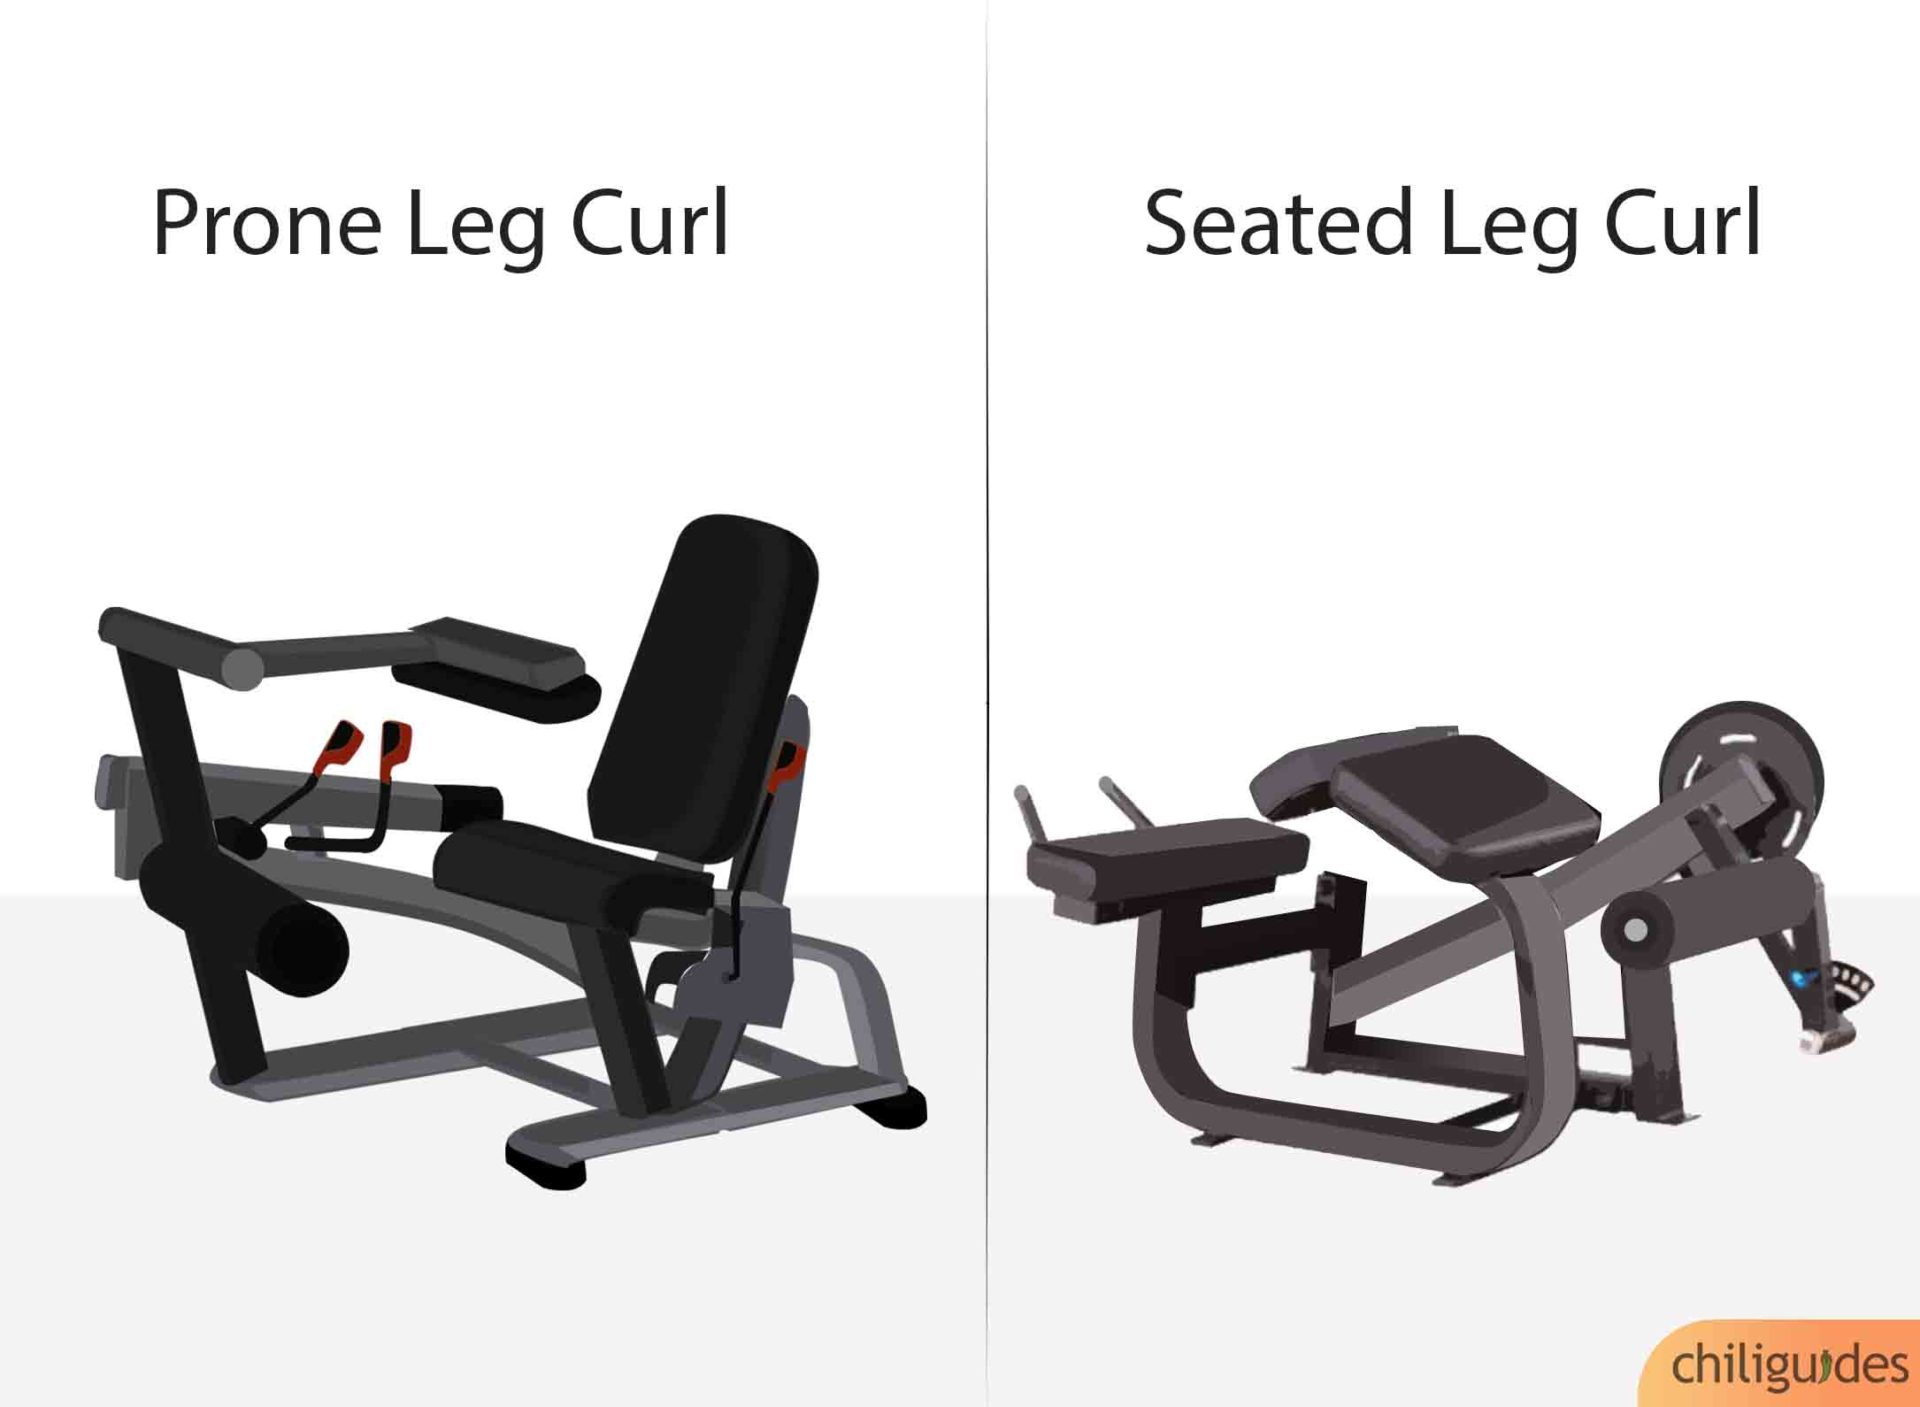
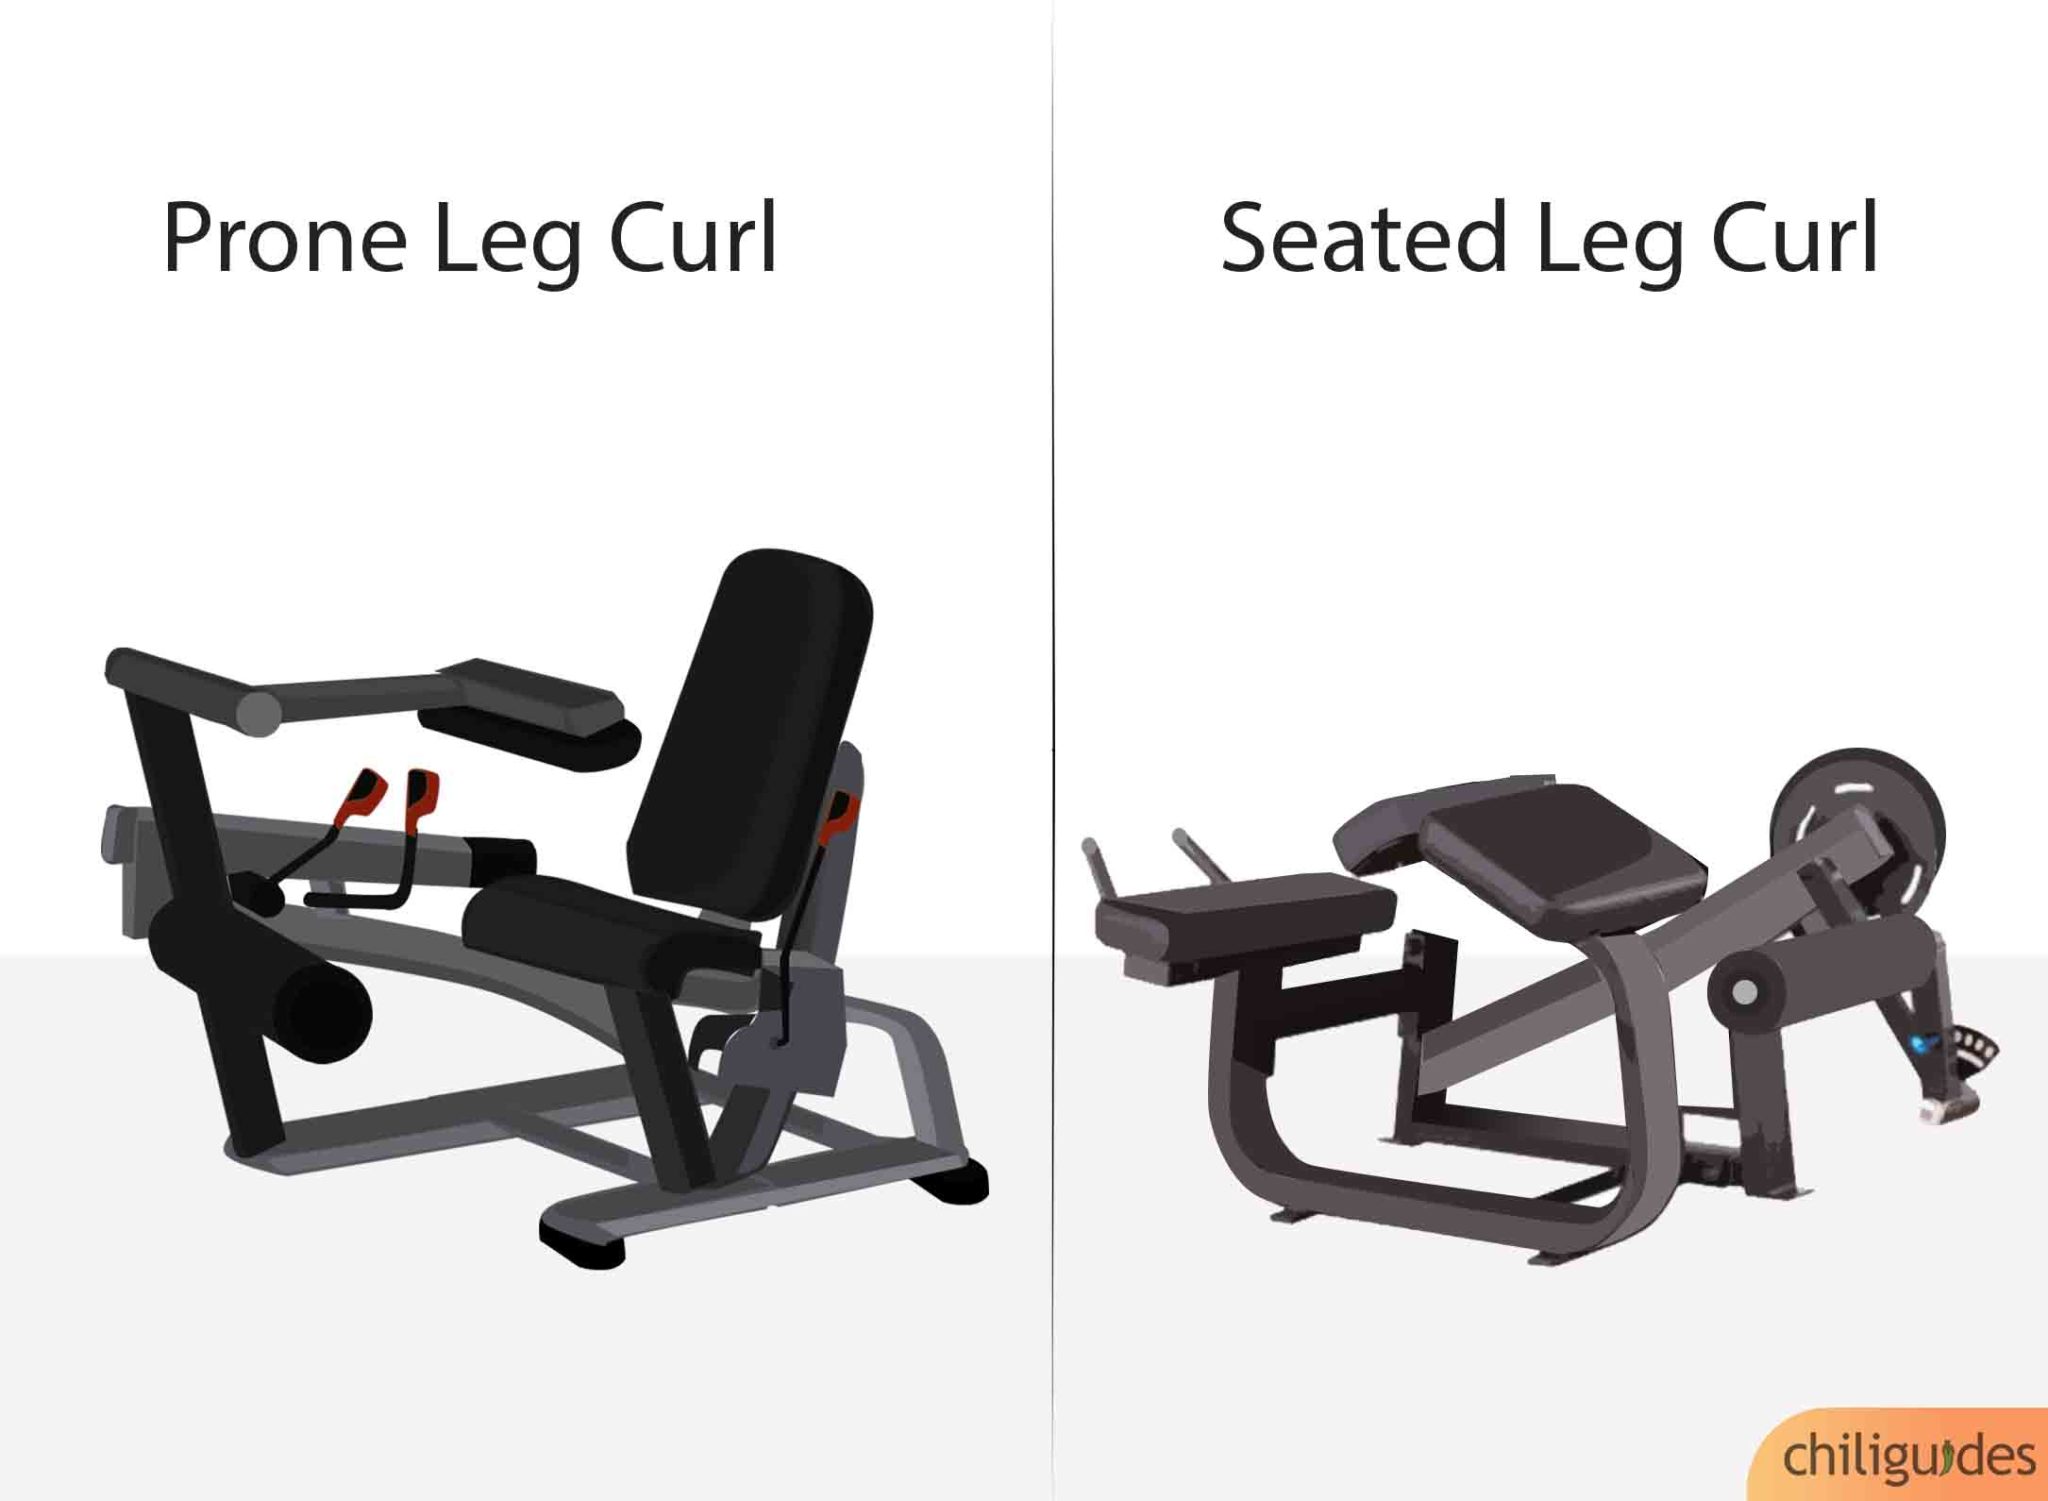
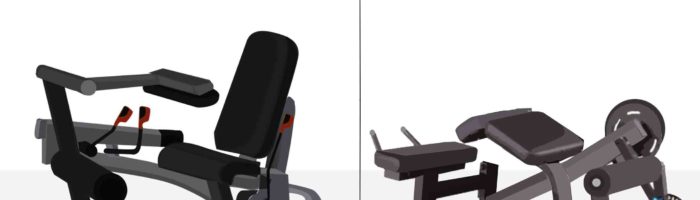
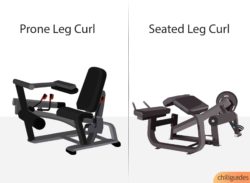
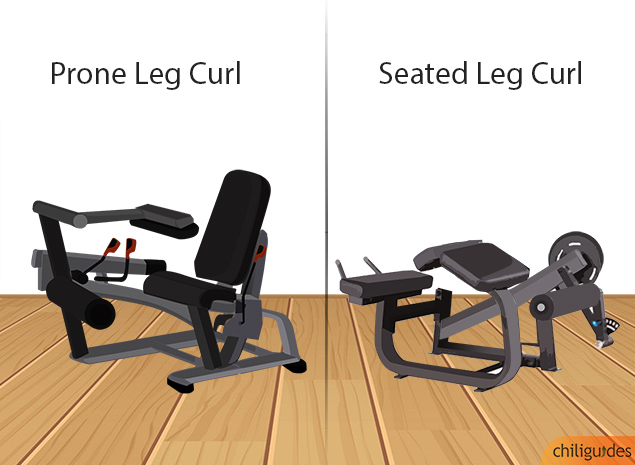
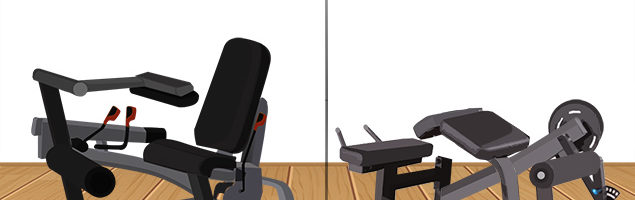
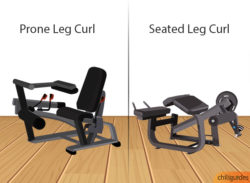
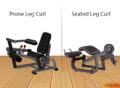
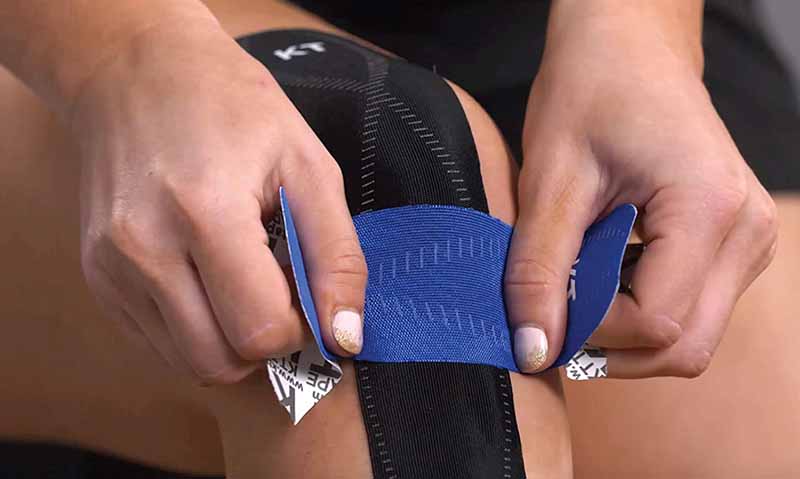
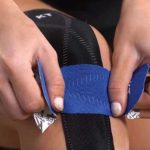
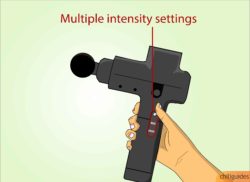
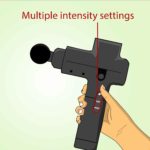
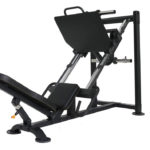
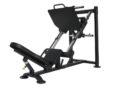
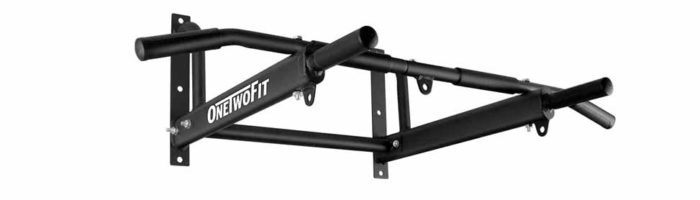
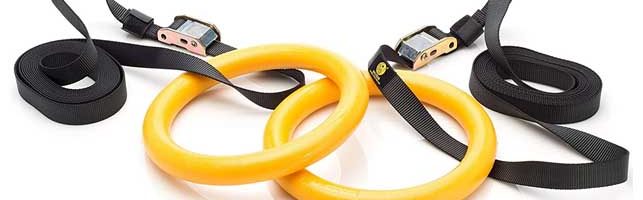
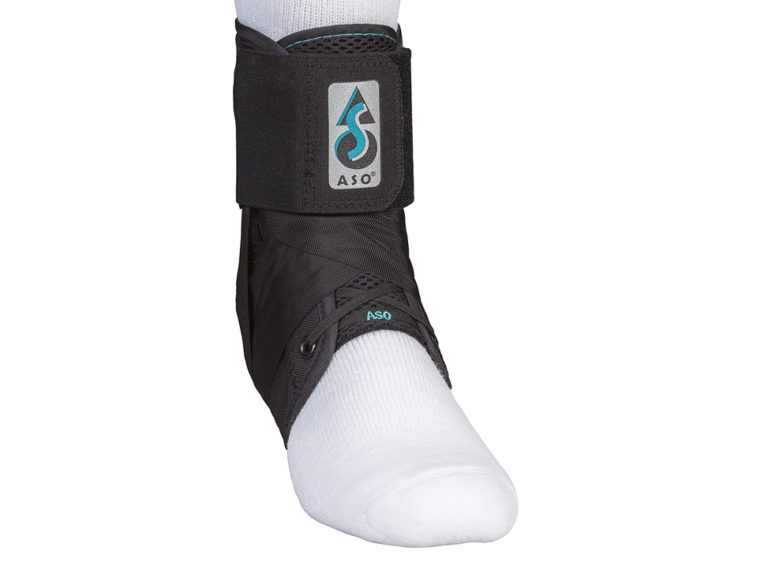
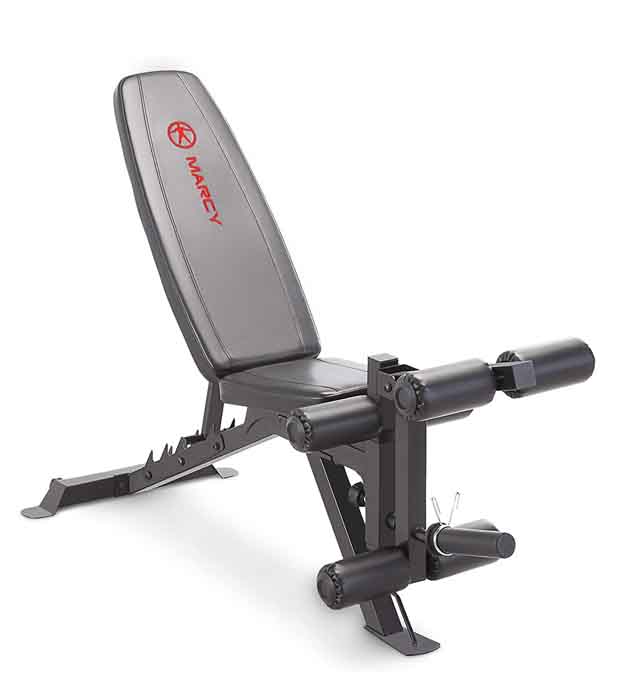
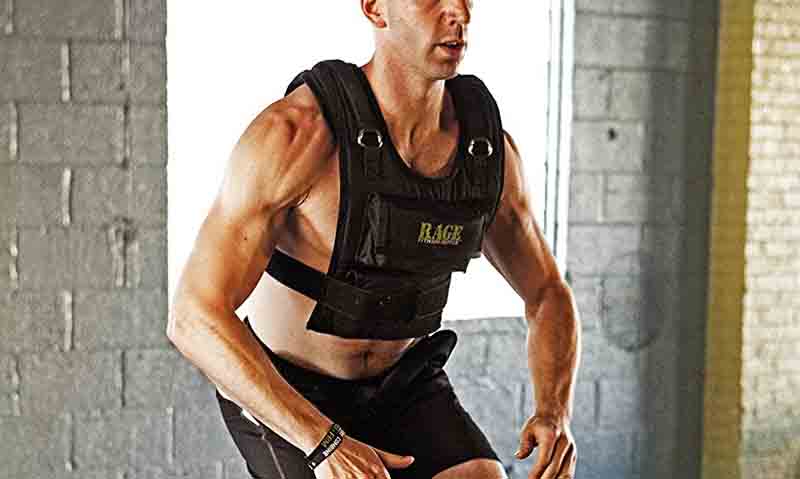
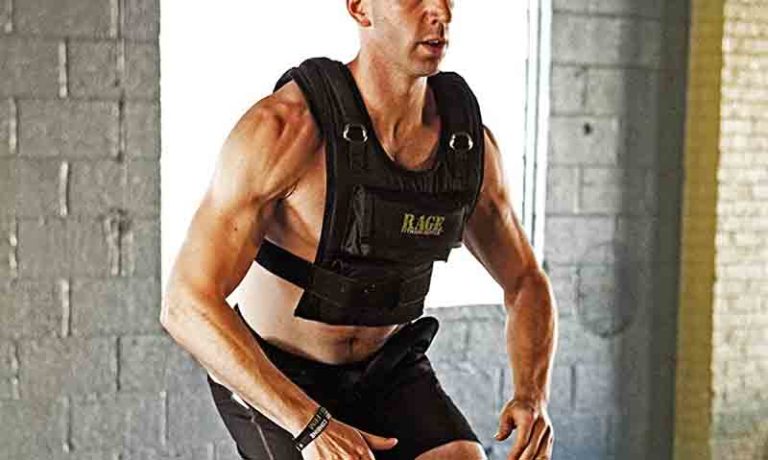
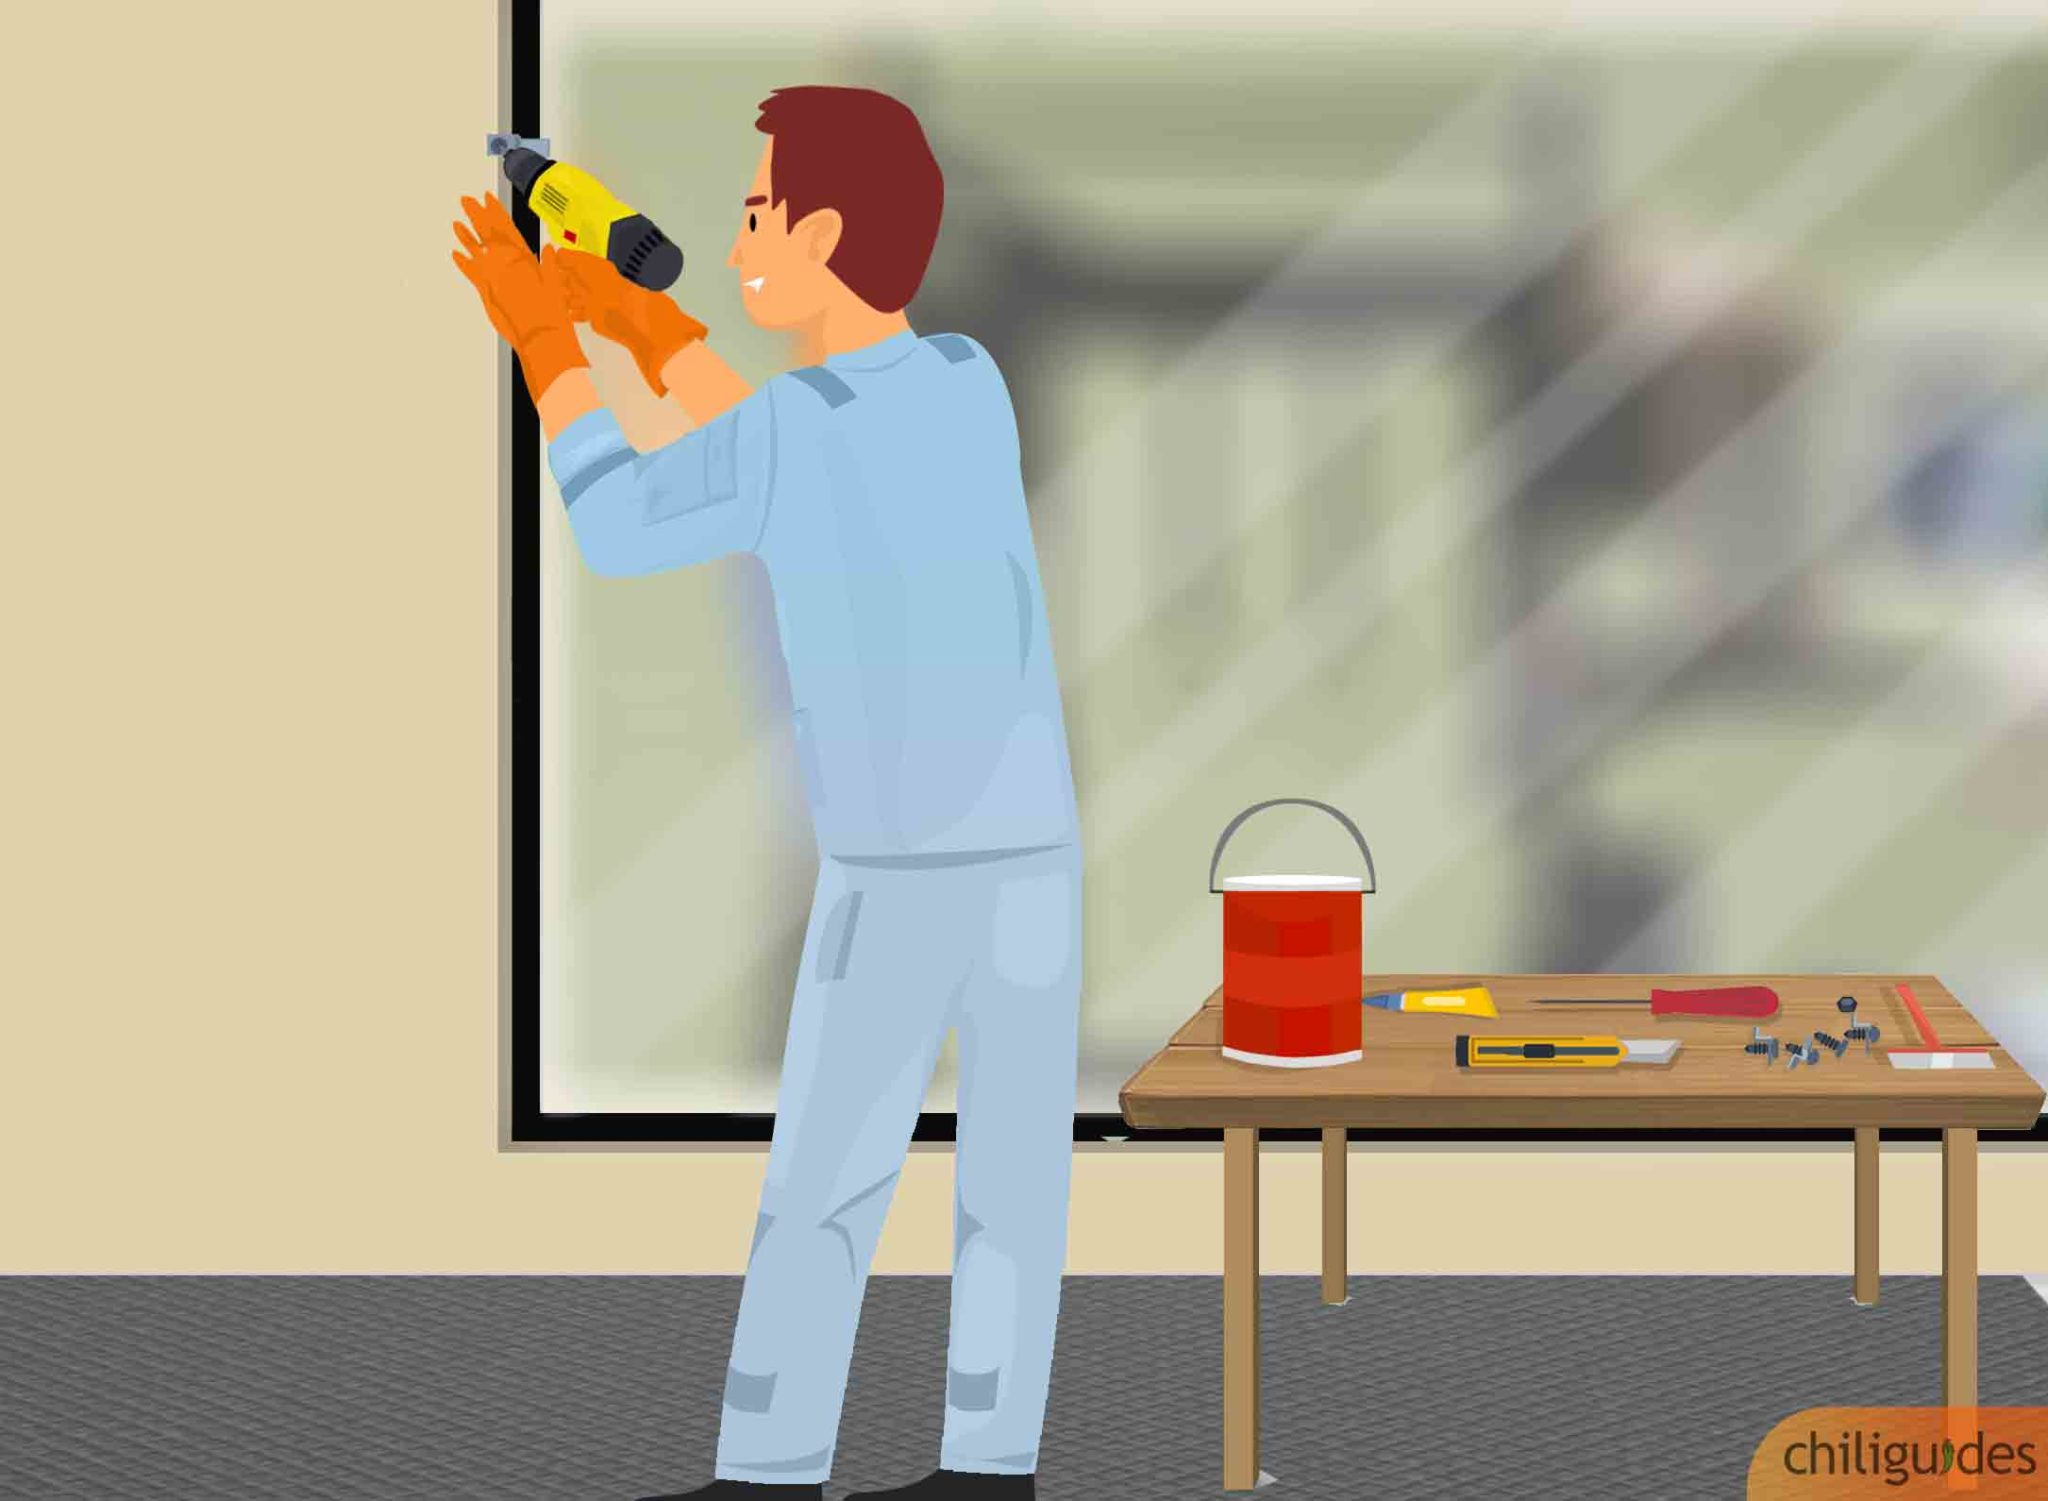
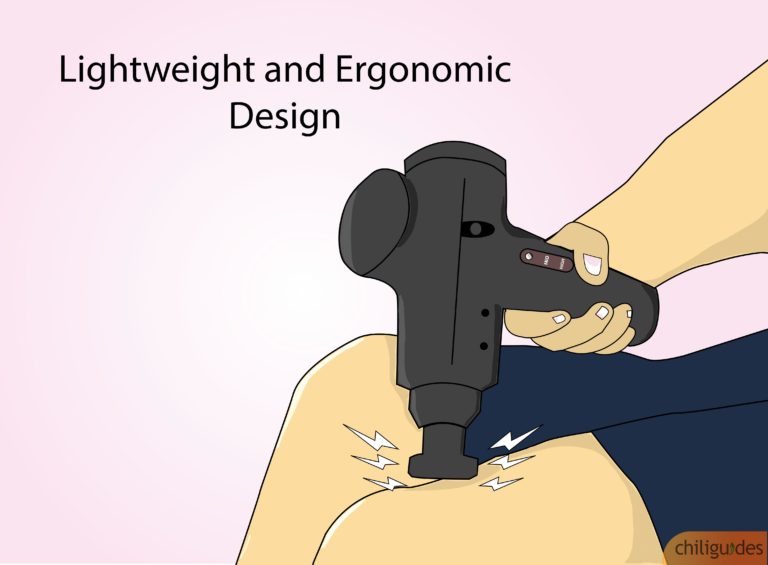
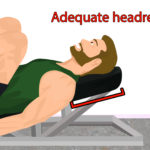
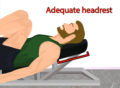
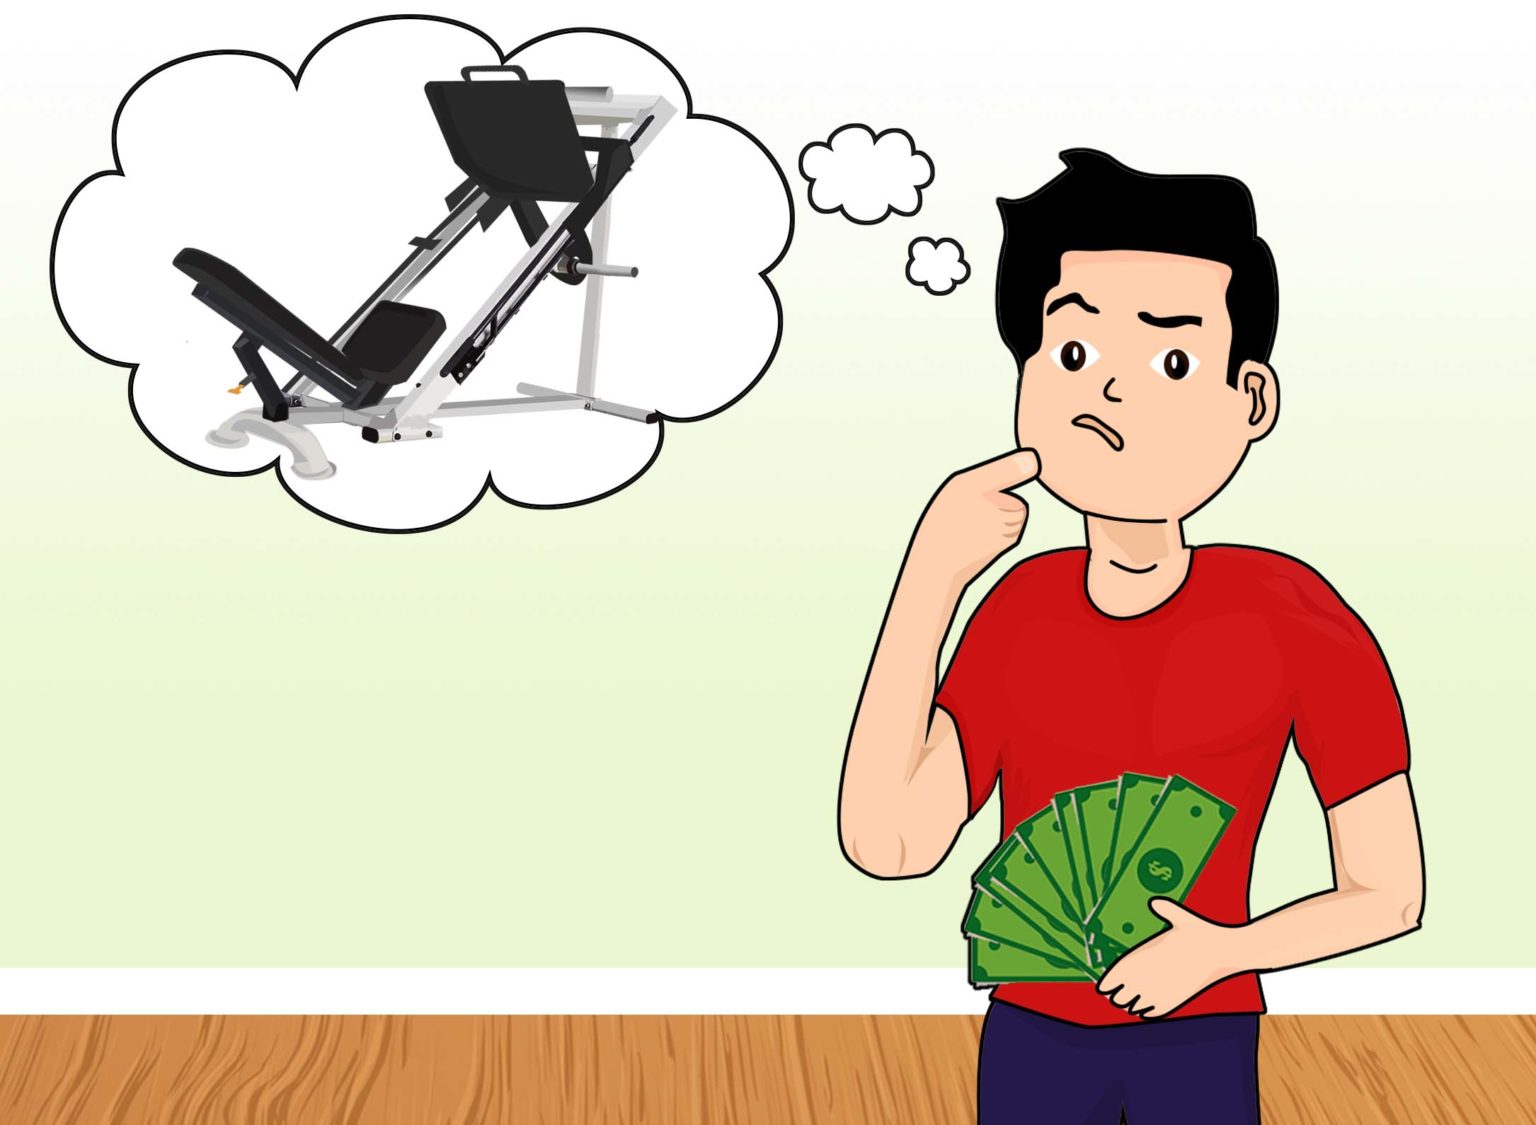
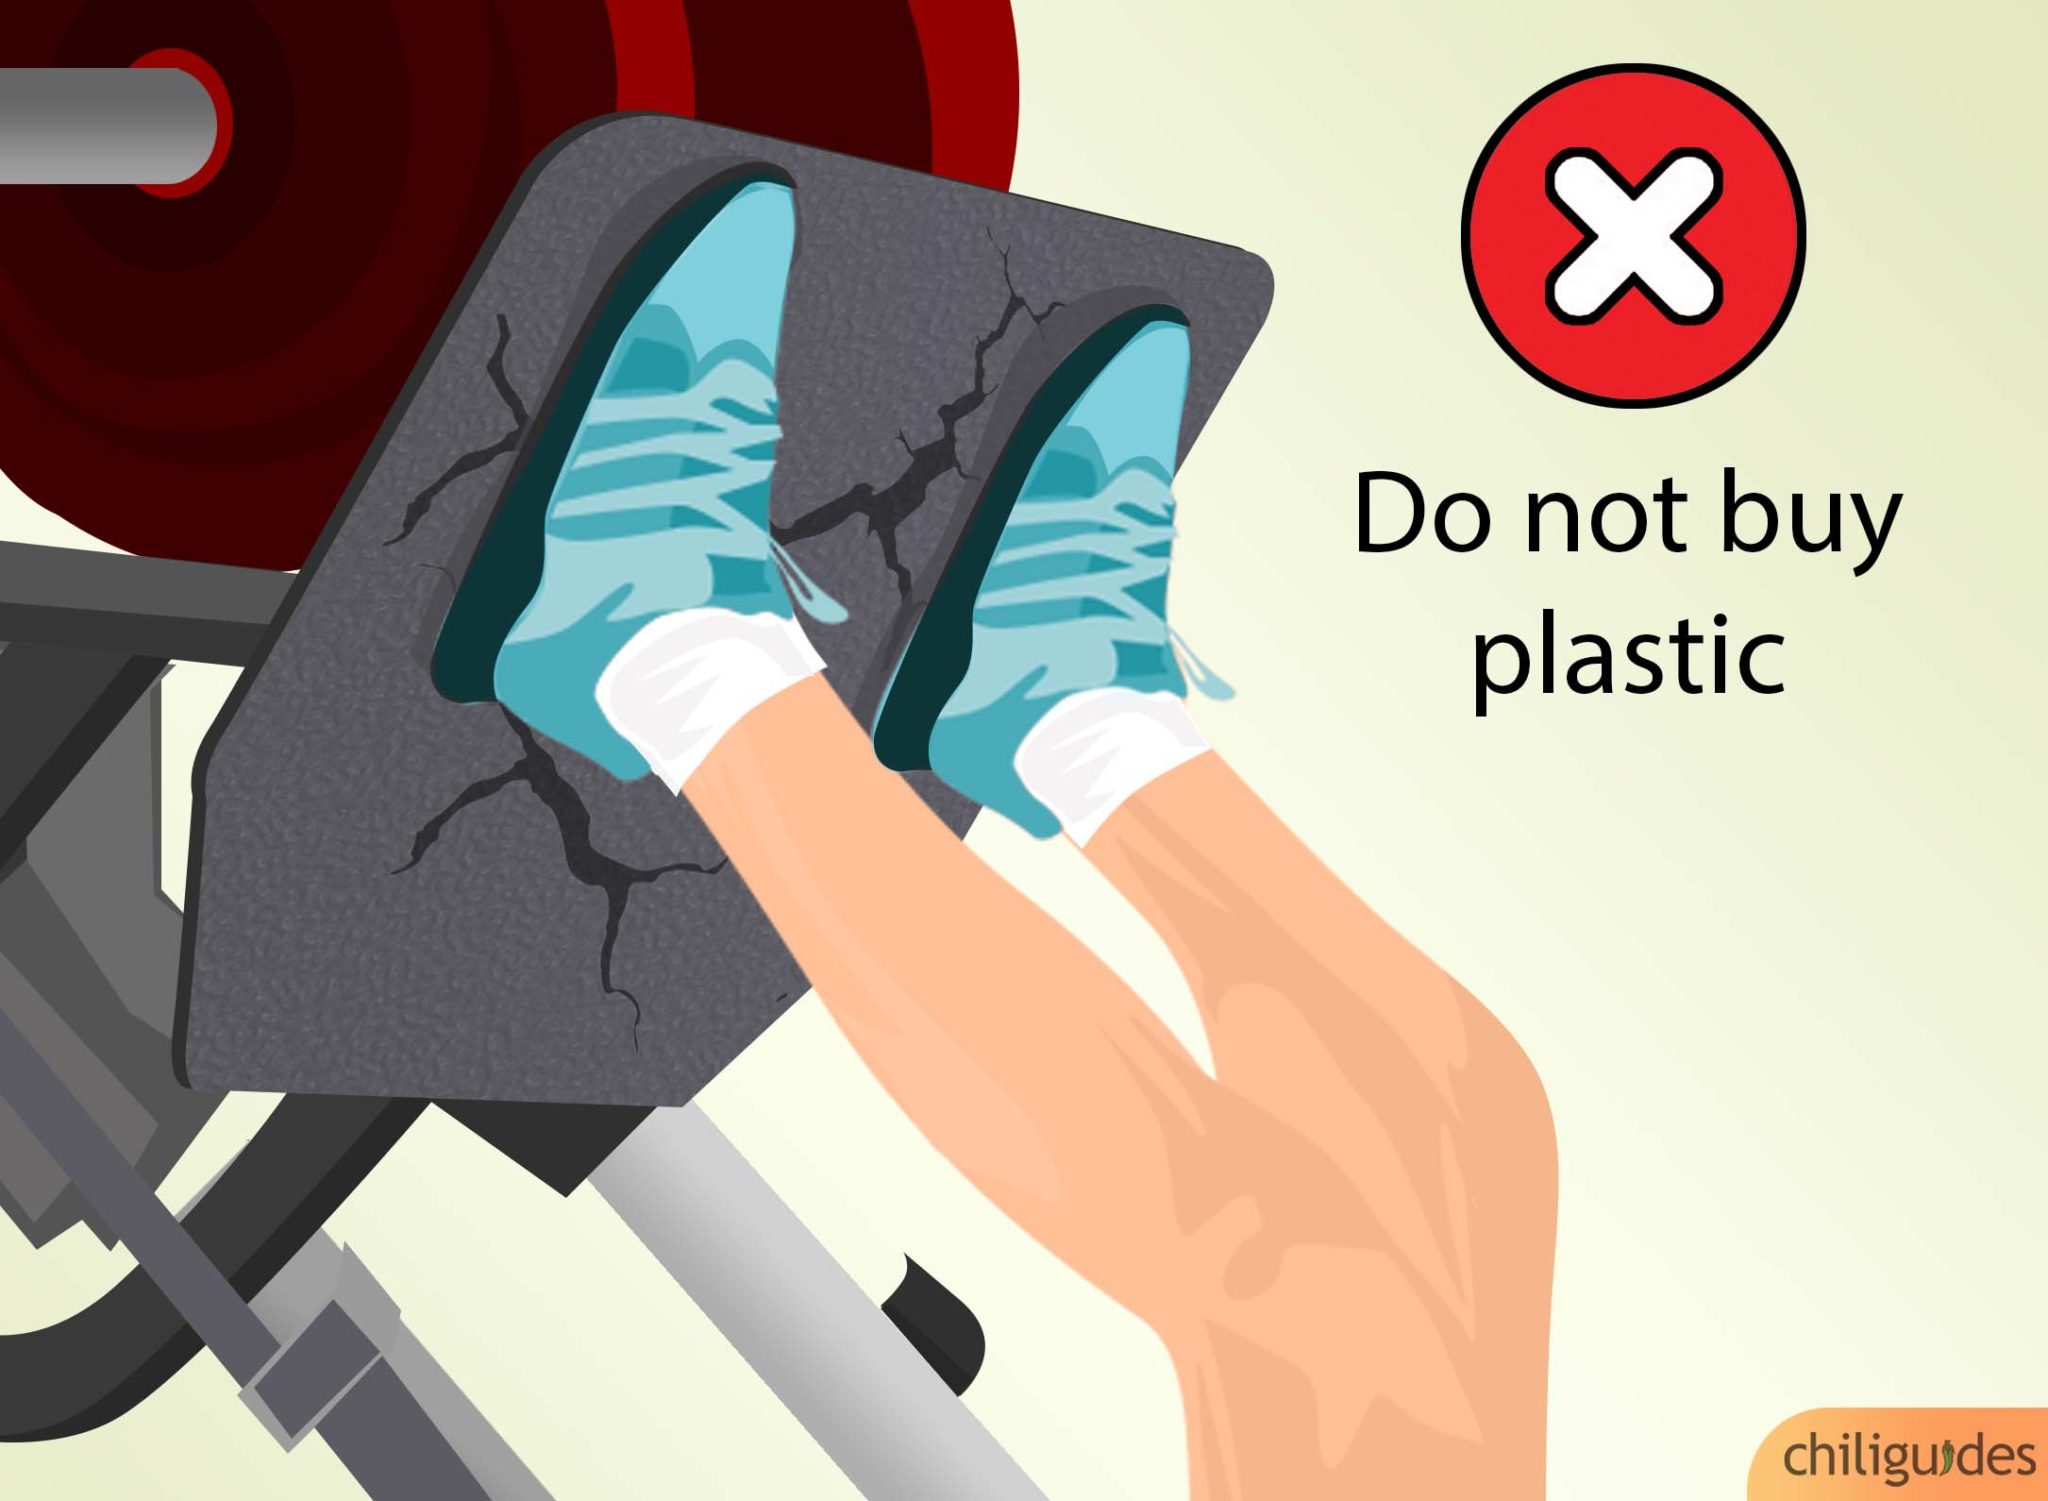
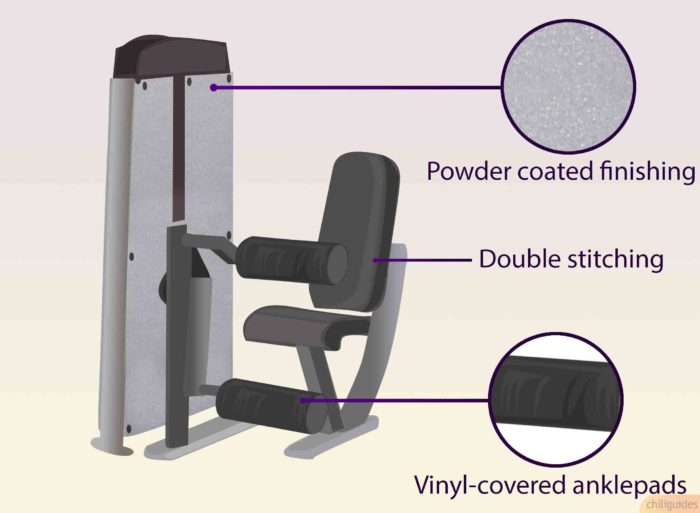
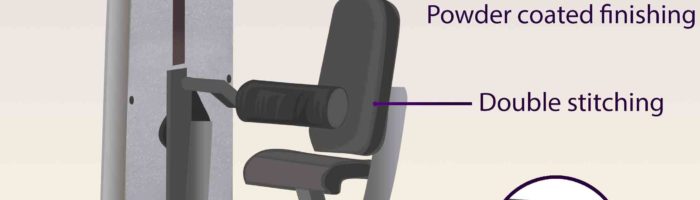
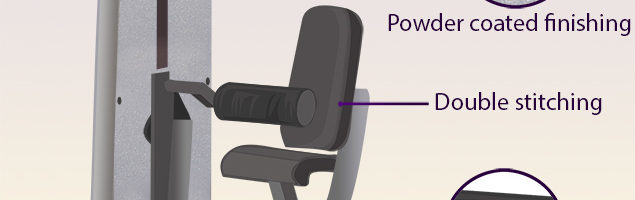
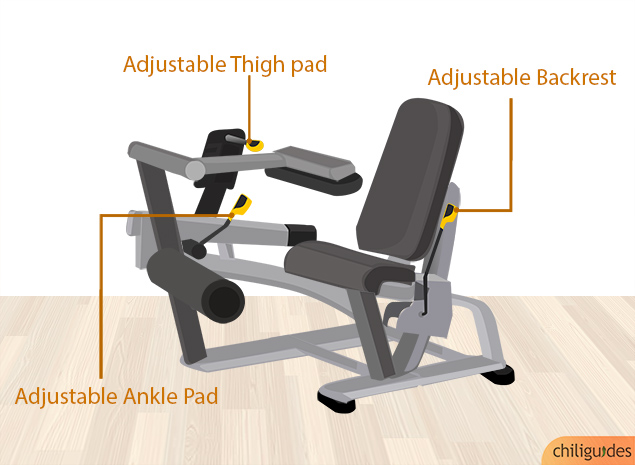
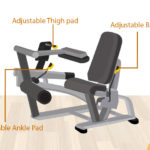
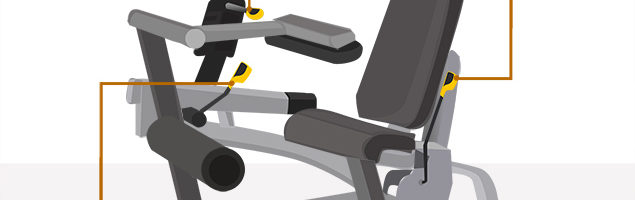
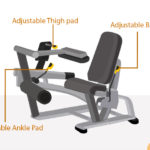
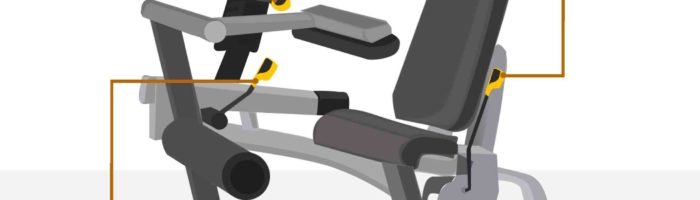
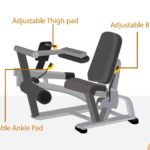
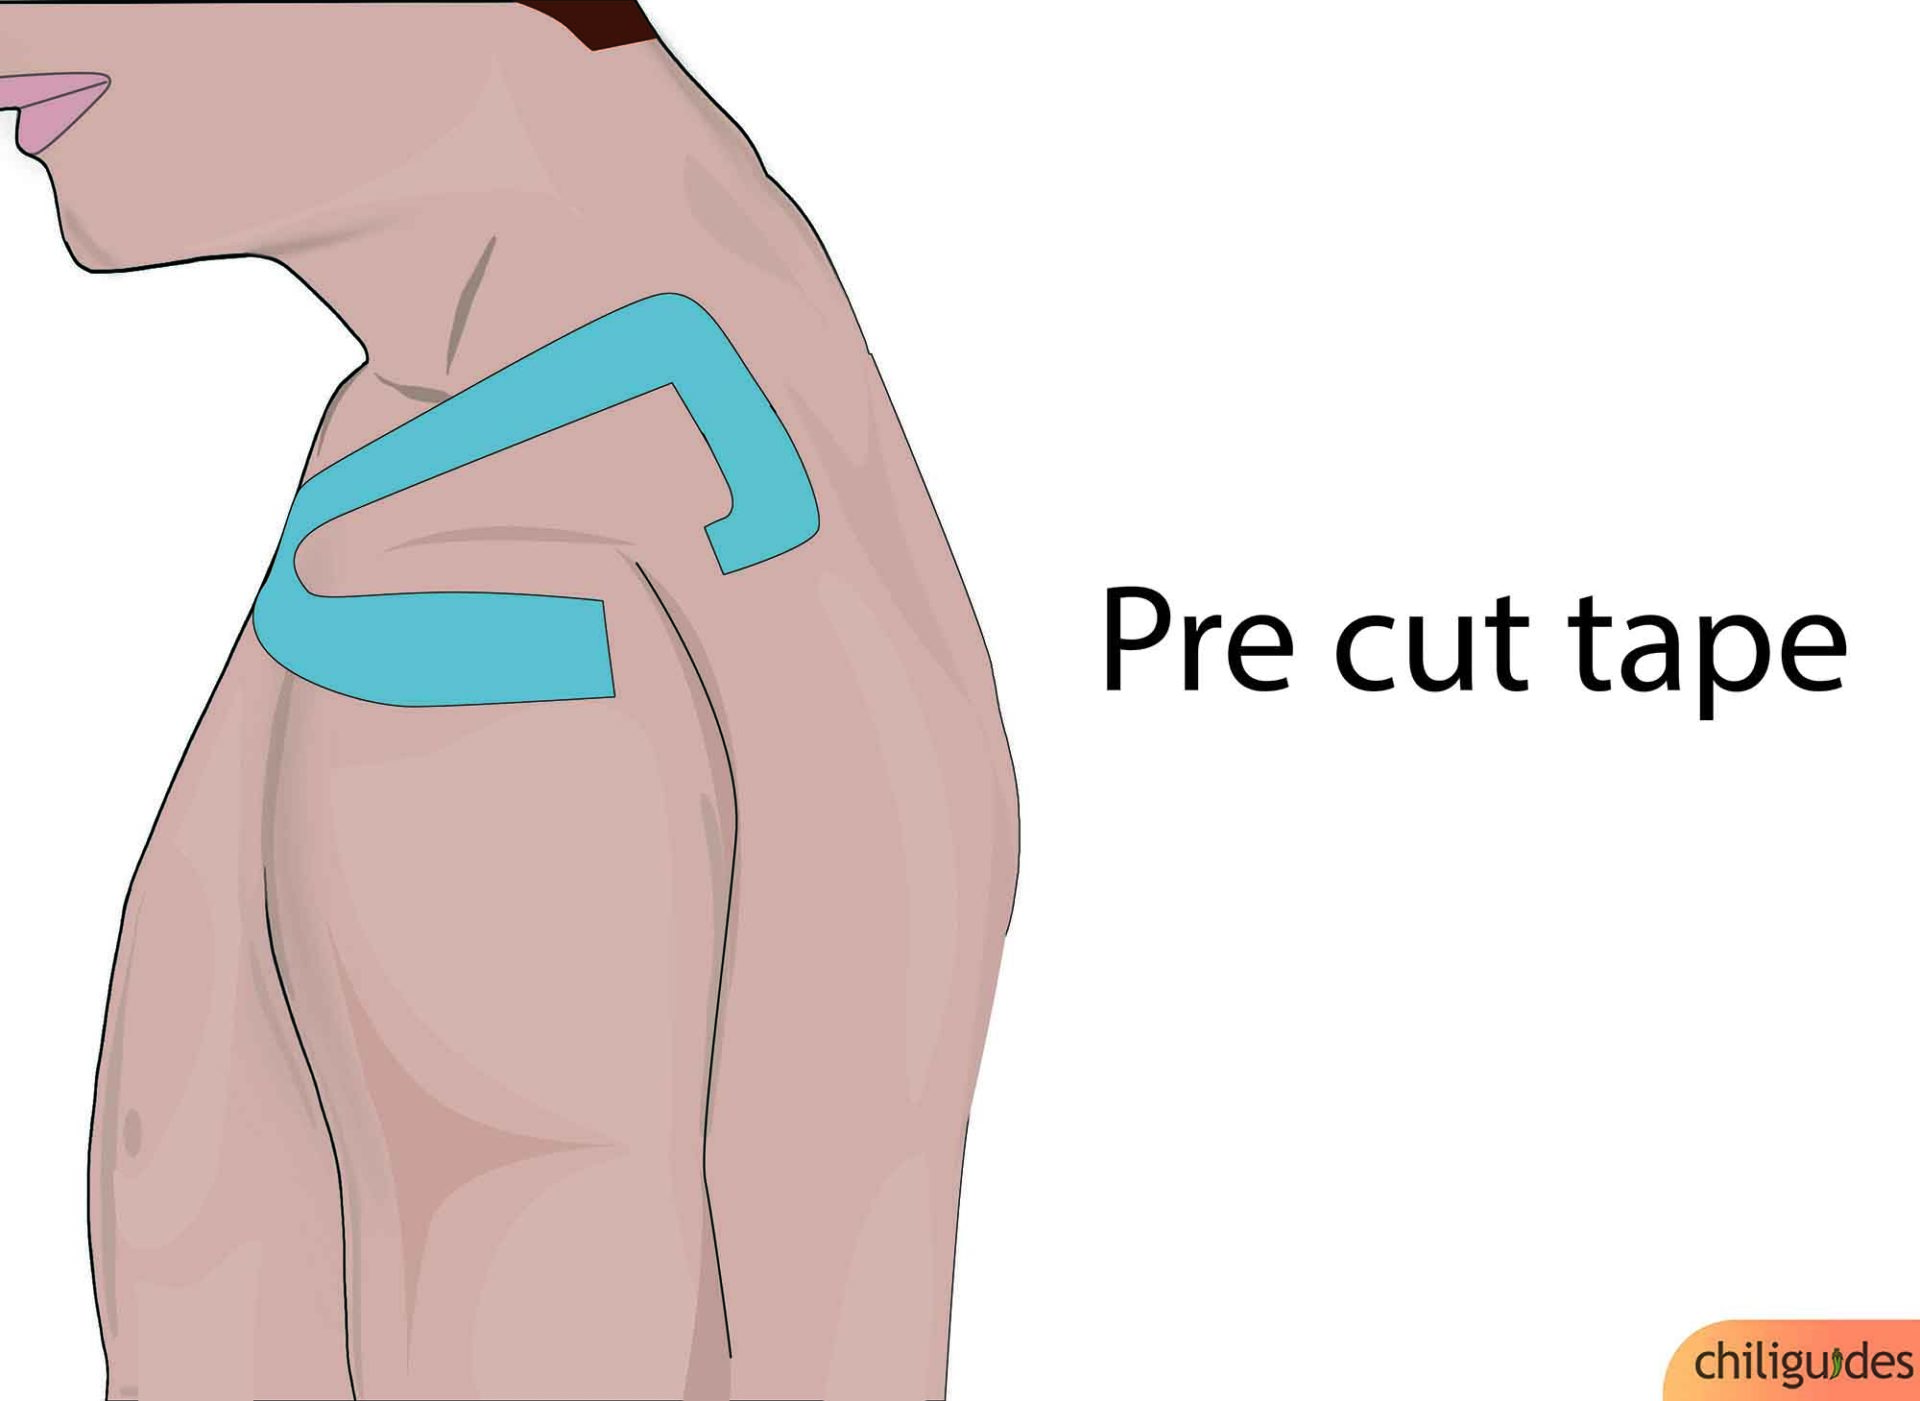
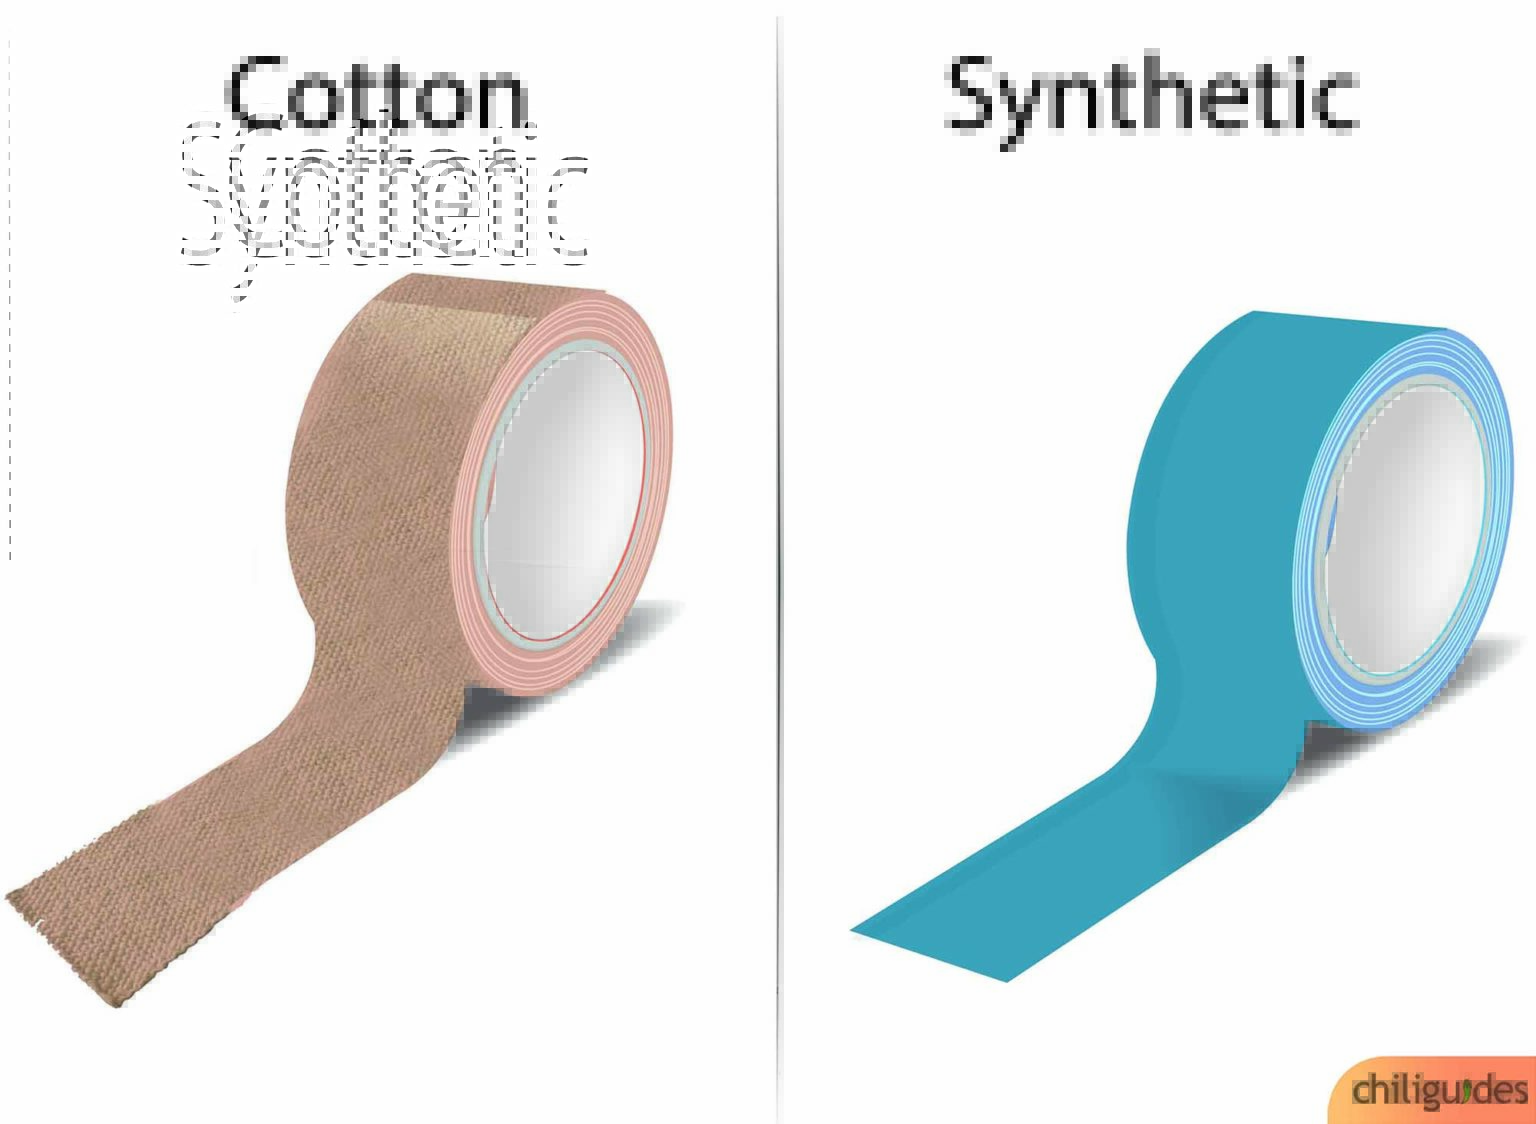
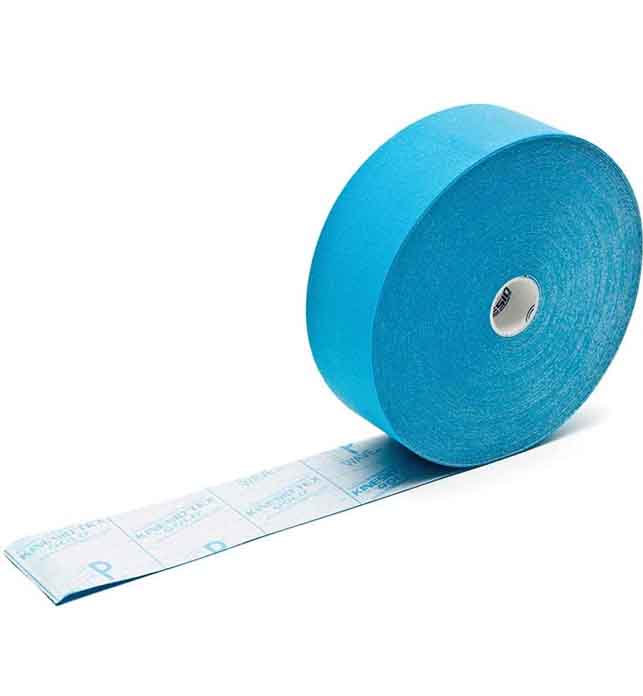
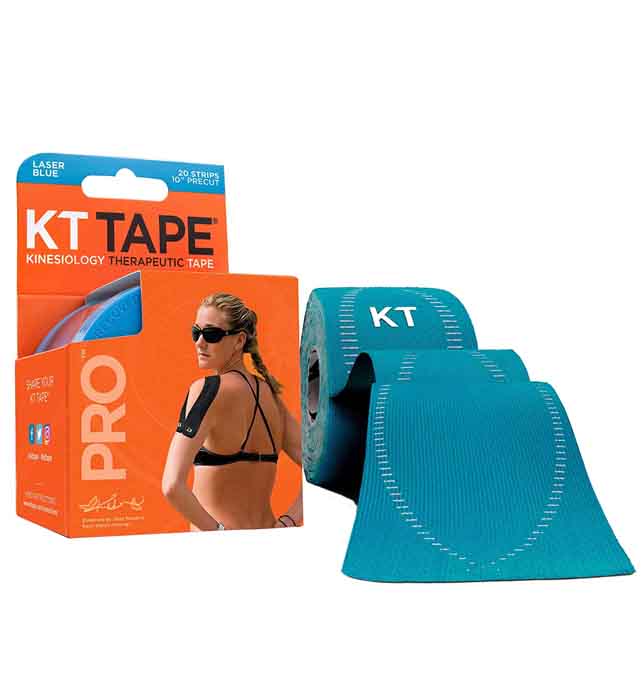
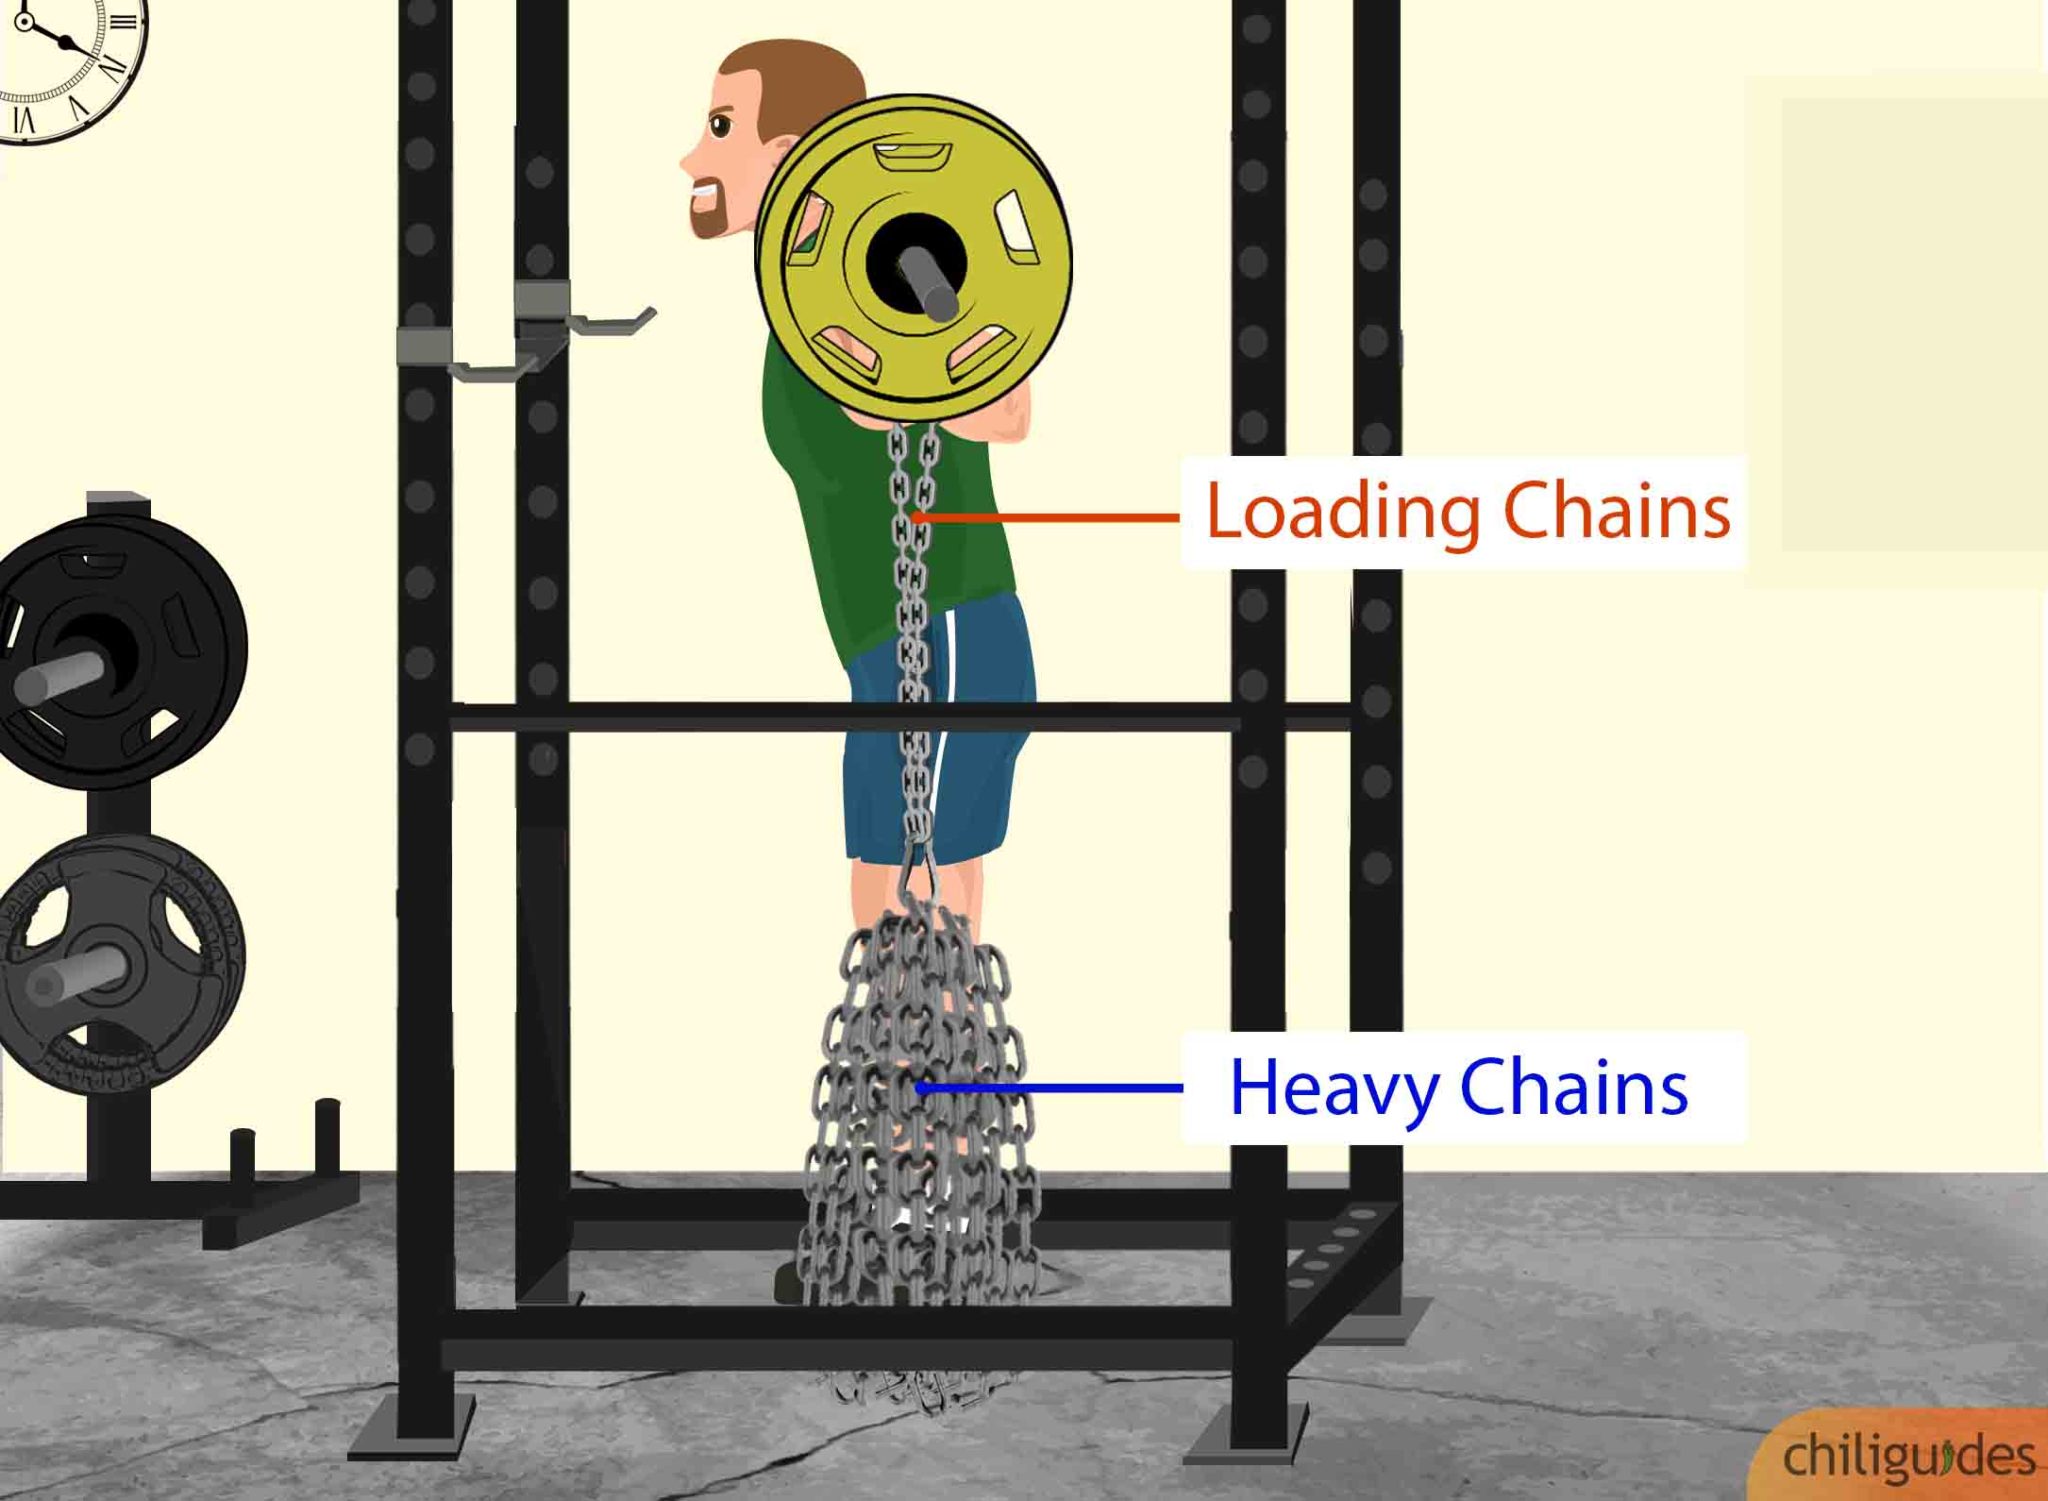
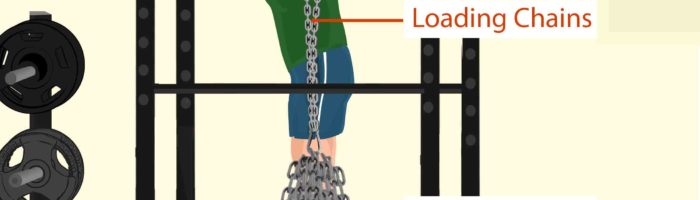
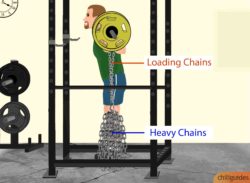
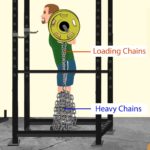
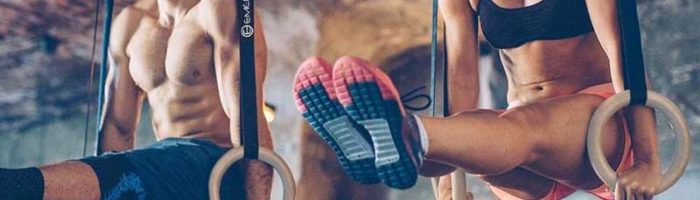
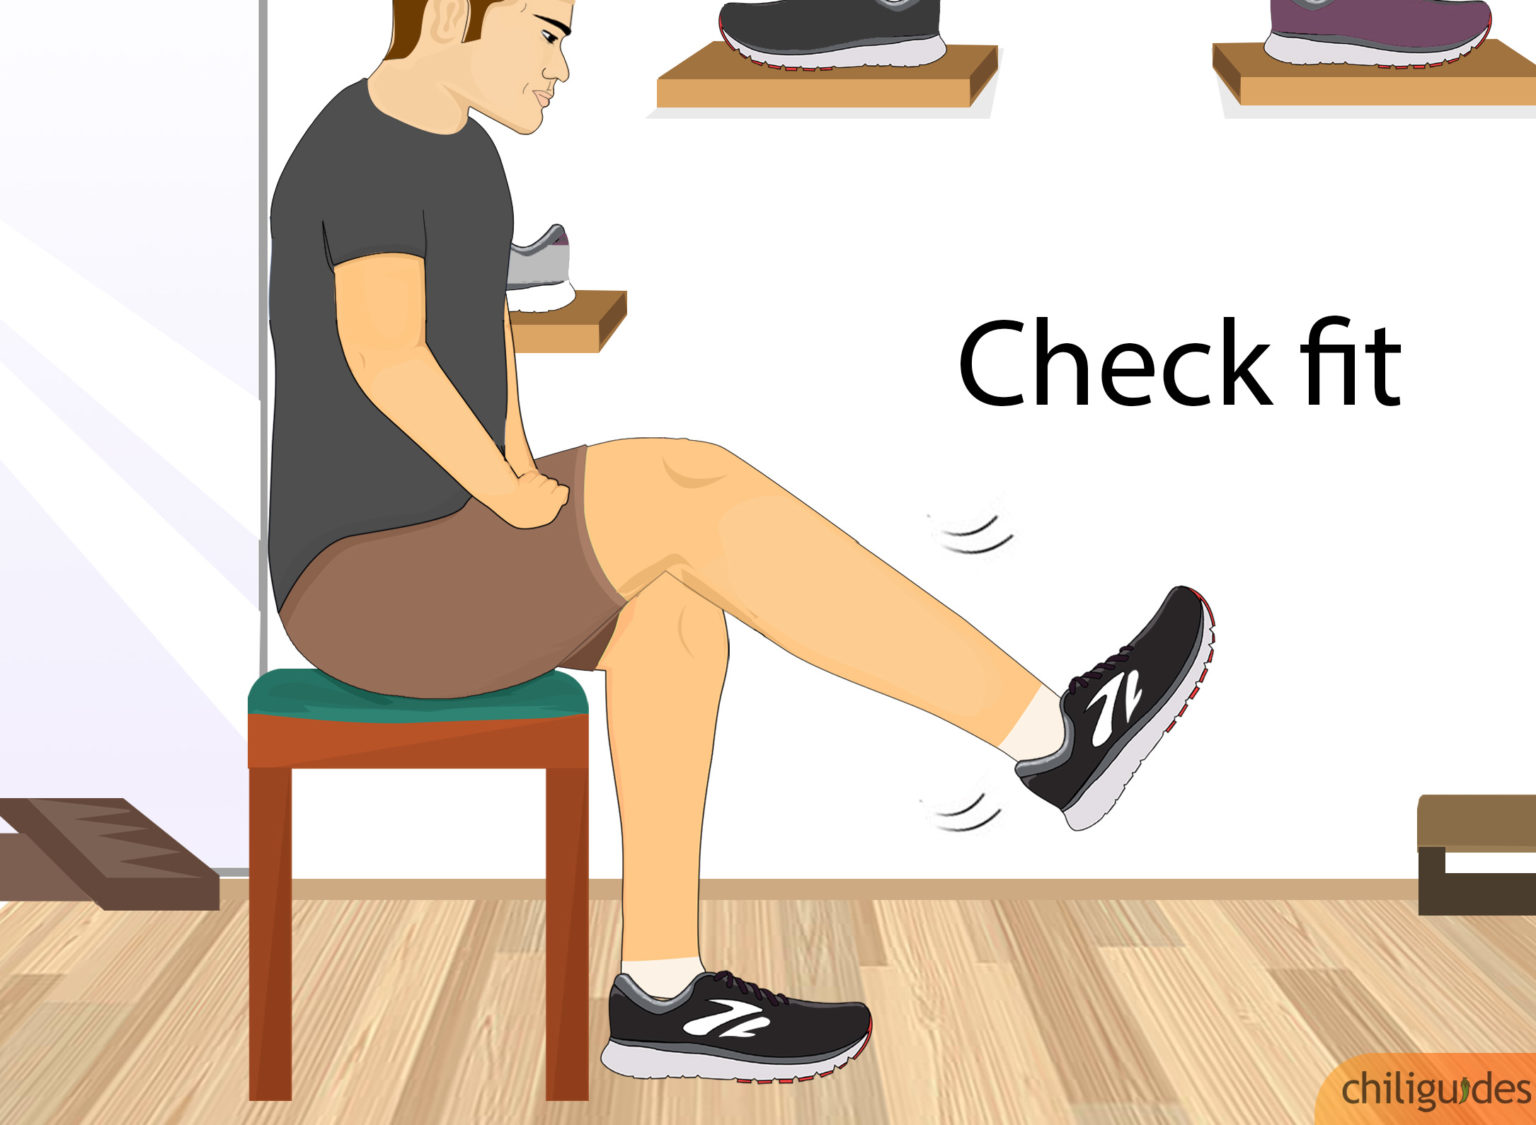
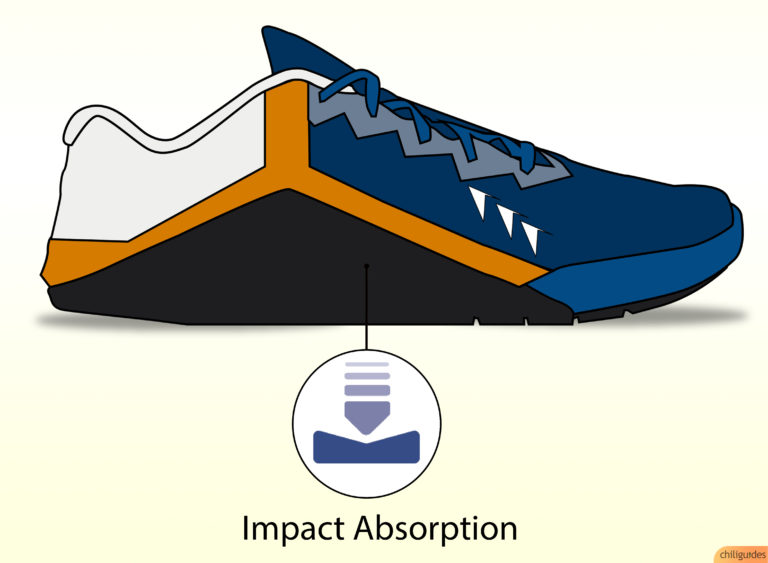
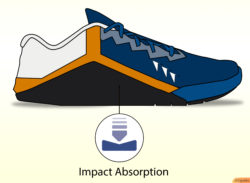
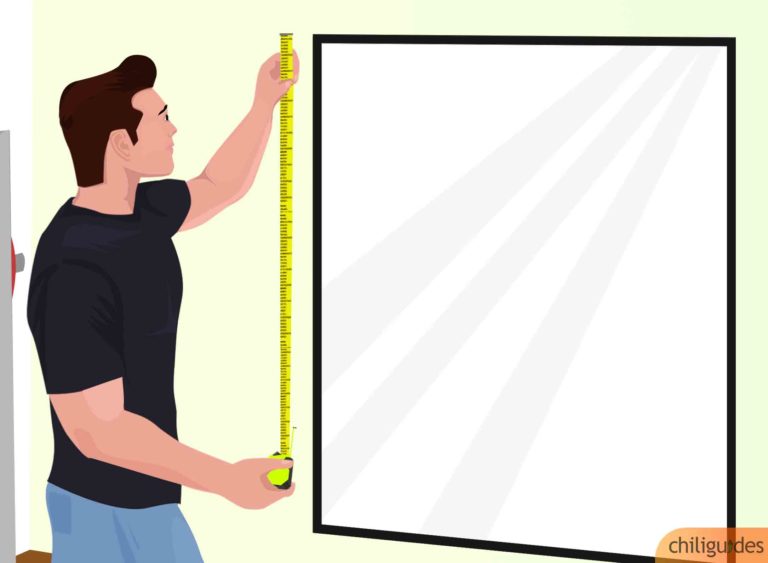
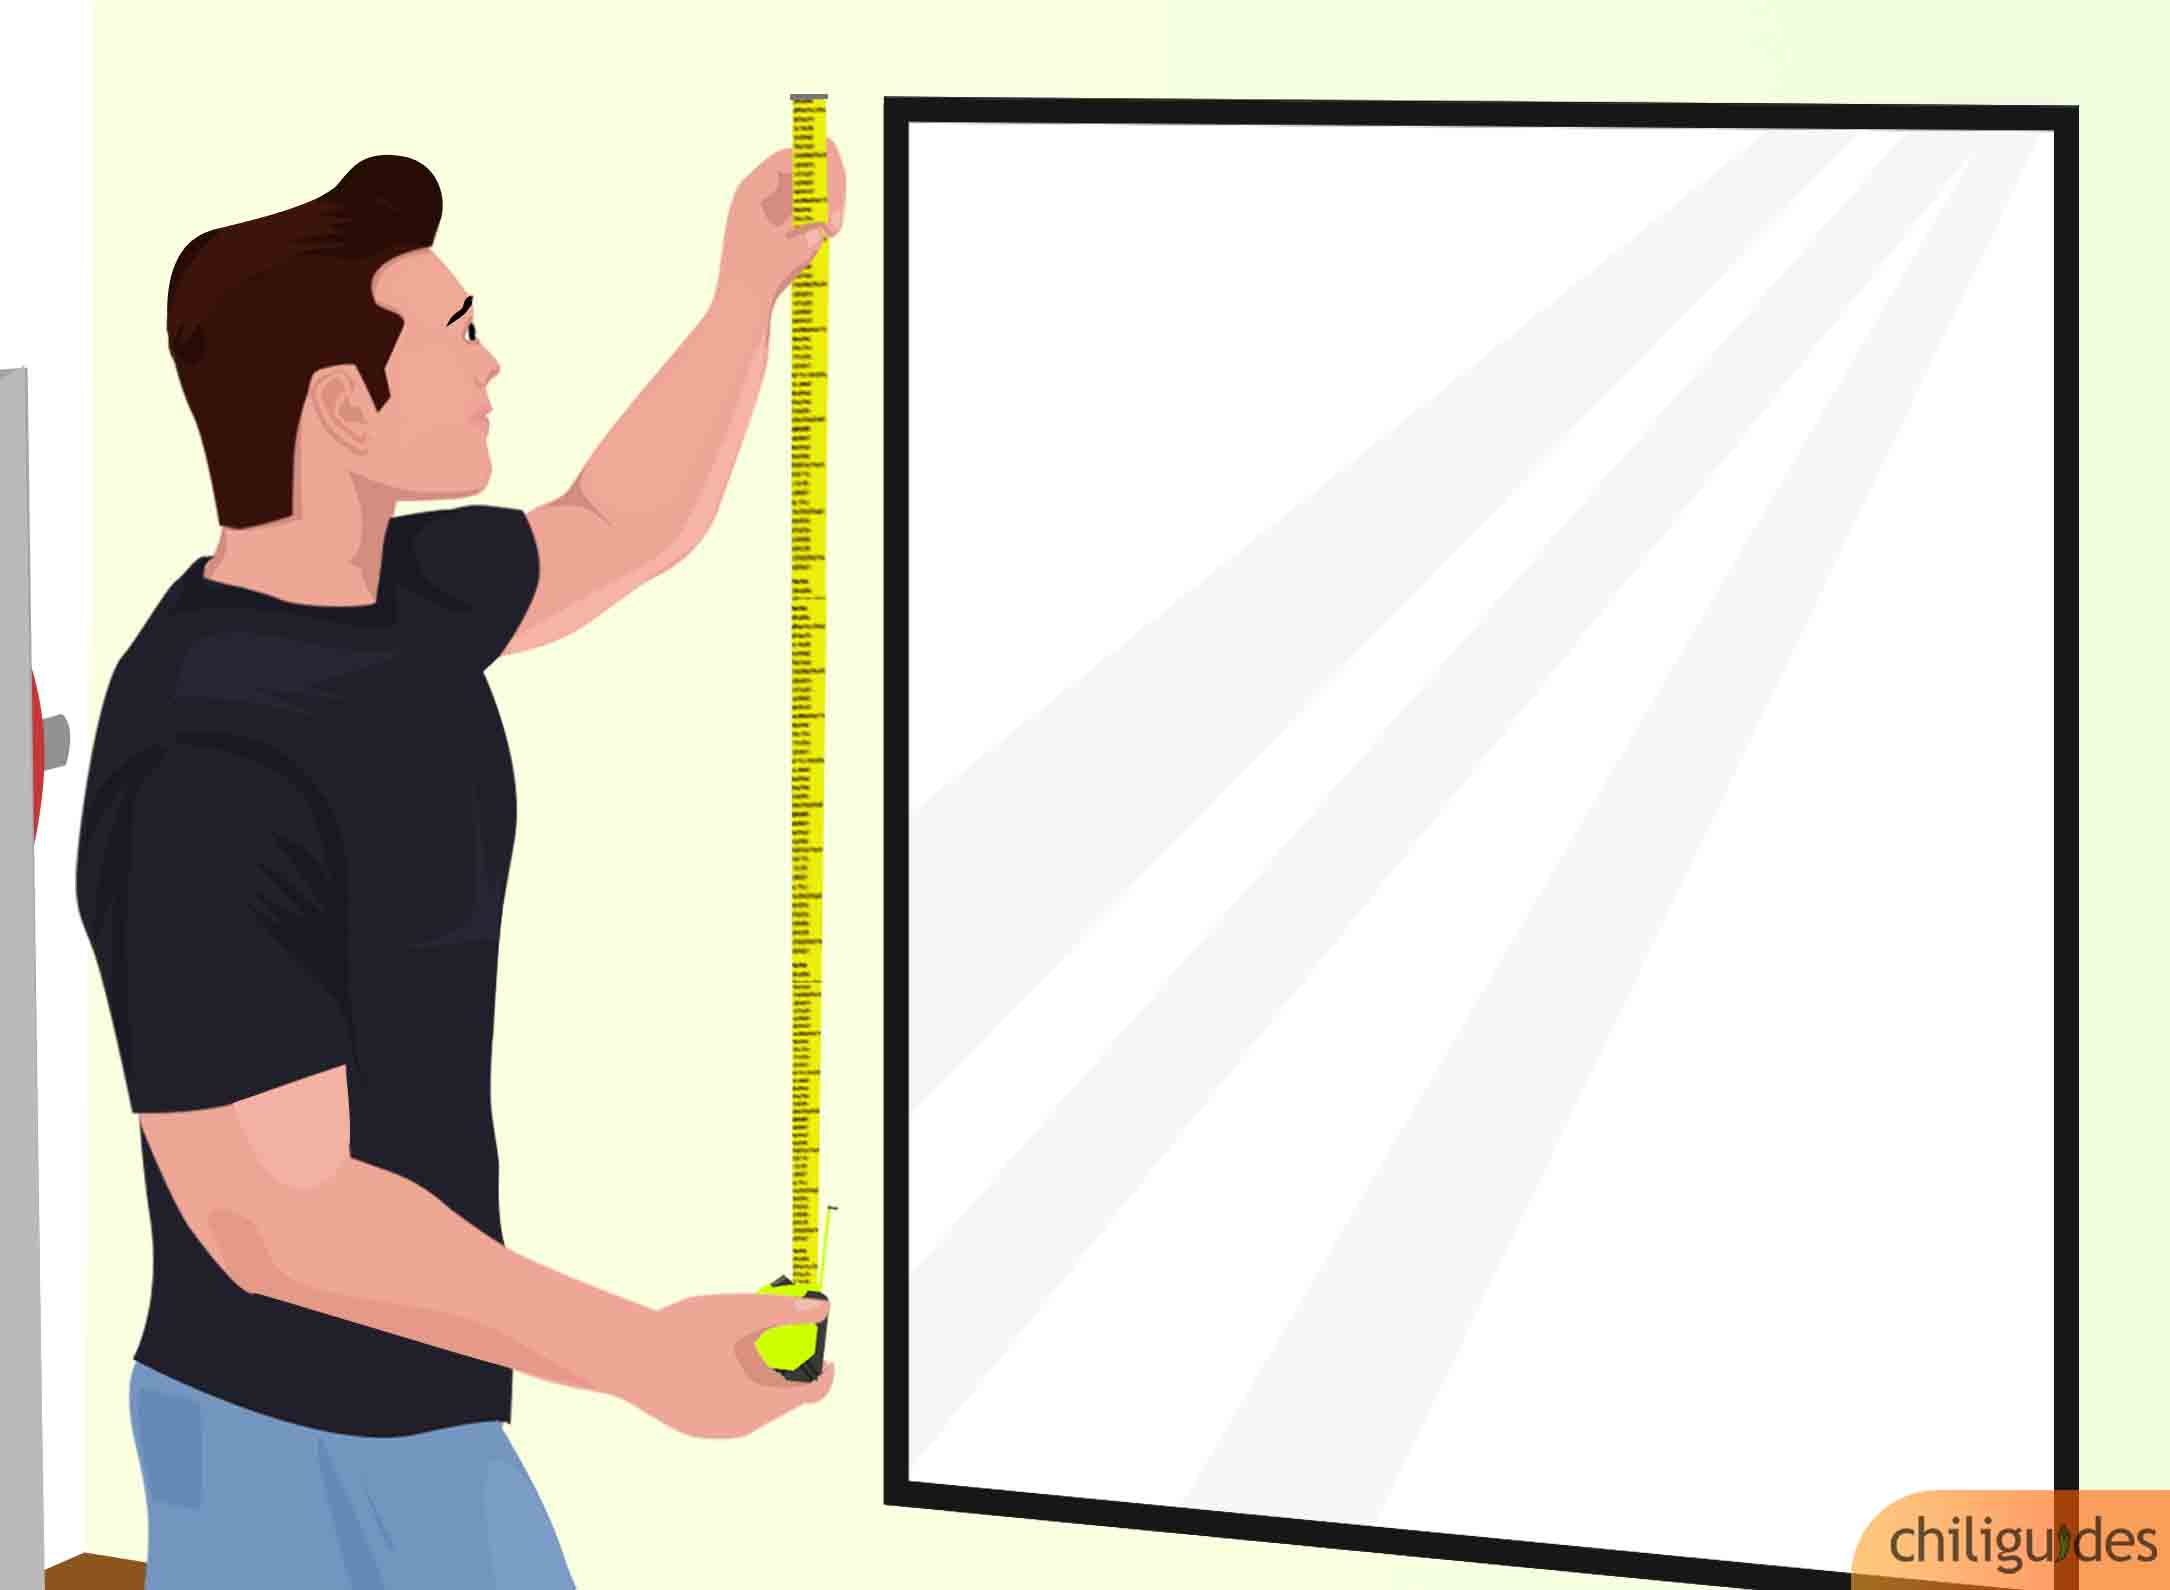
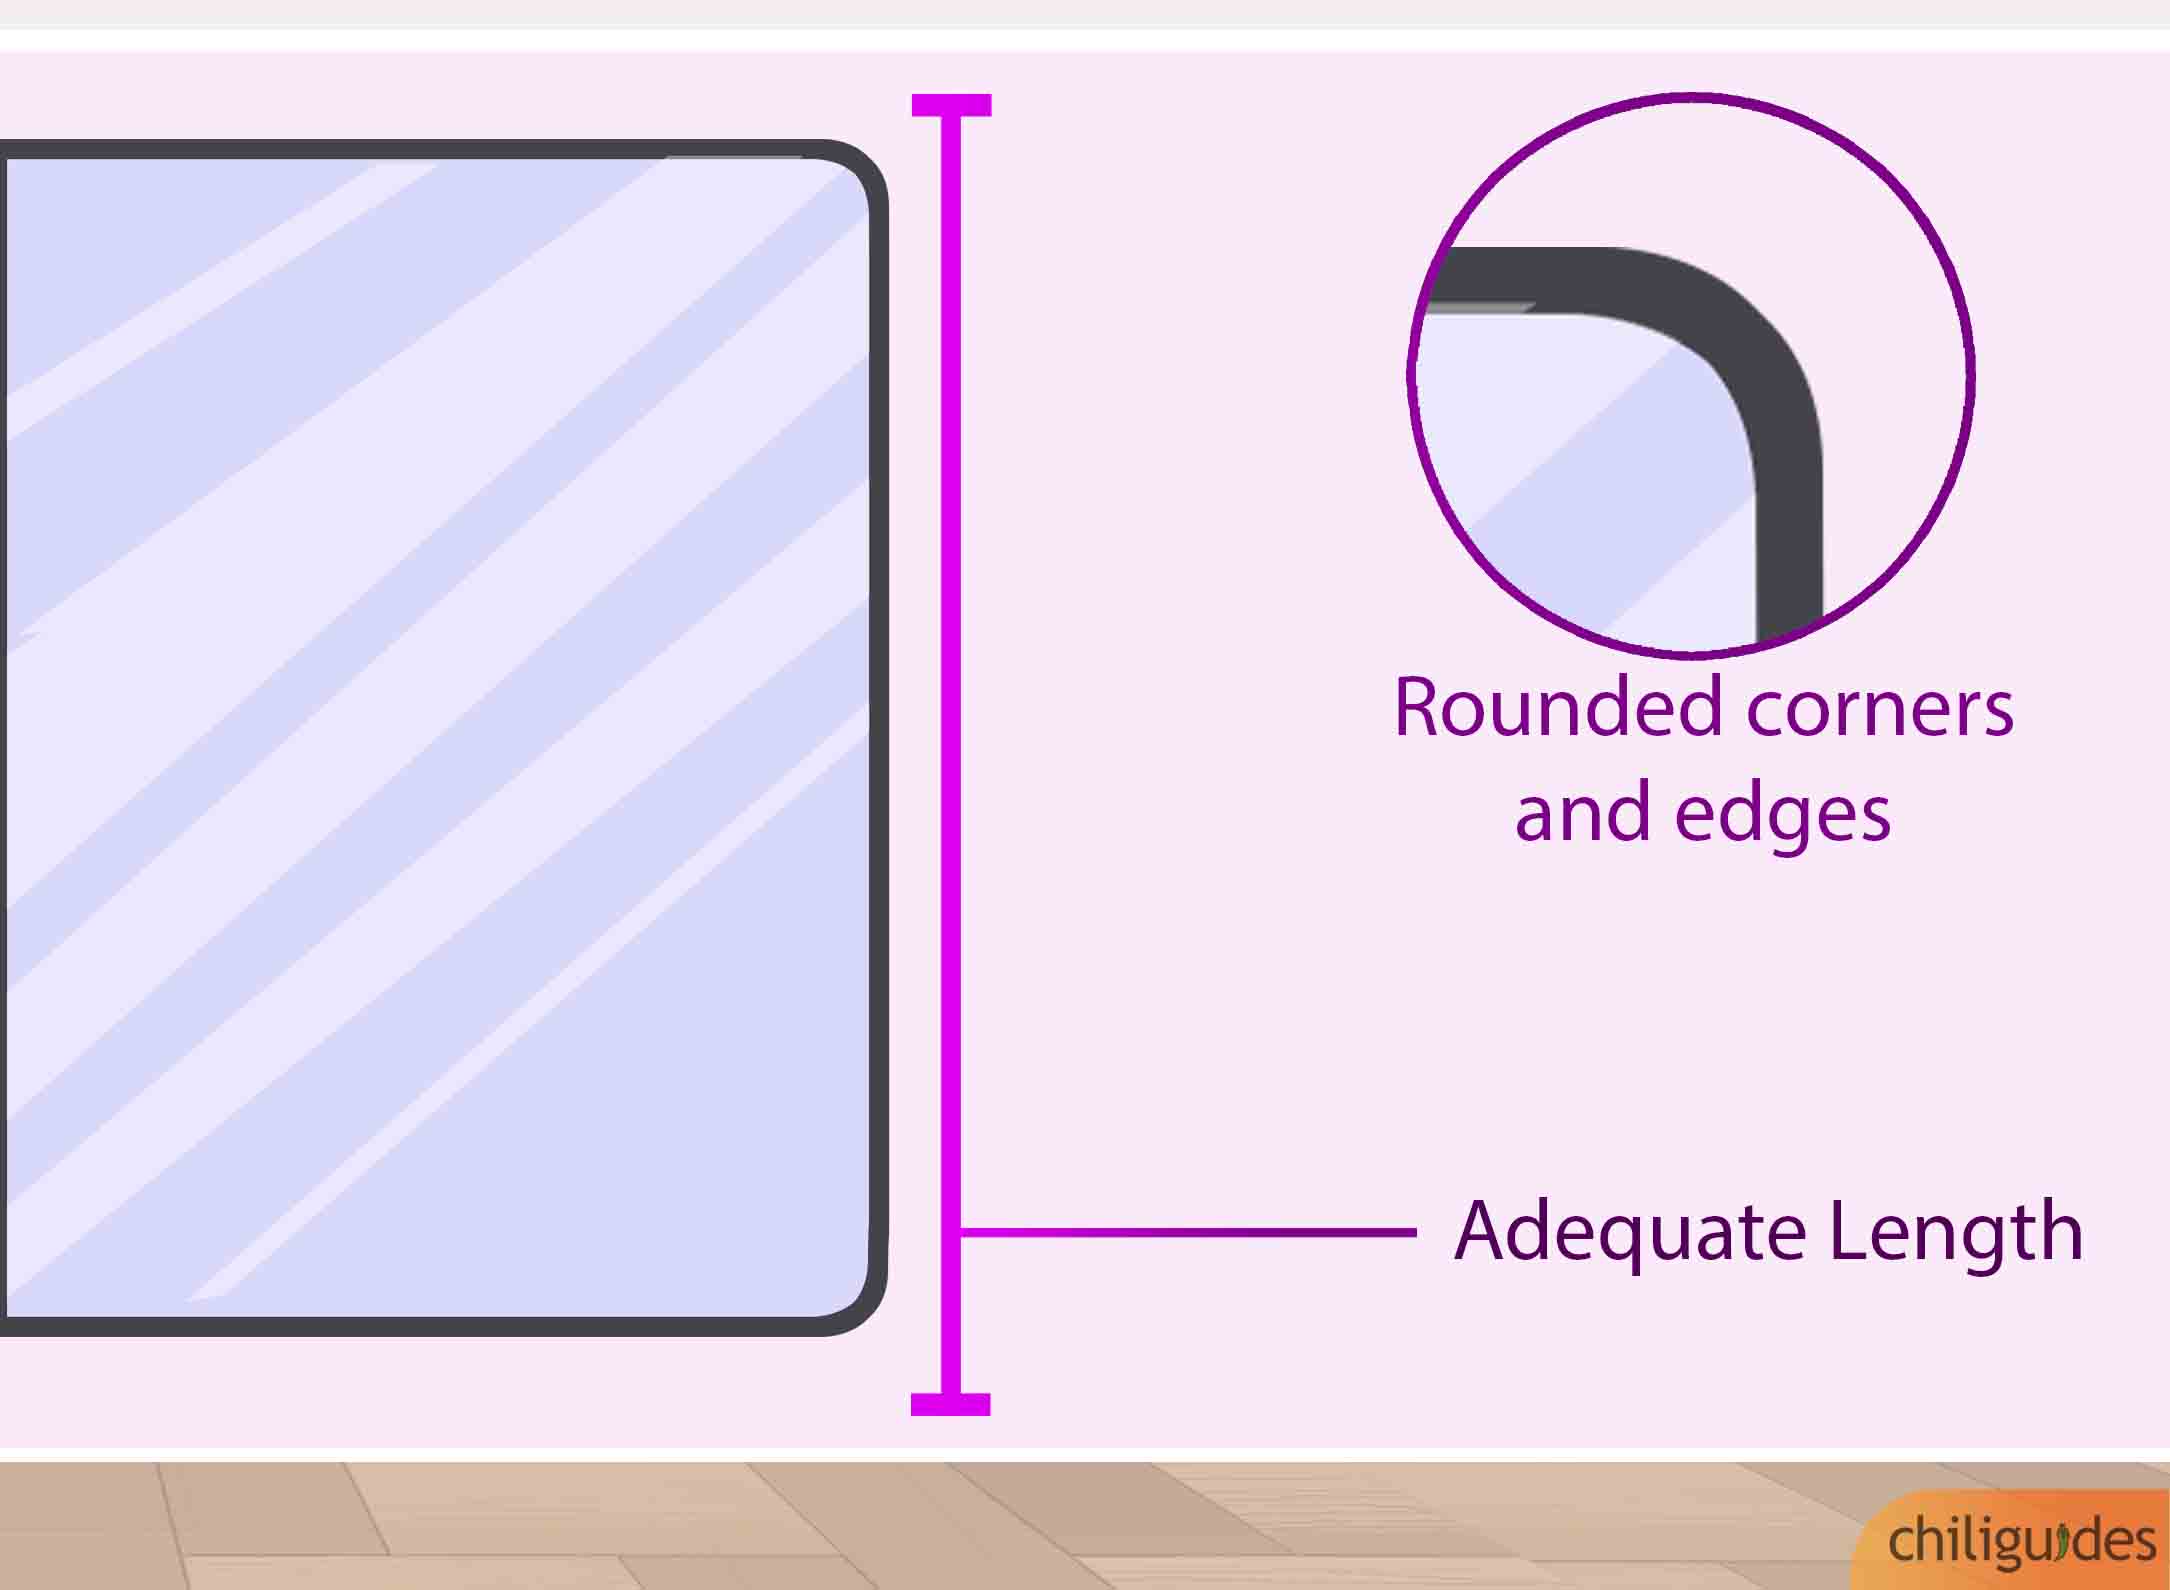
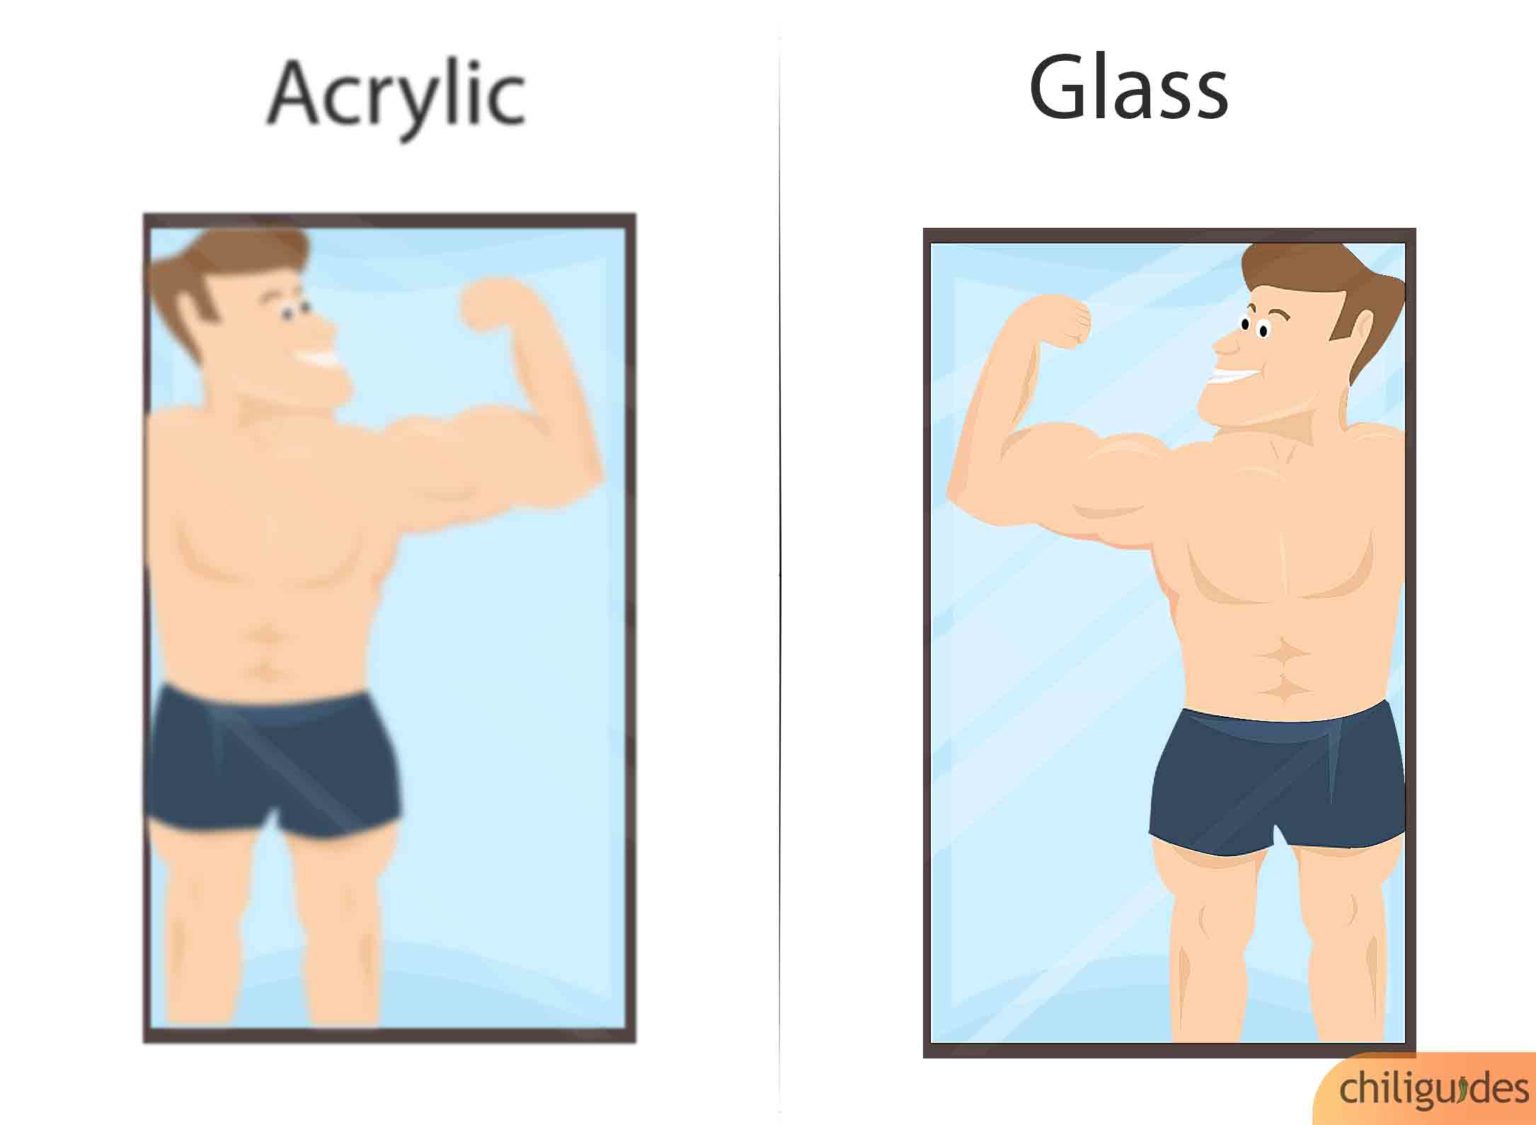
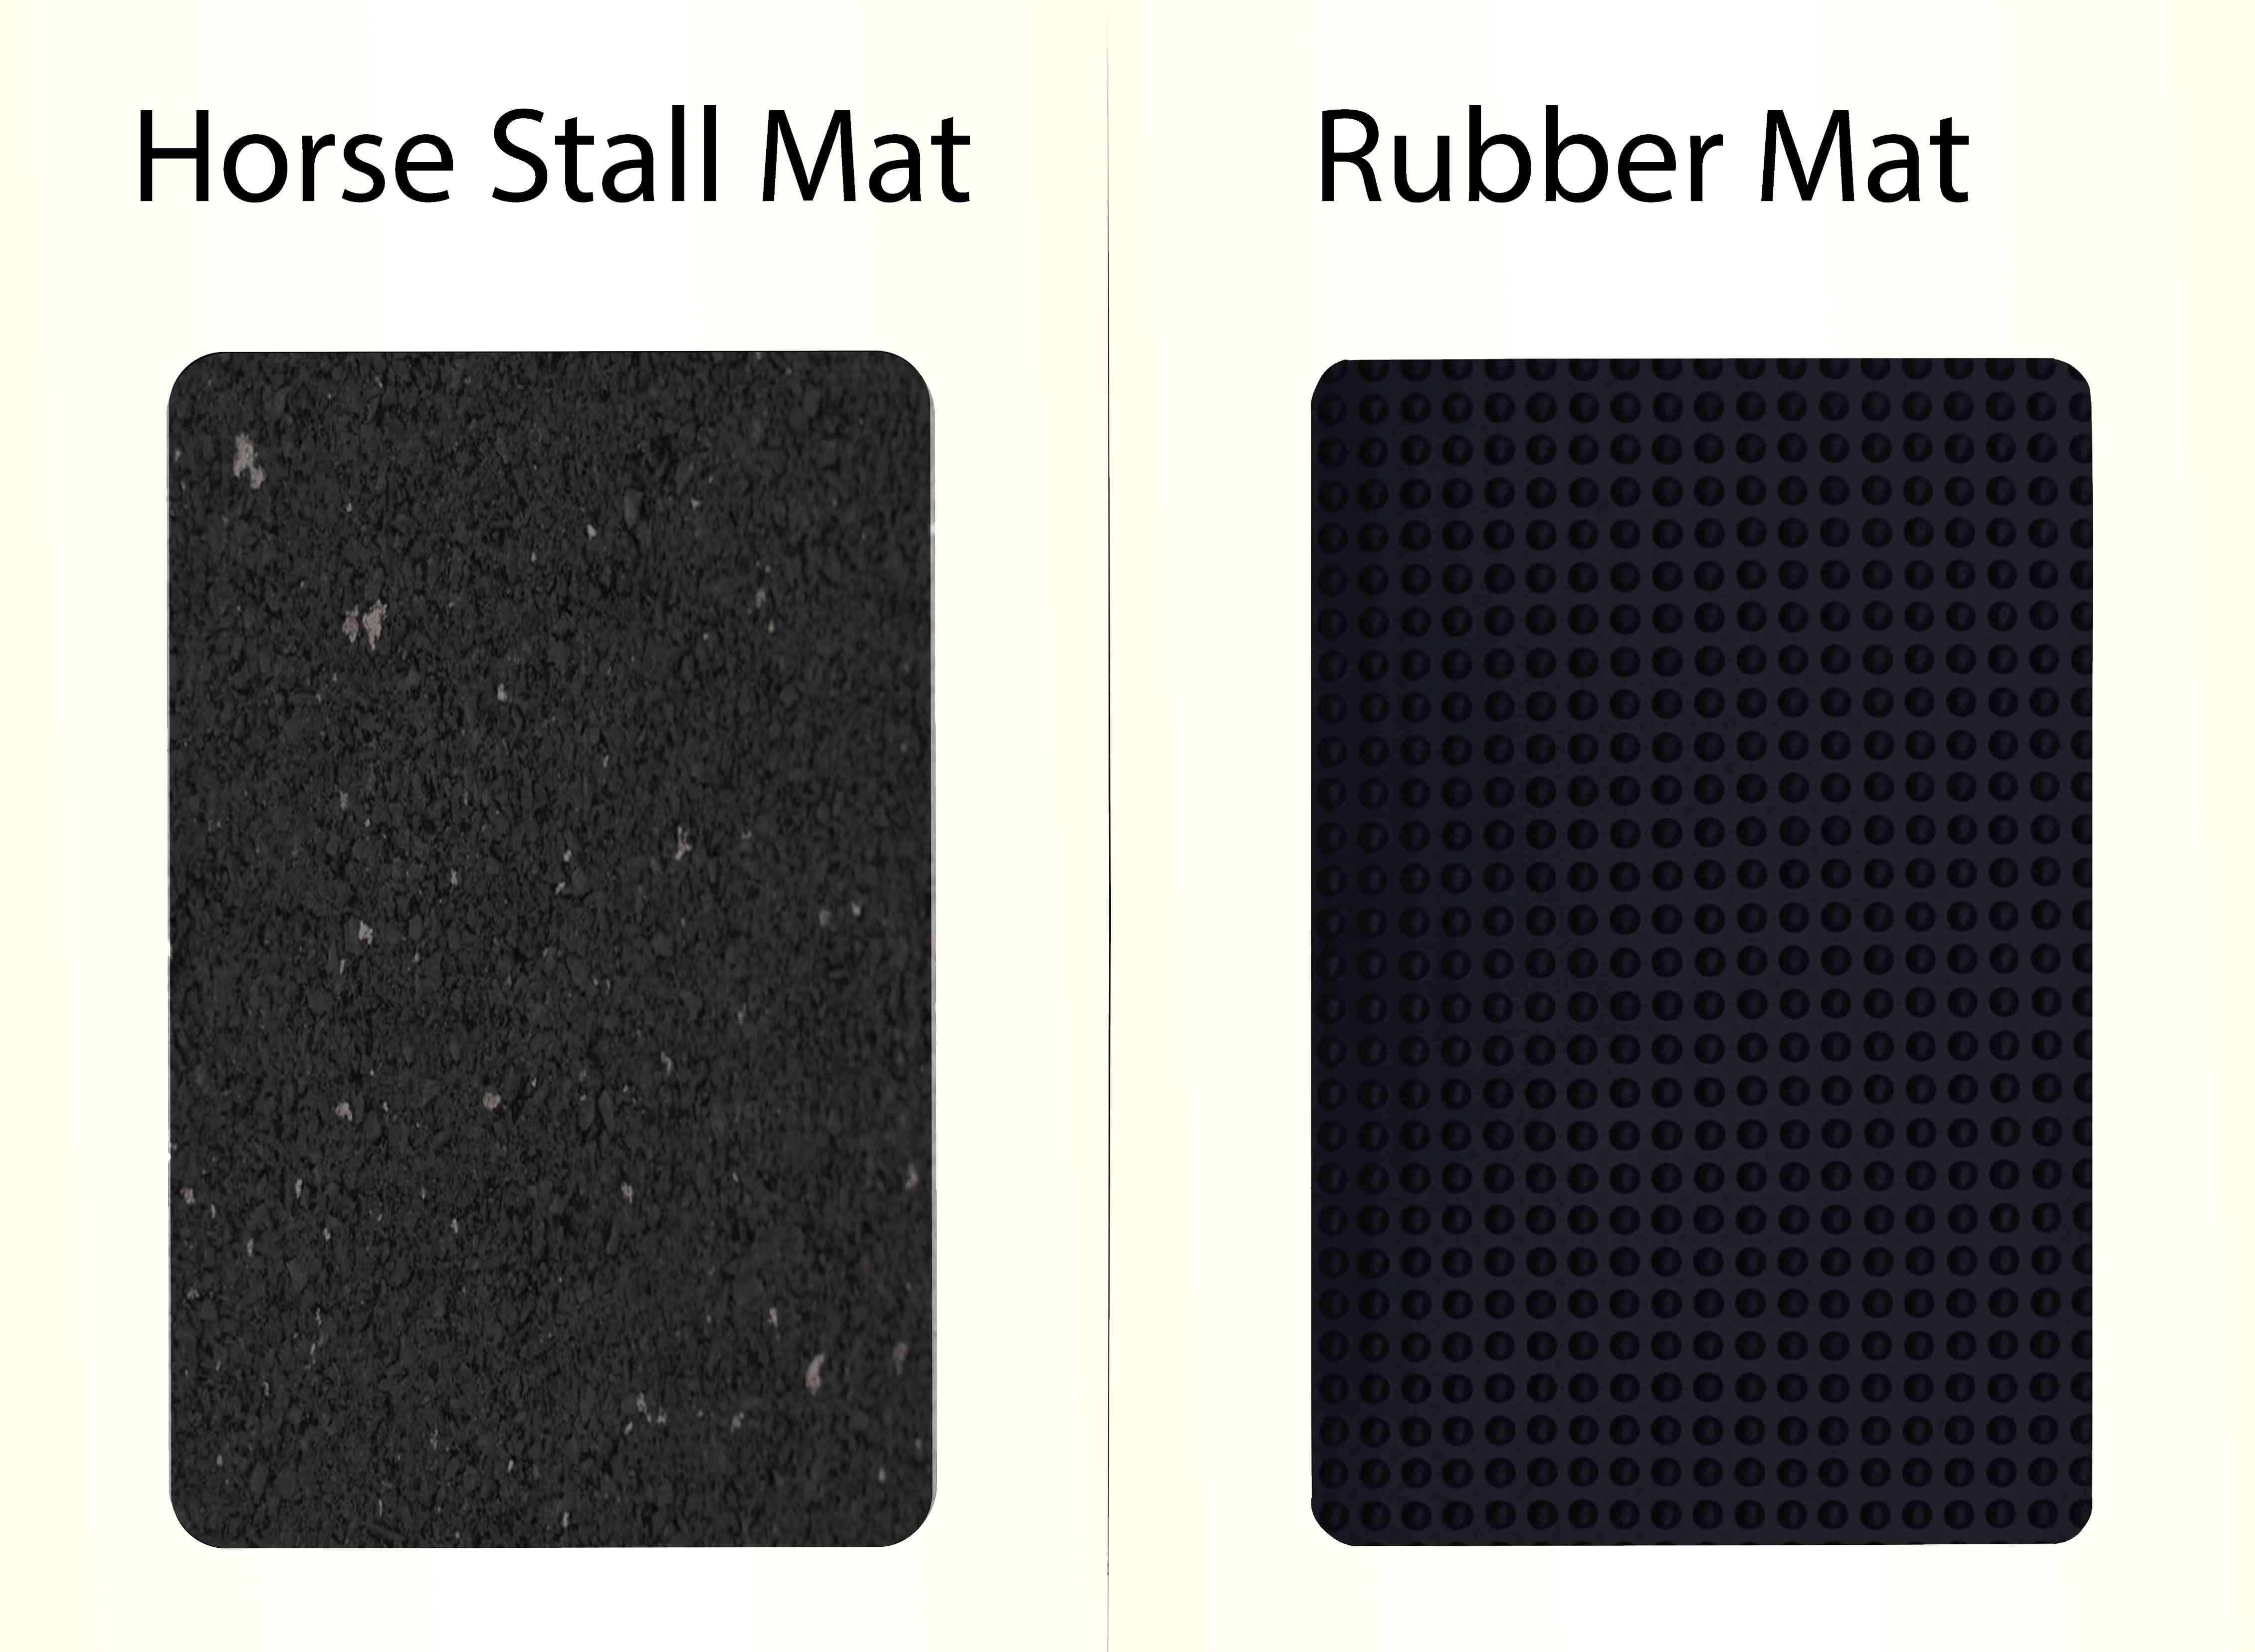
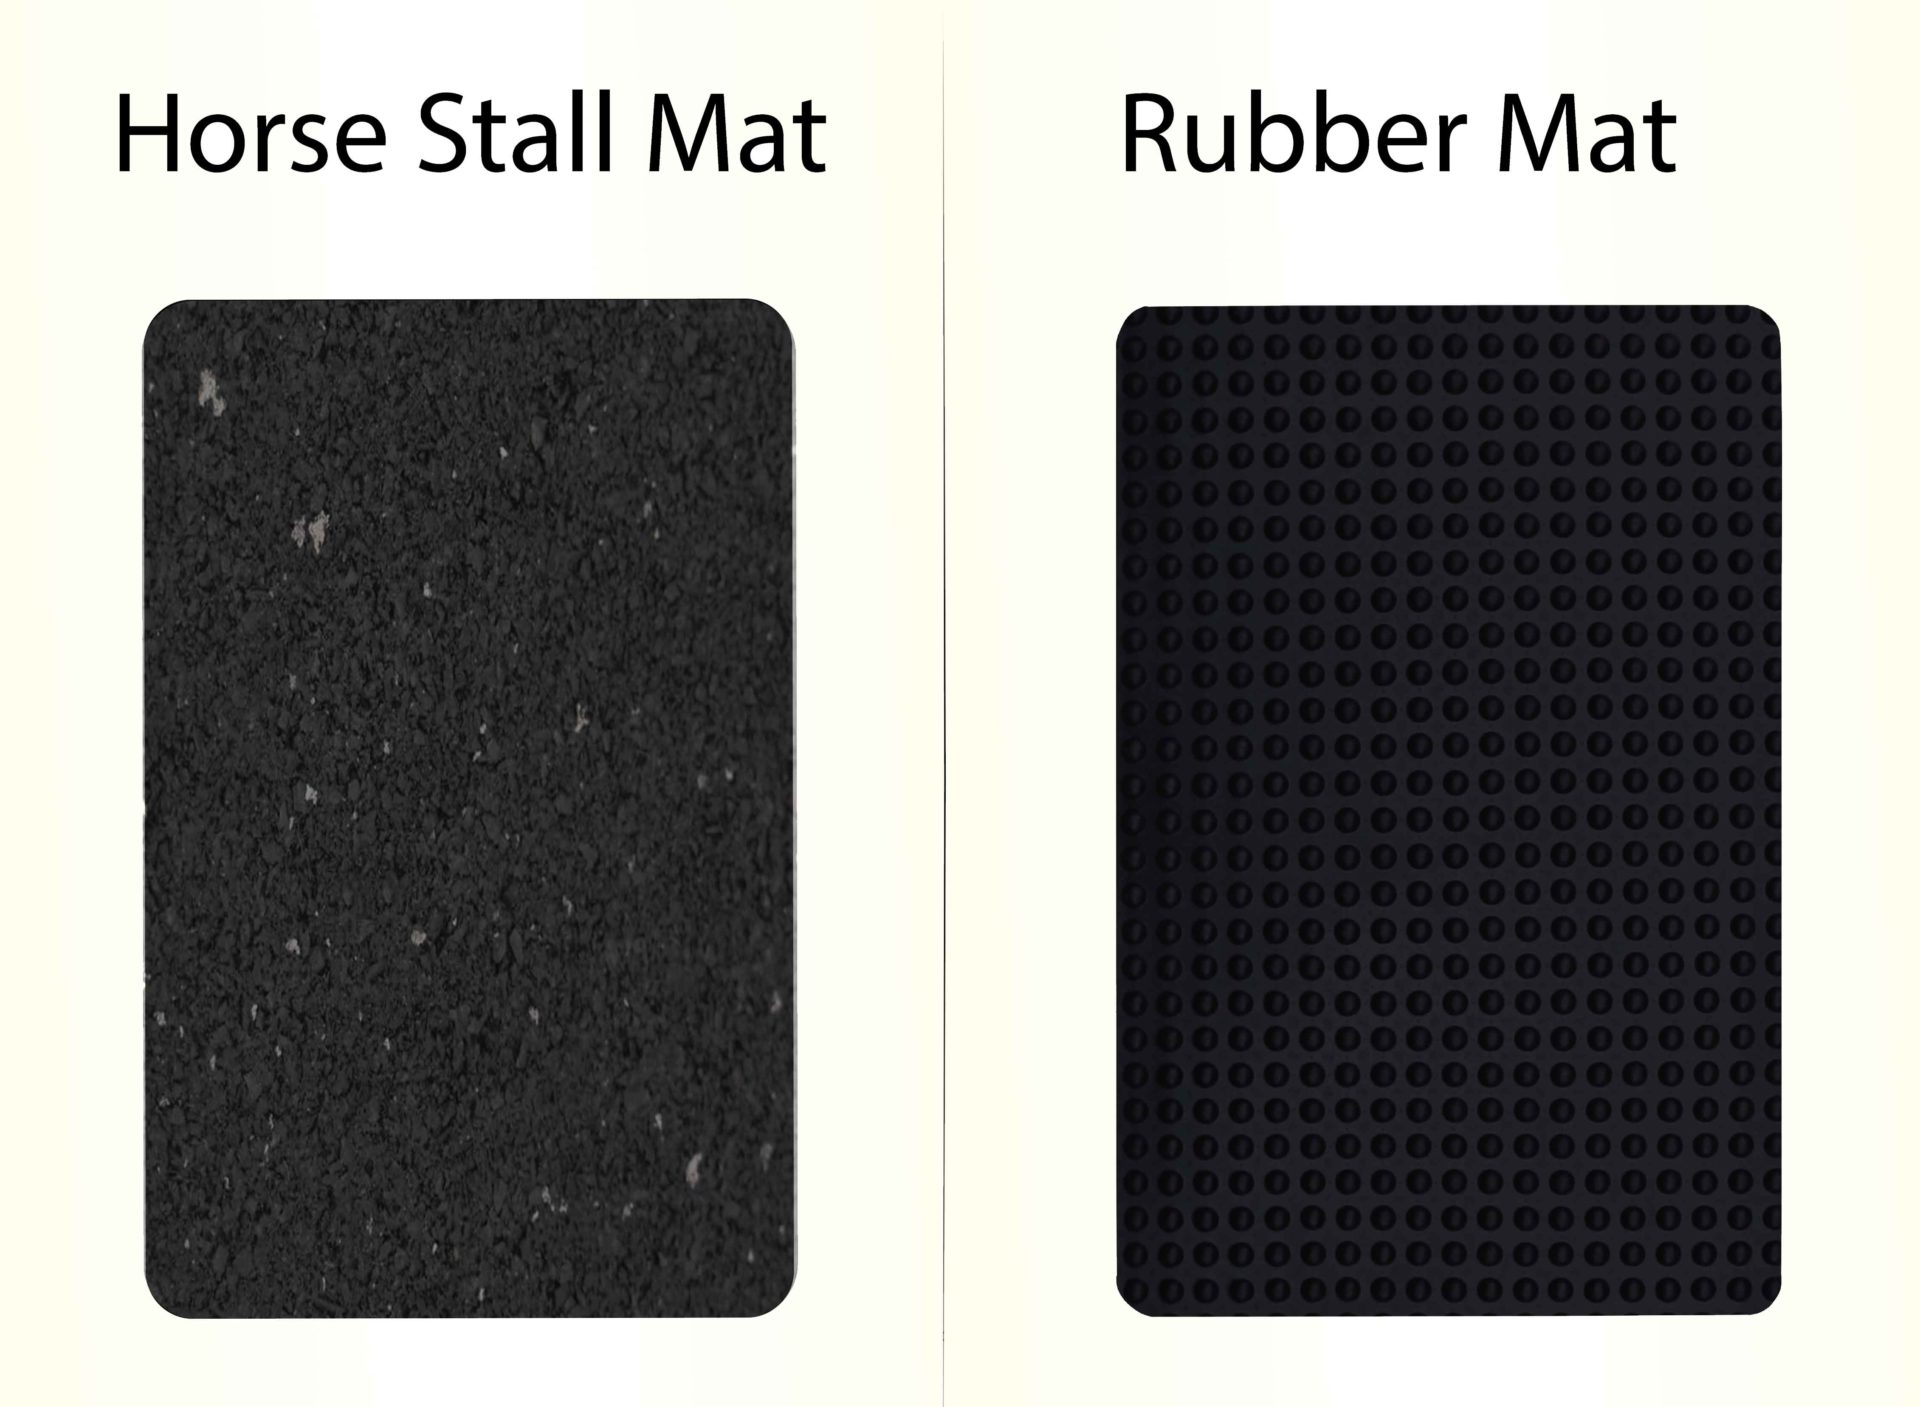
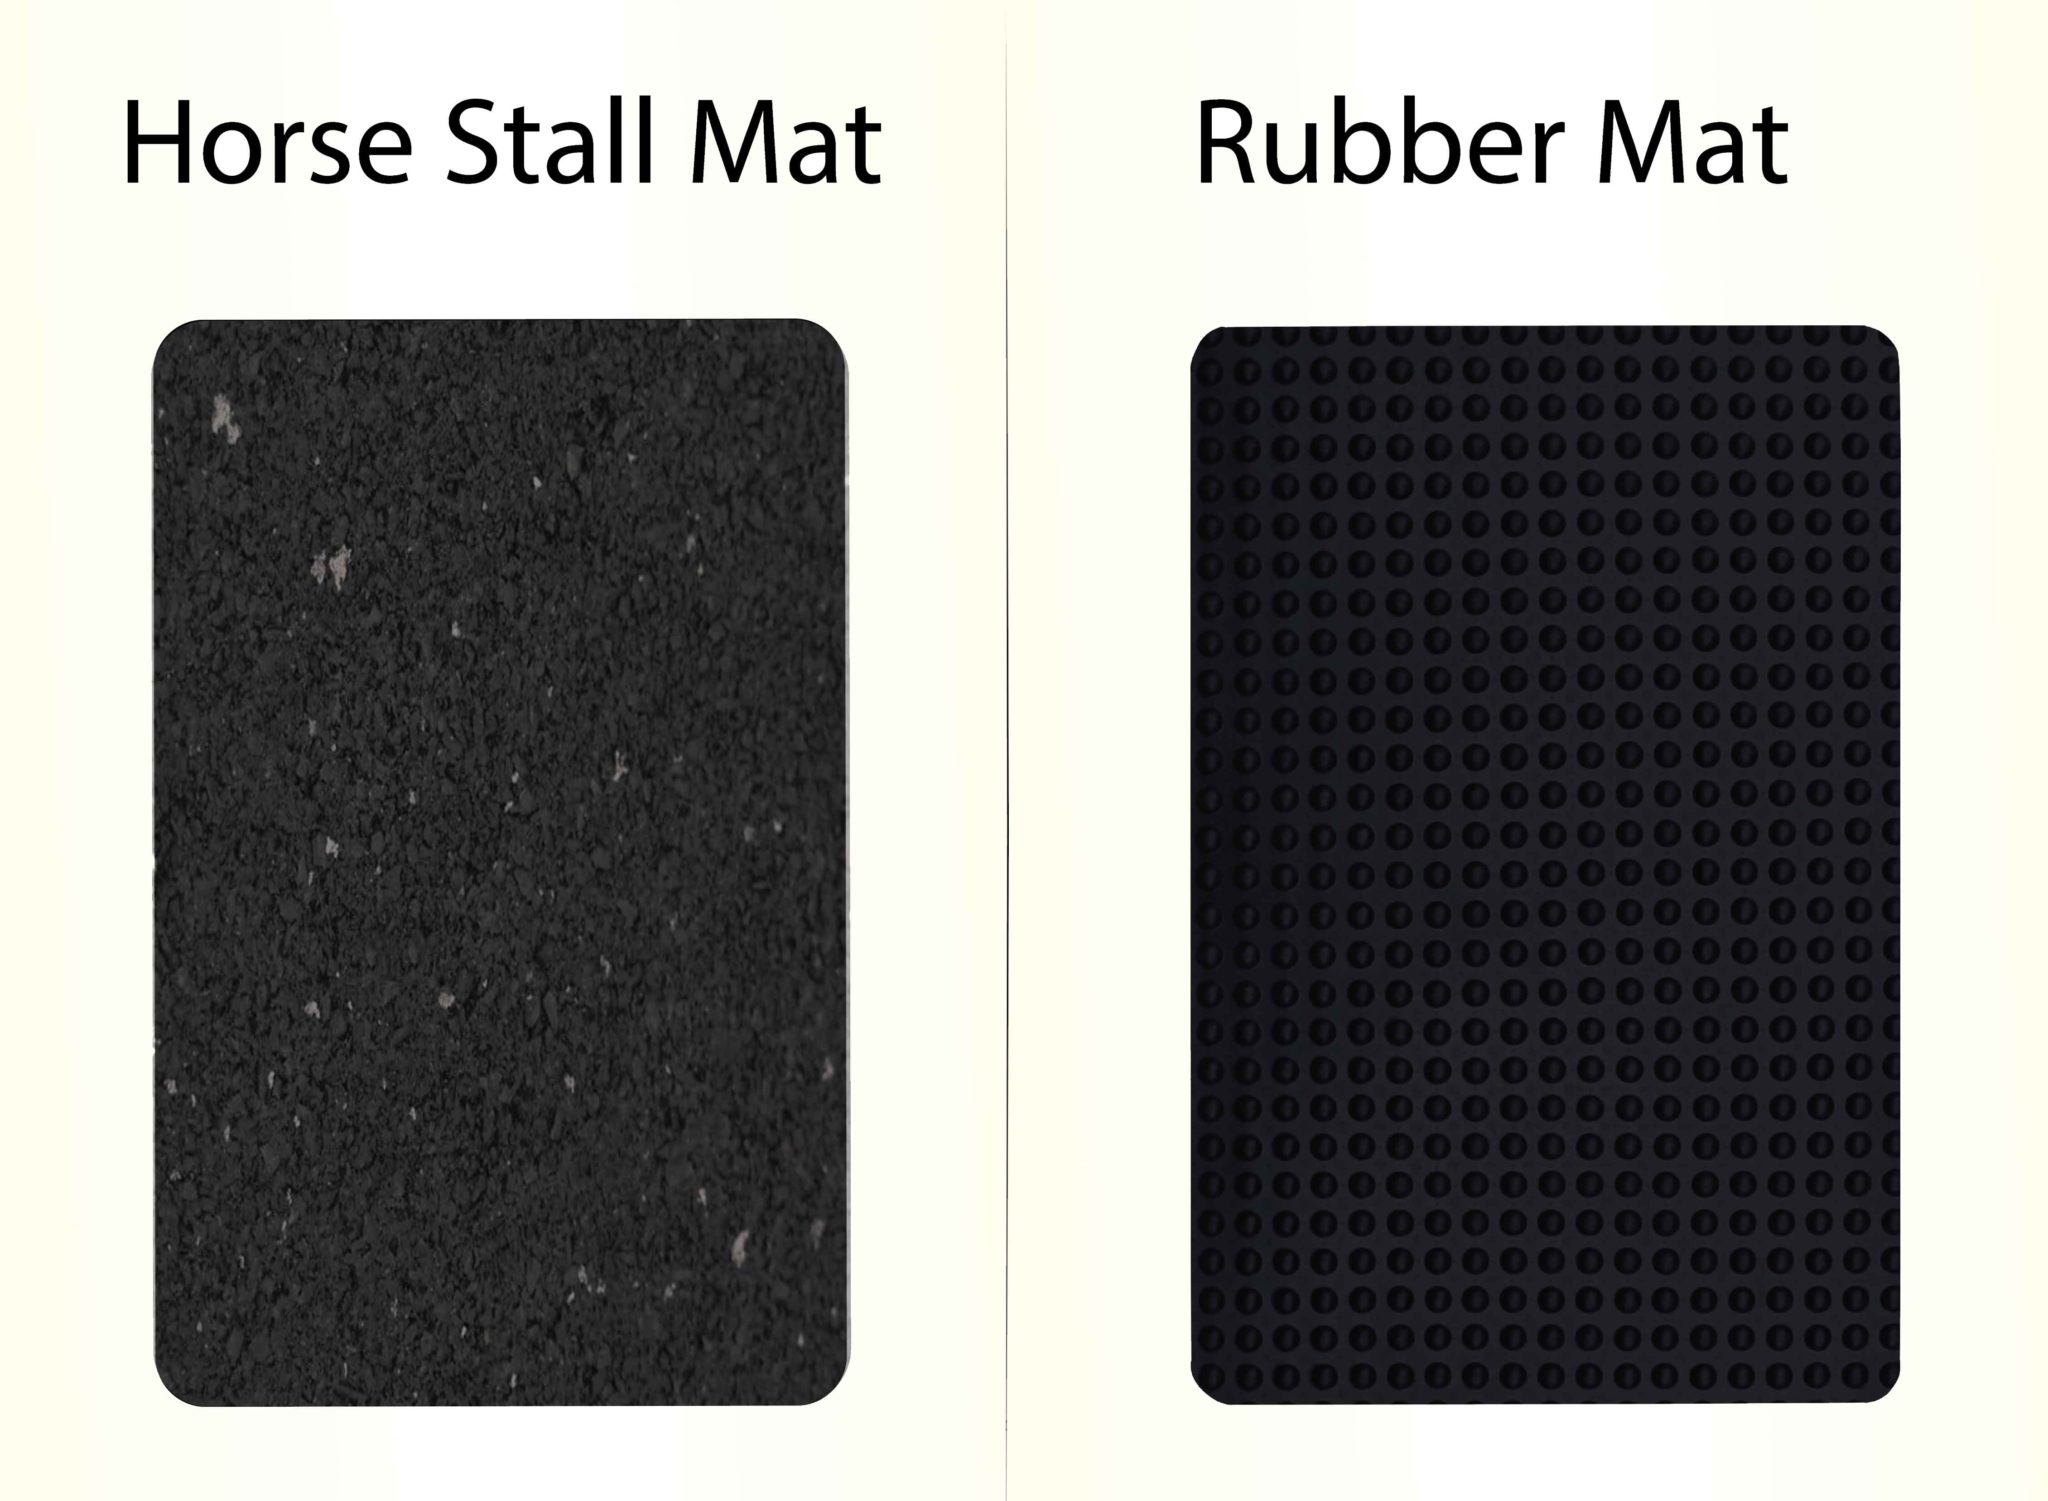
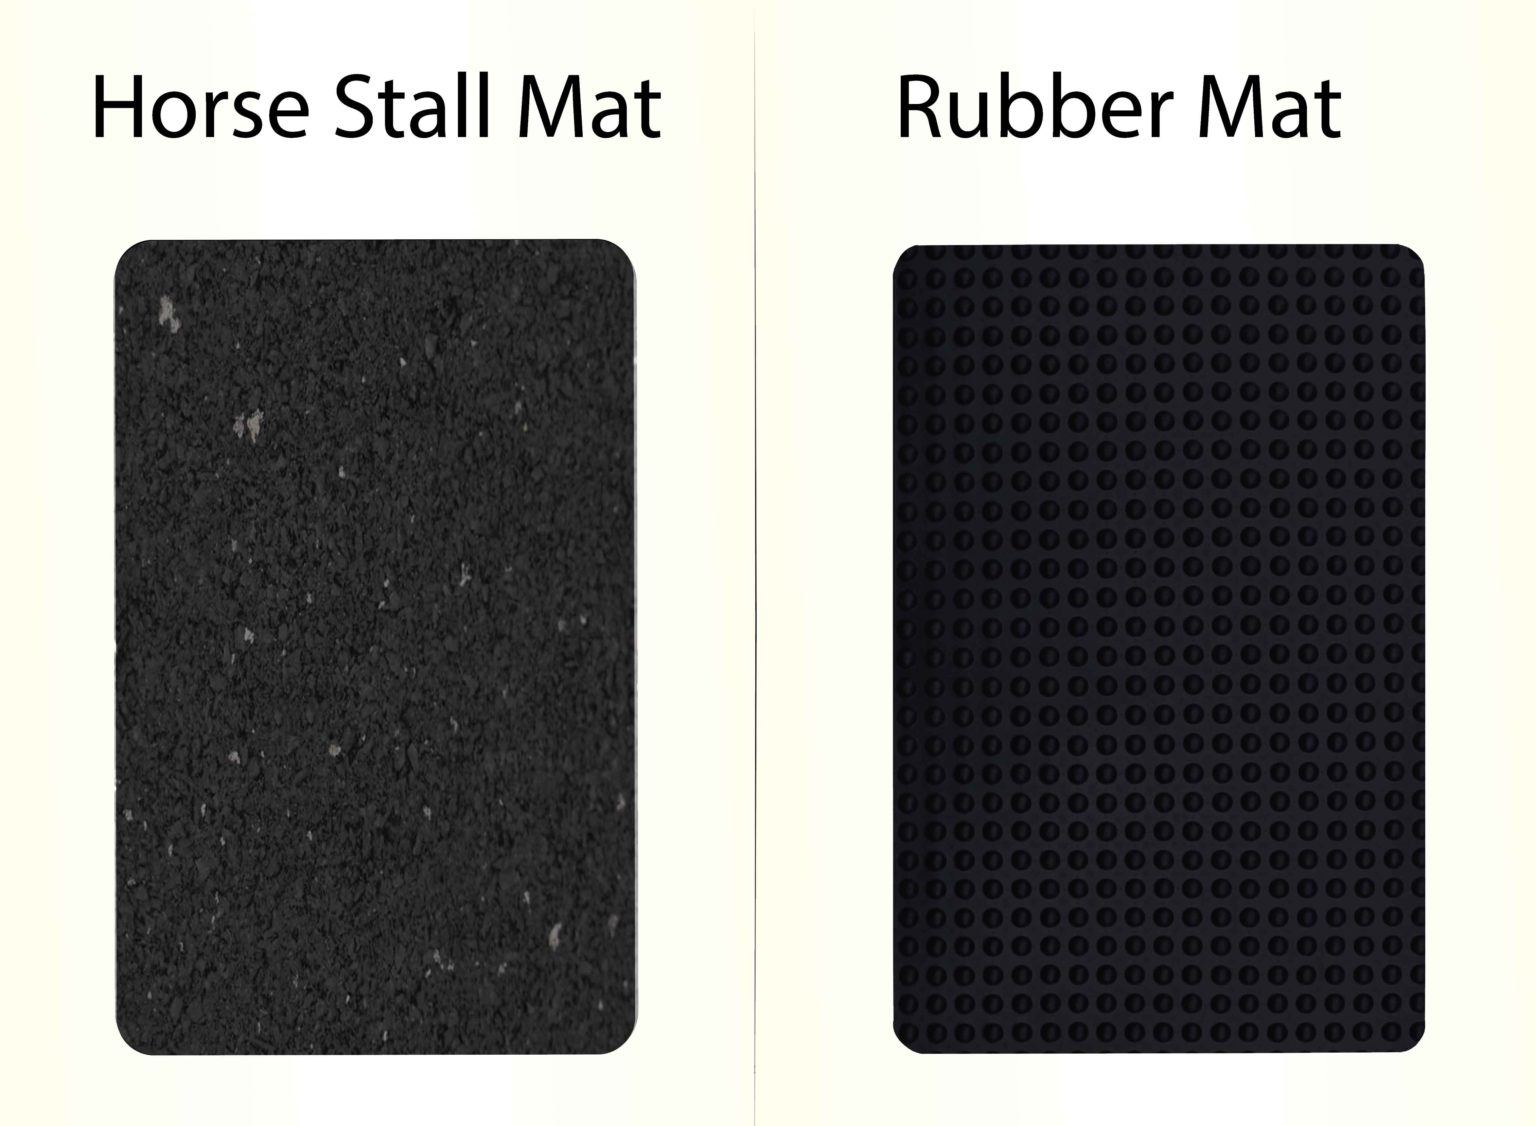
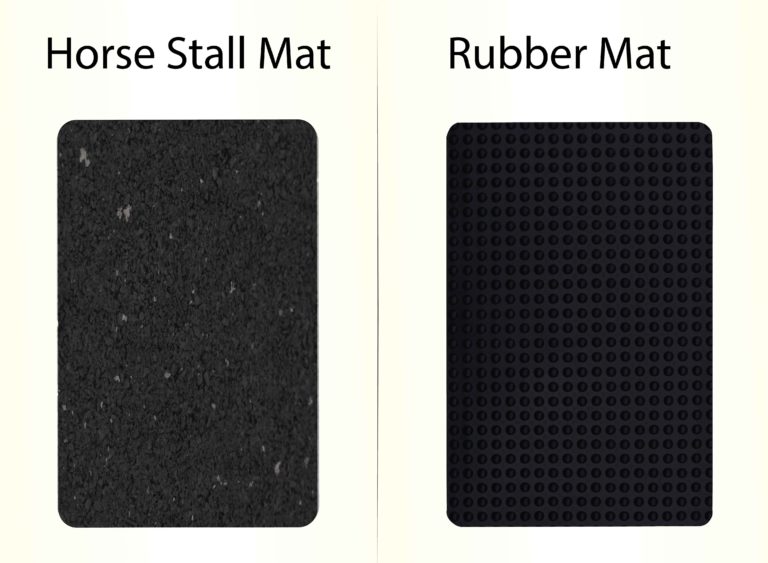
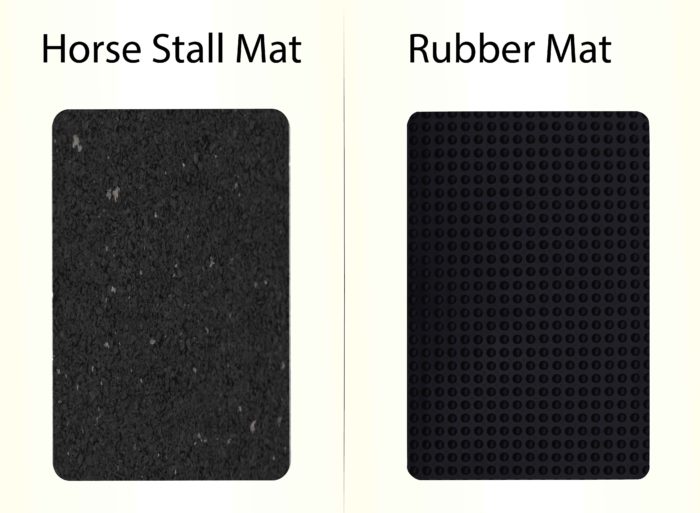
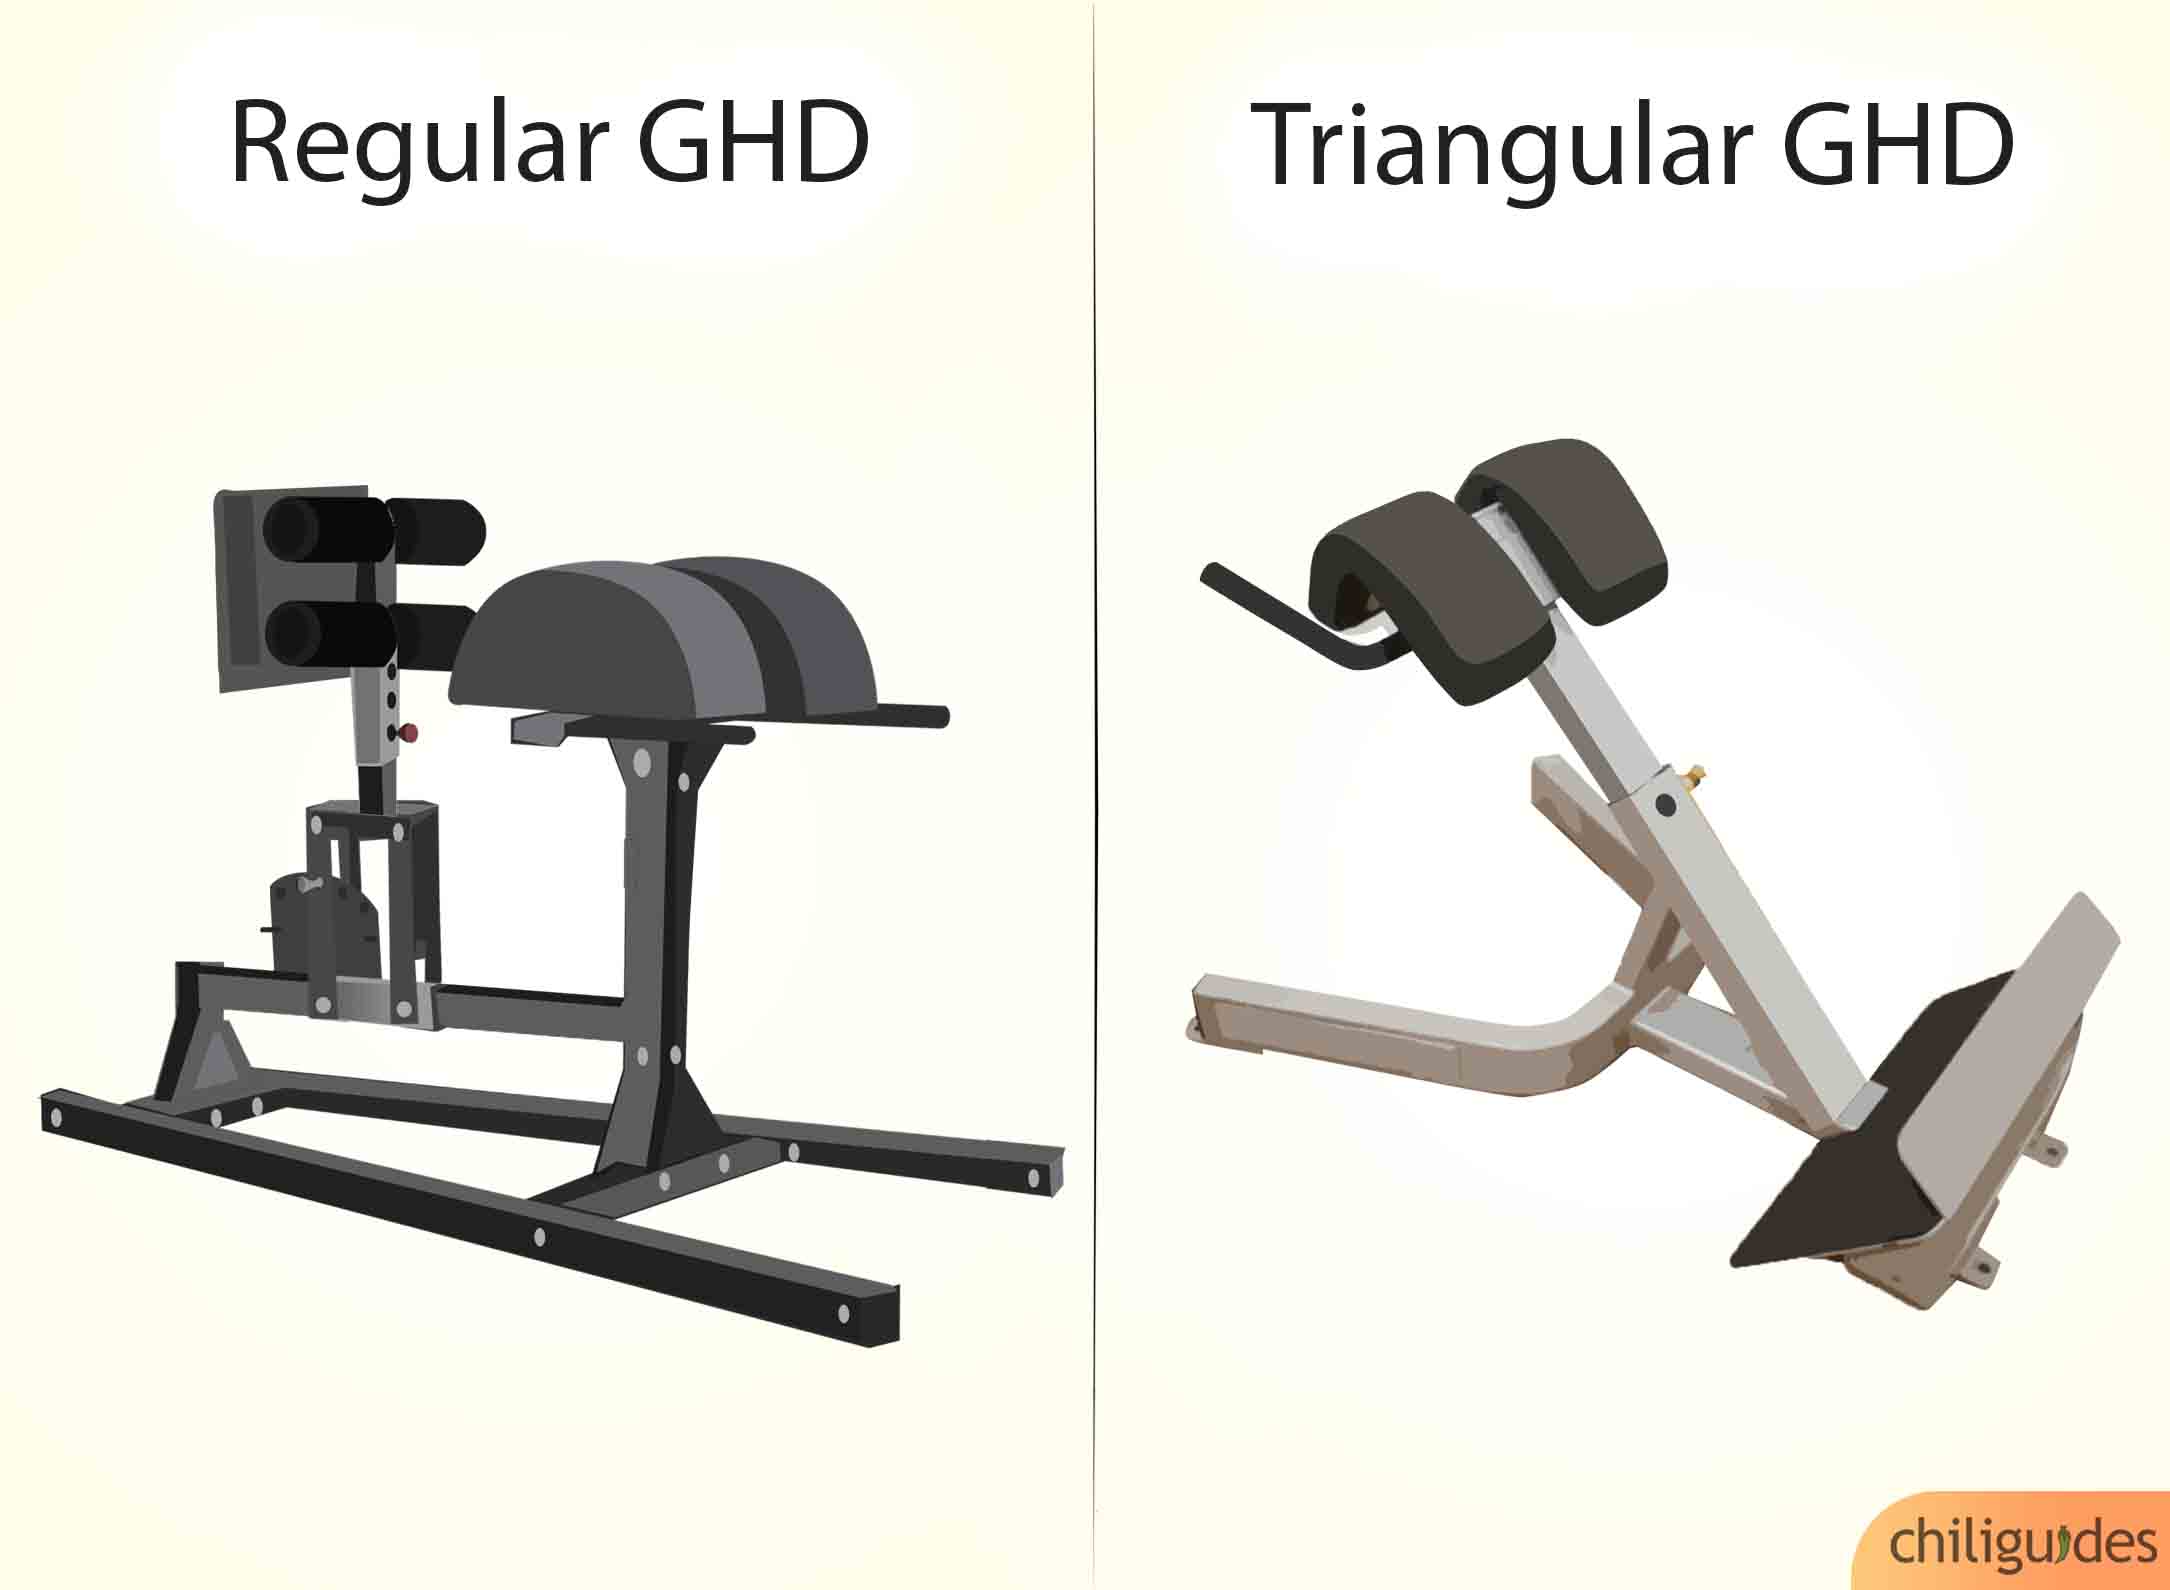
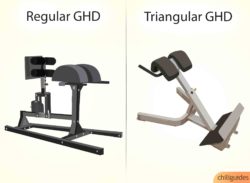
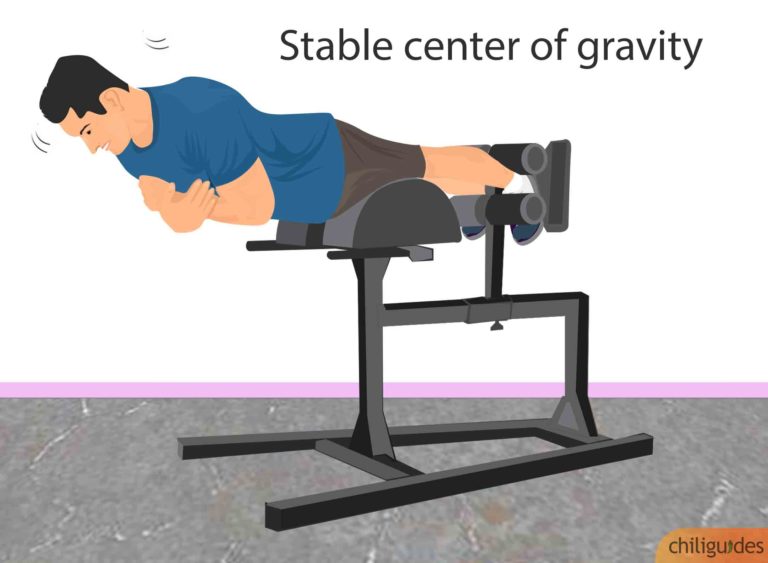
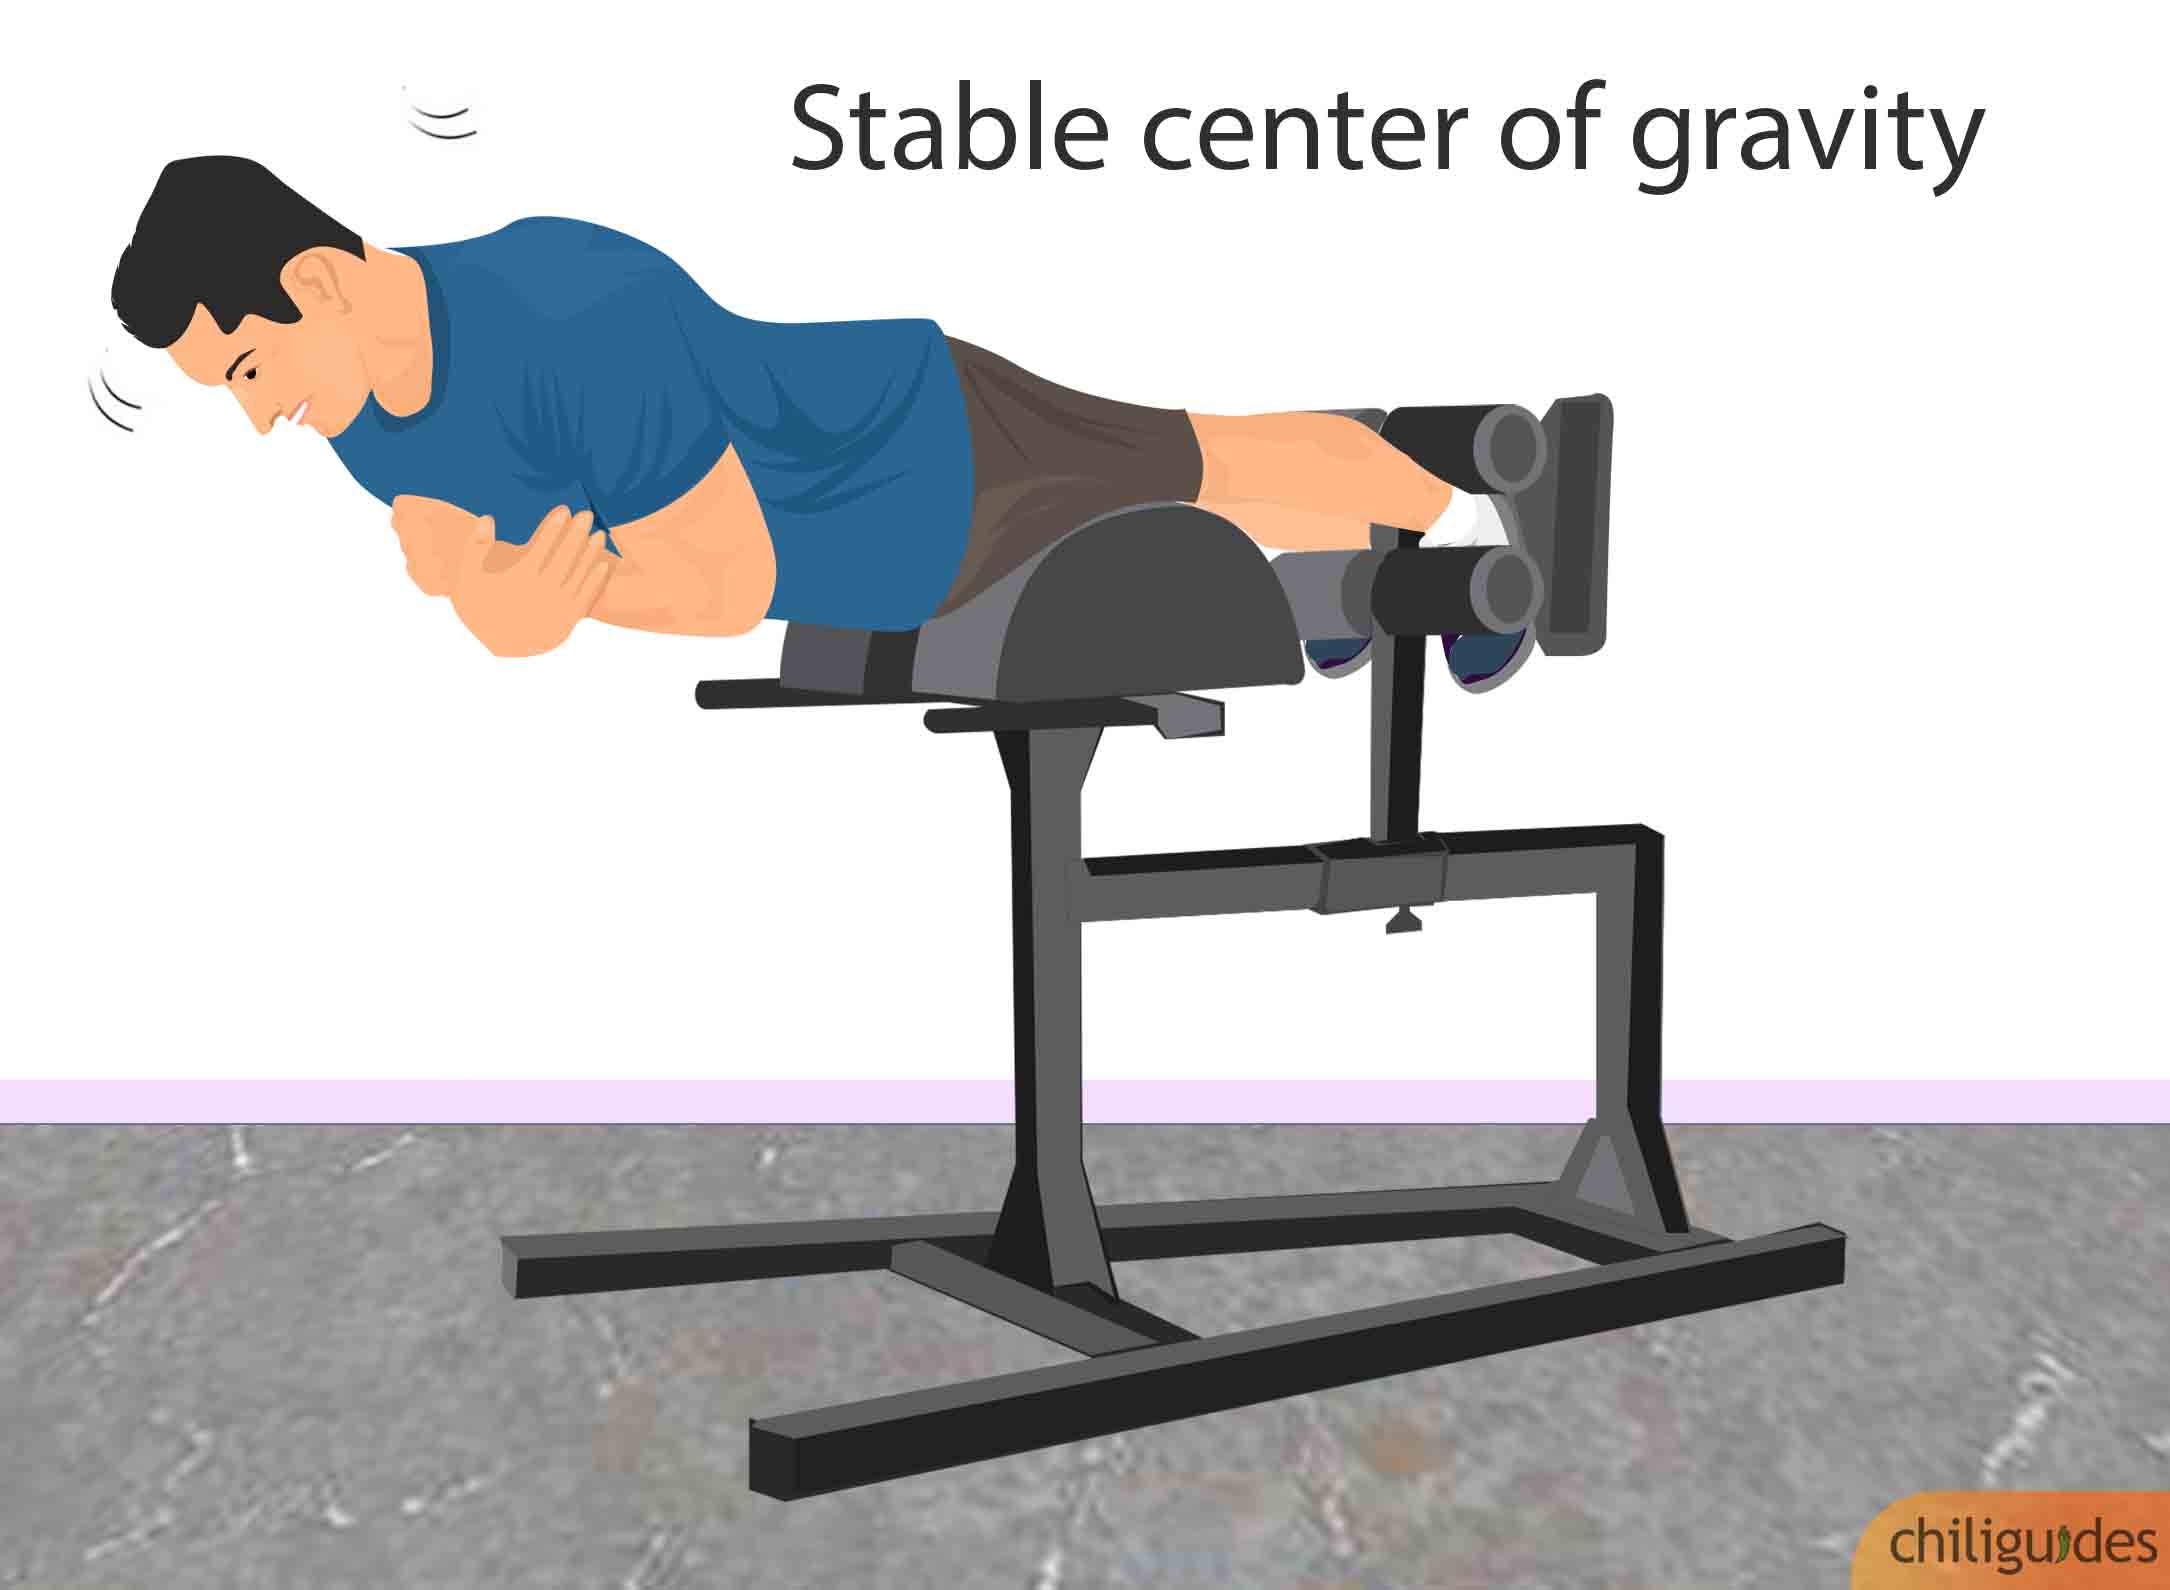
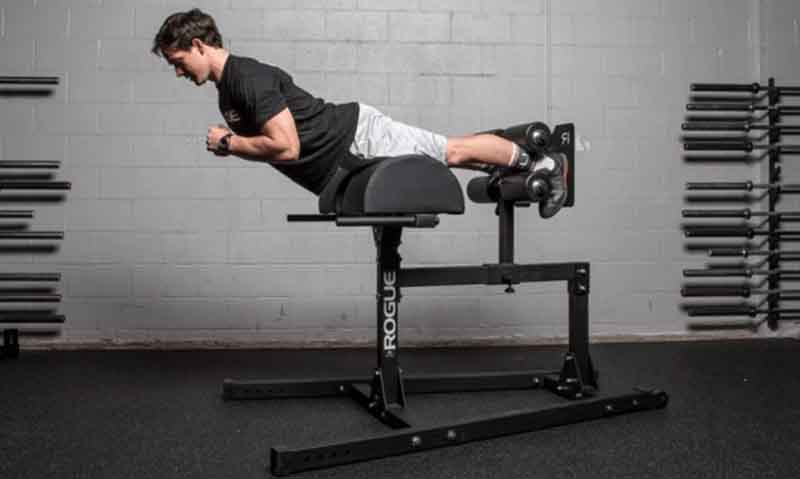
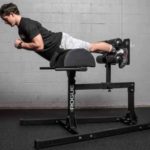
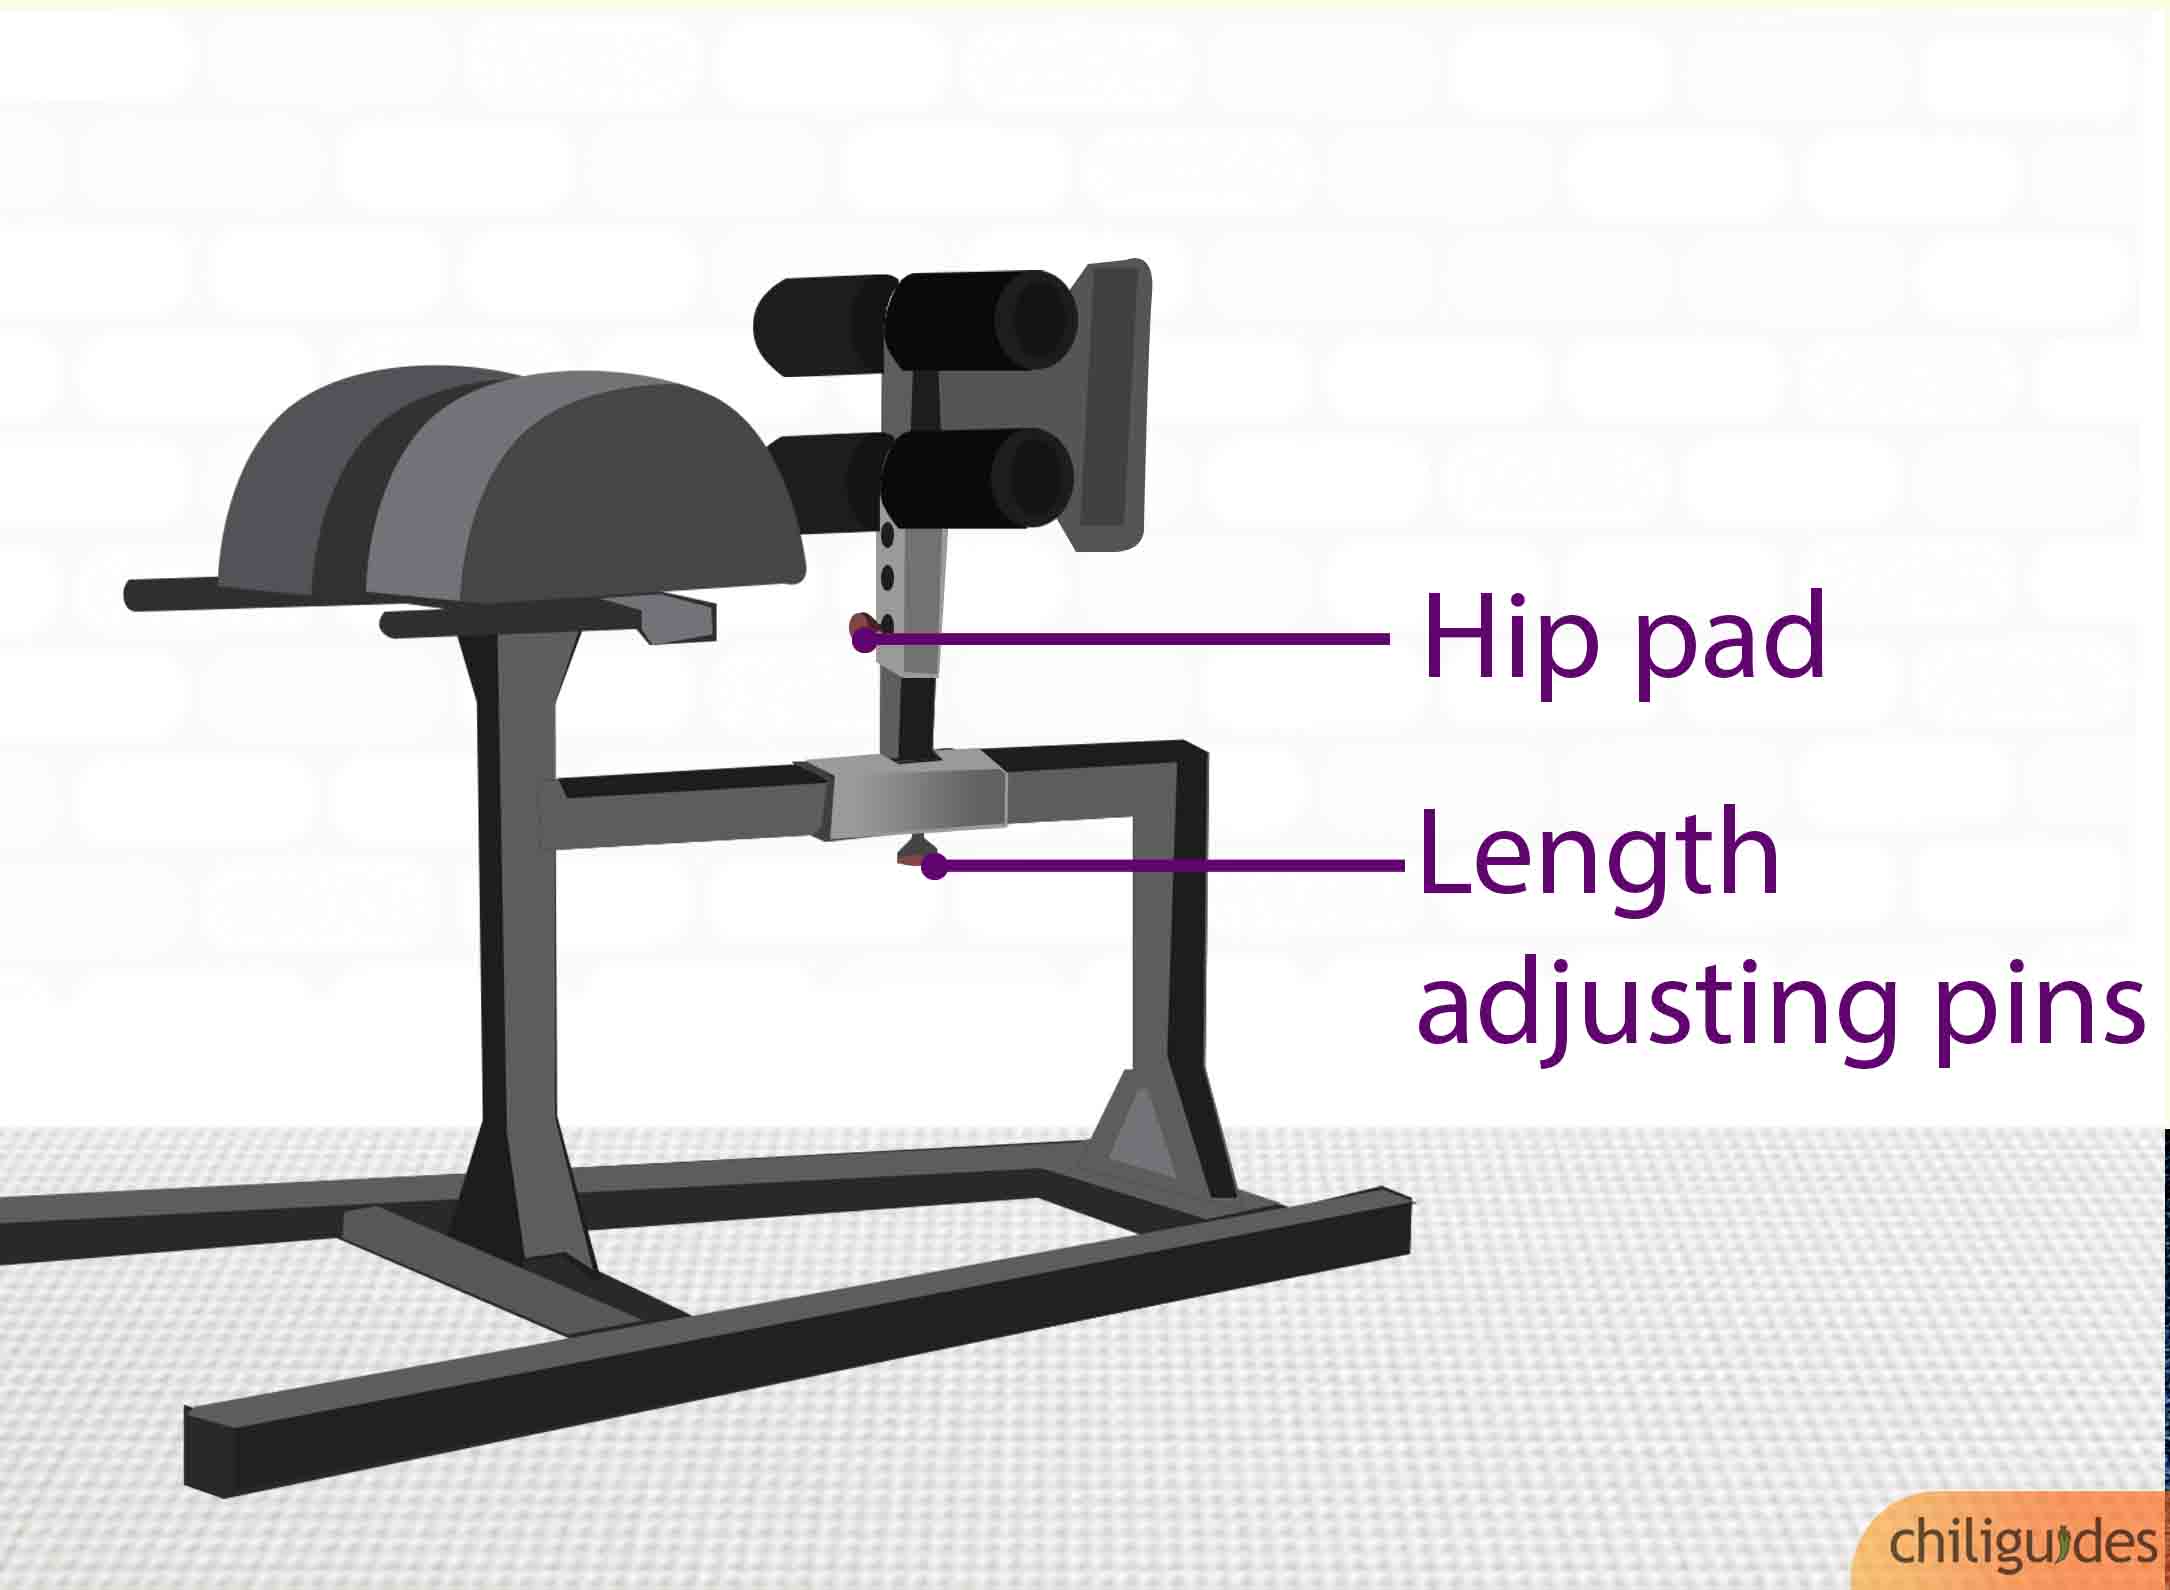
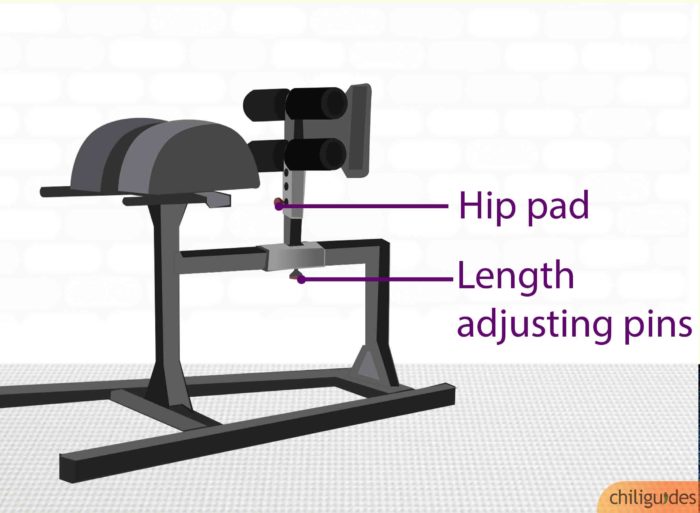
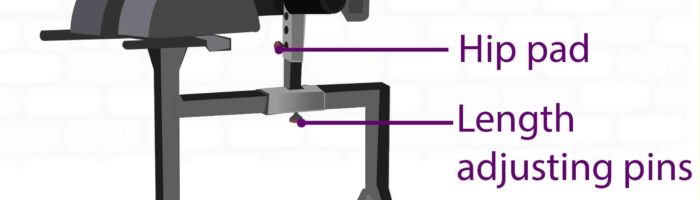
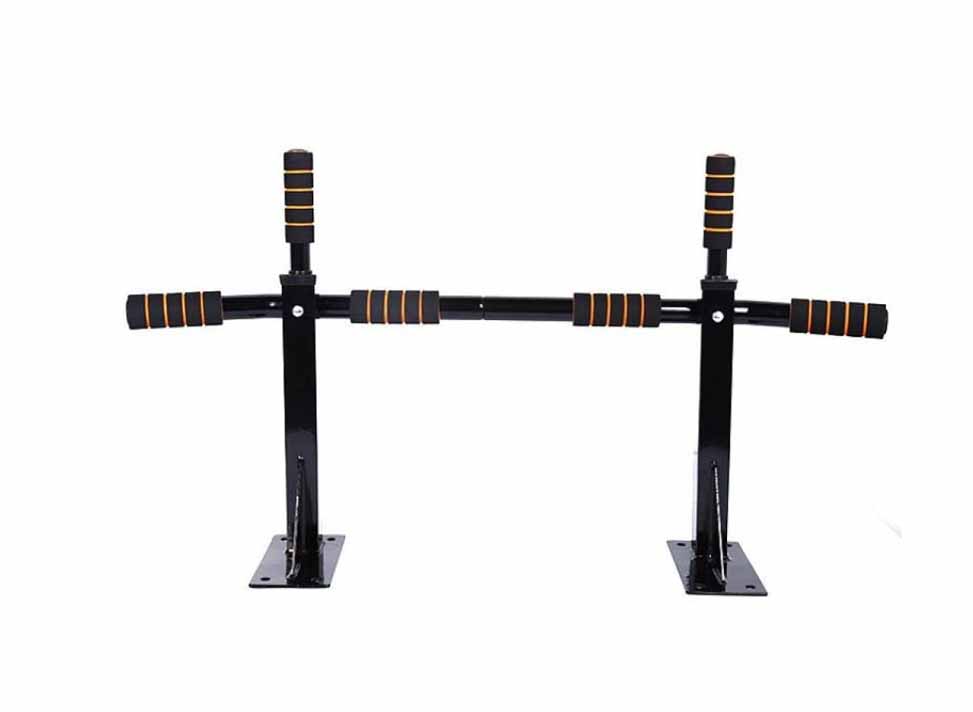
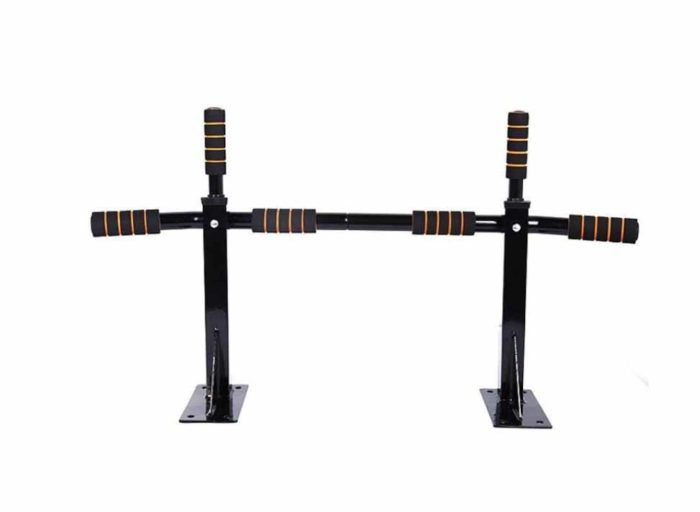
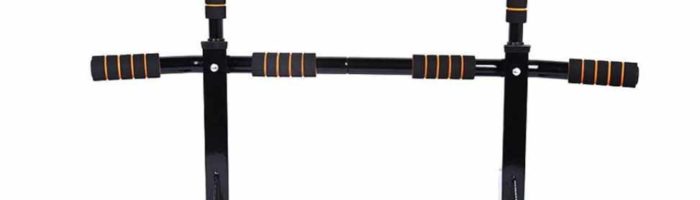
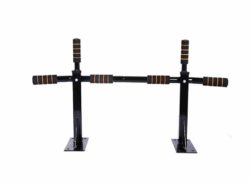
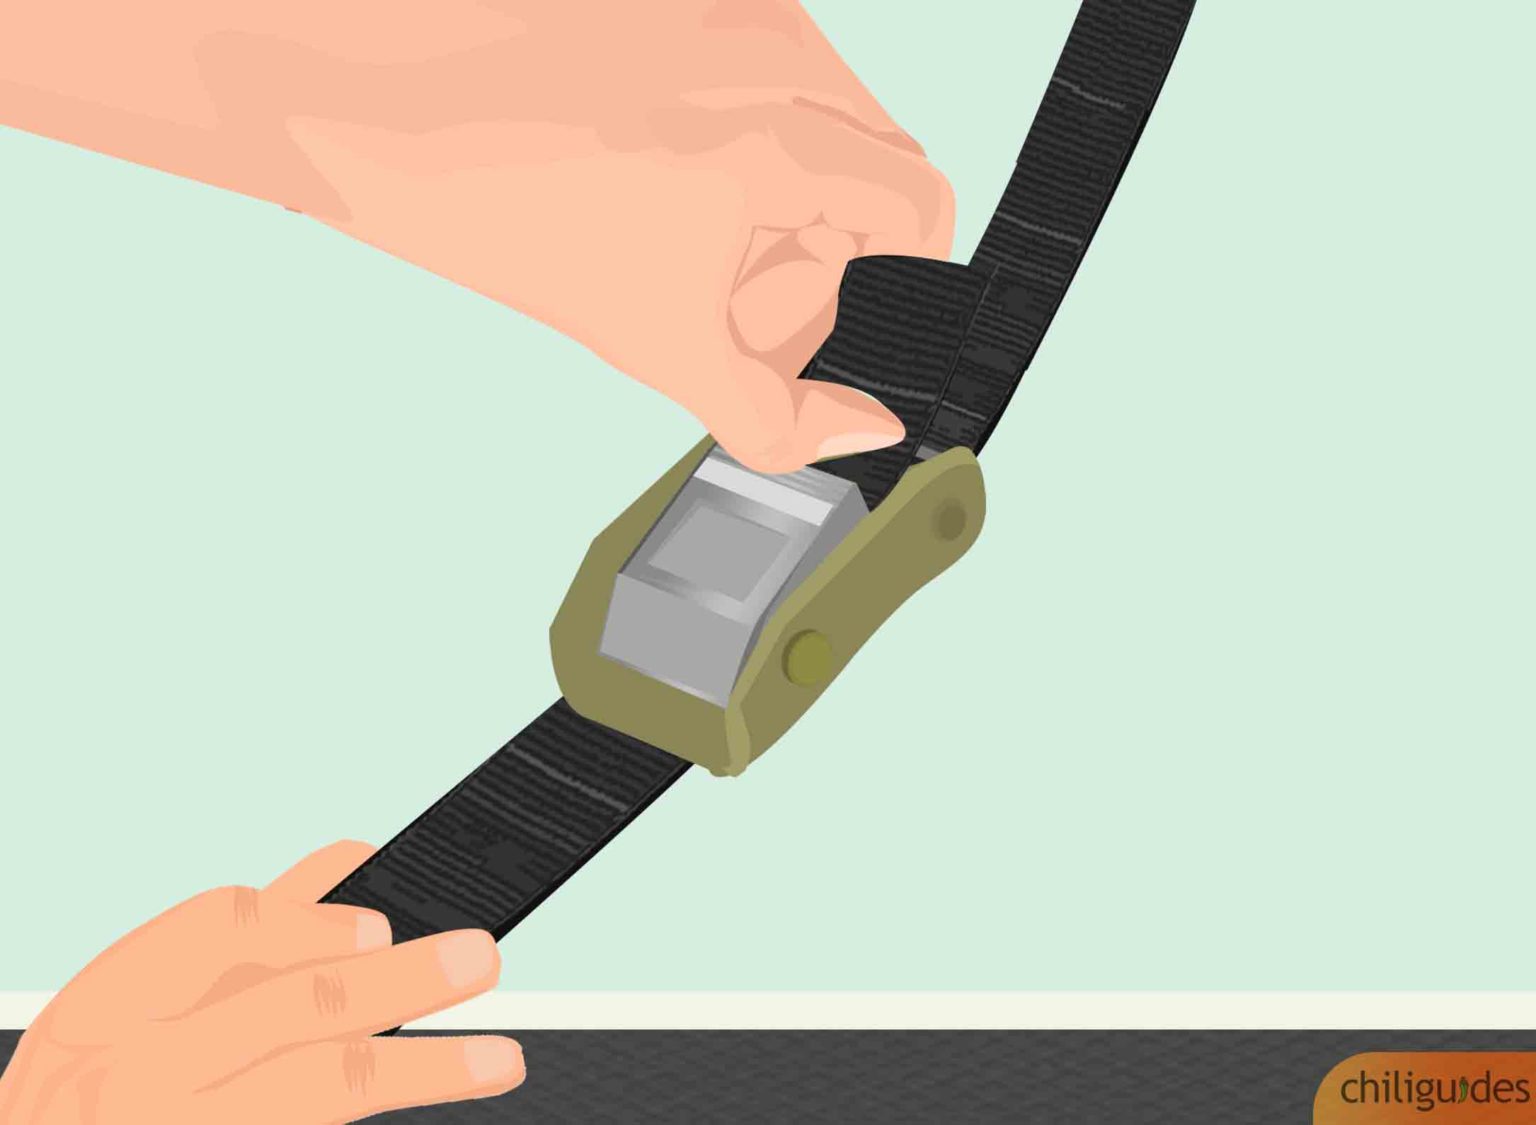
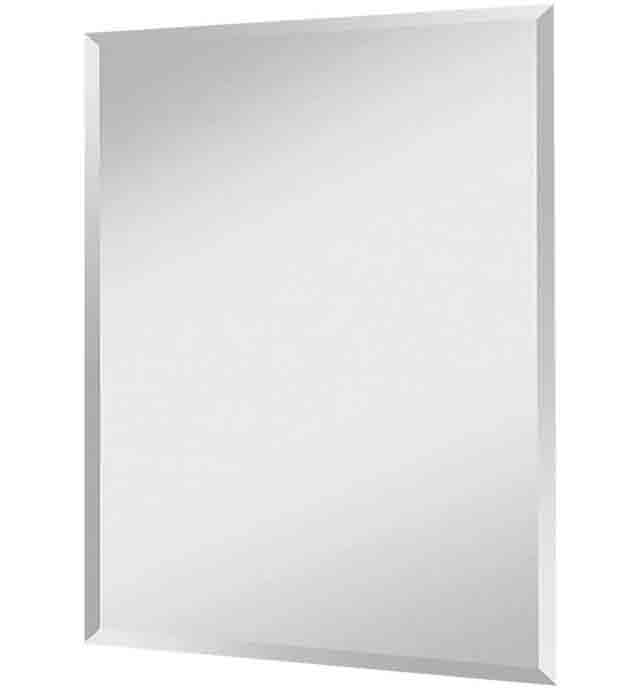
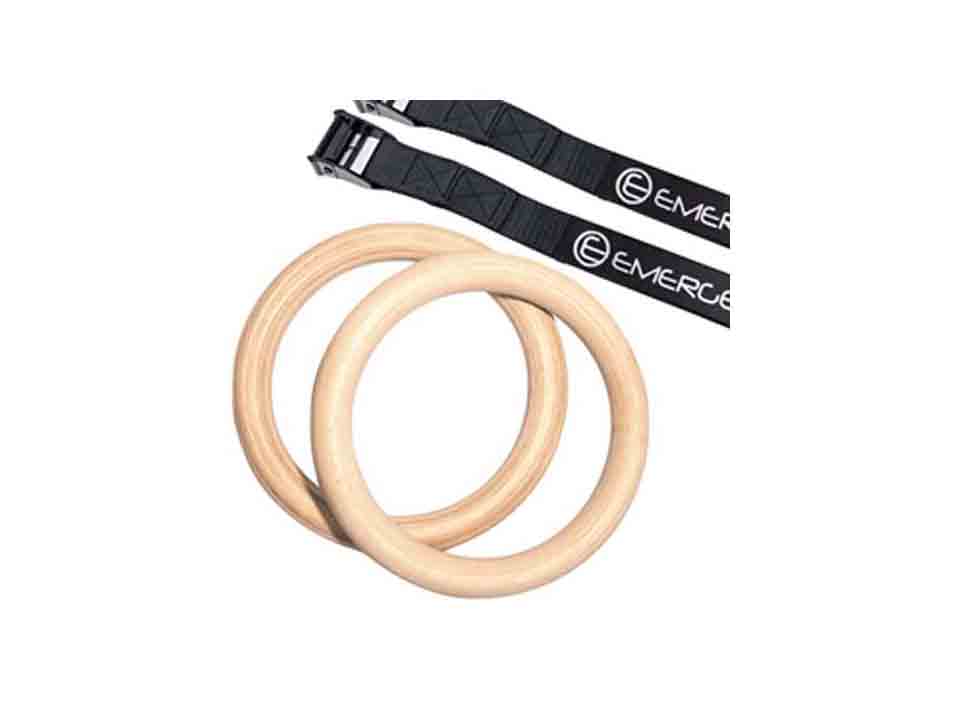
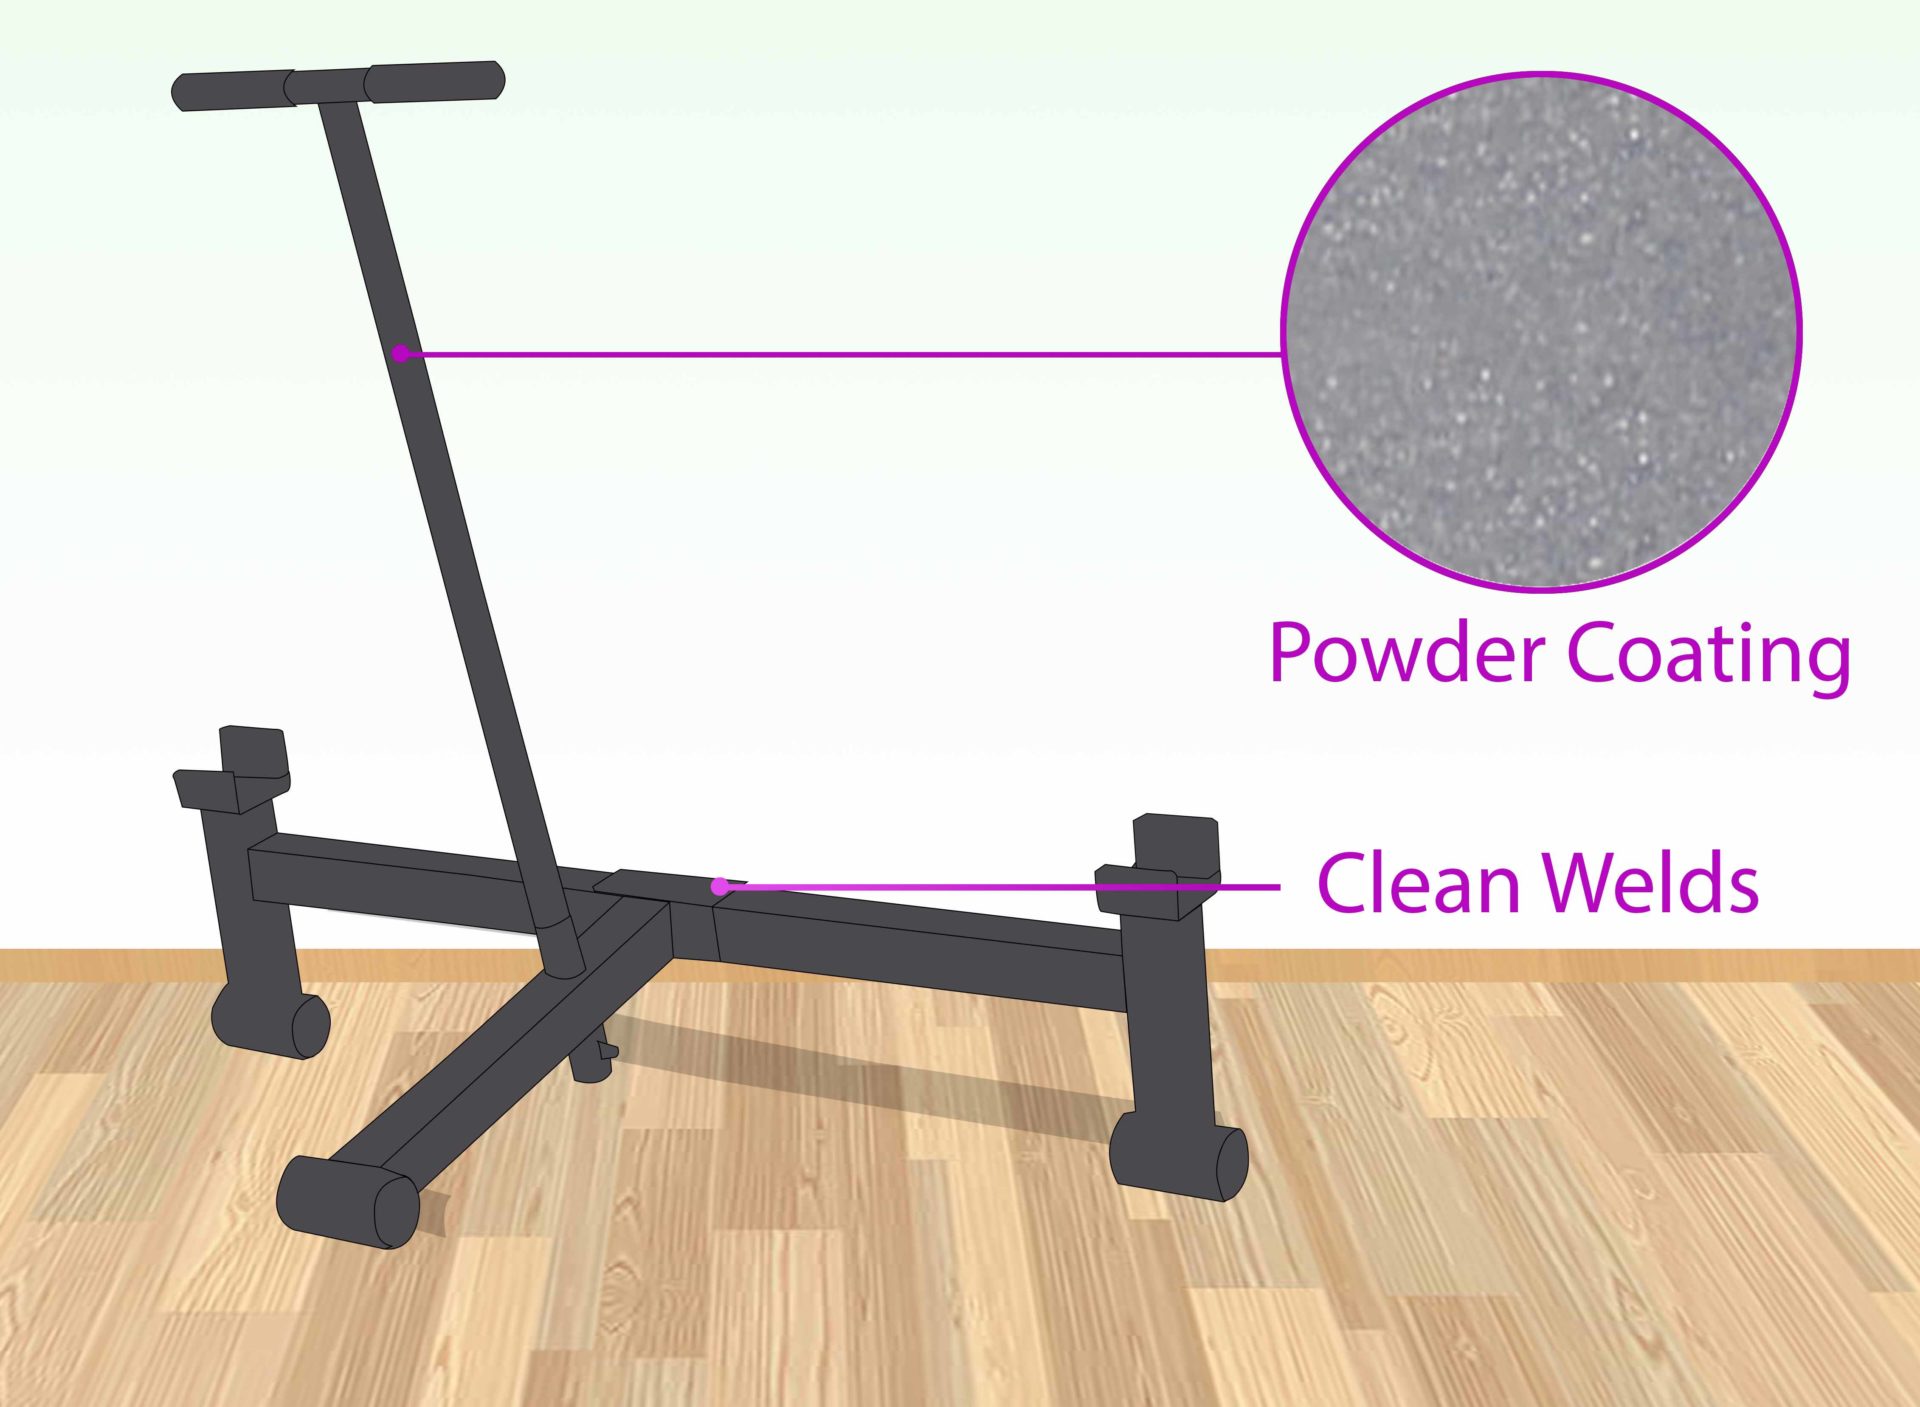
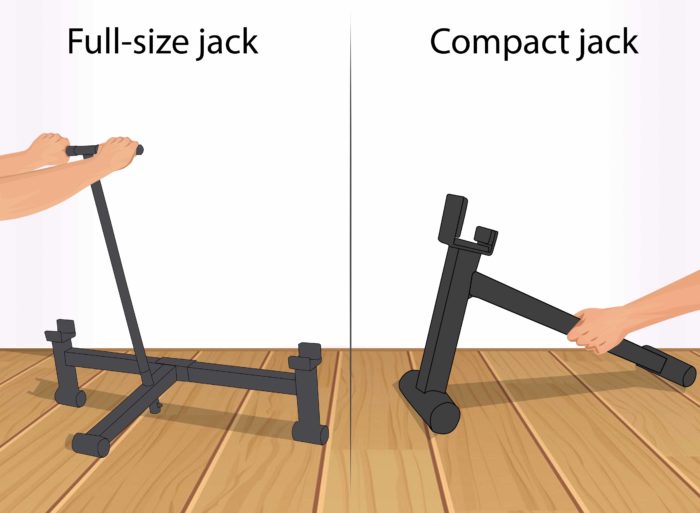
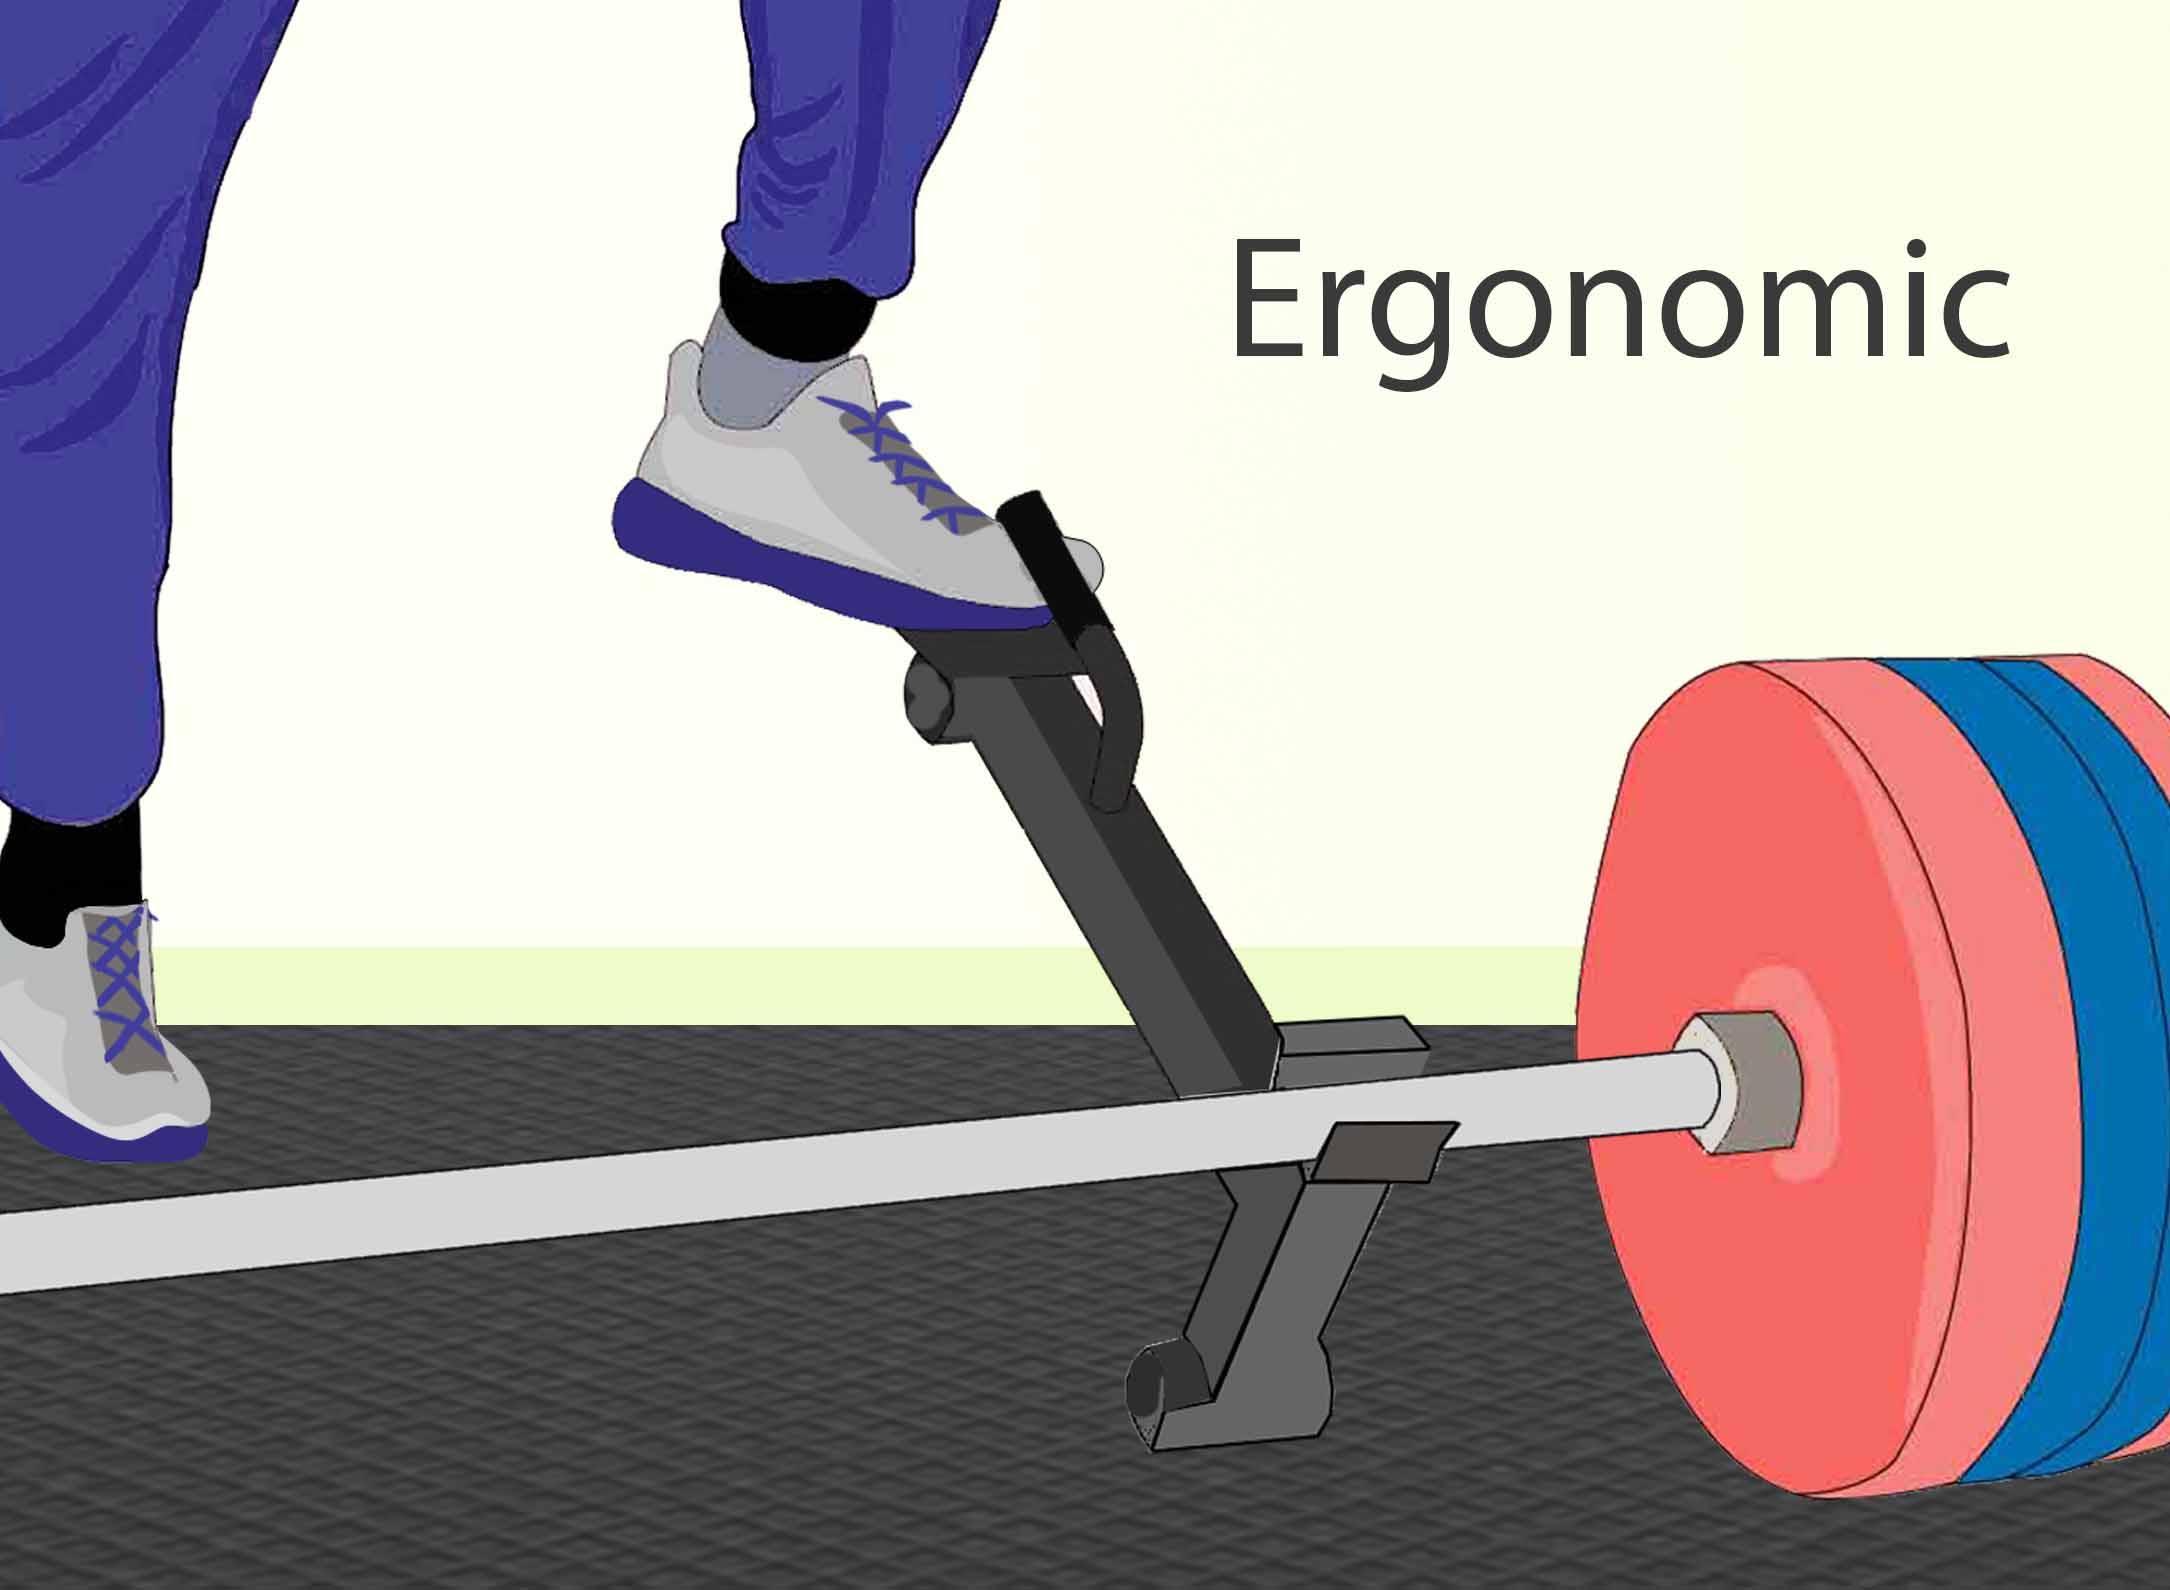
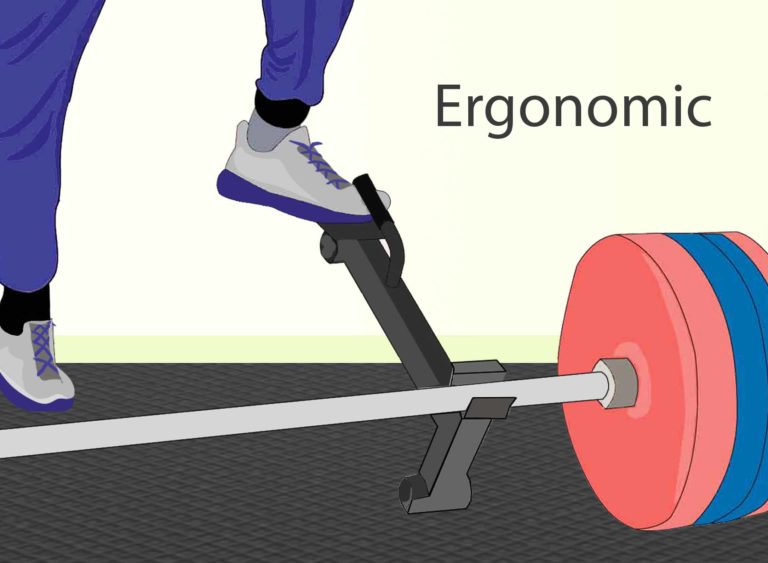
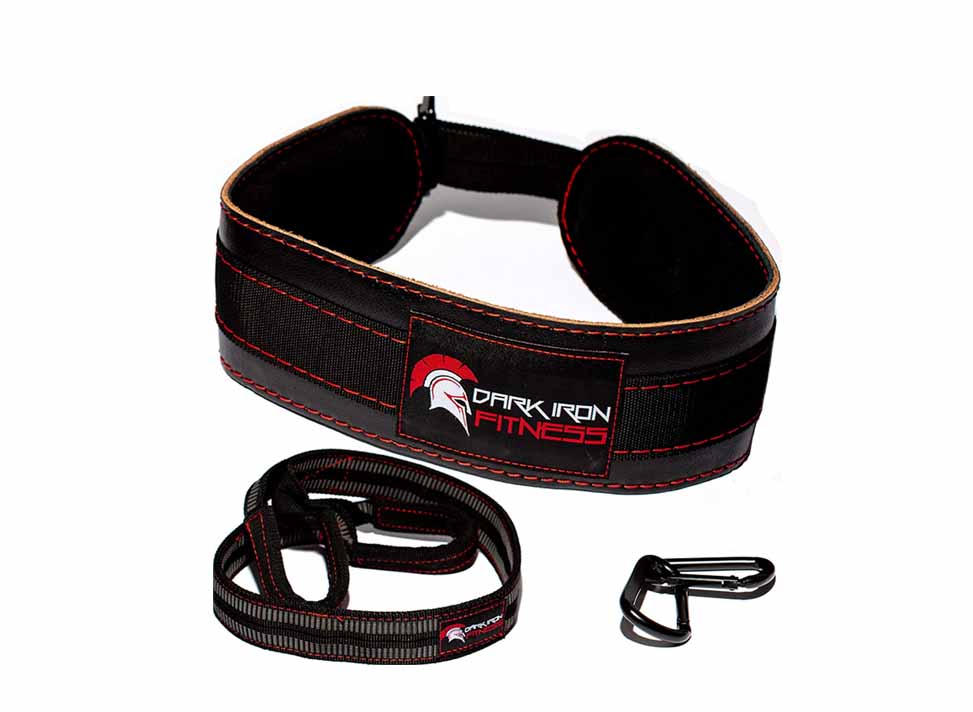
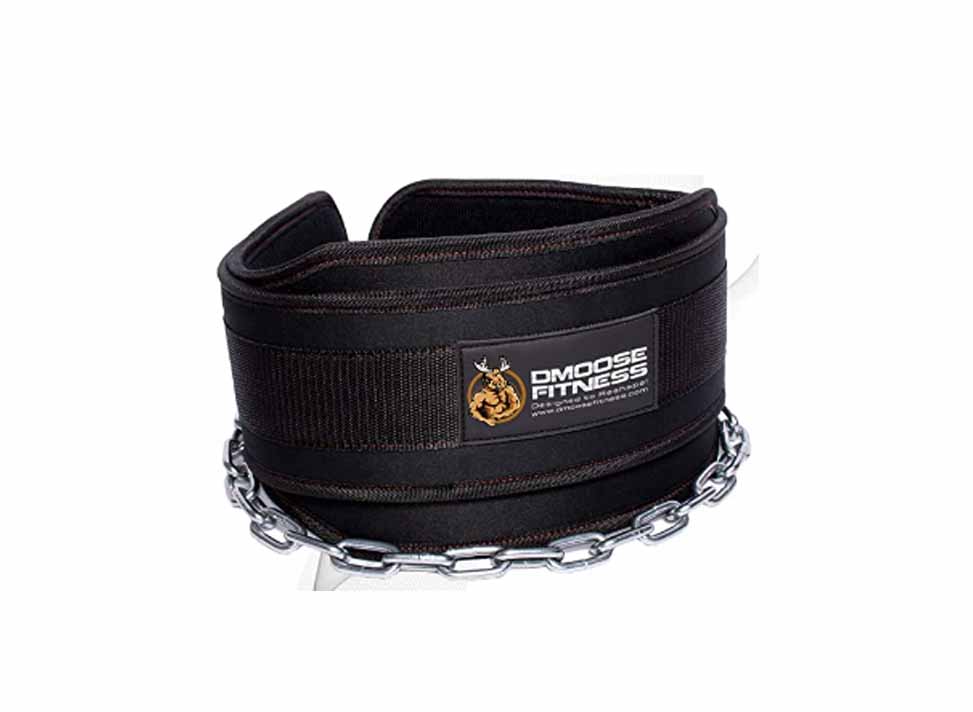
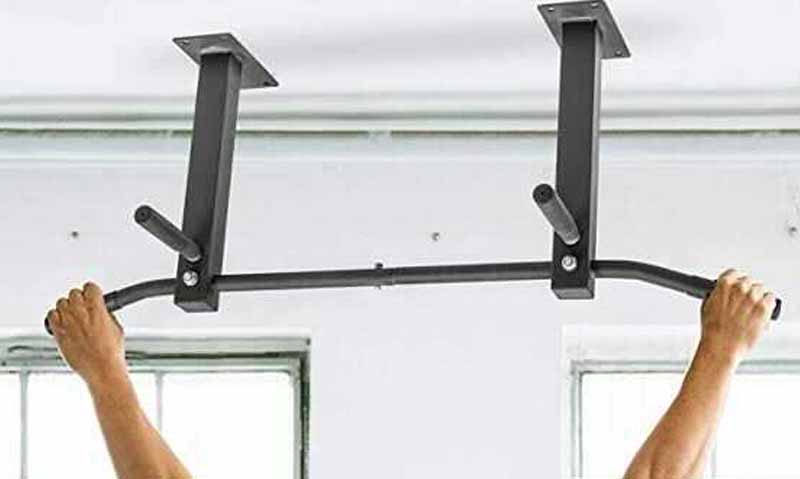
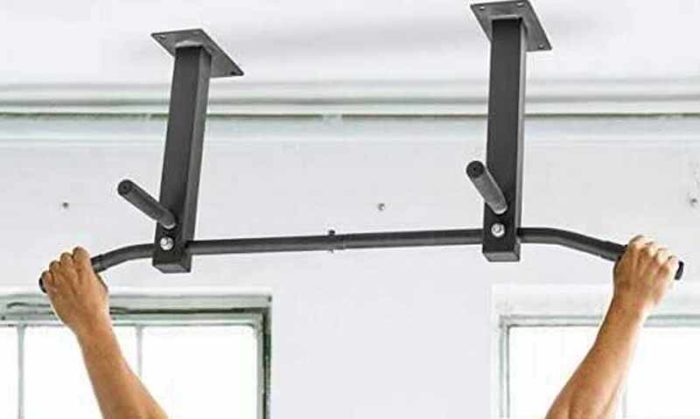
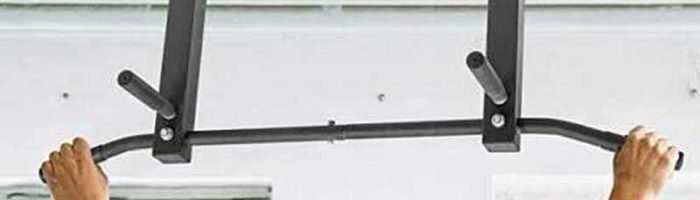
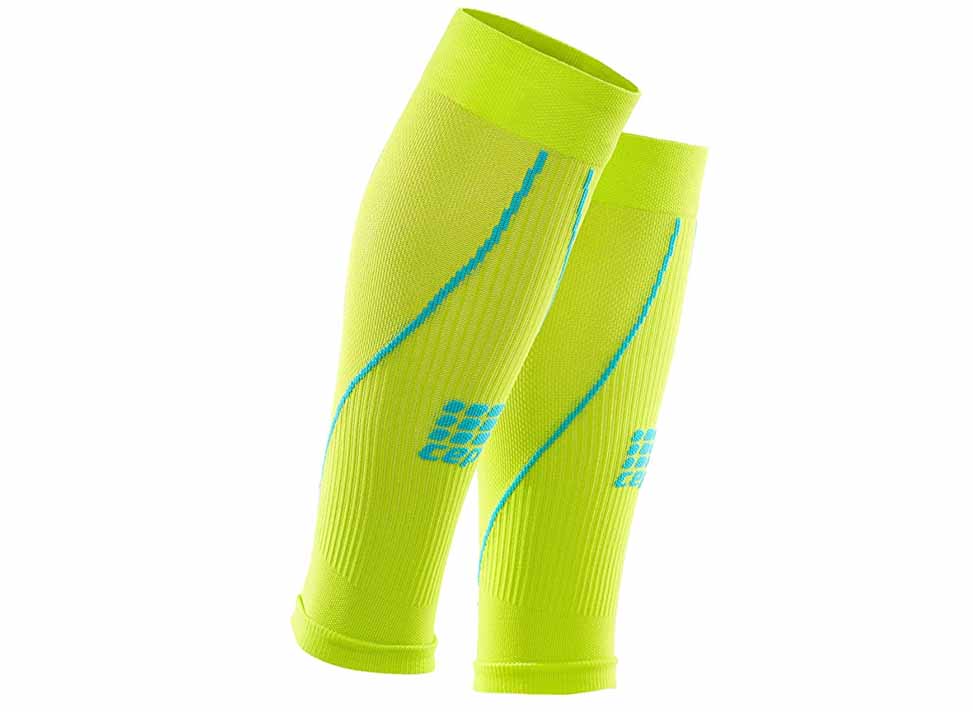
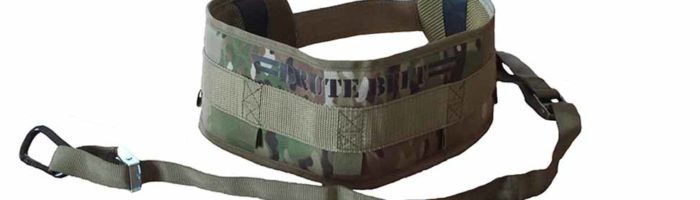
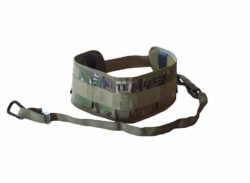
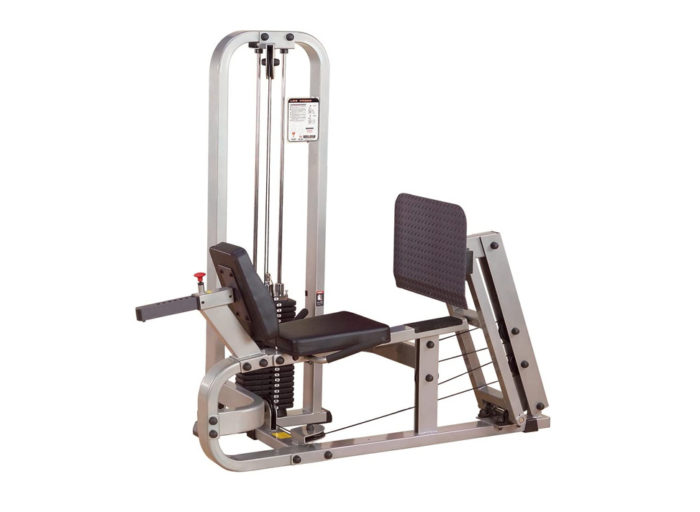
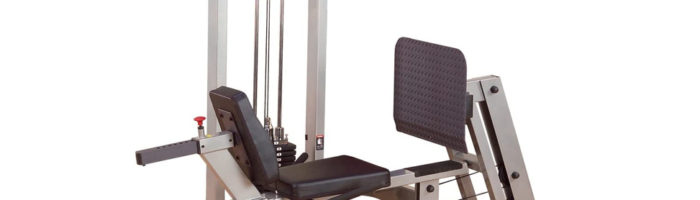
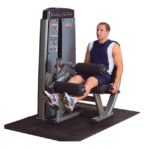
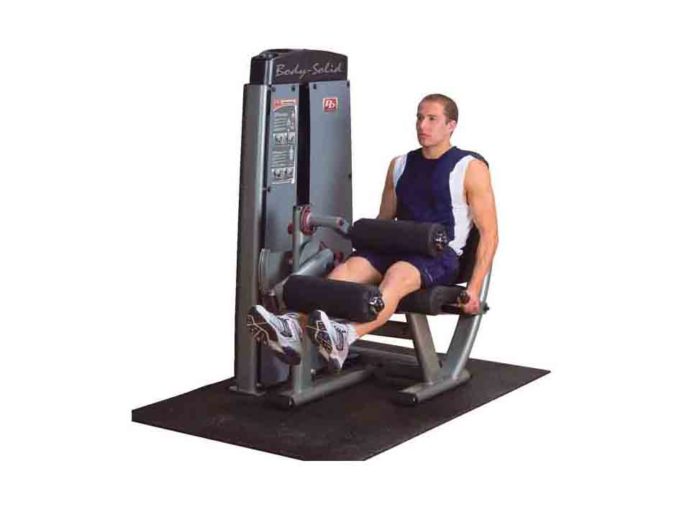
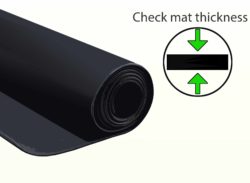
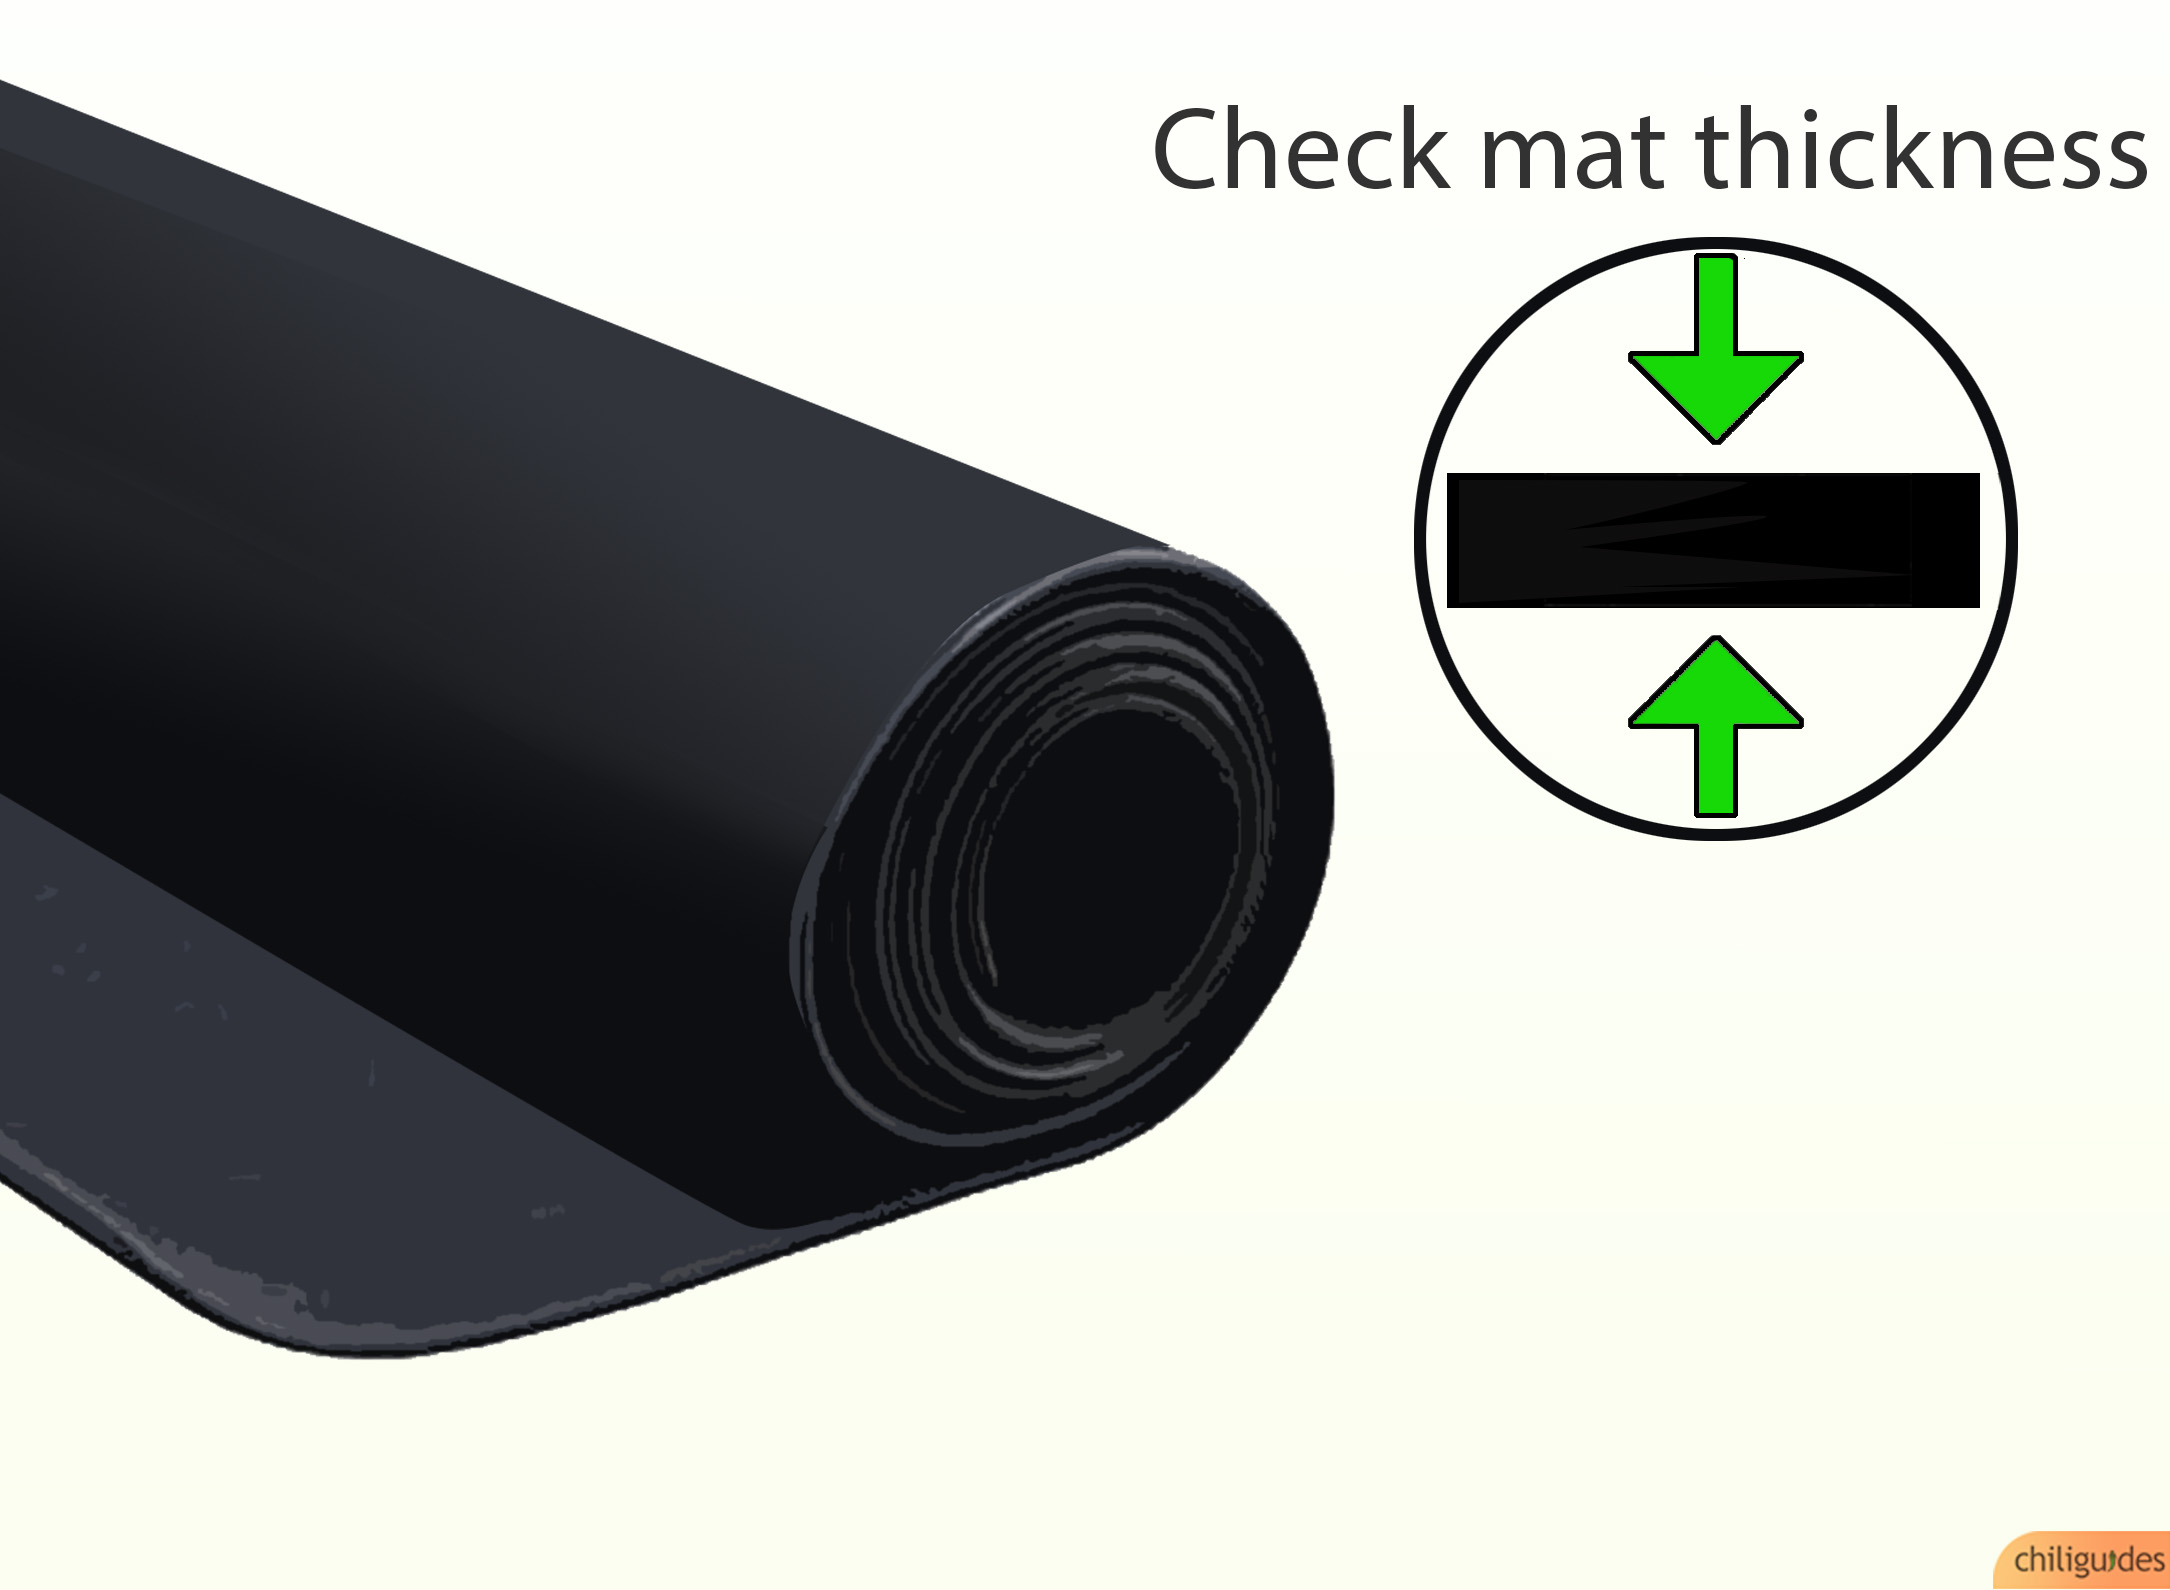
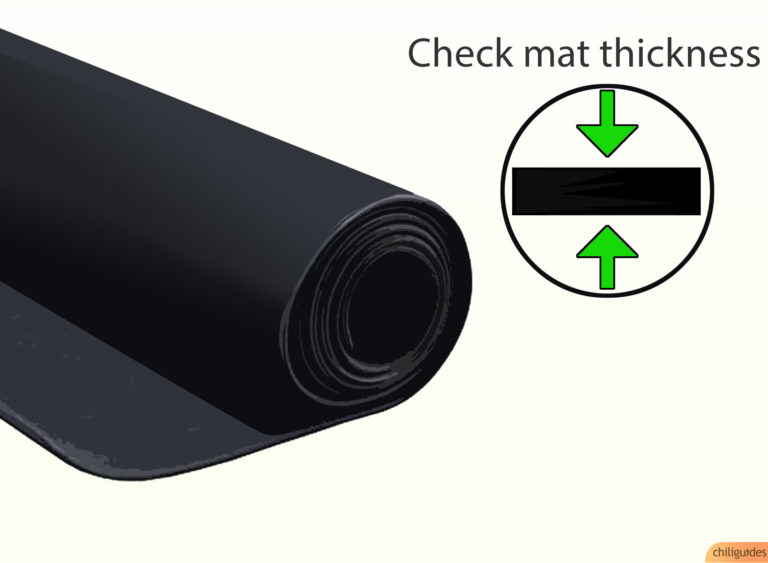
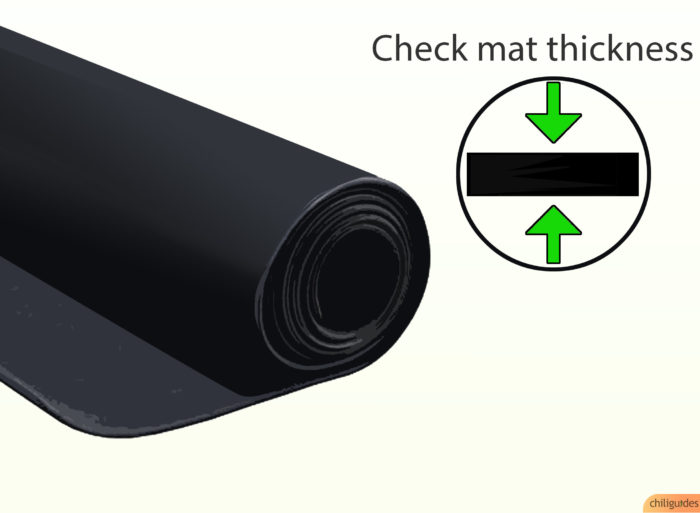
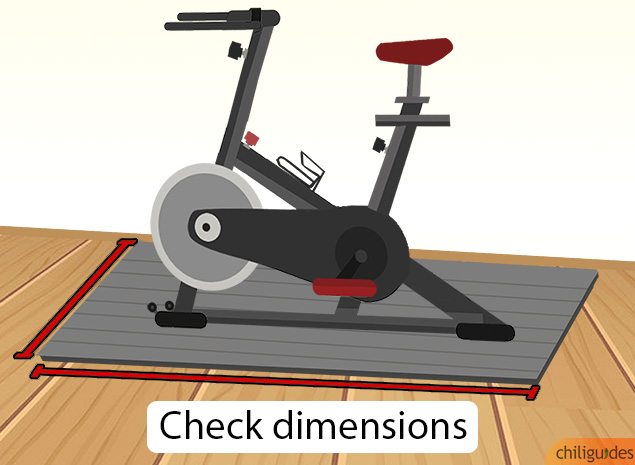
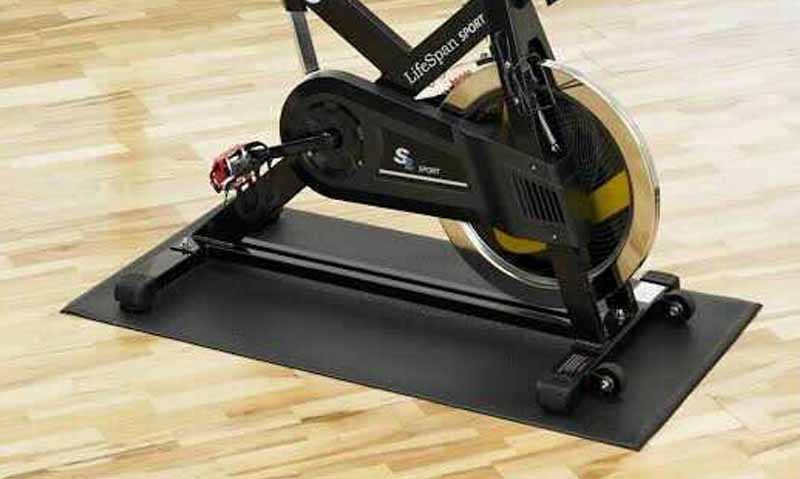
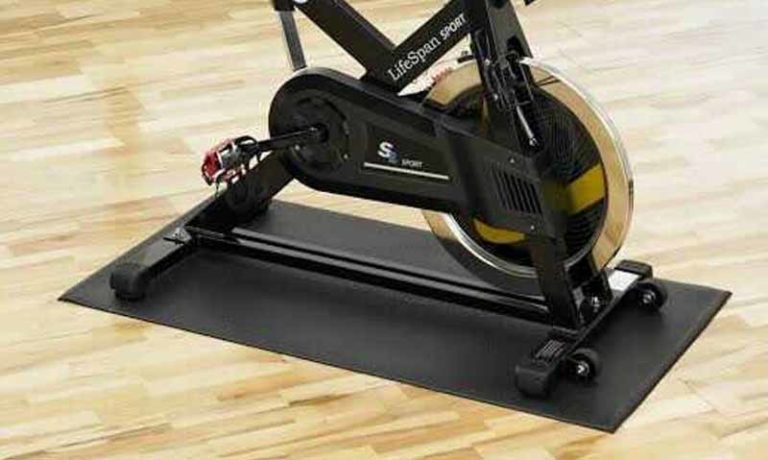
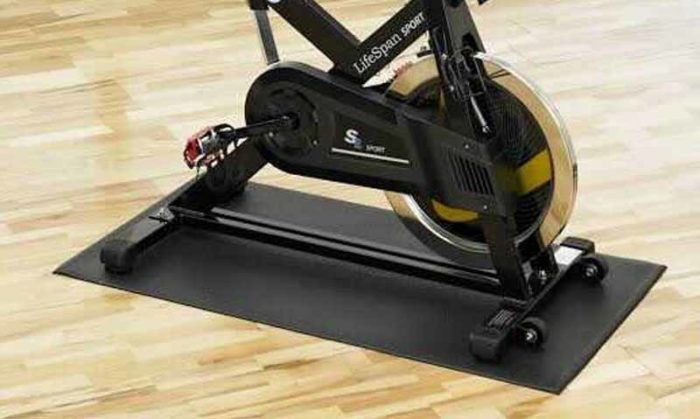
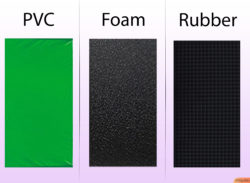
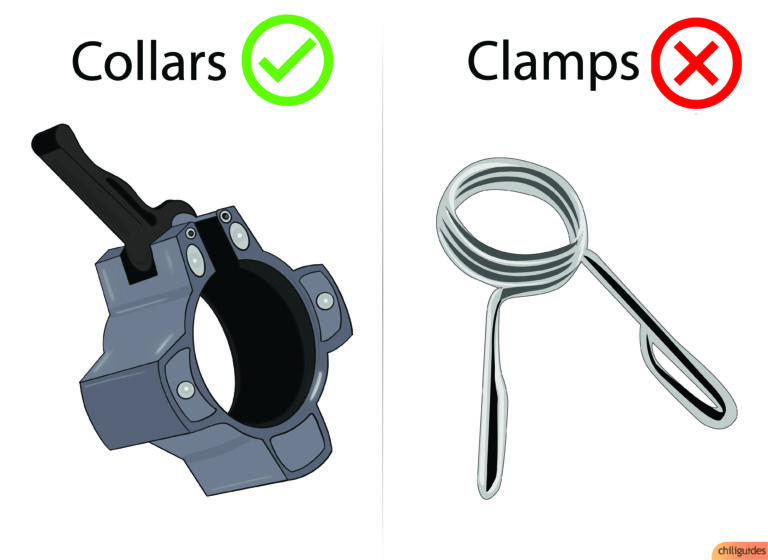
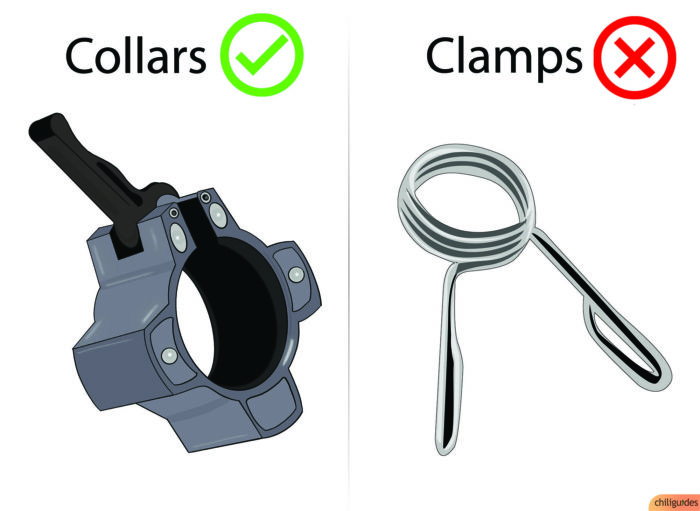
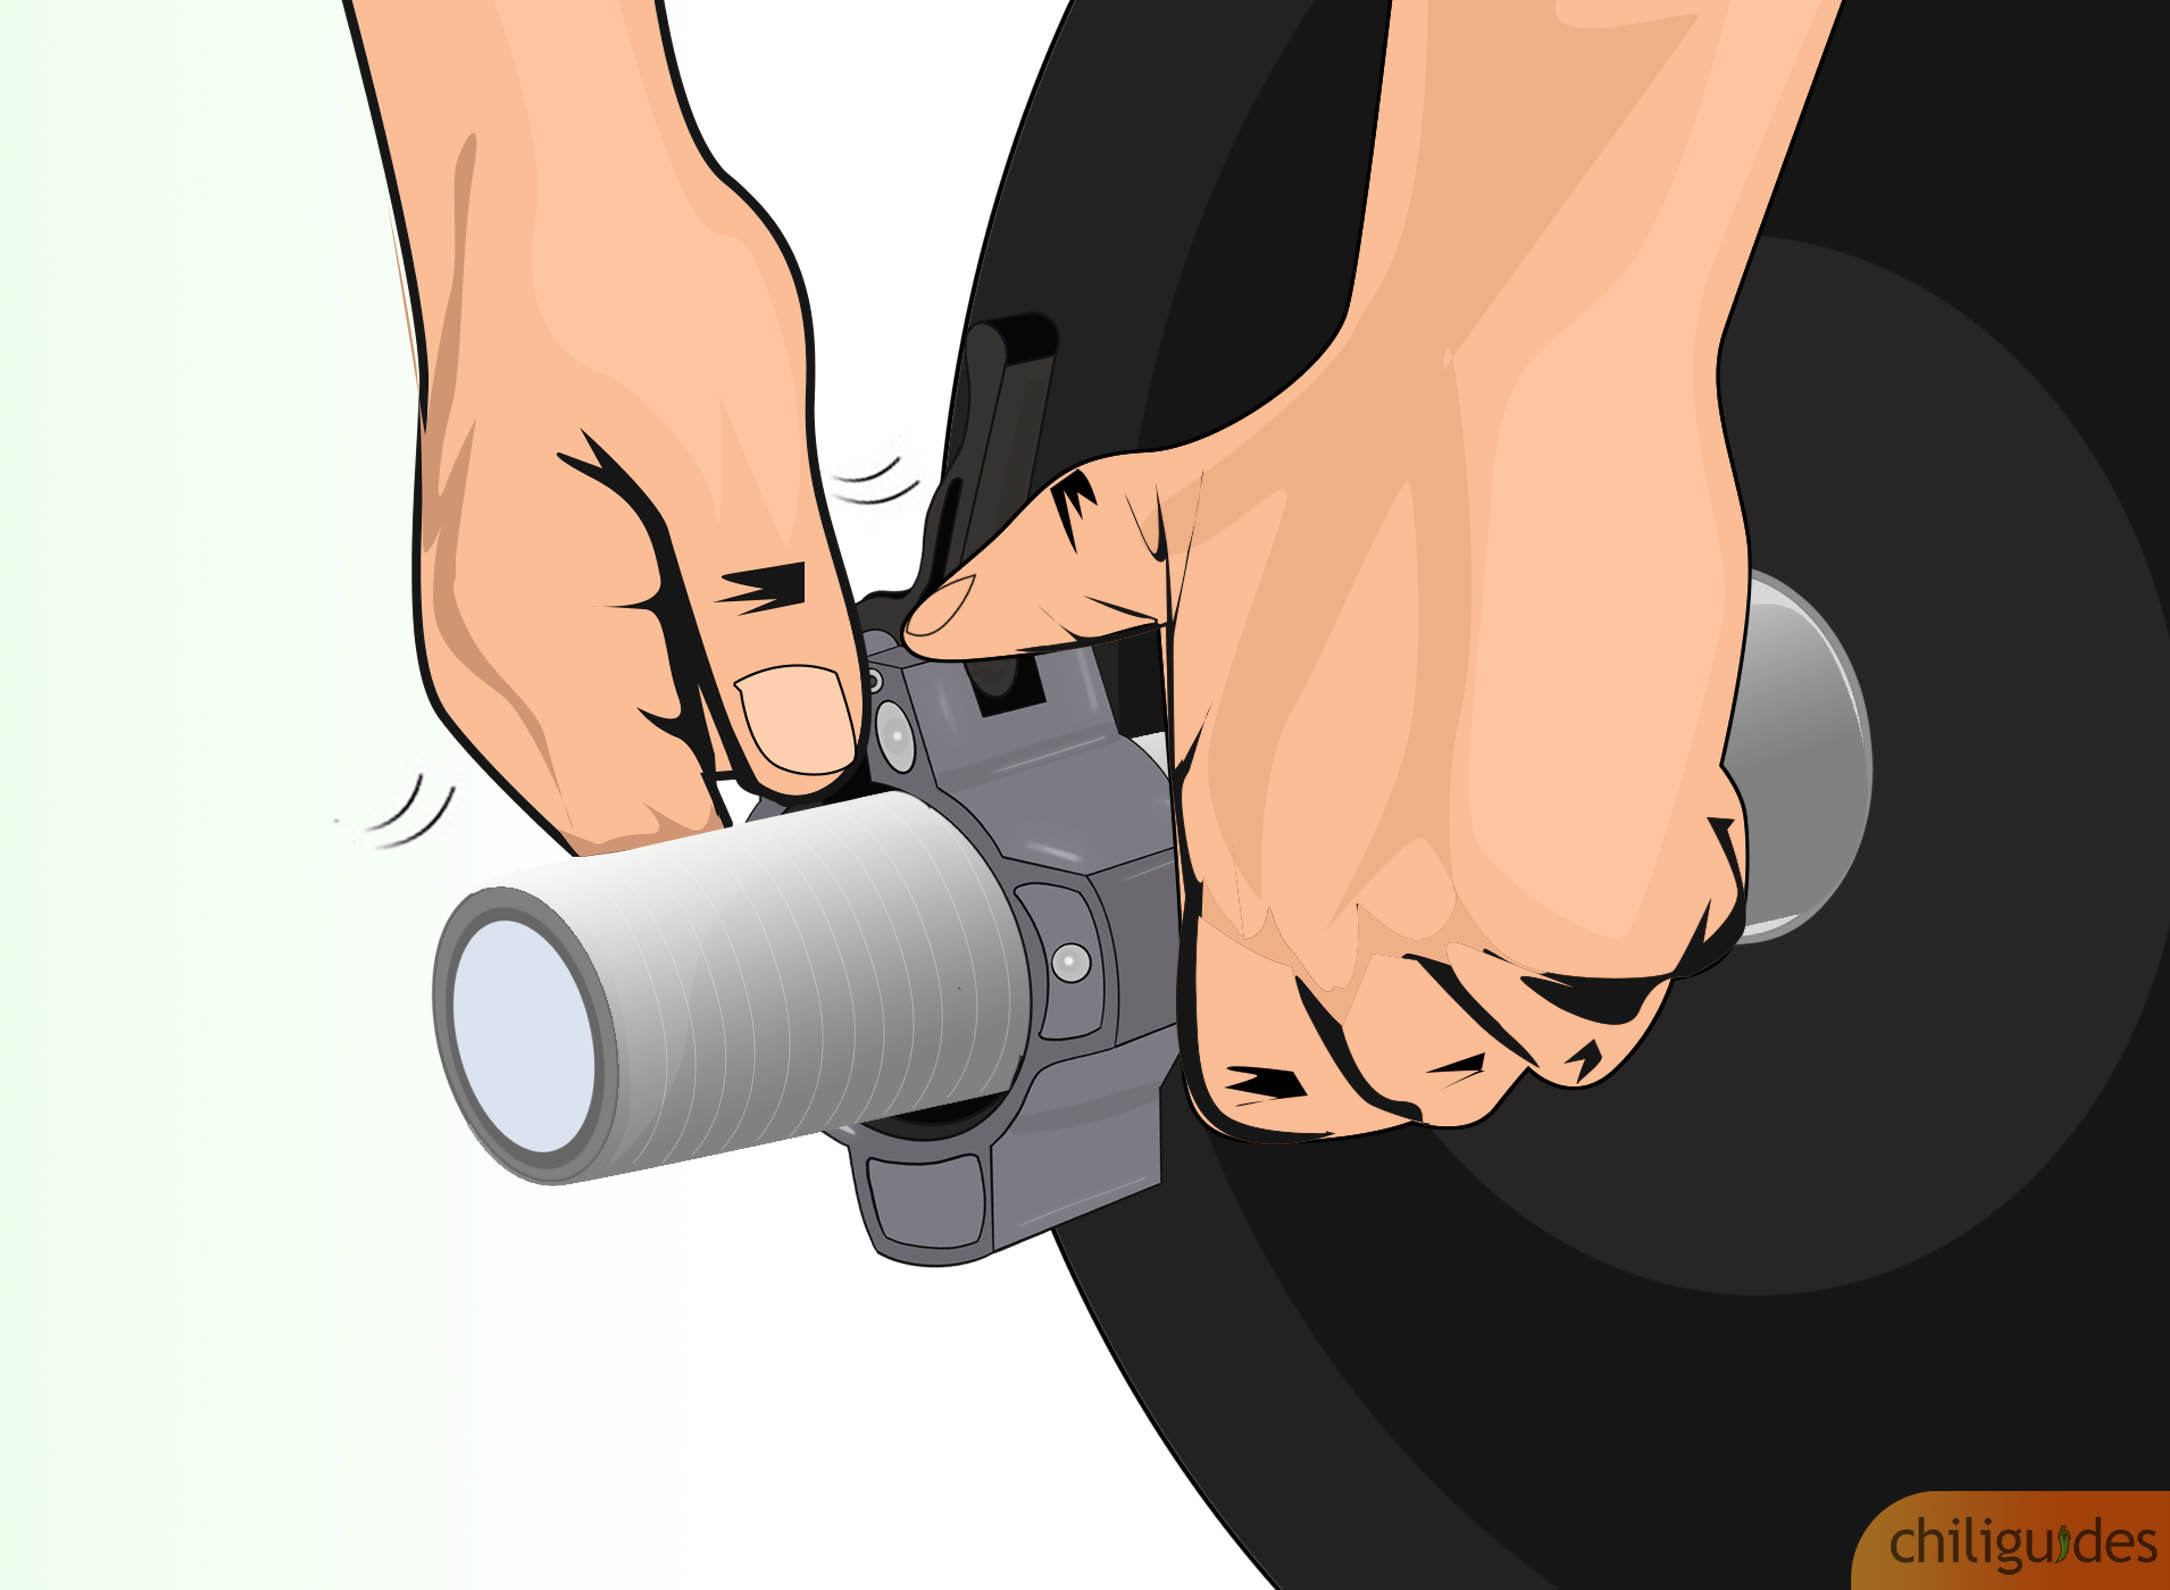
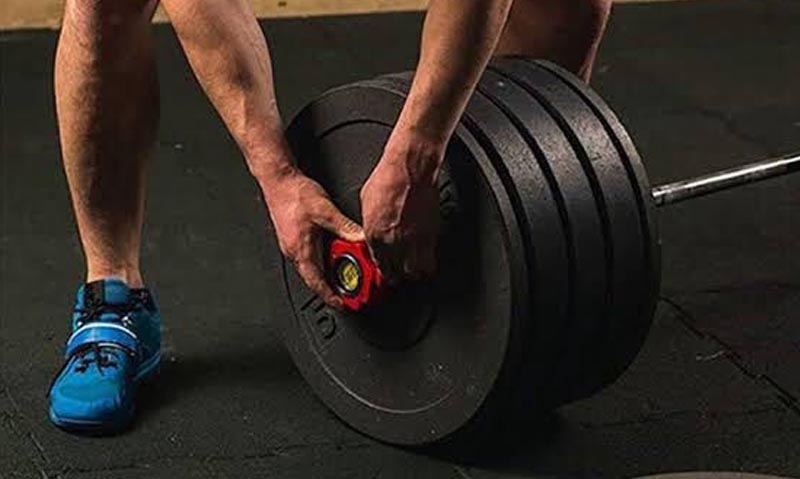
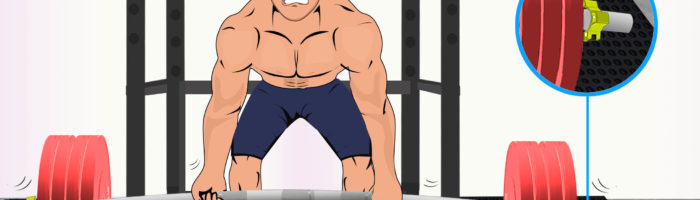
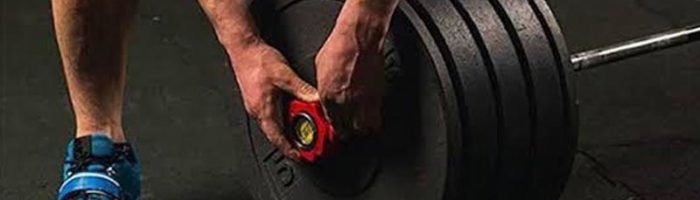
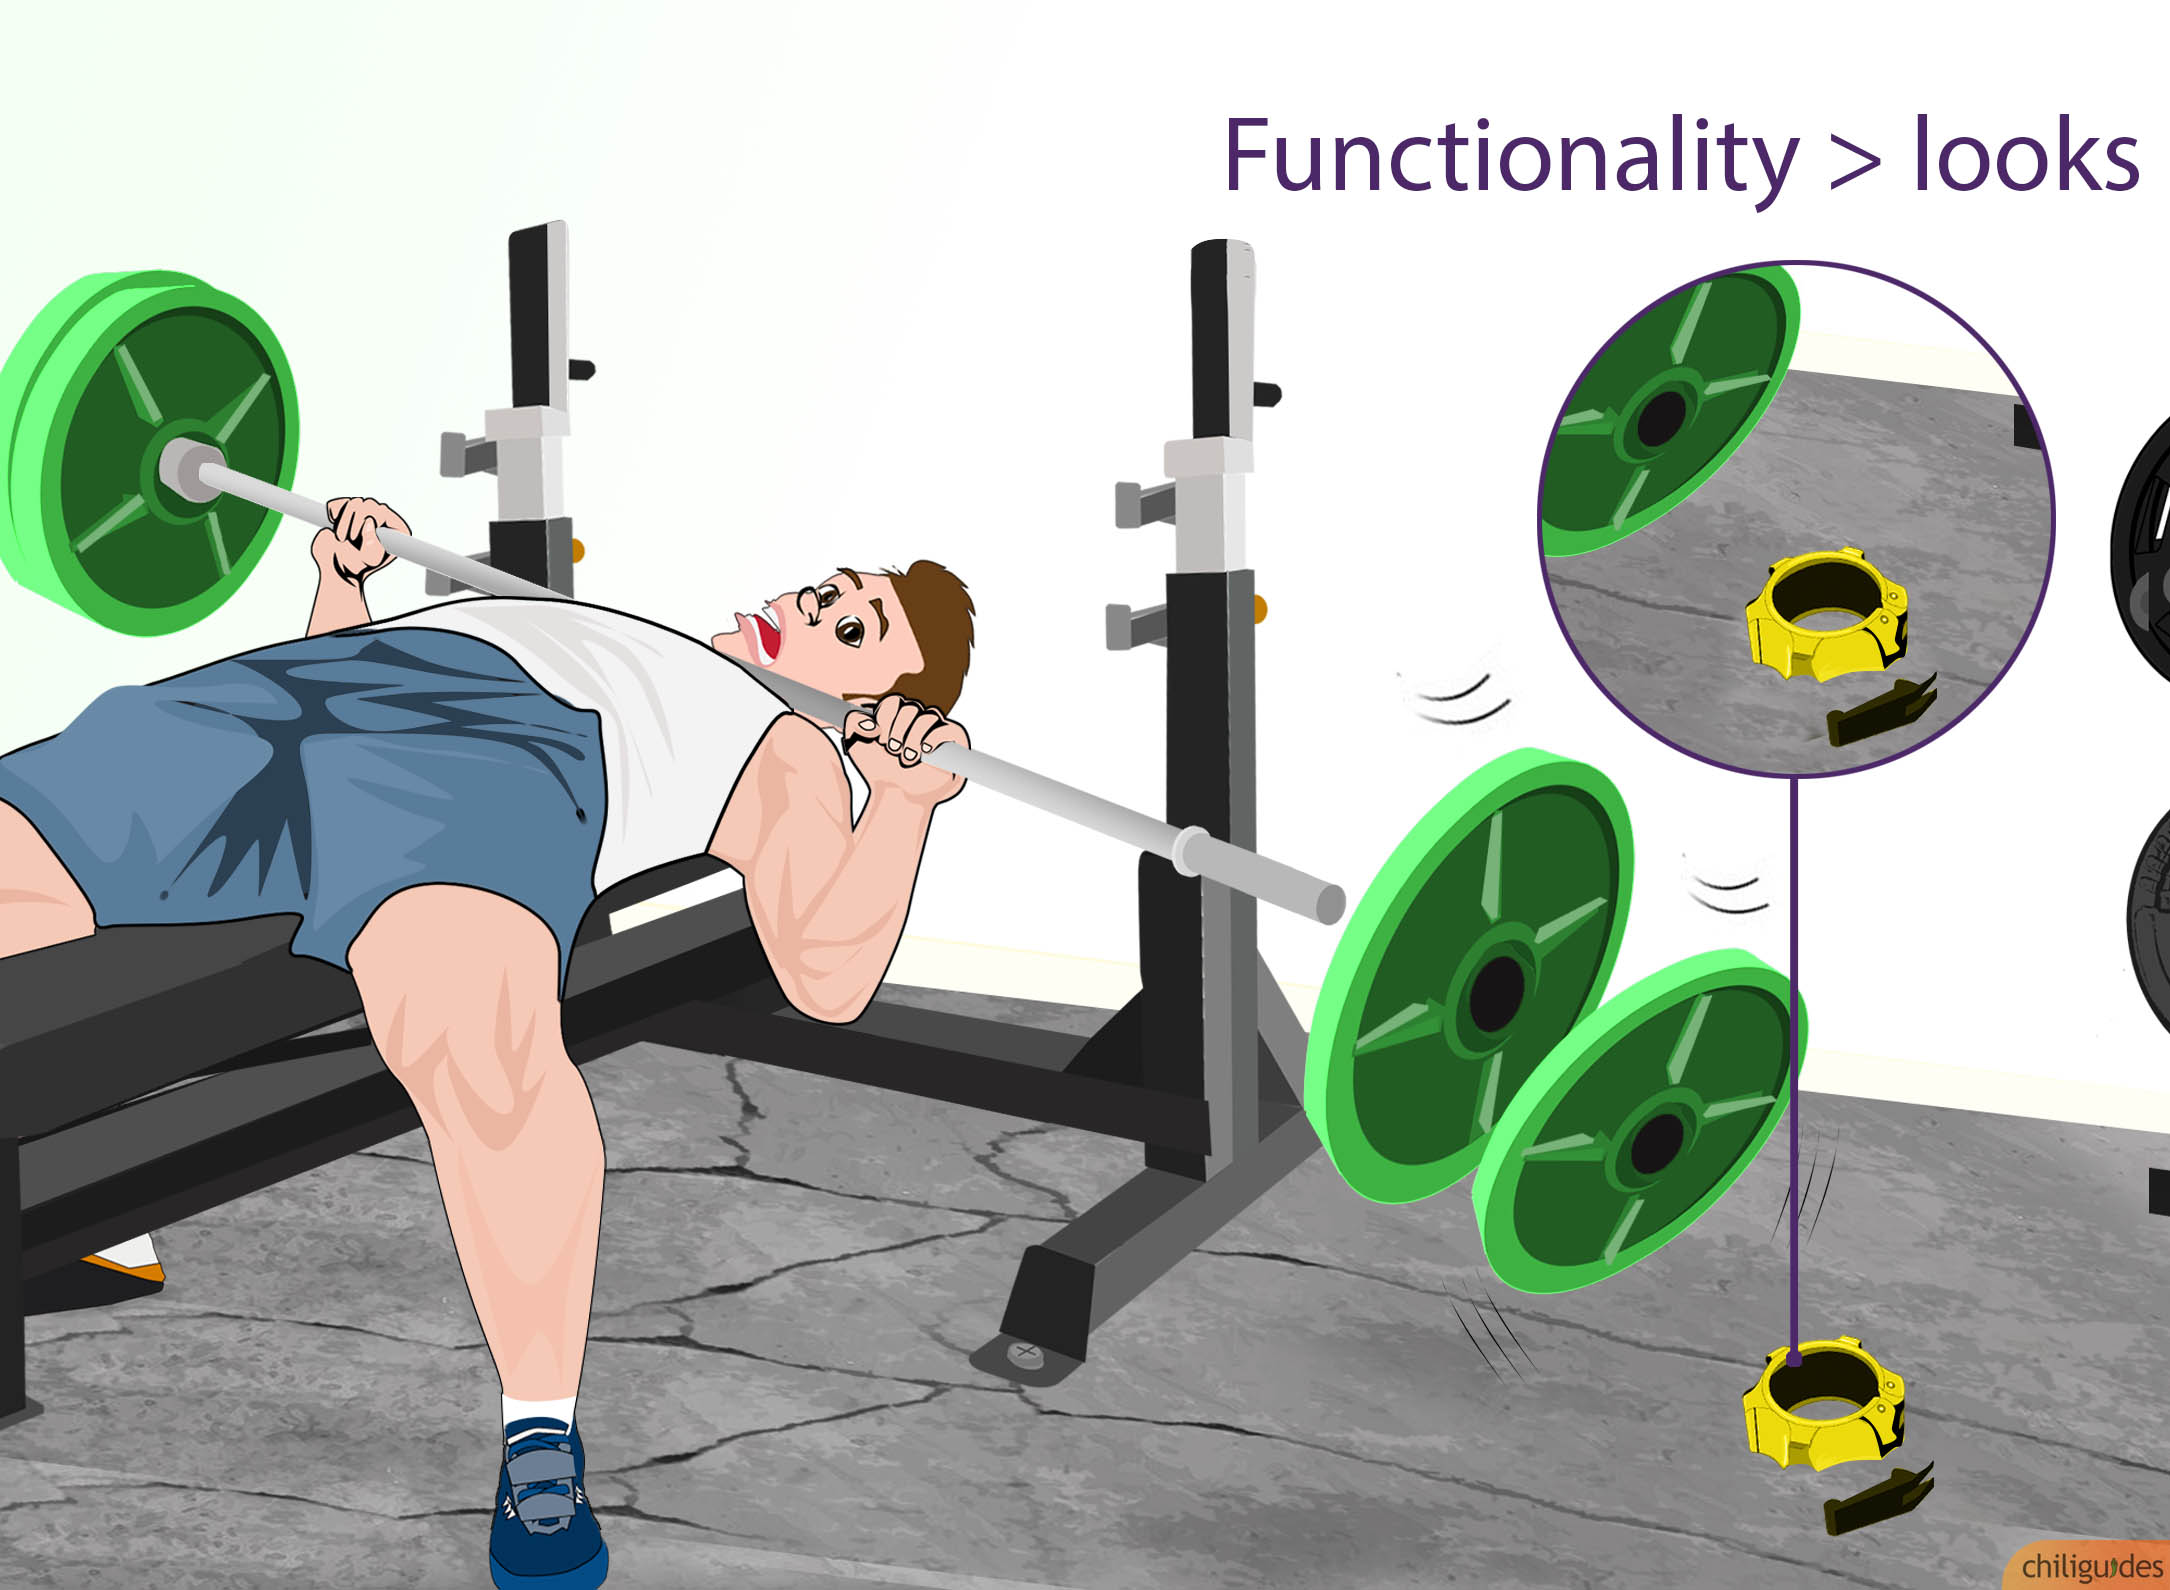
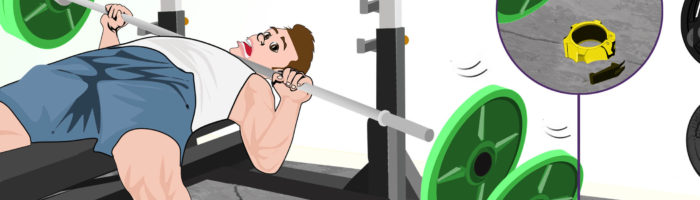
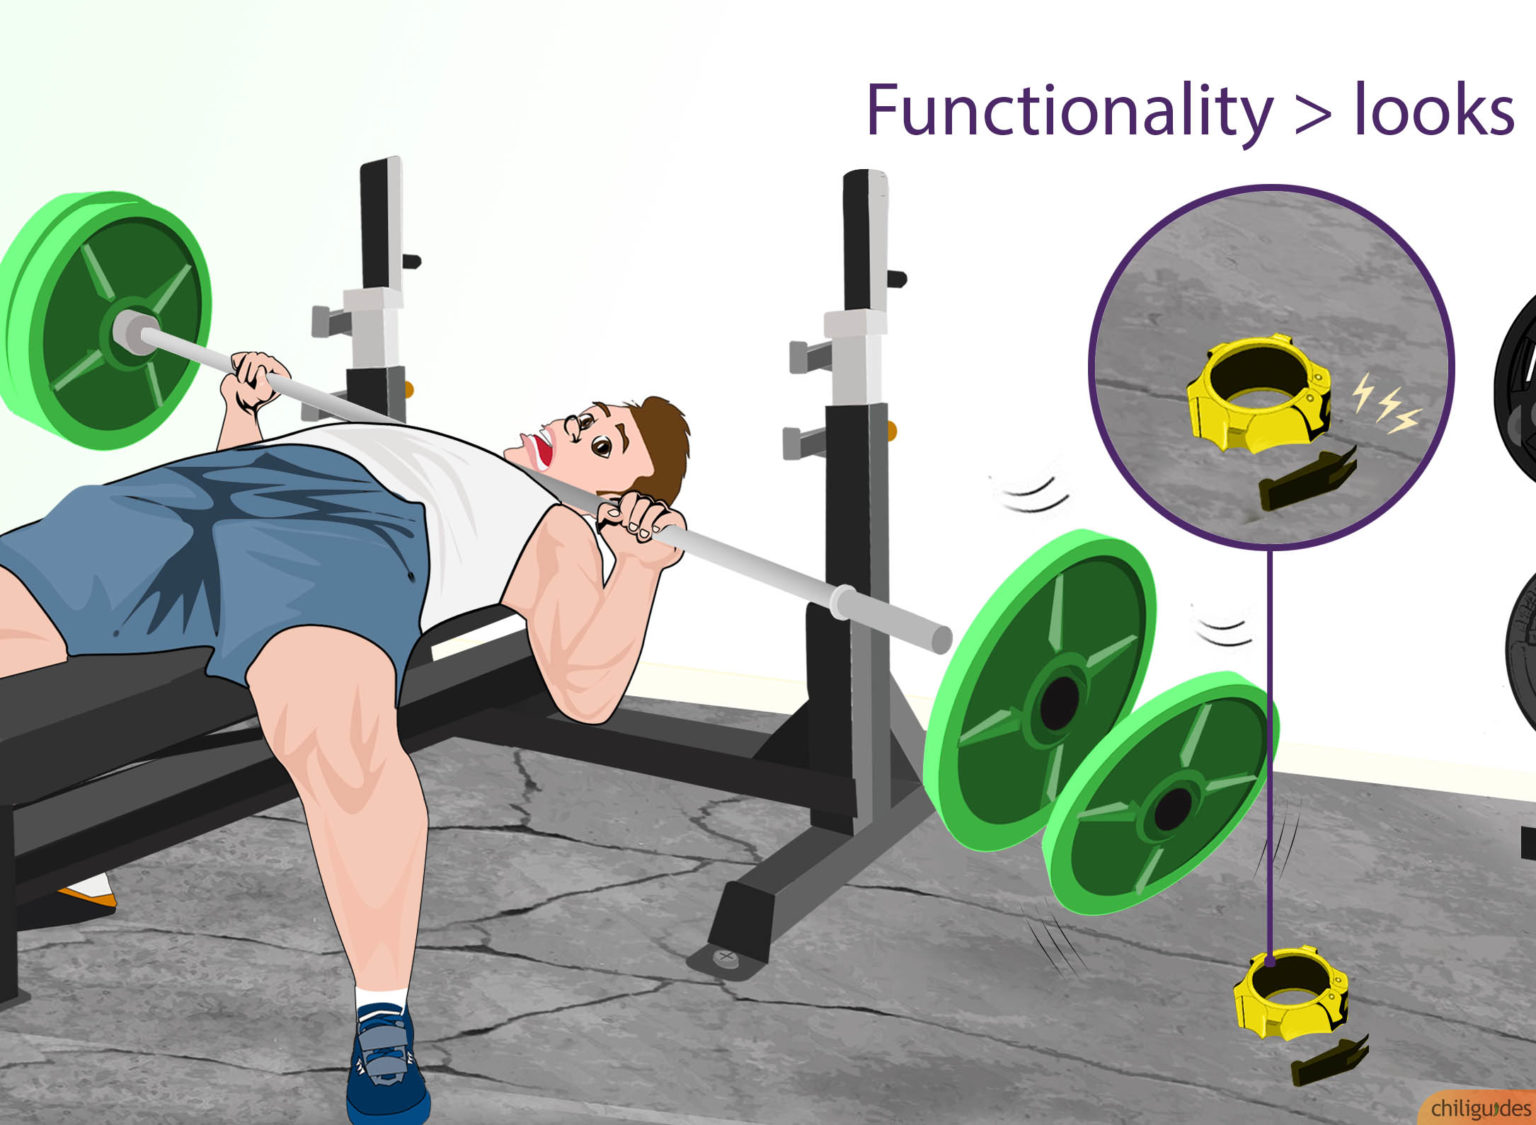
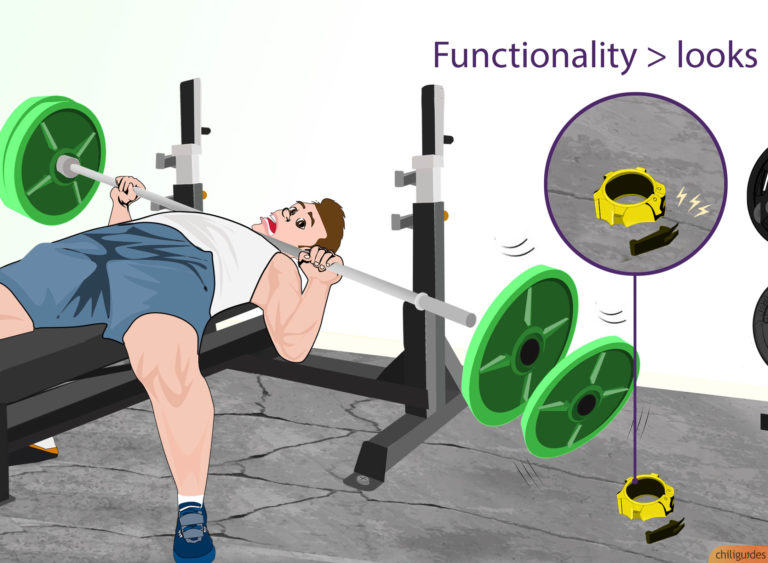
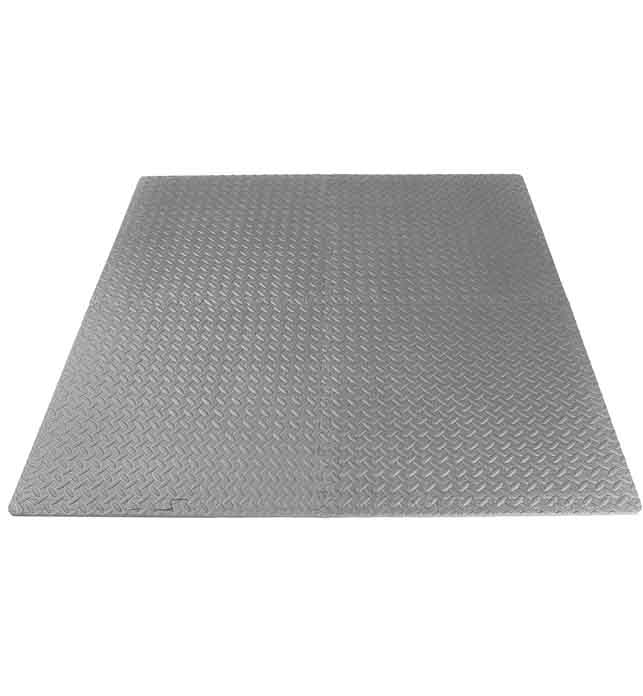
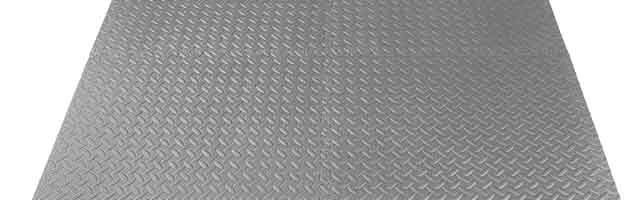
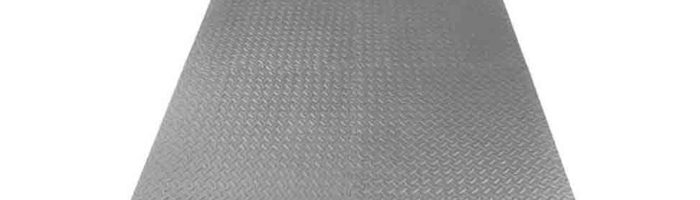
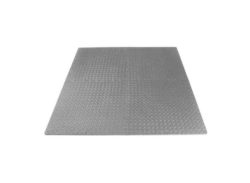
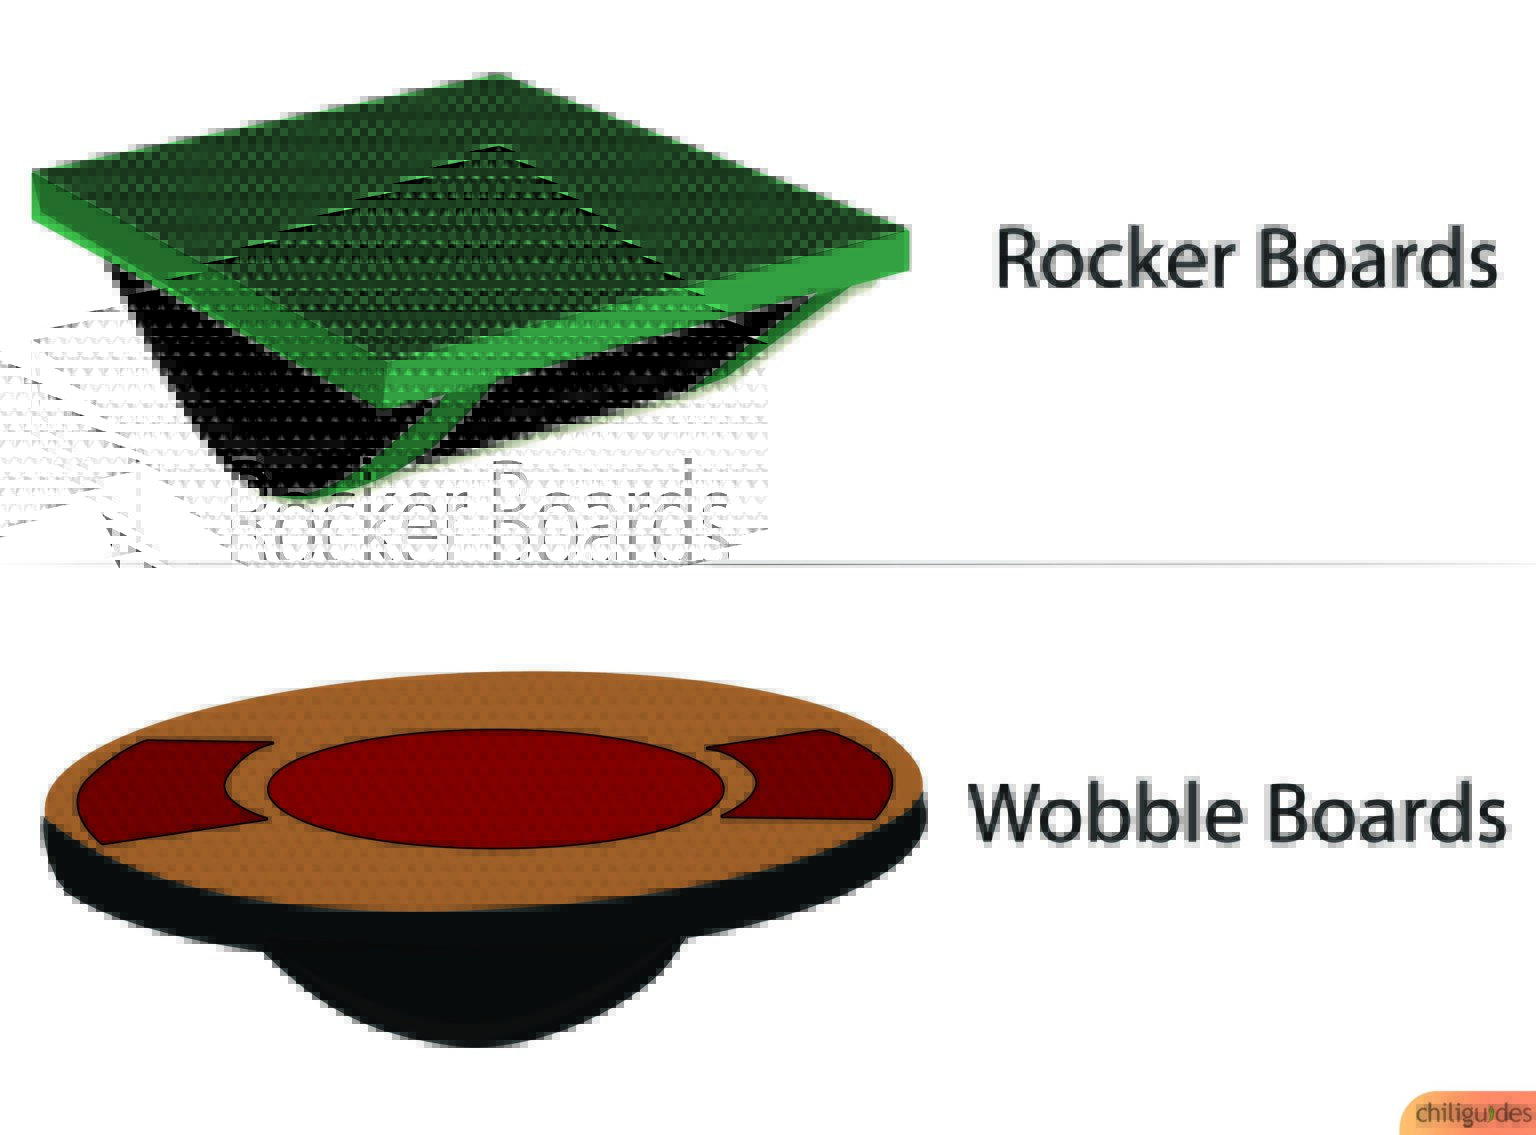
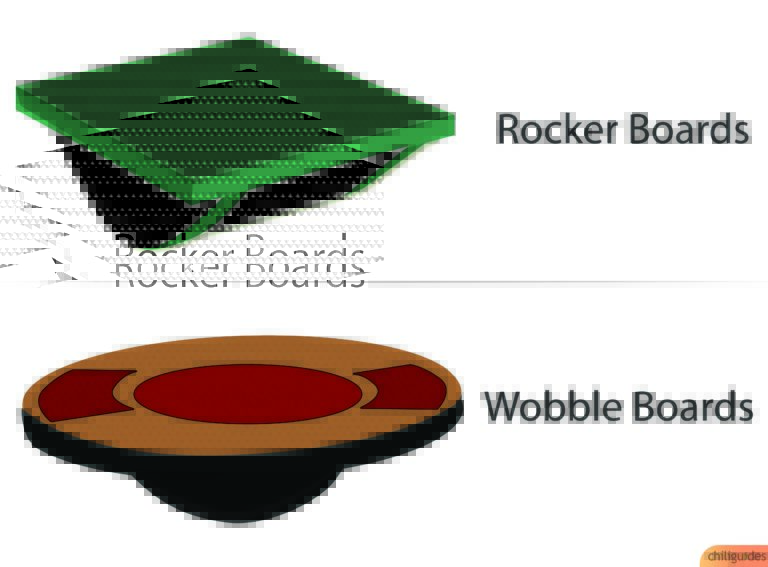
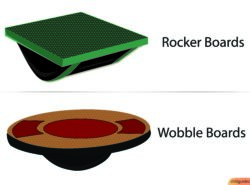
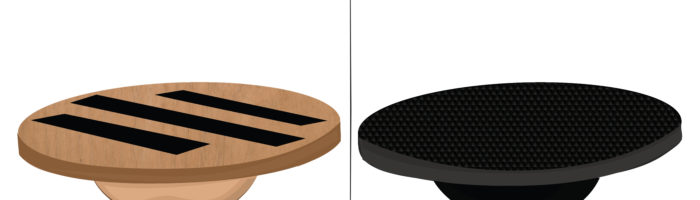
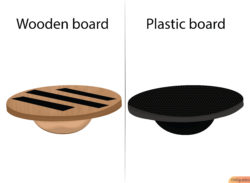
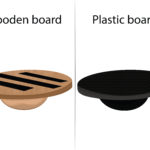
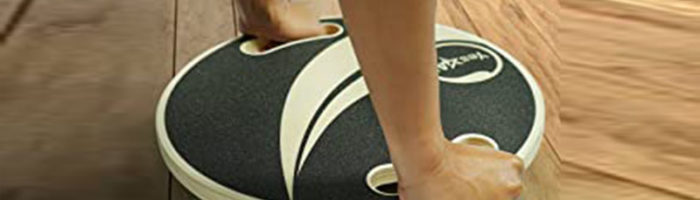
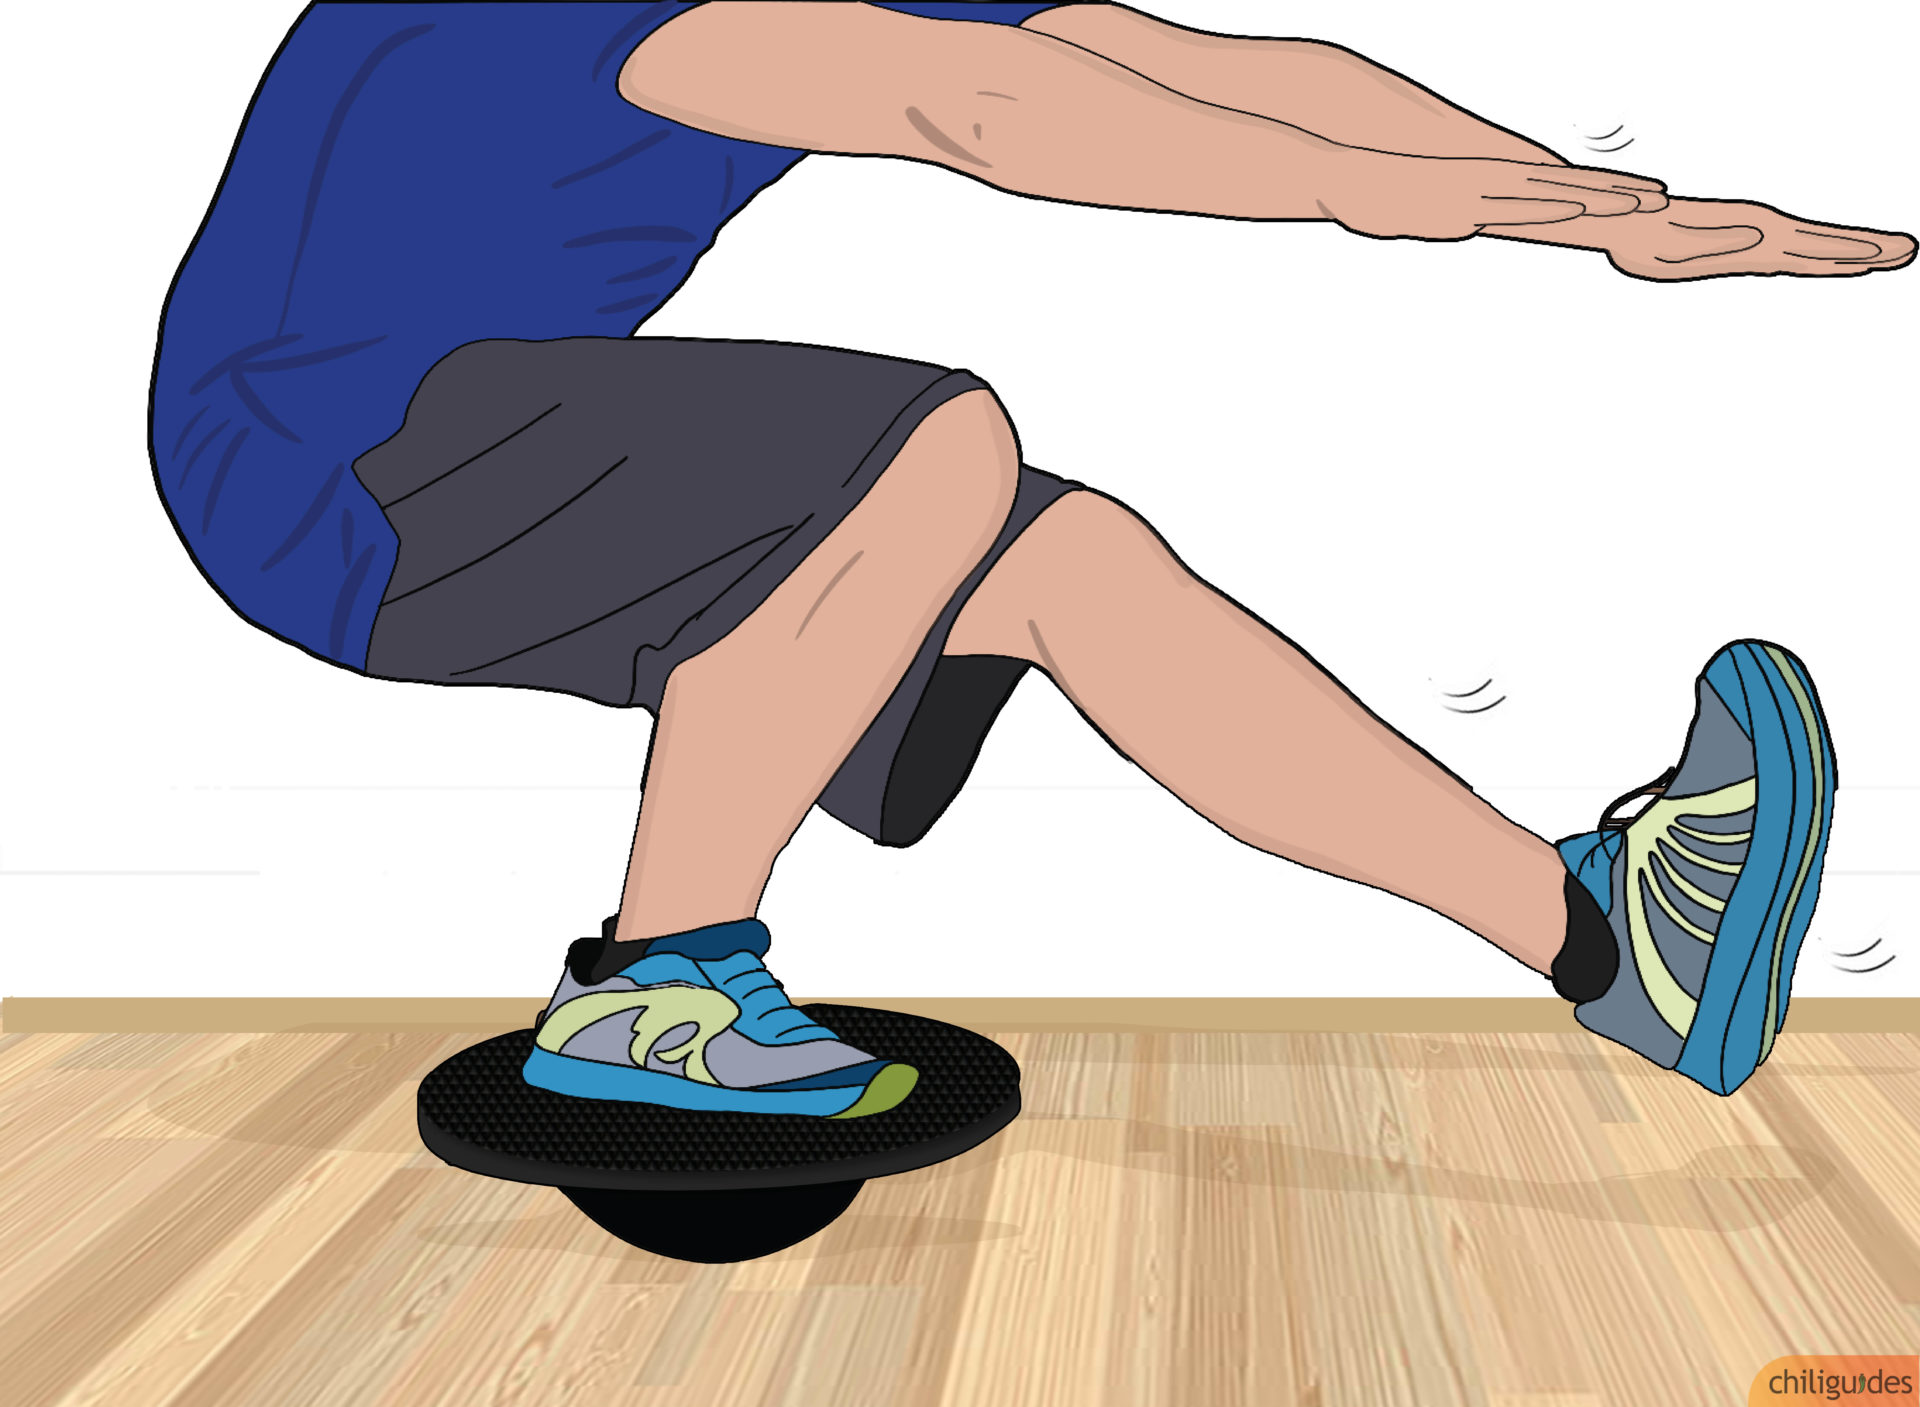
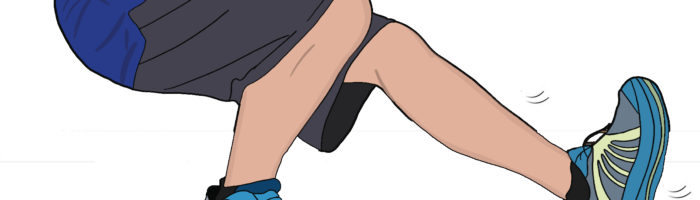
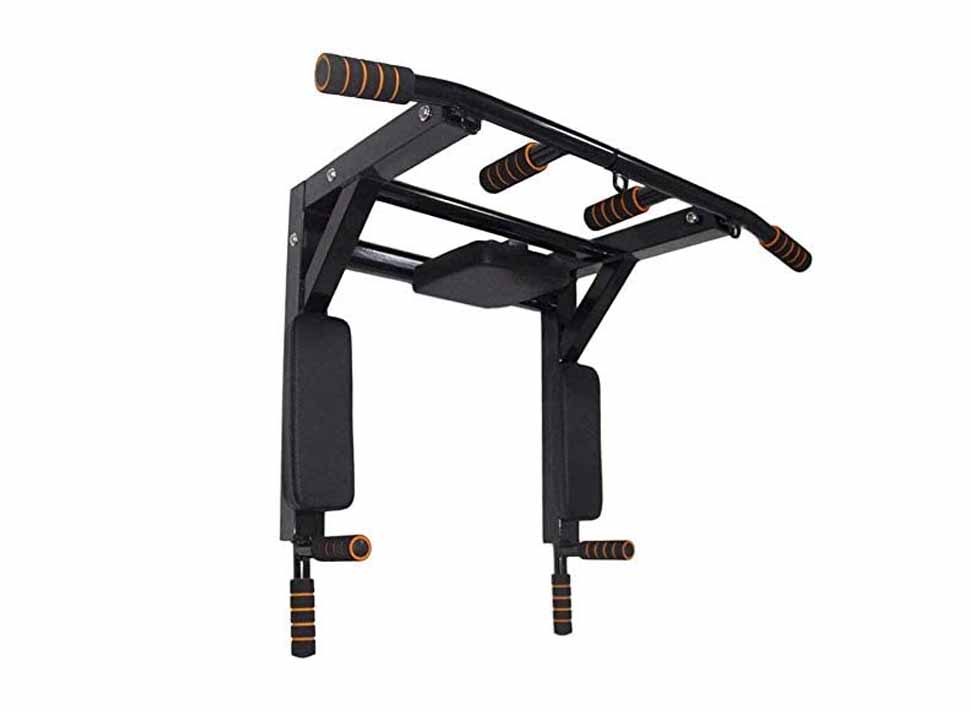
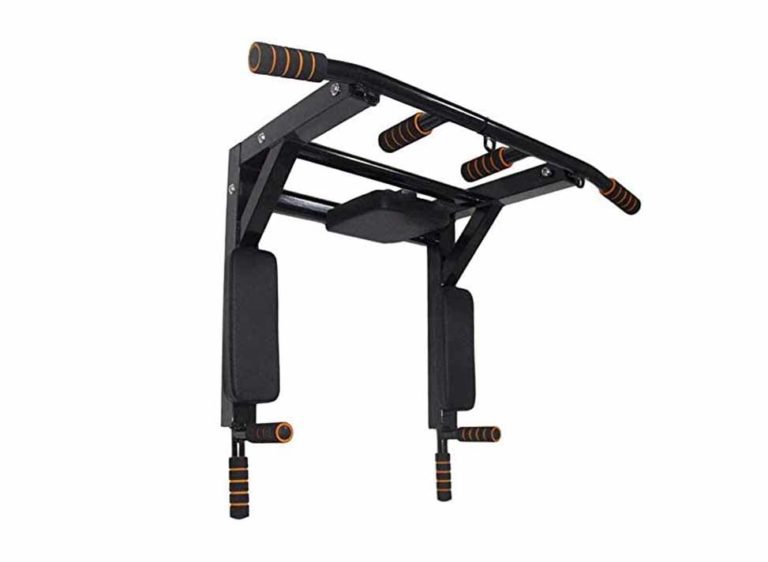
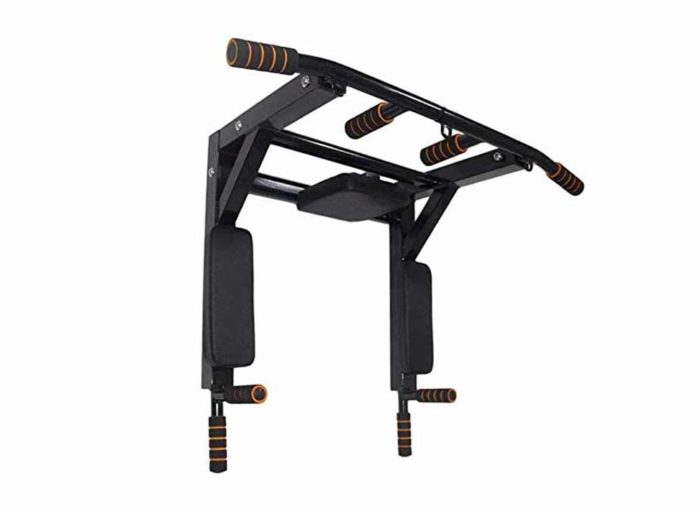
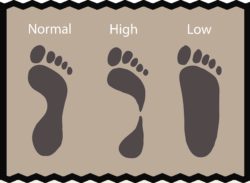
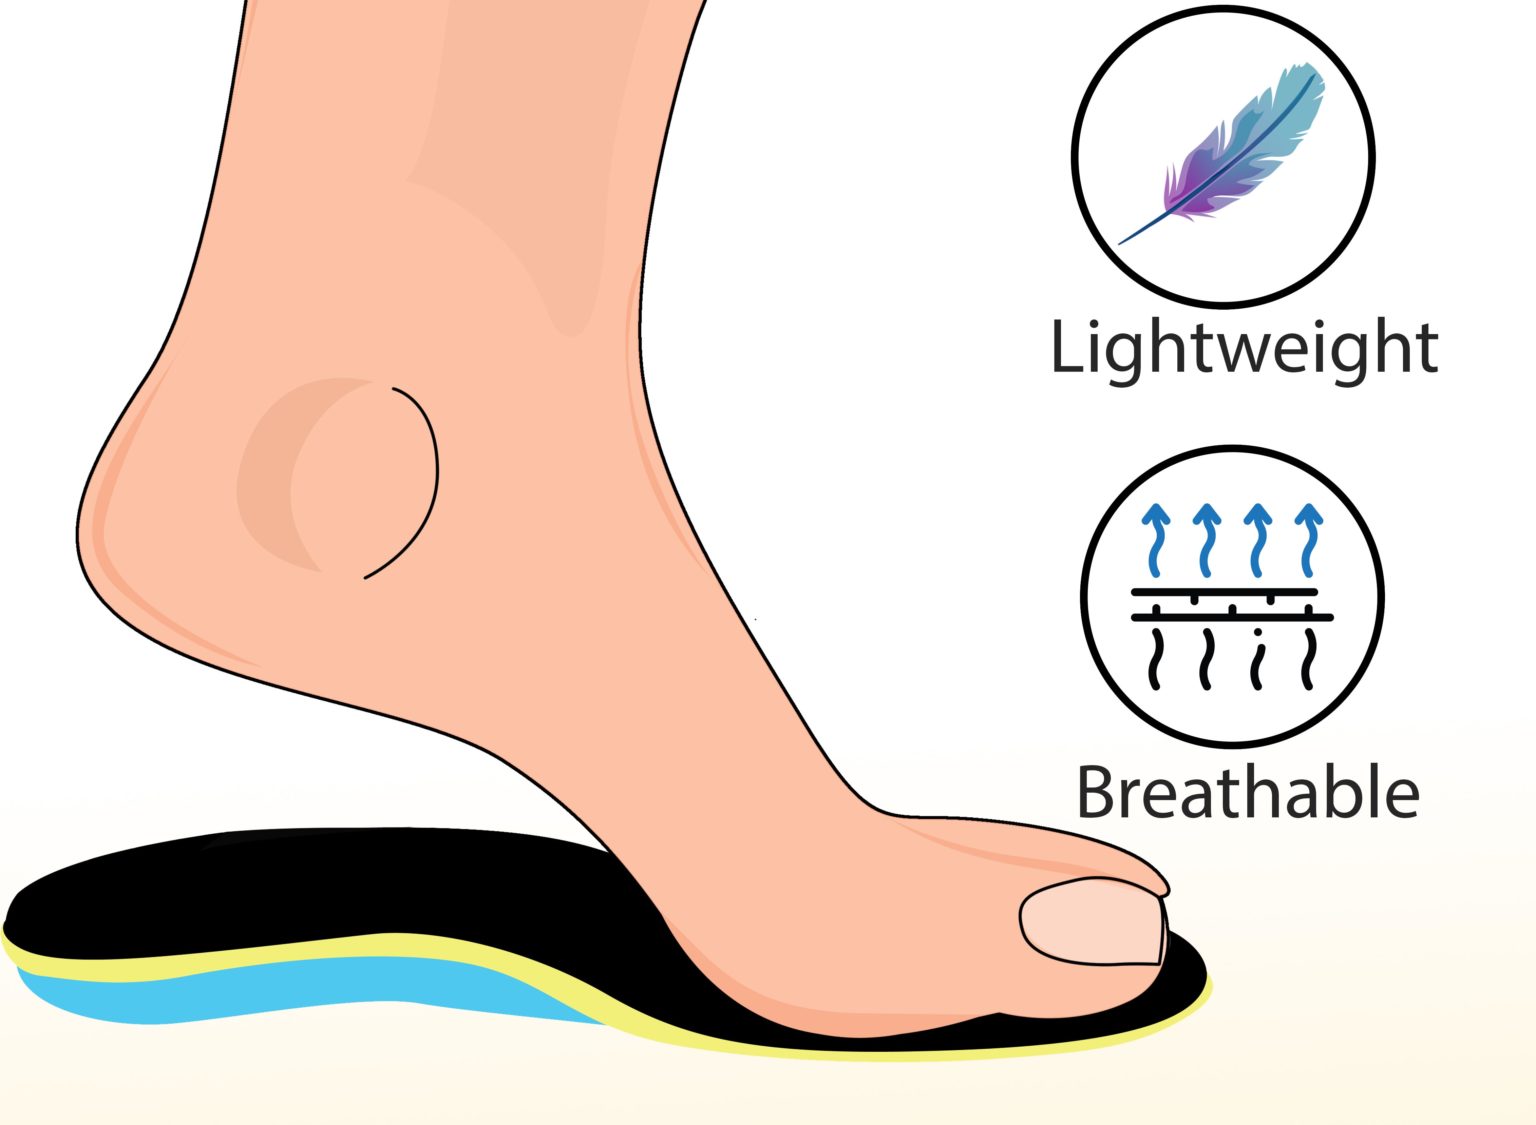
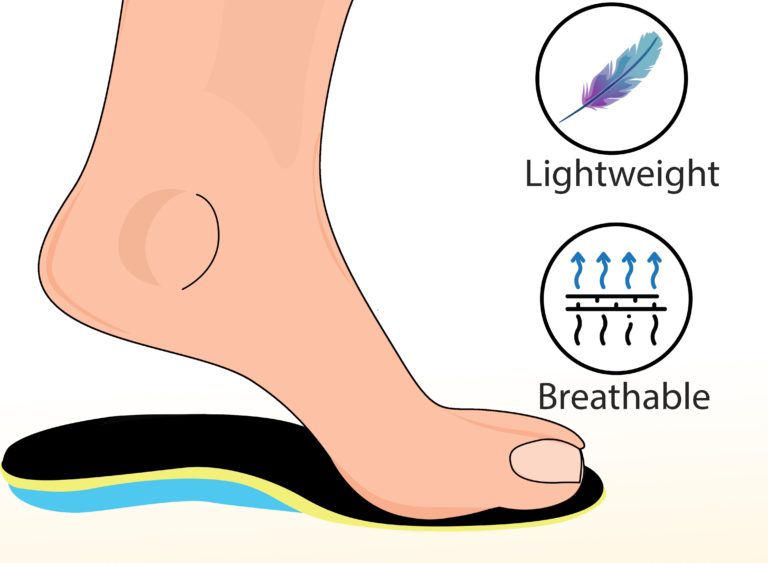
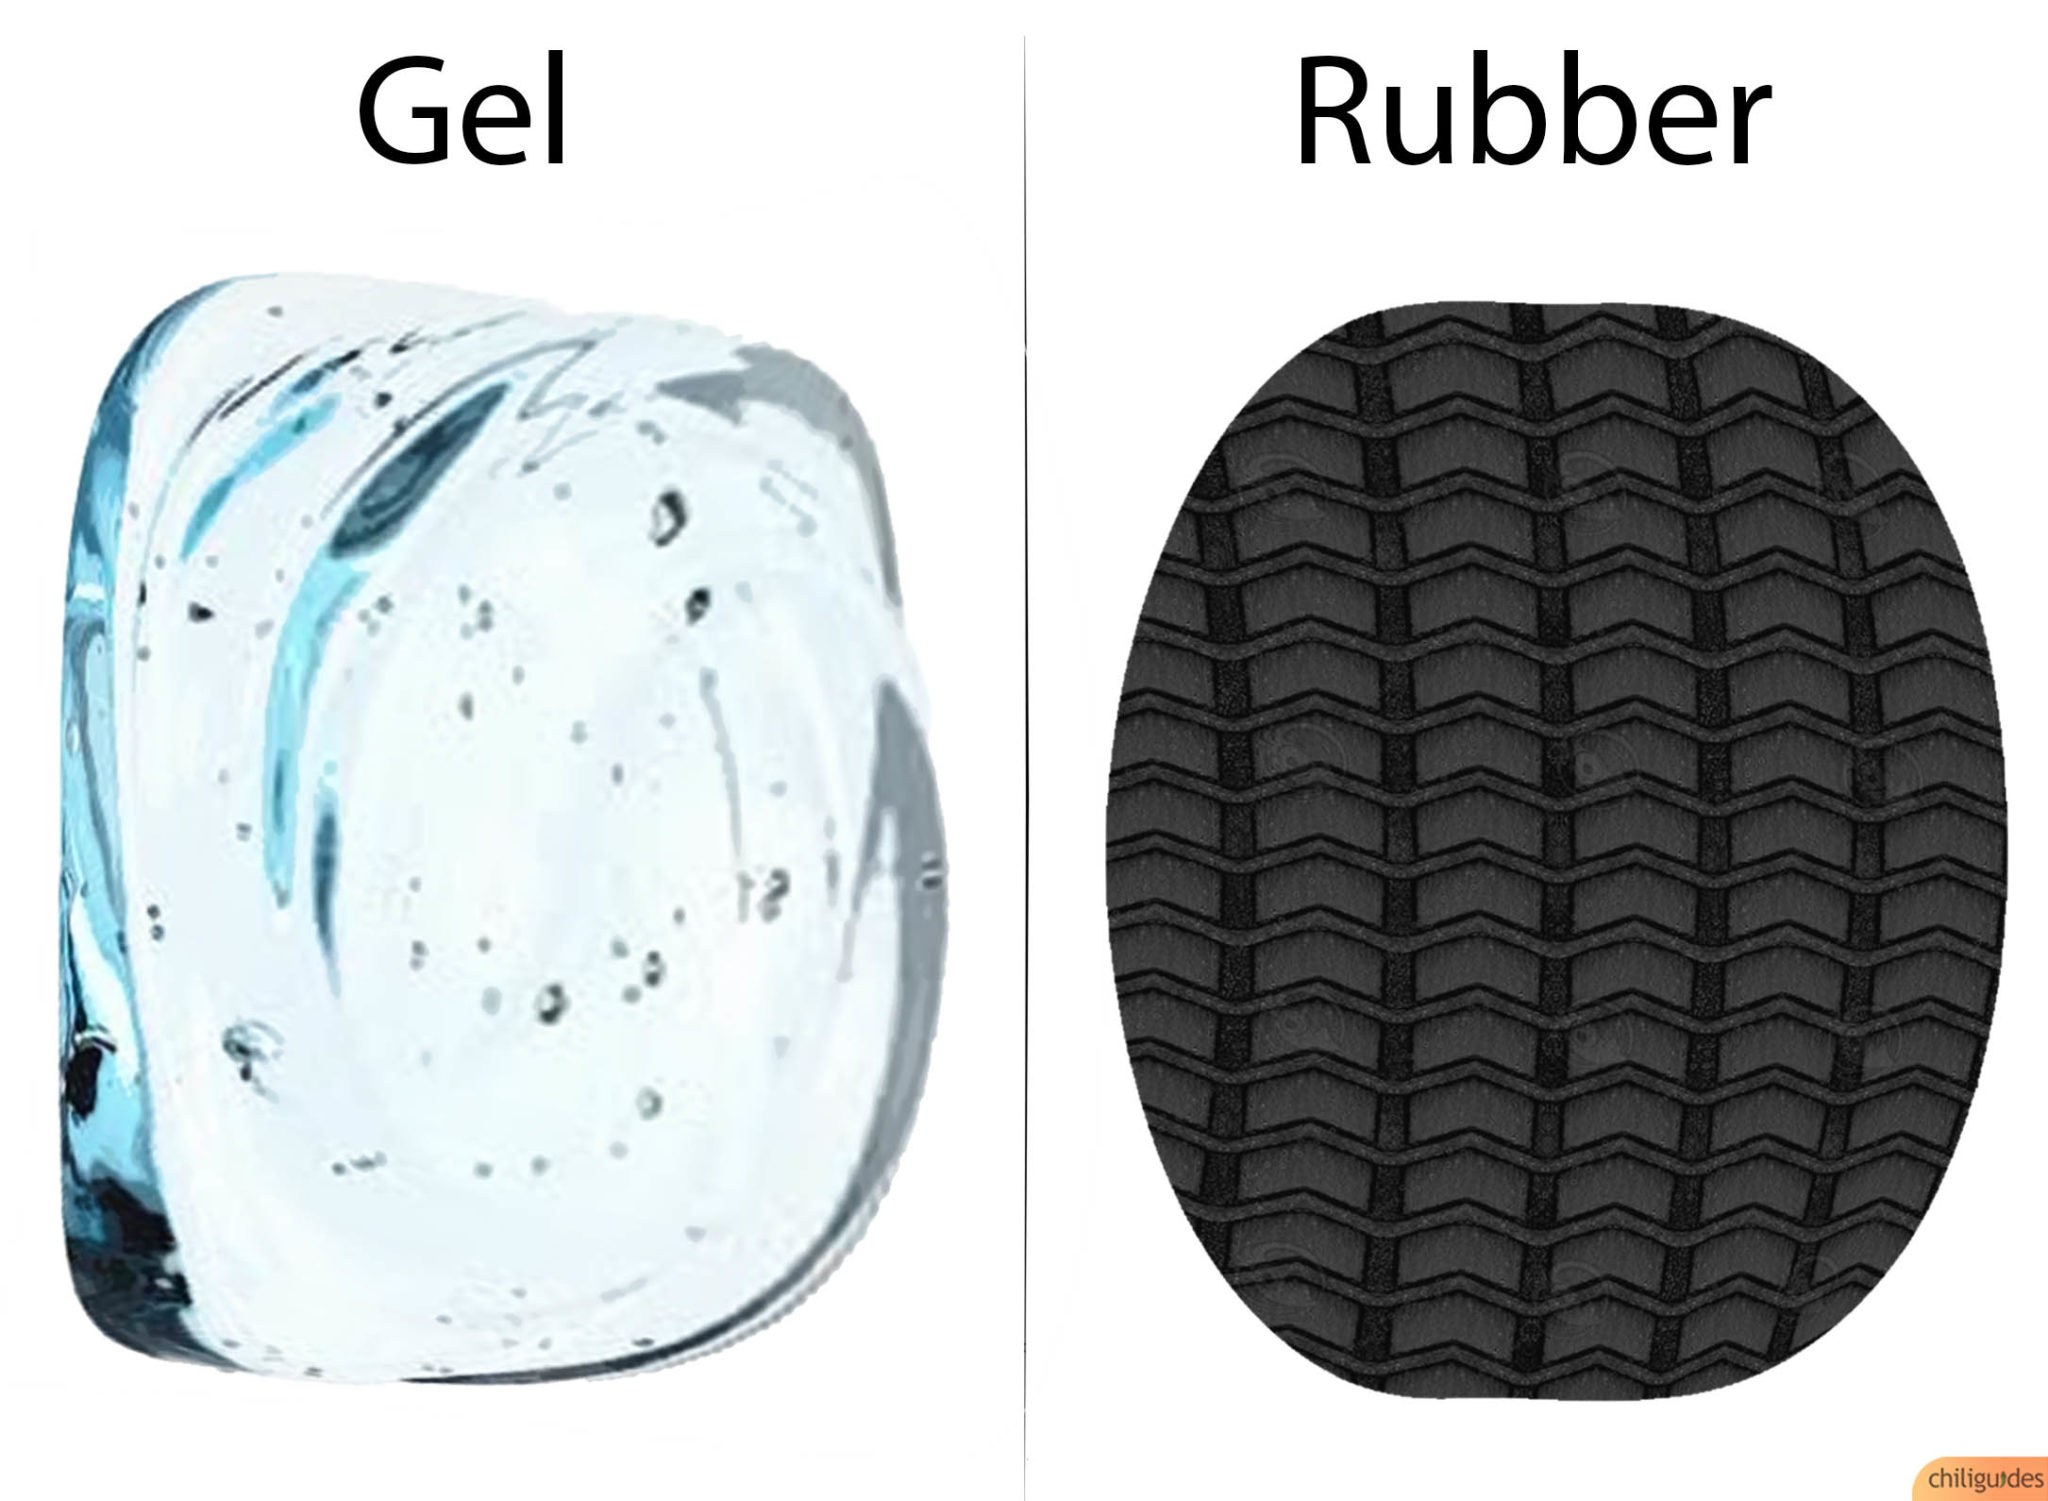
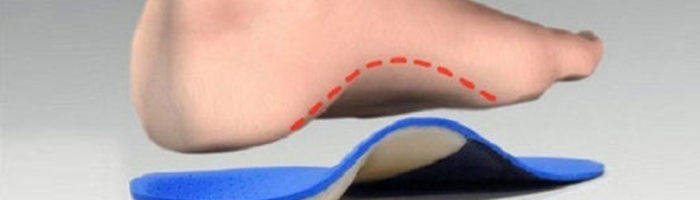
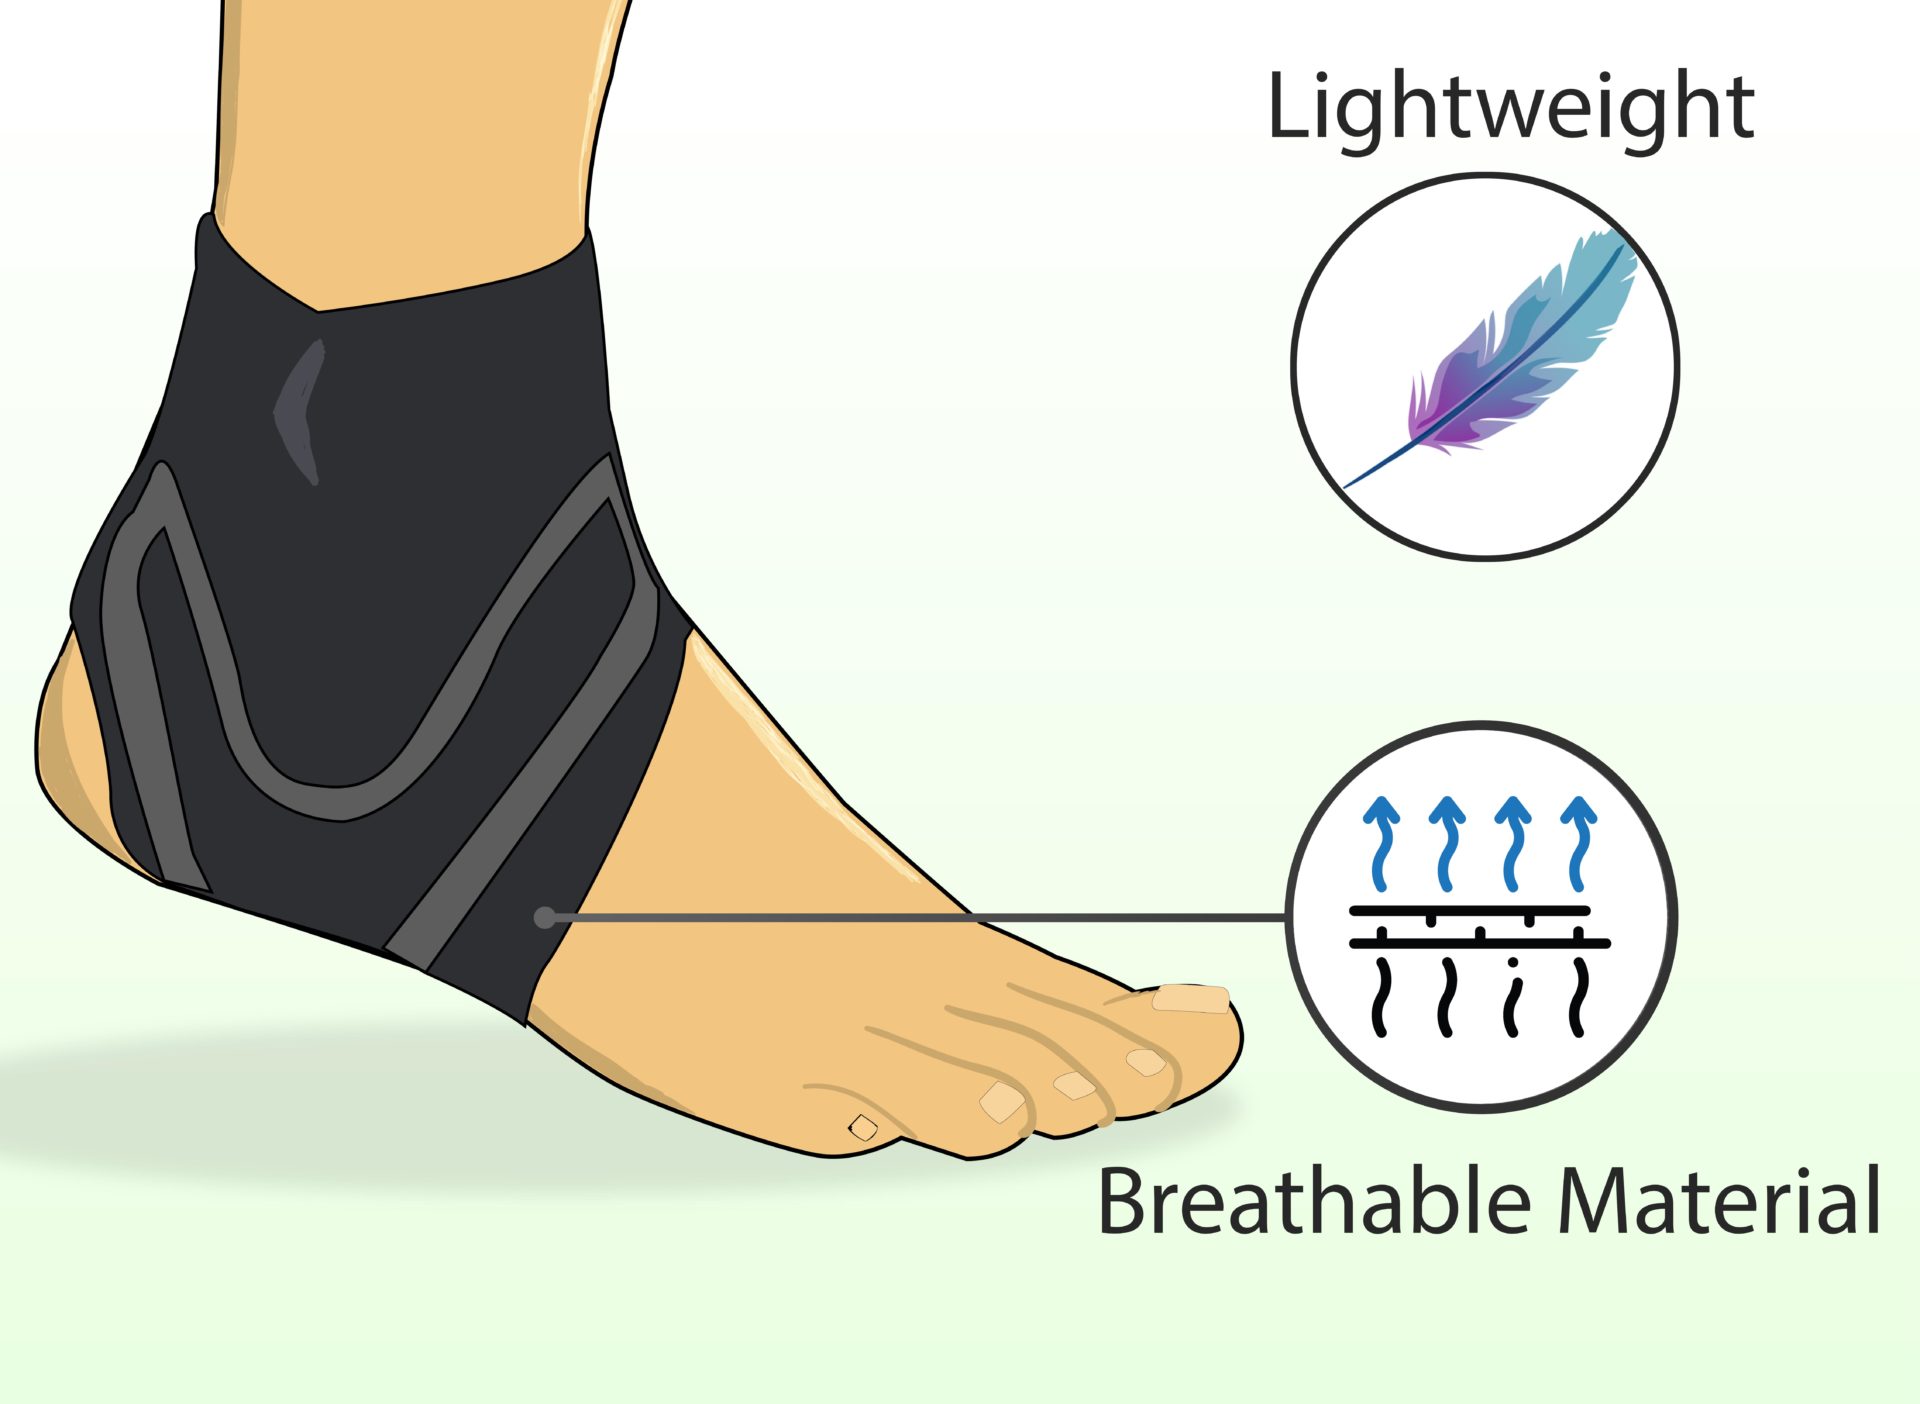
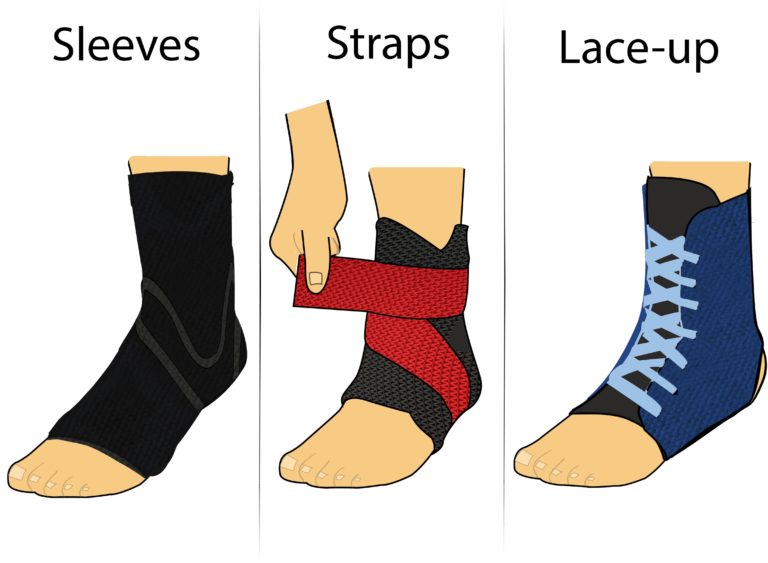
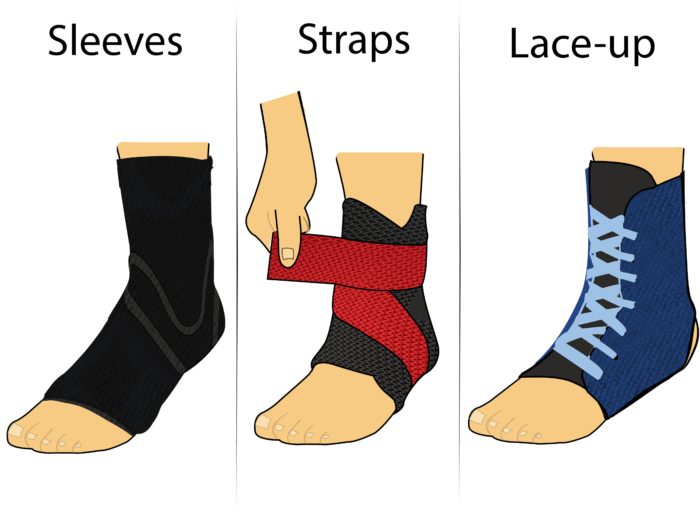
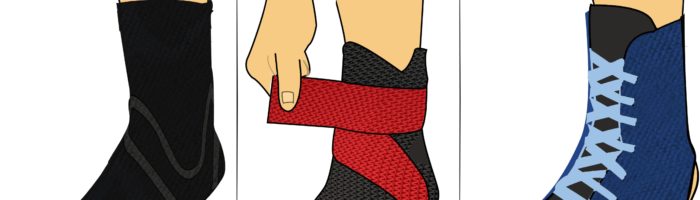
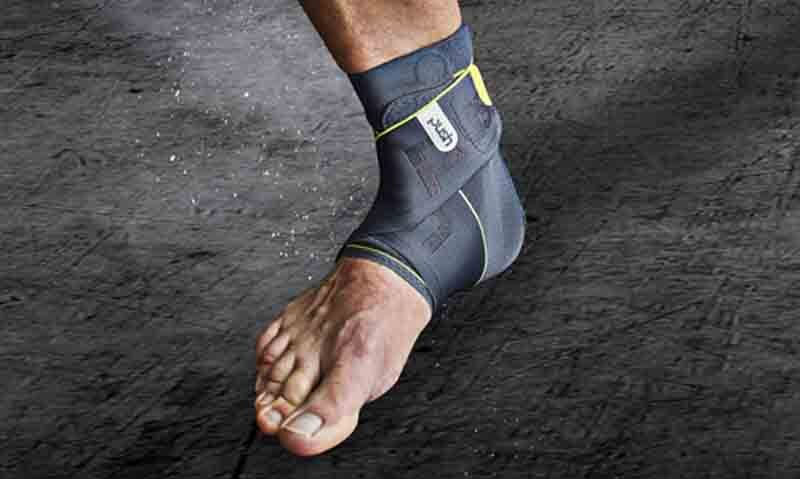
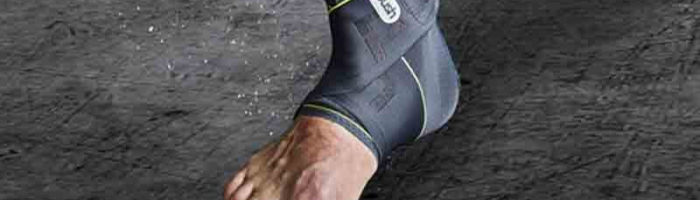
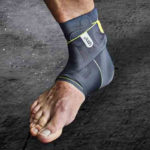
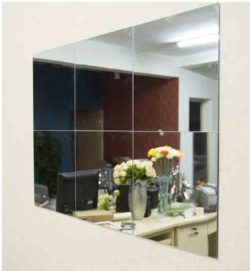
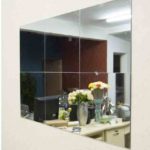
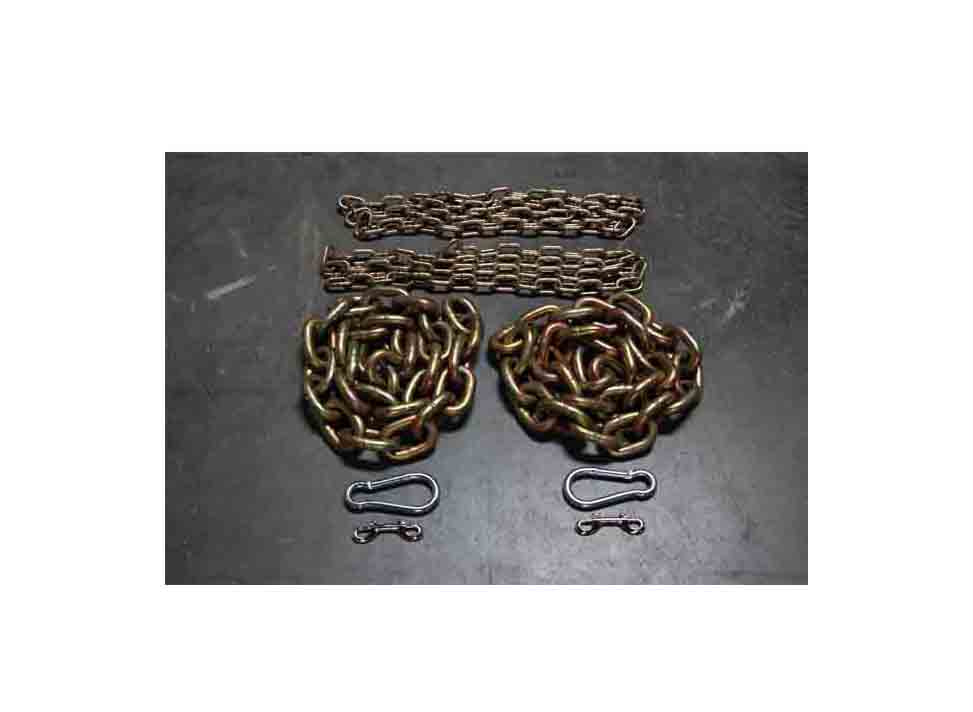
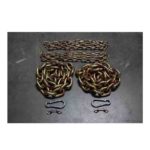
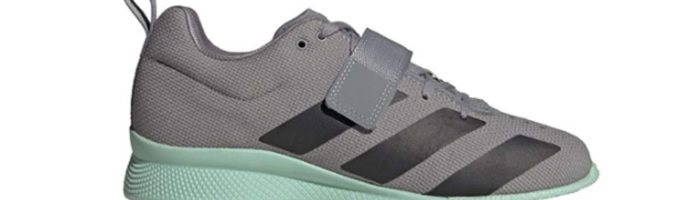
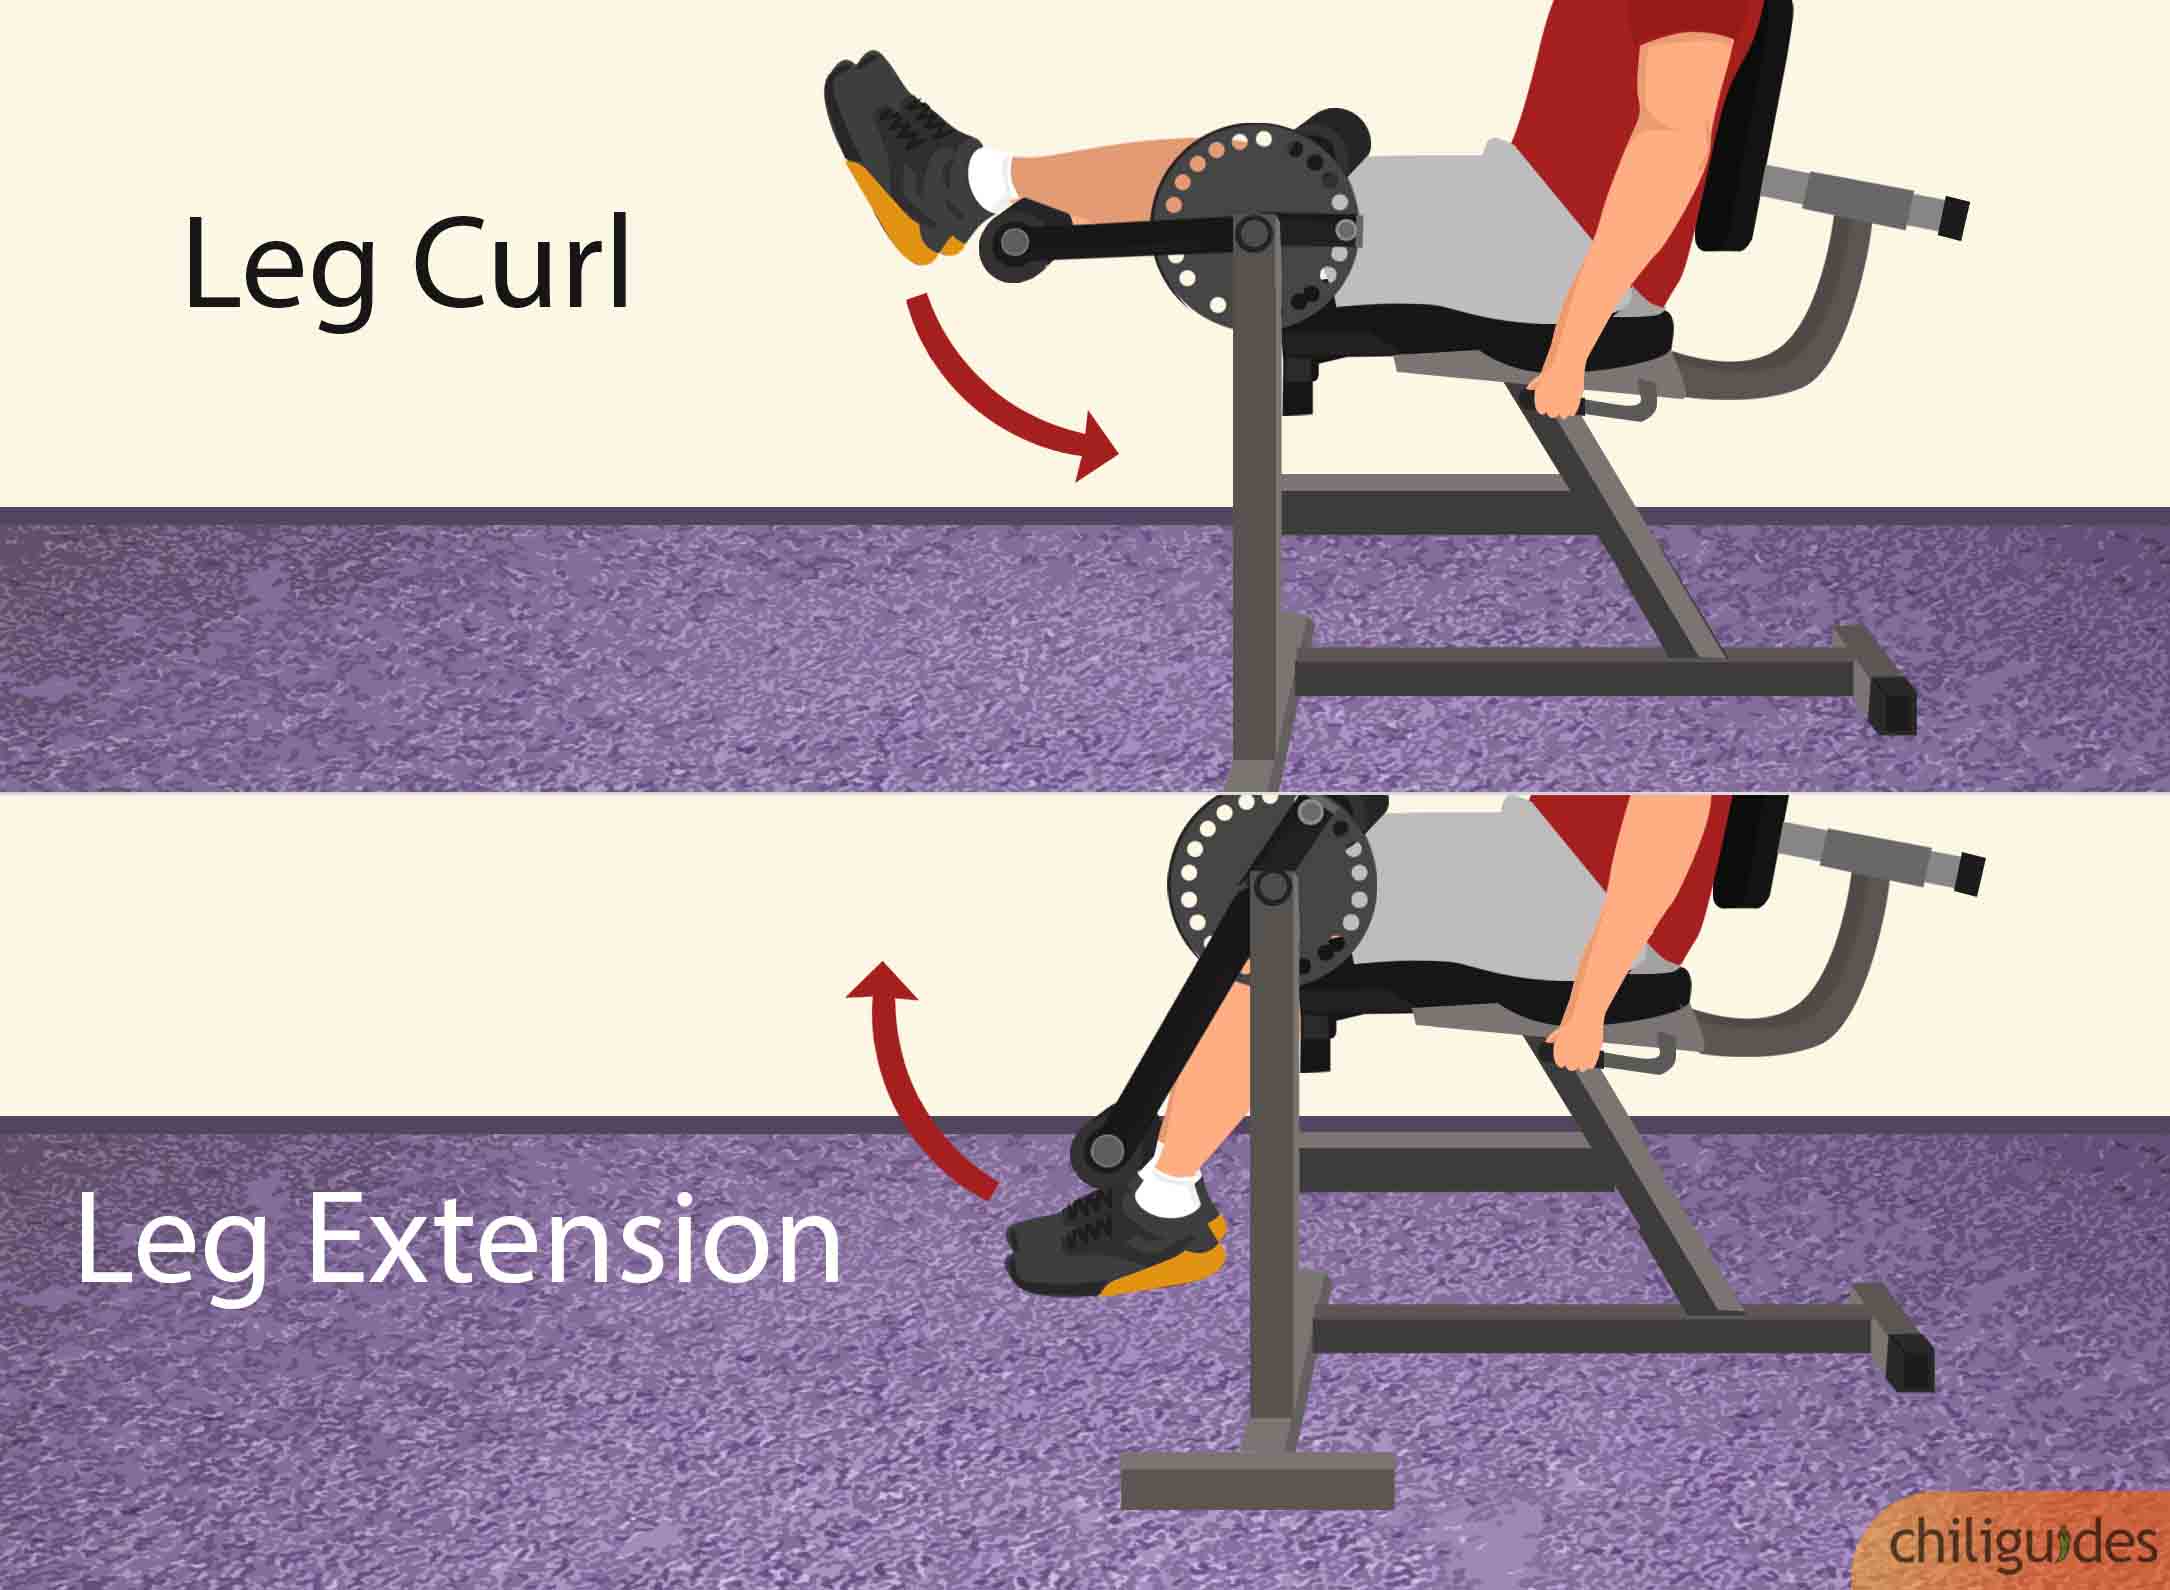
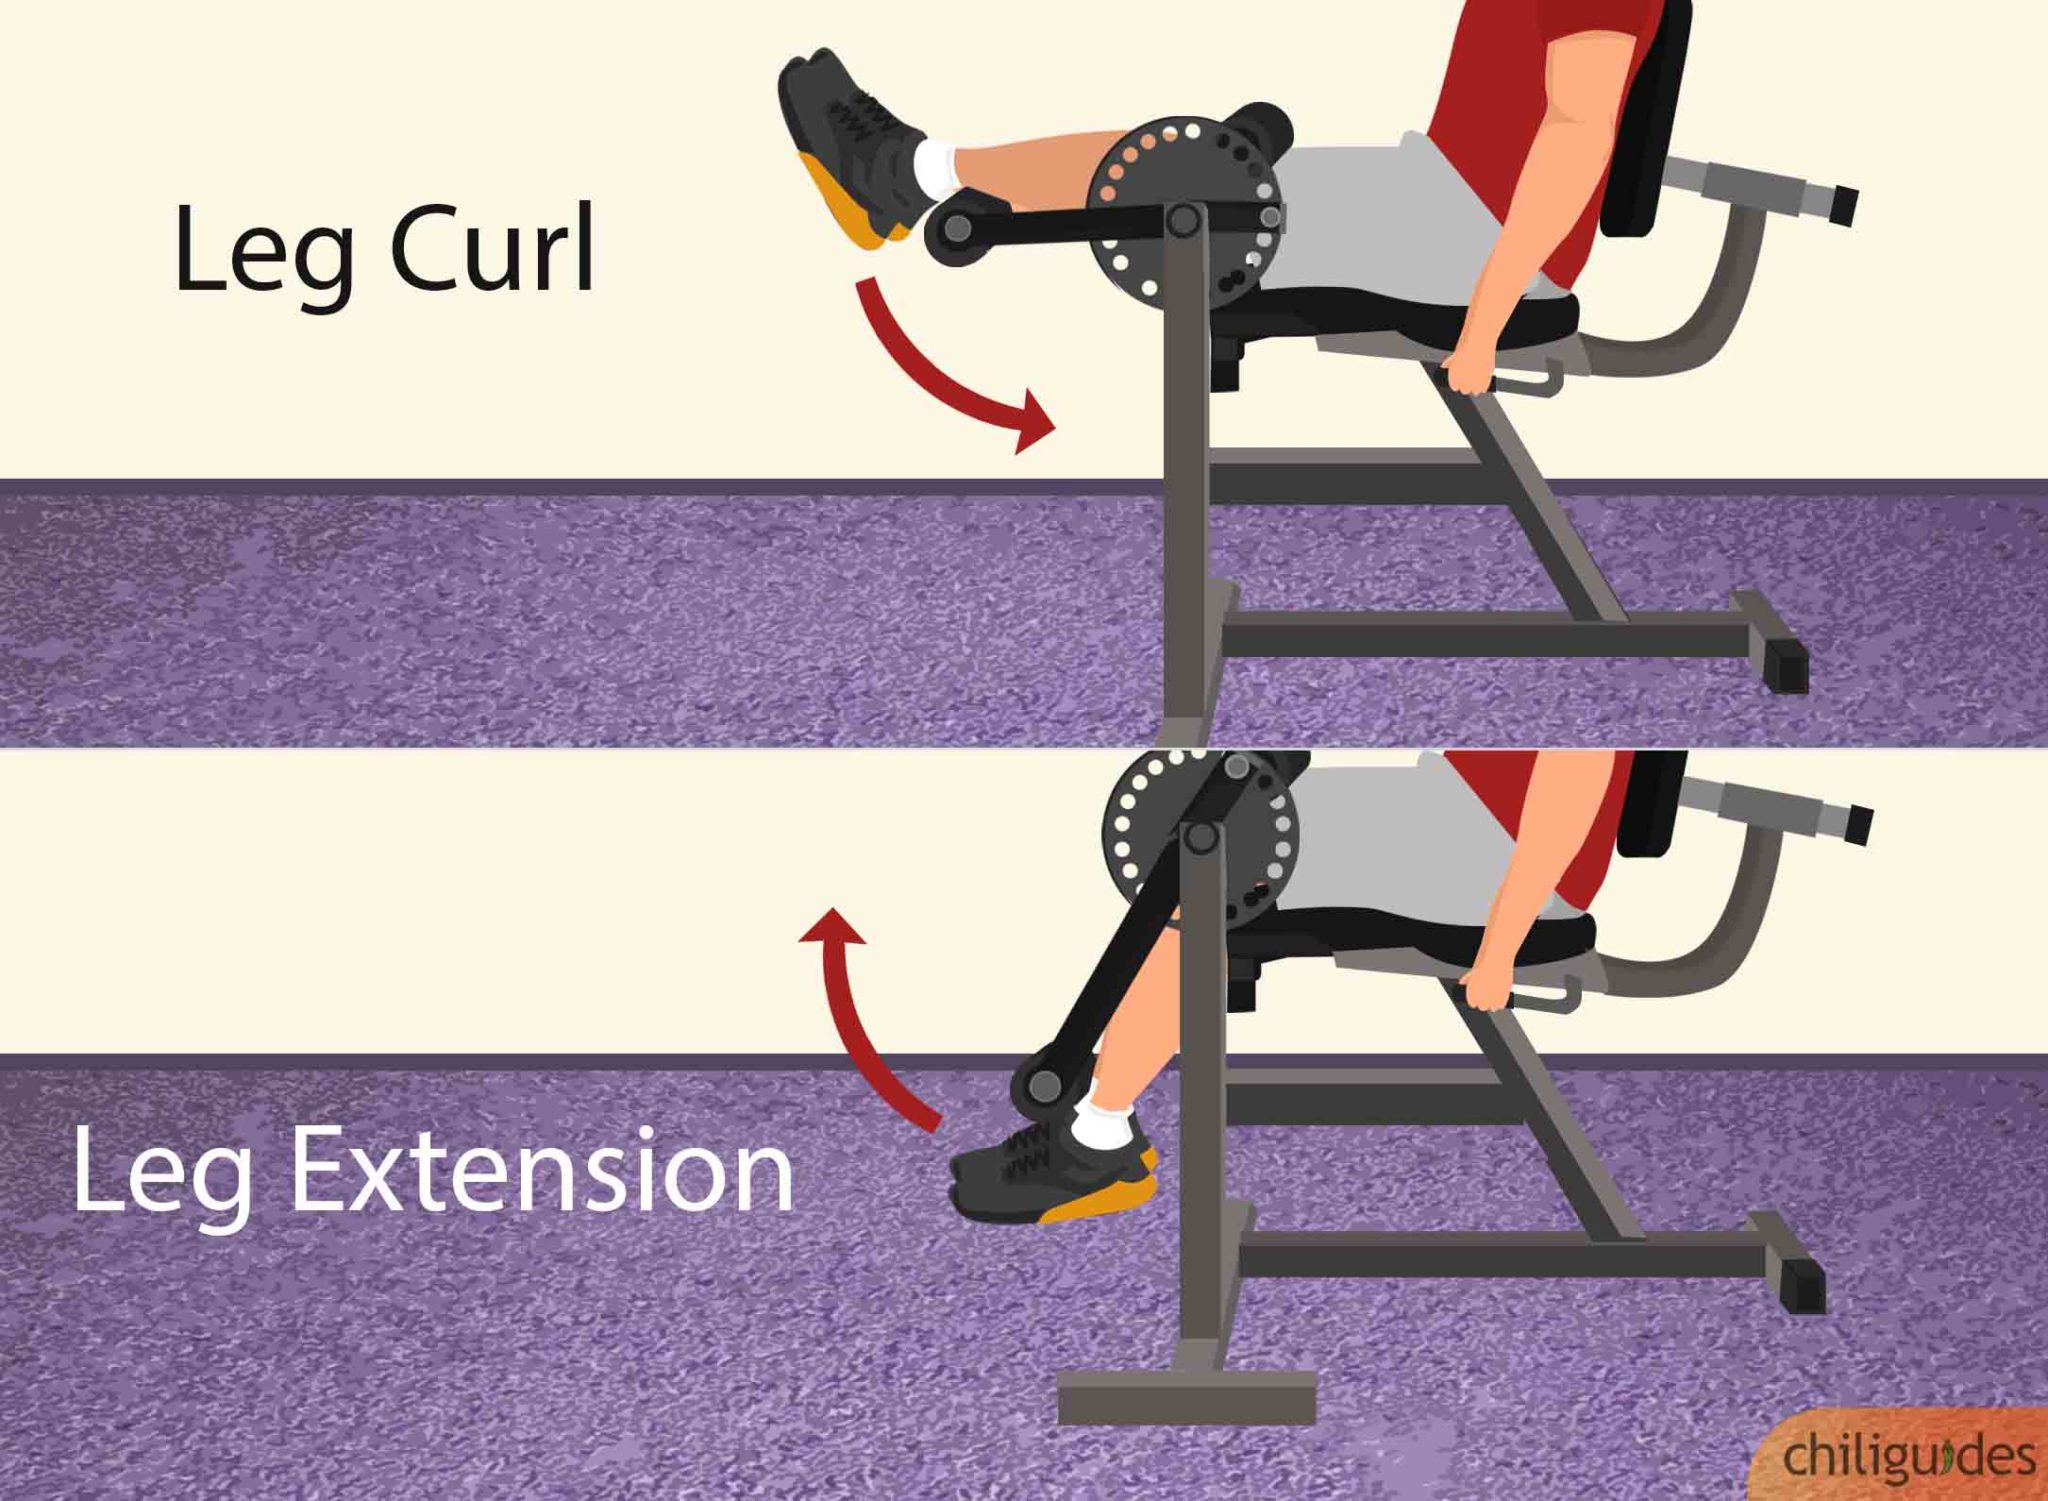
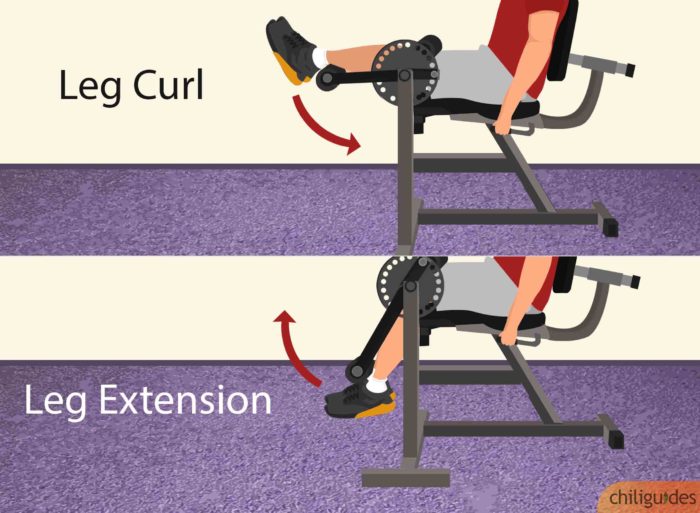
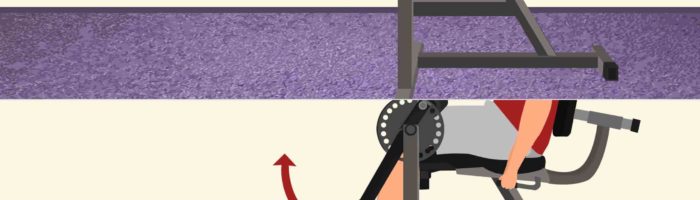
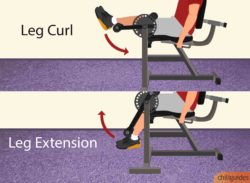
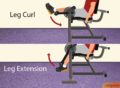
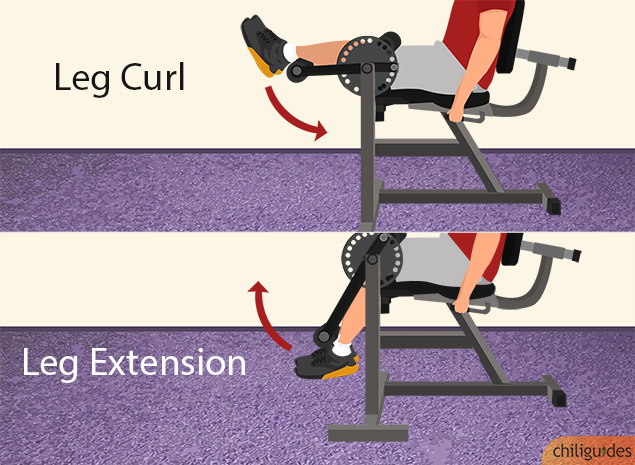
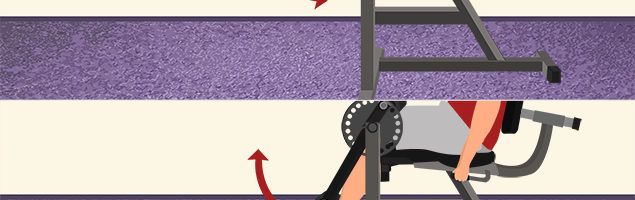